← Back to catalog
Get Started With Beginner Friendly Easy Embroidery Patterns
Search results ranked by title, tags, category, designer, format, and description relevance.
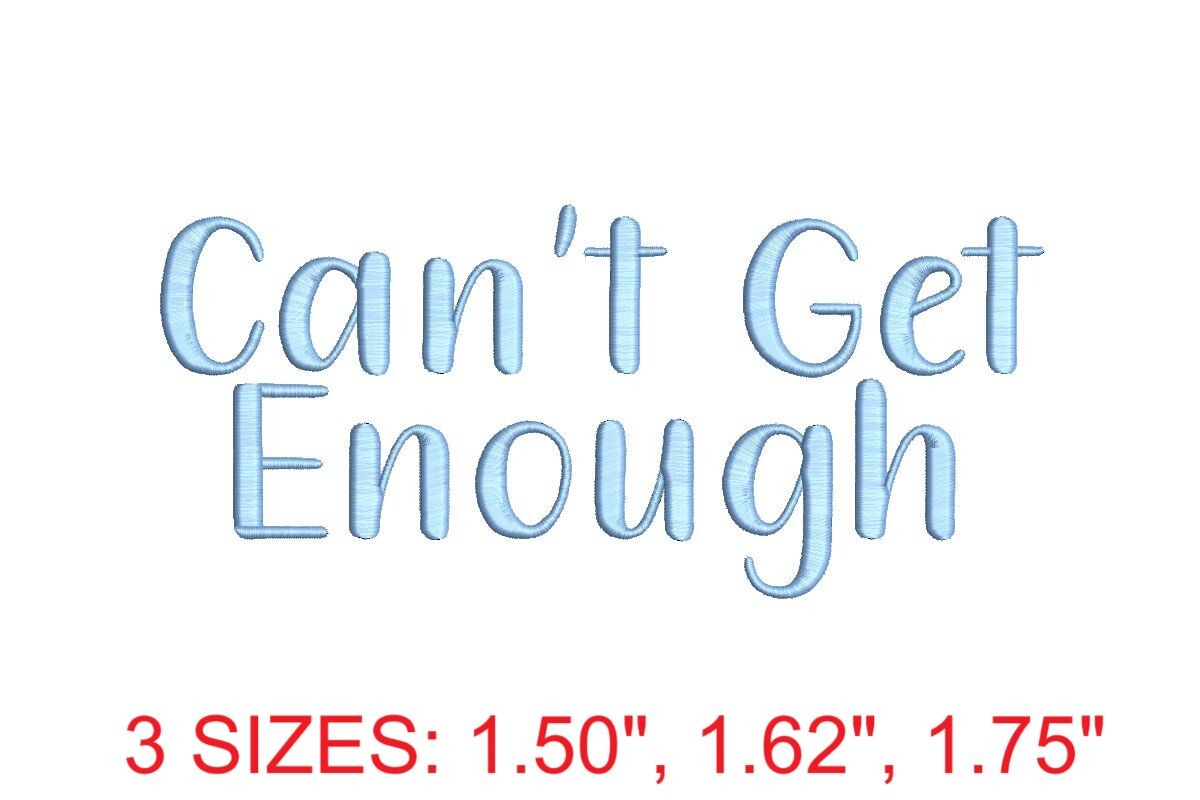
Can't Get Enough Embroidery Font
PES
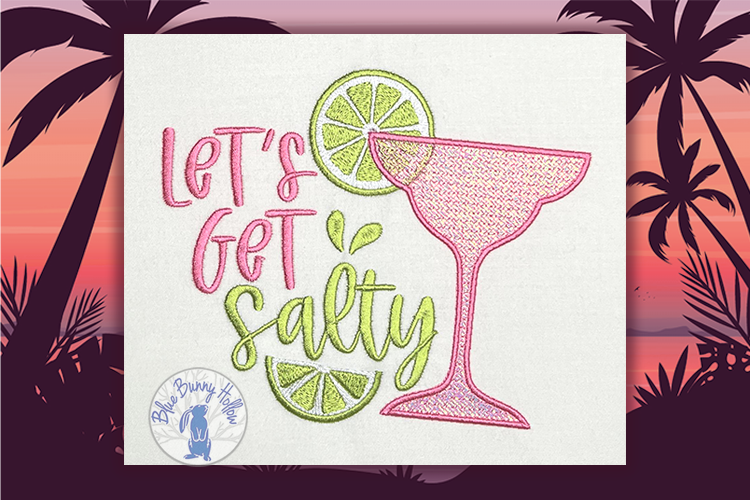
Let's Get Salty
DSTEXPHUS
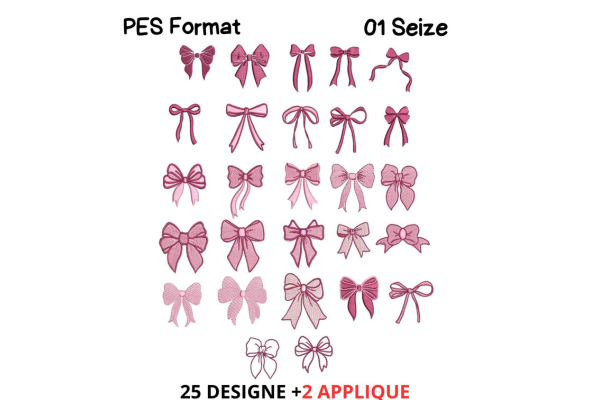
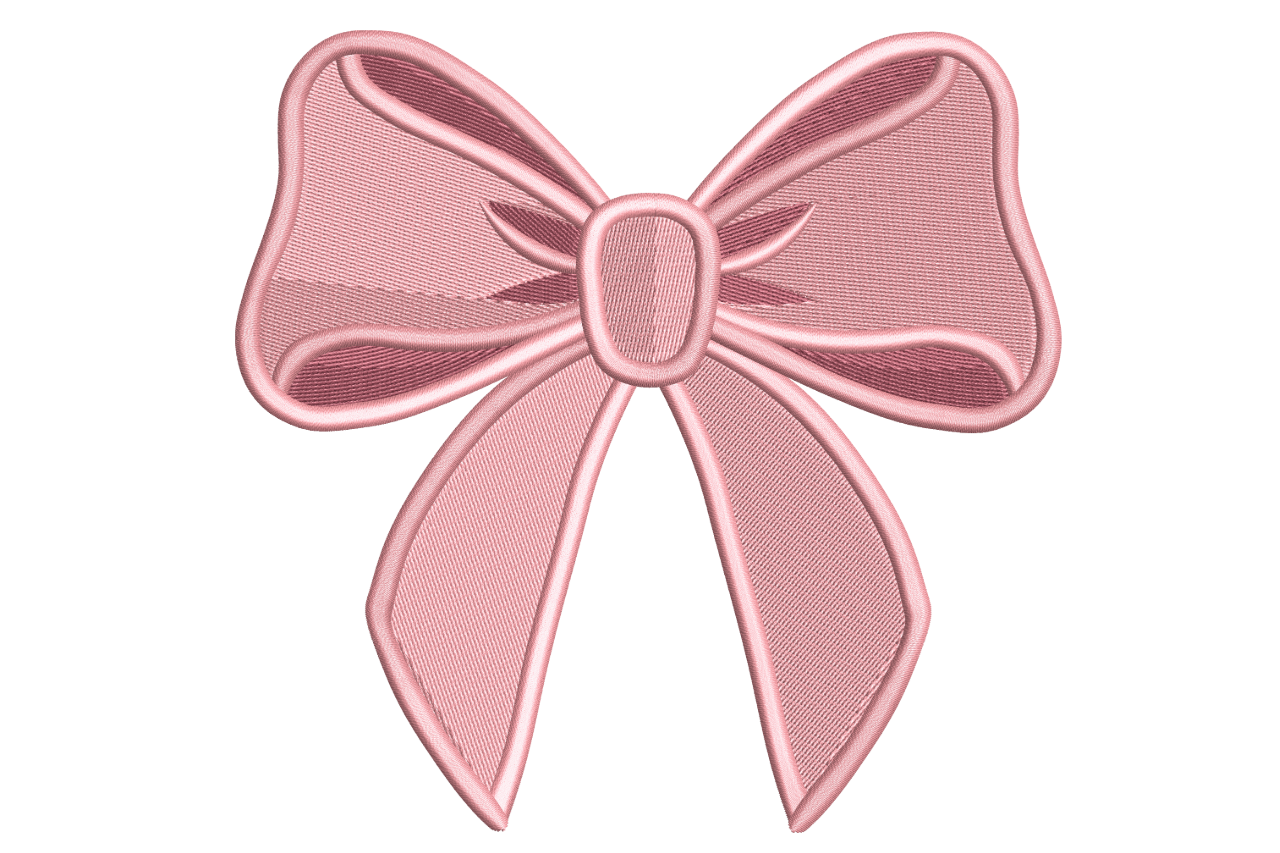
Mini Bow Embroidery Design
PESJEF
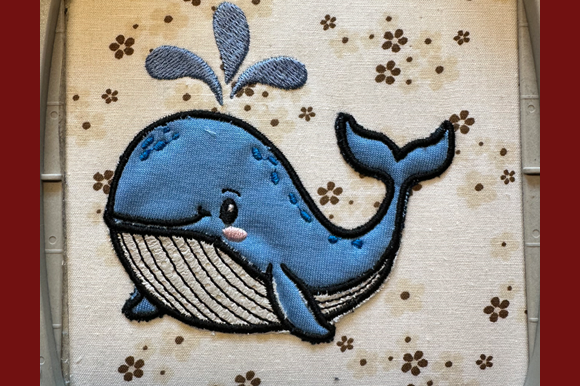
Whale Applique
DSTEXPHUS
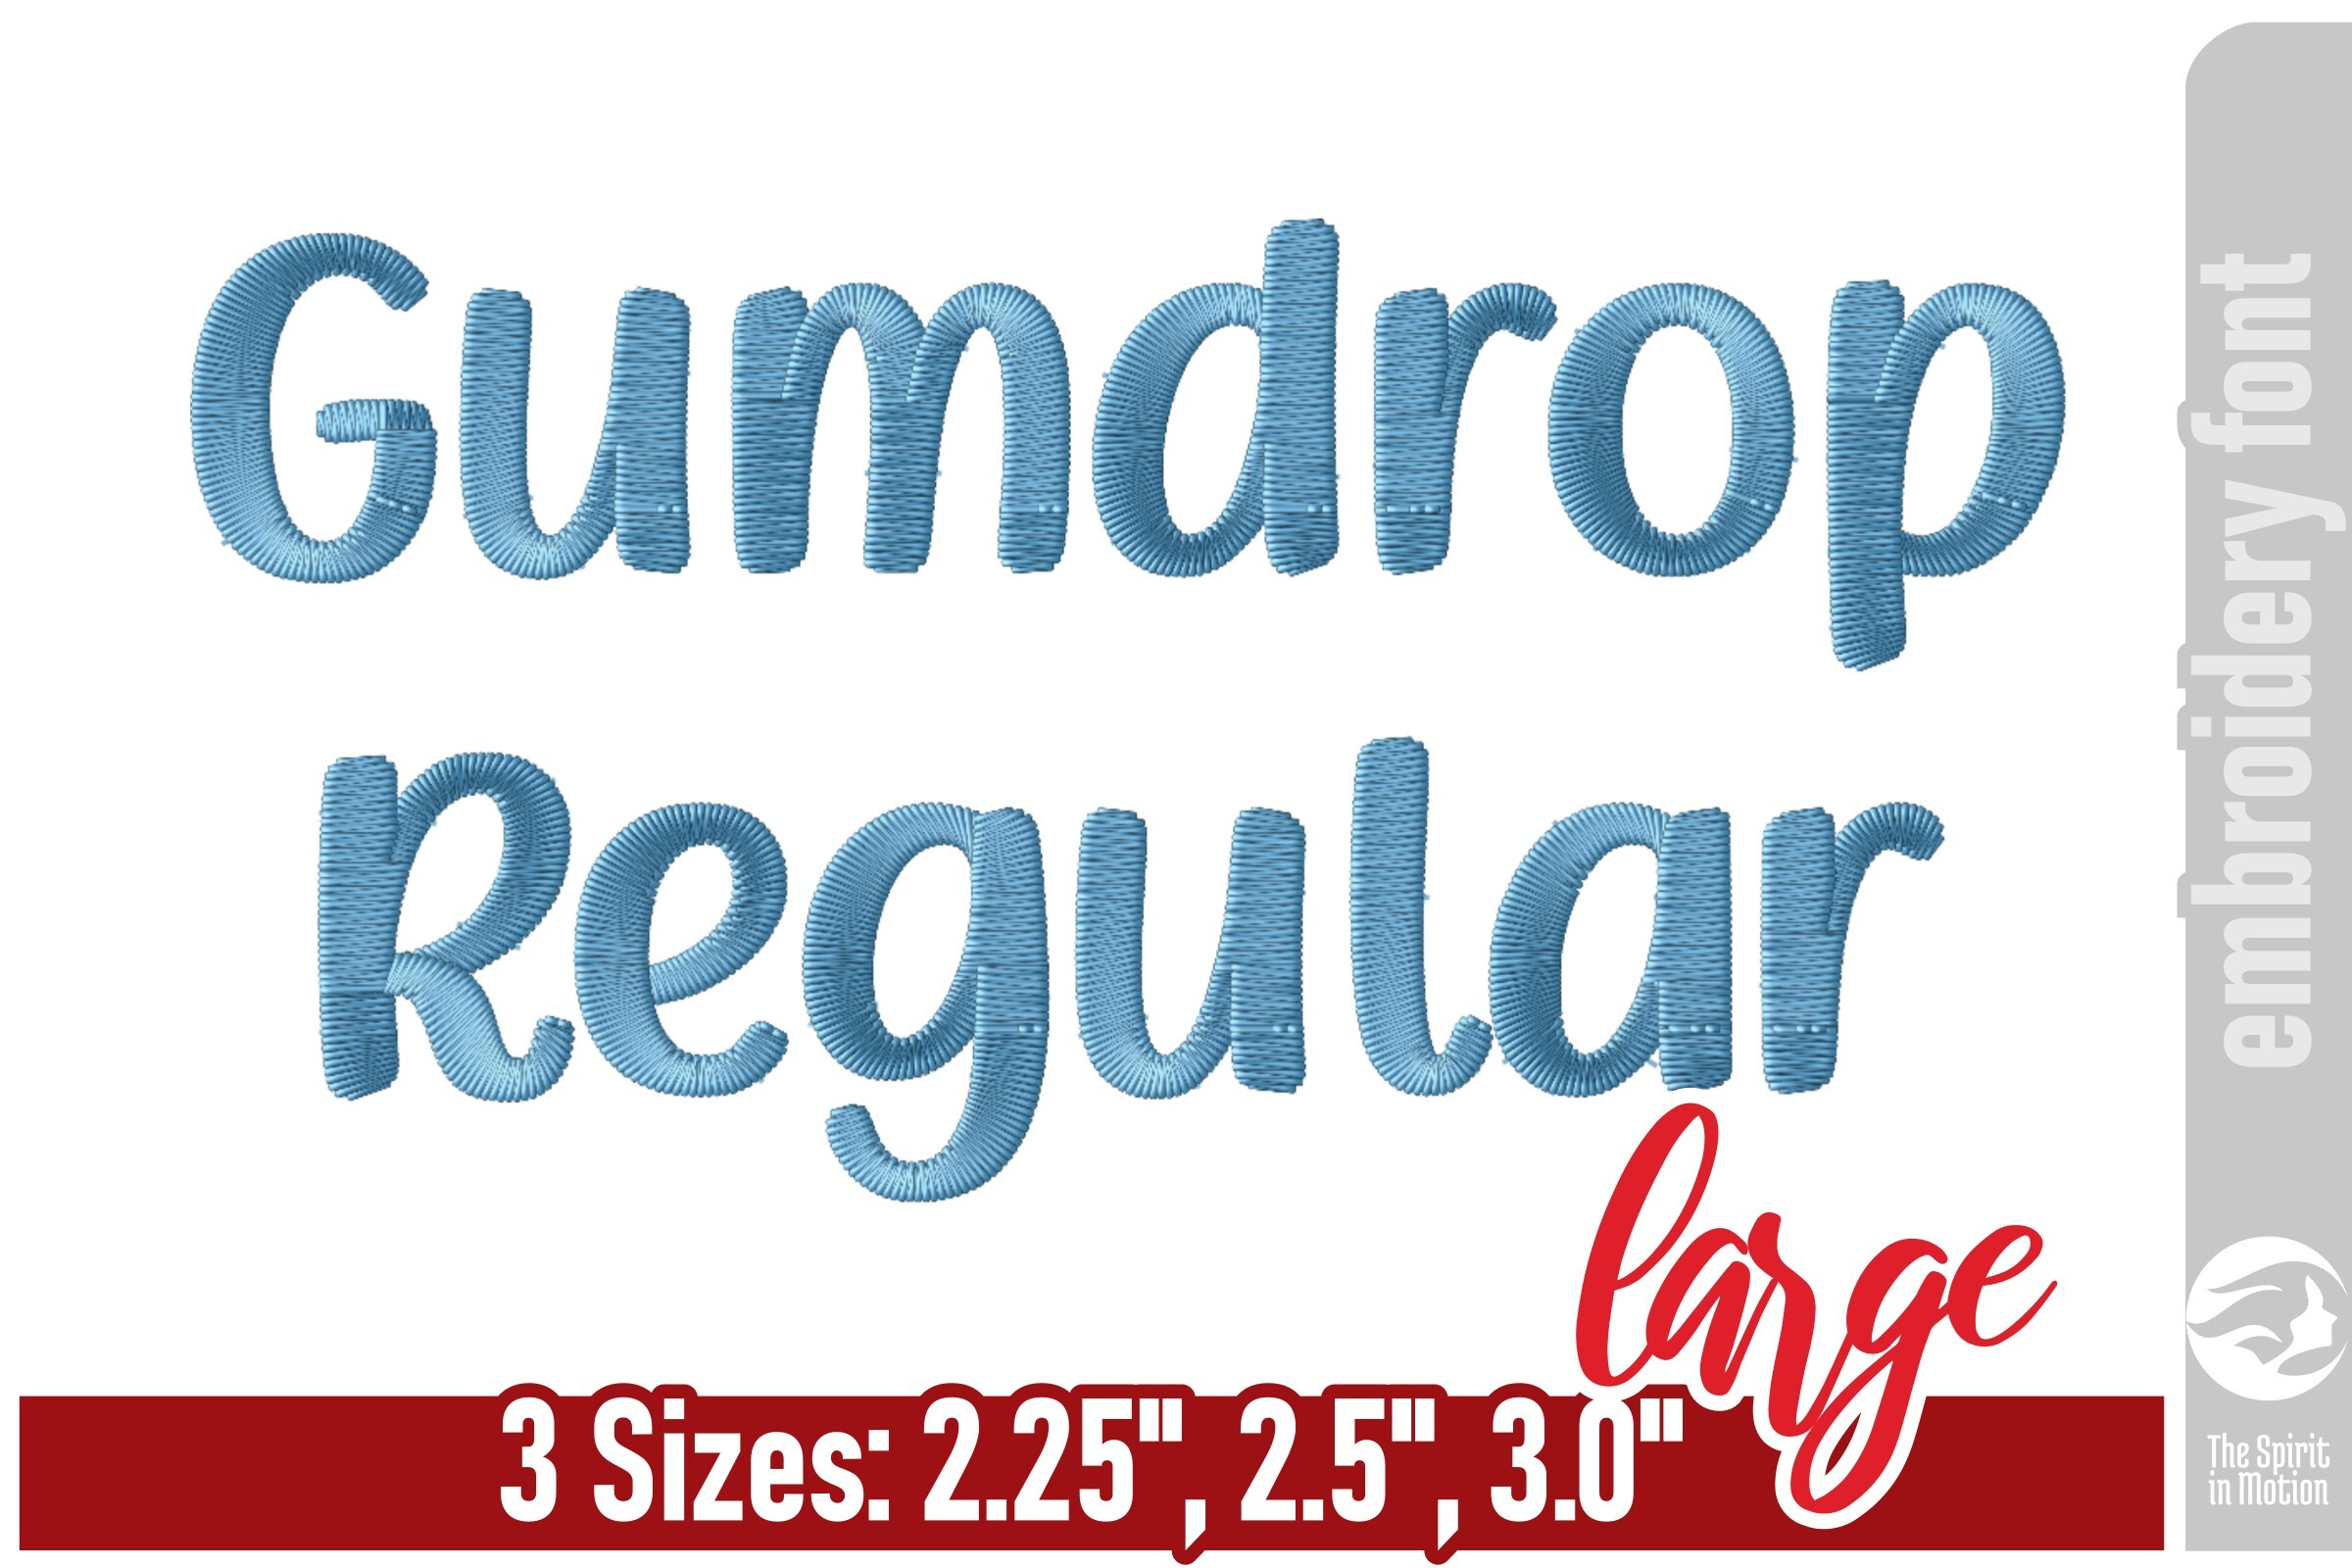
Gumdrop Playful Embroidery Font - Large
PES
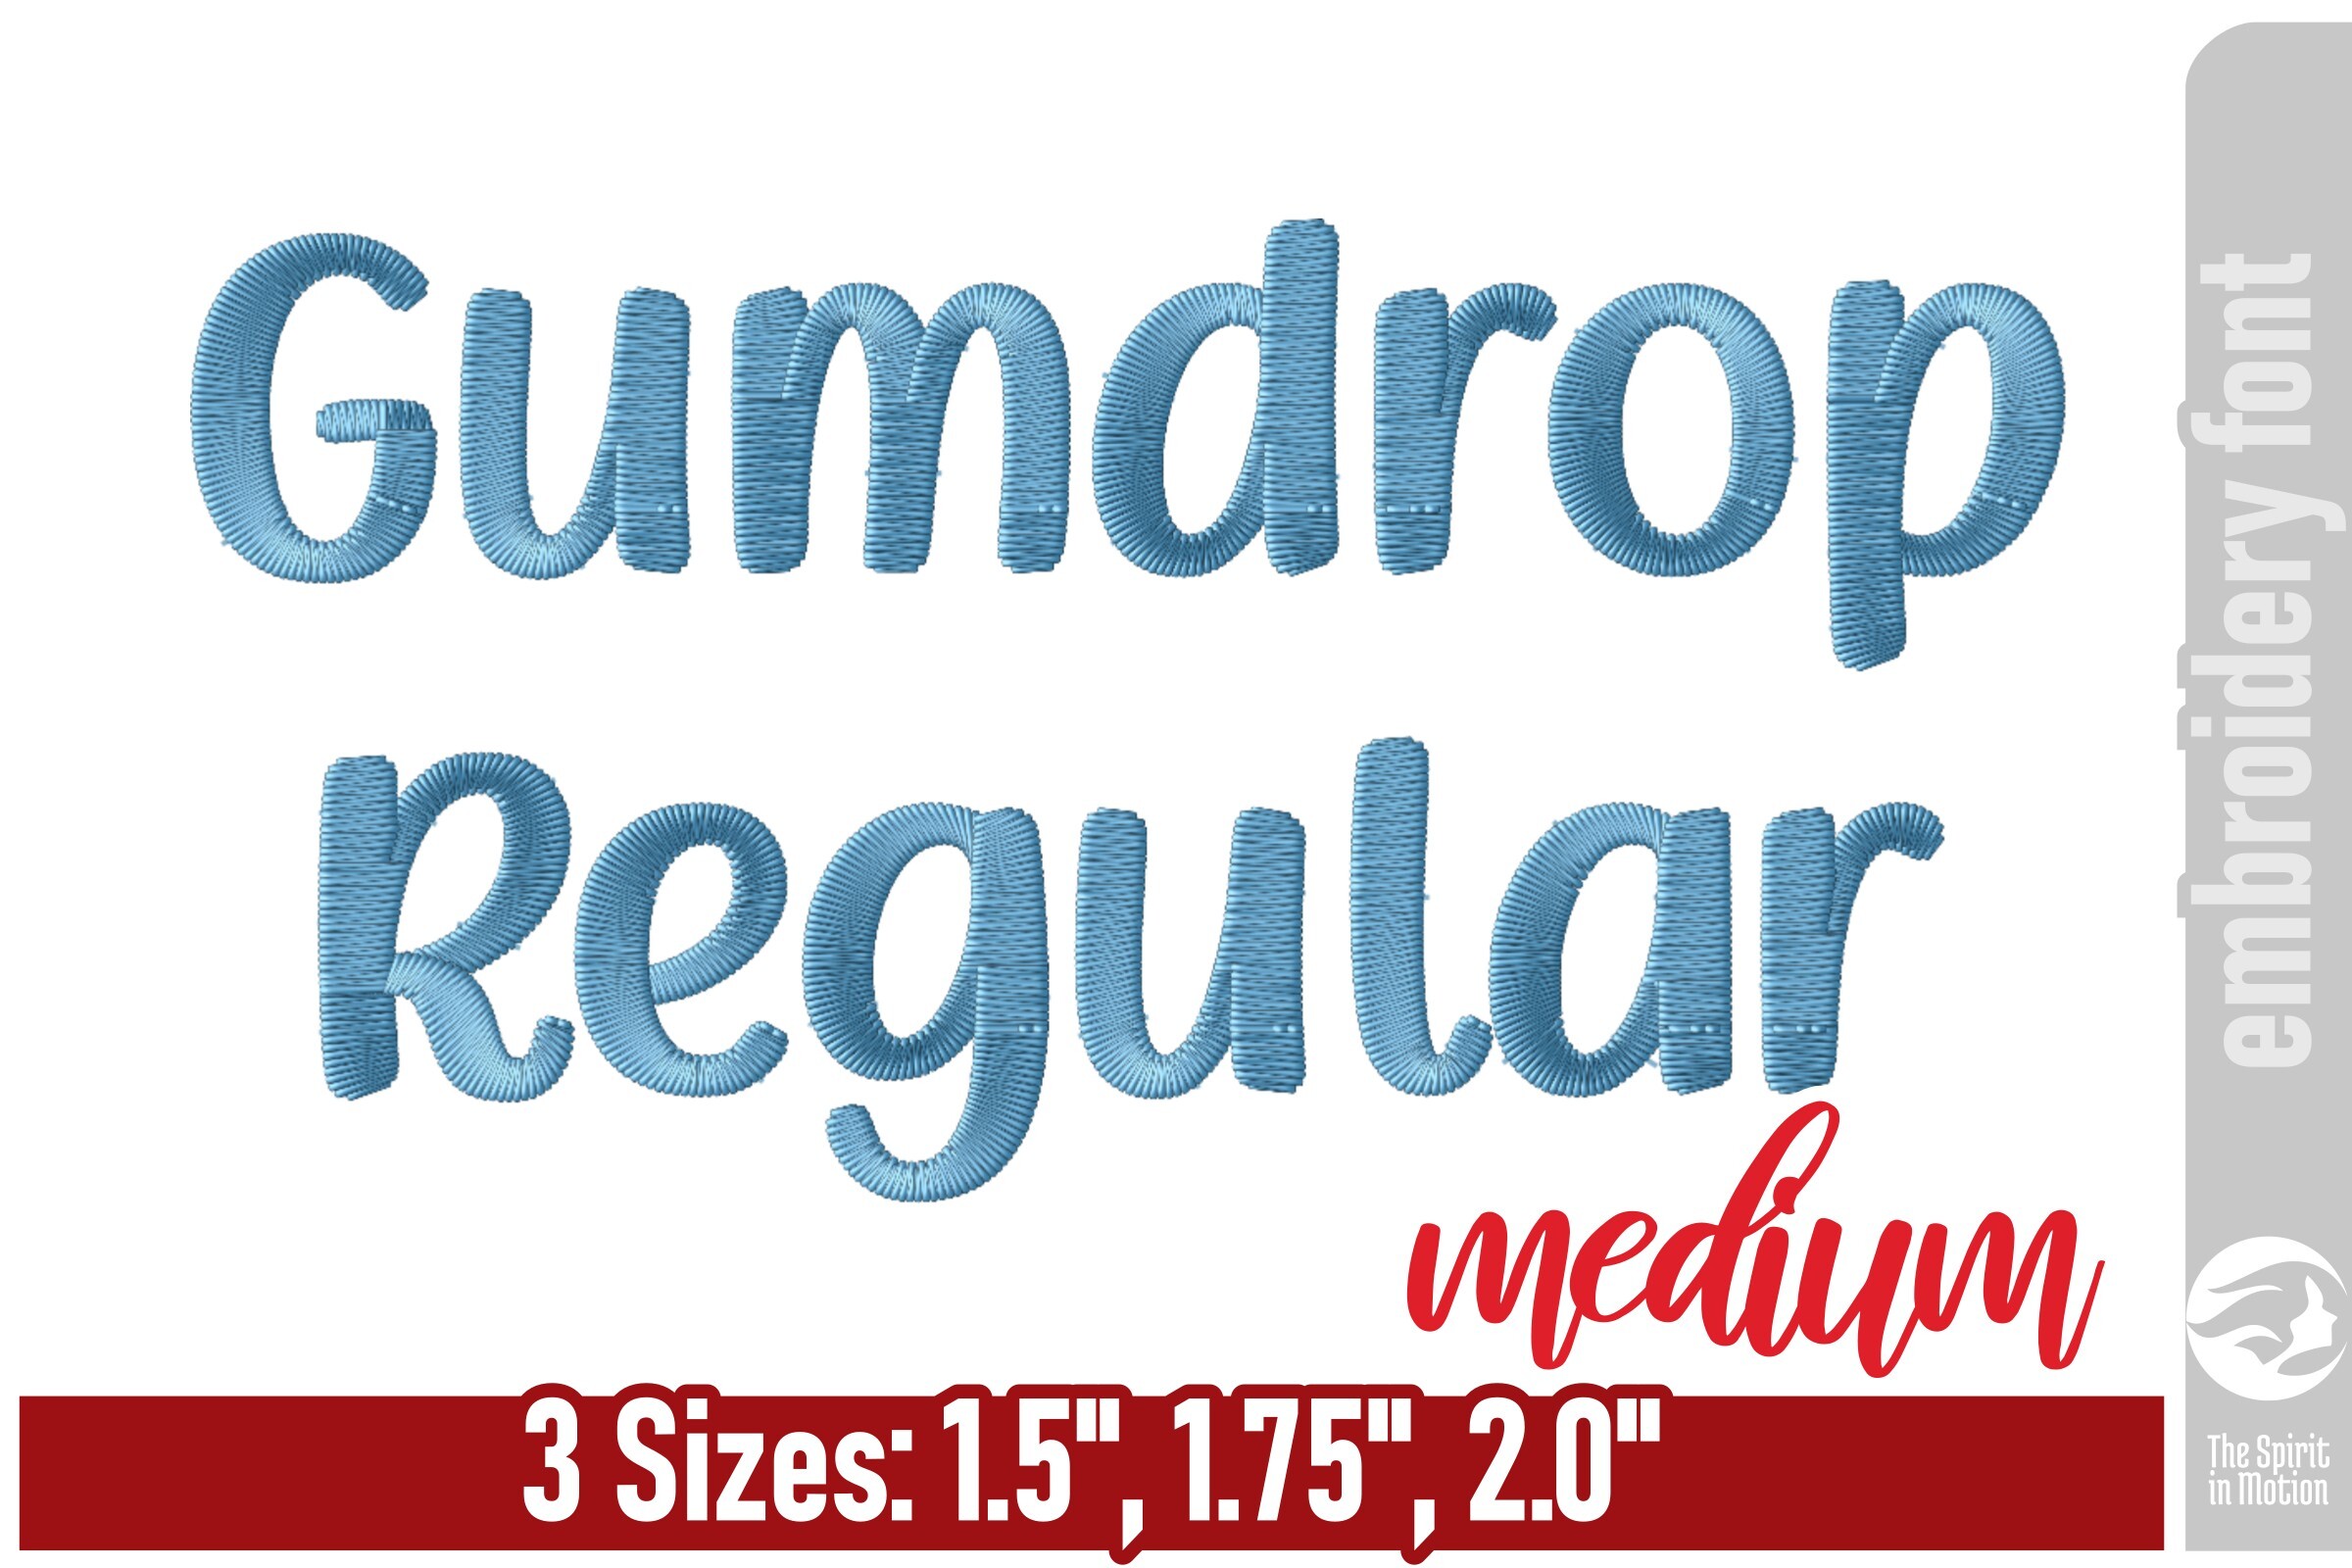
Gumdrop Playful Embroidery Font - Medium
PES
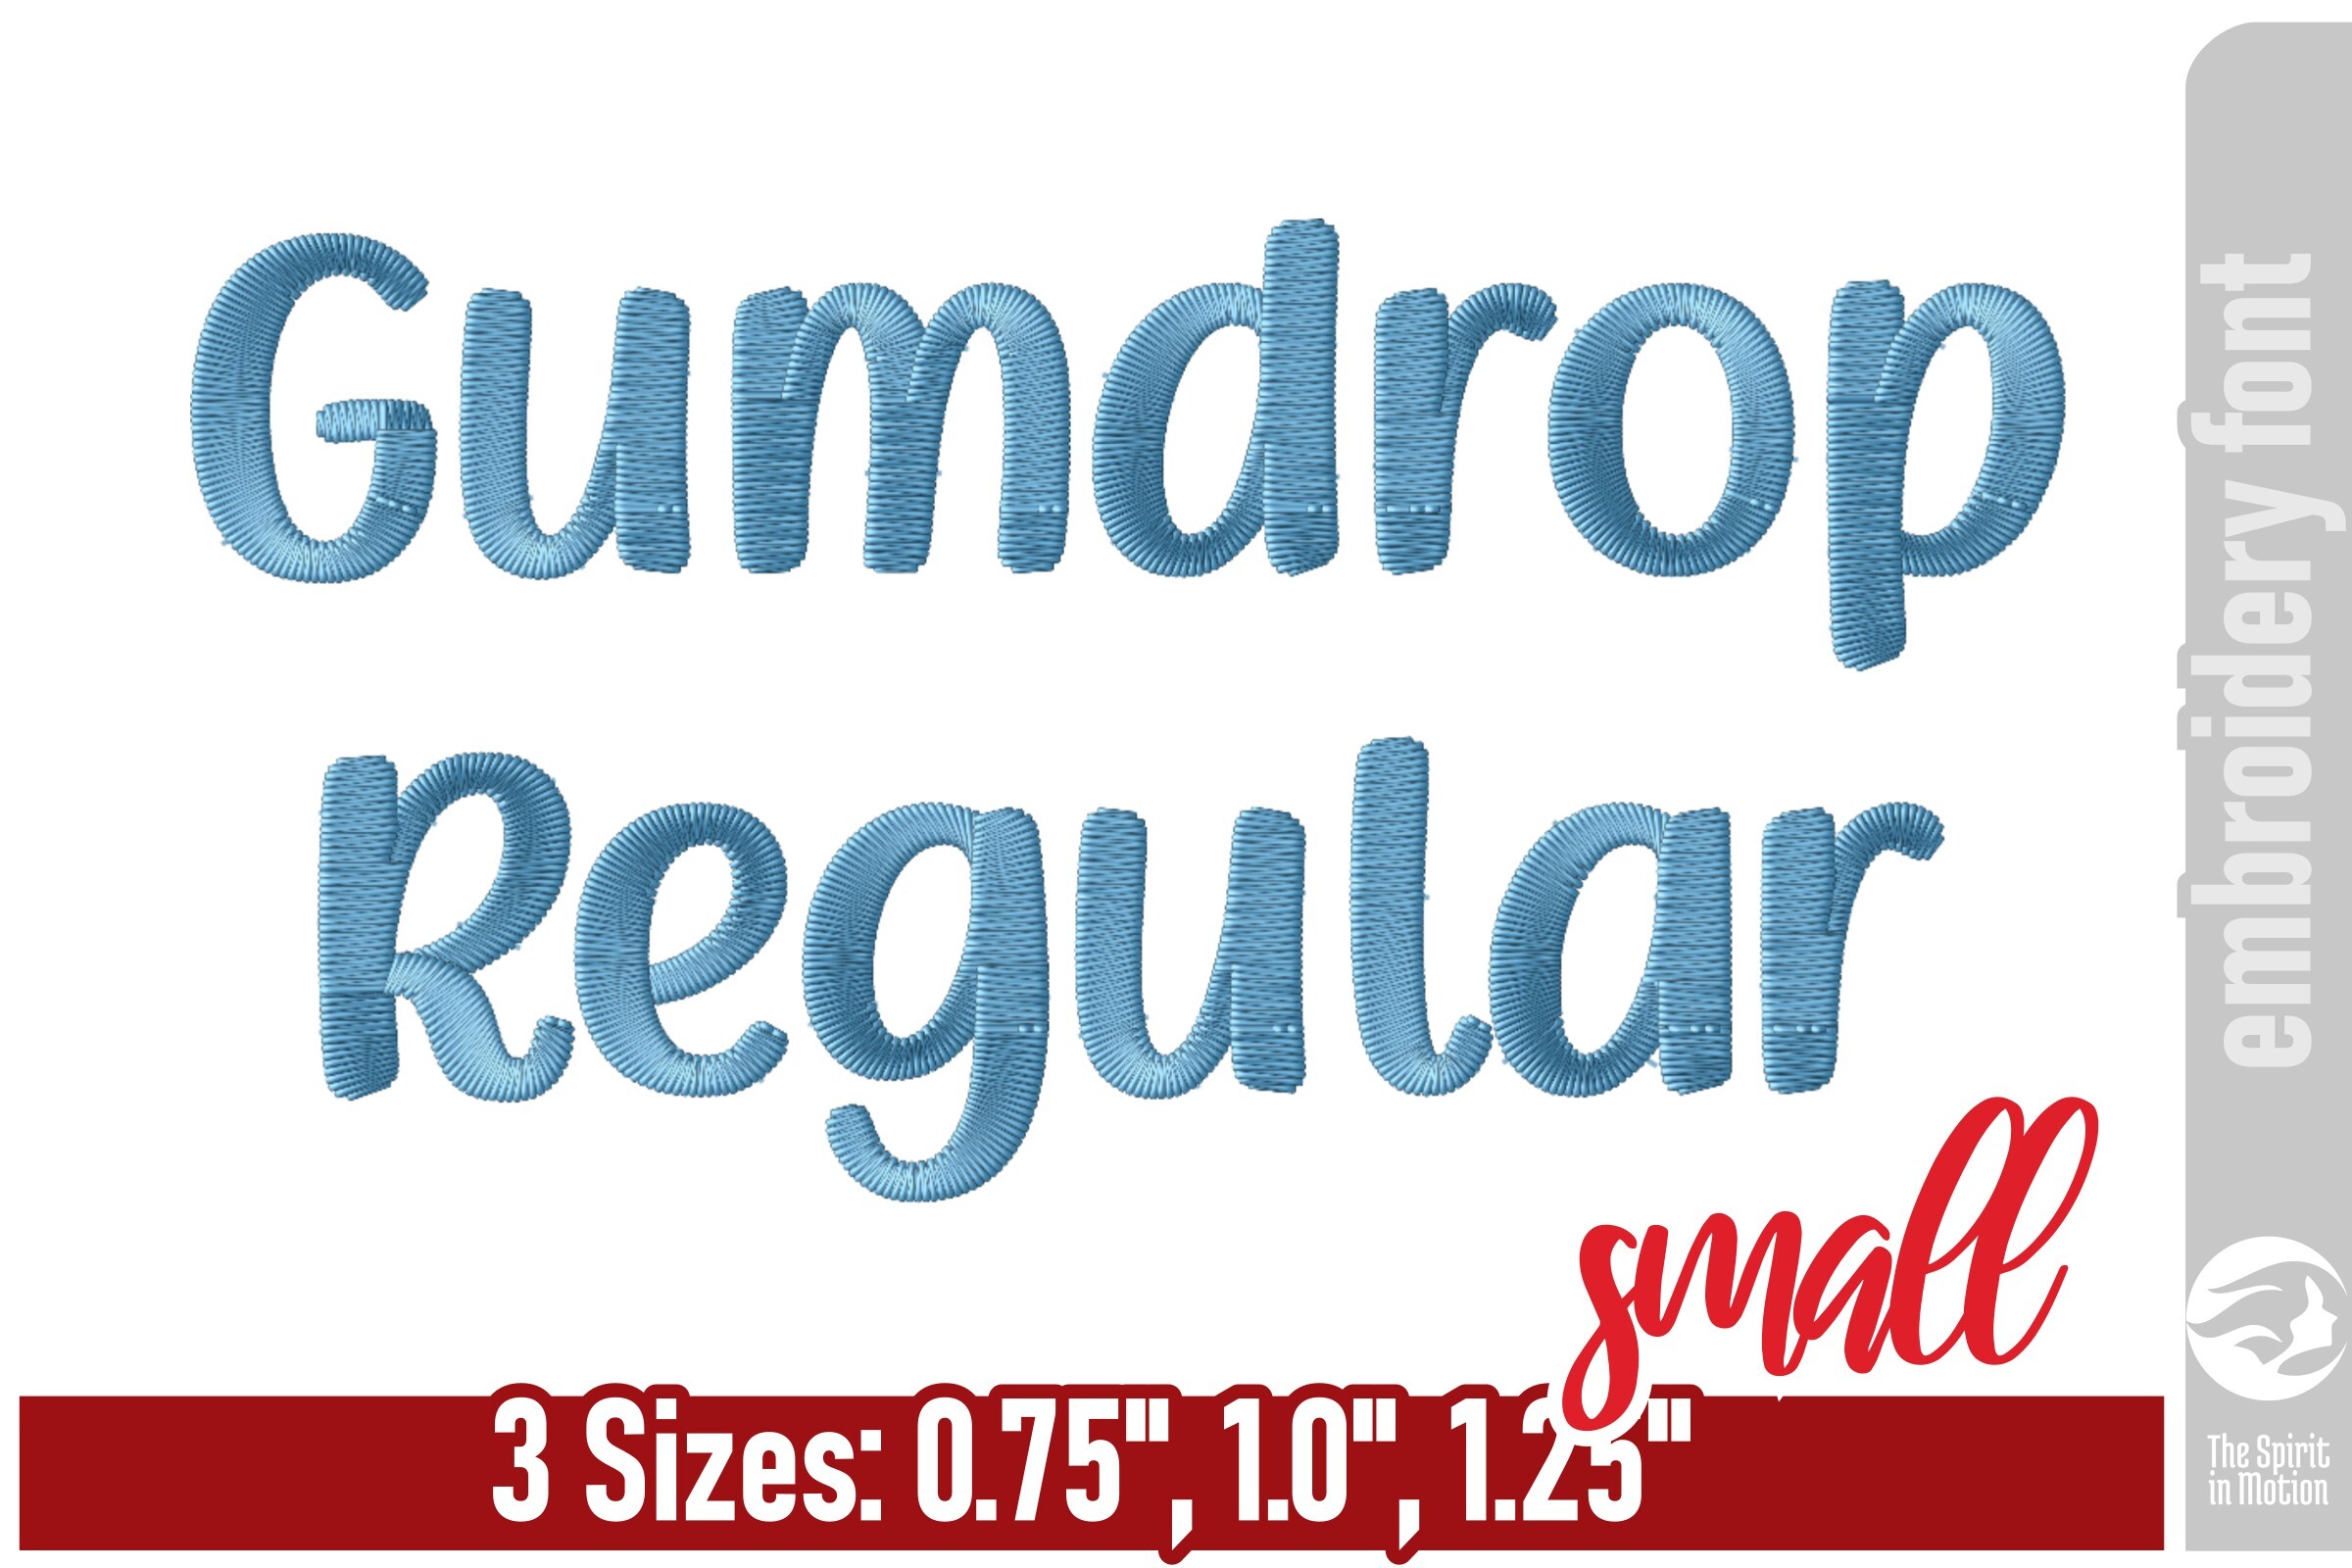
Gumdrop Playful Embroidery Font - Small
PES
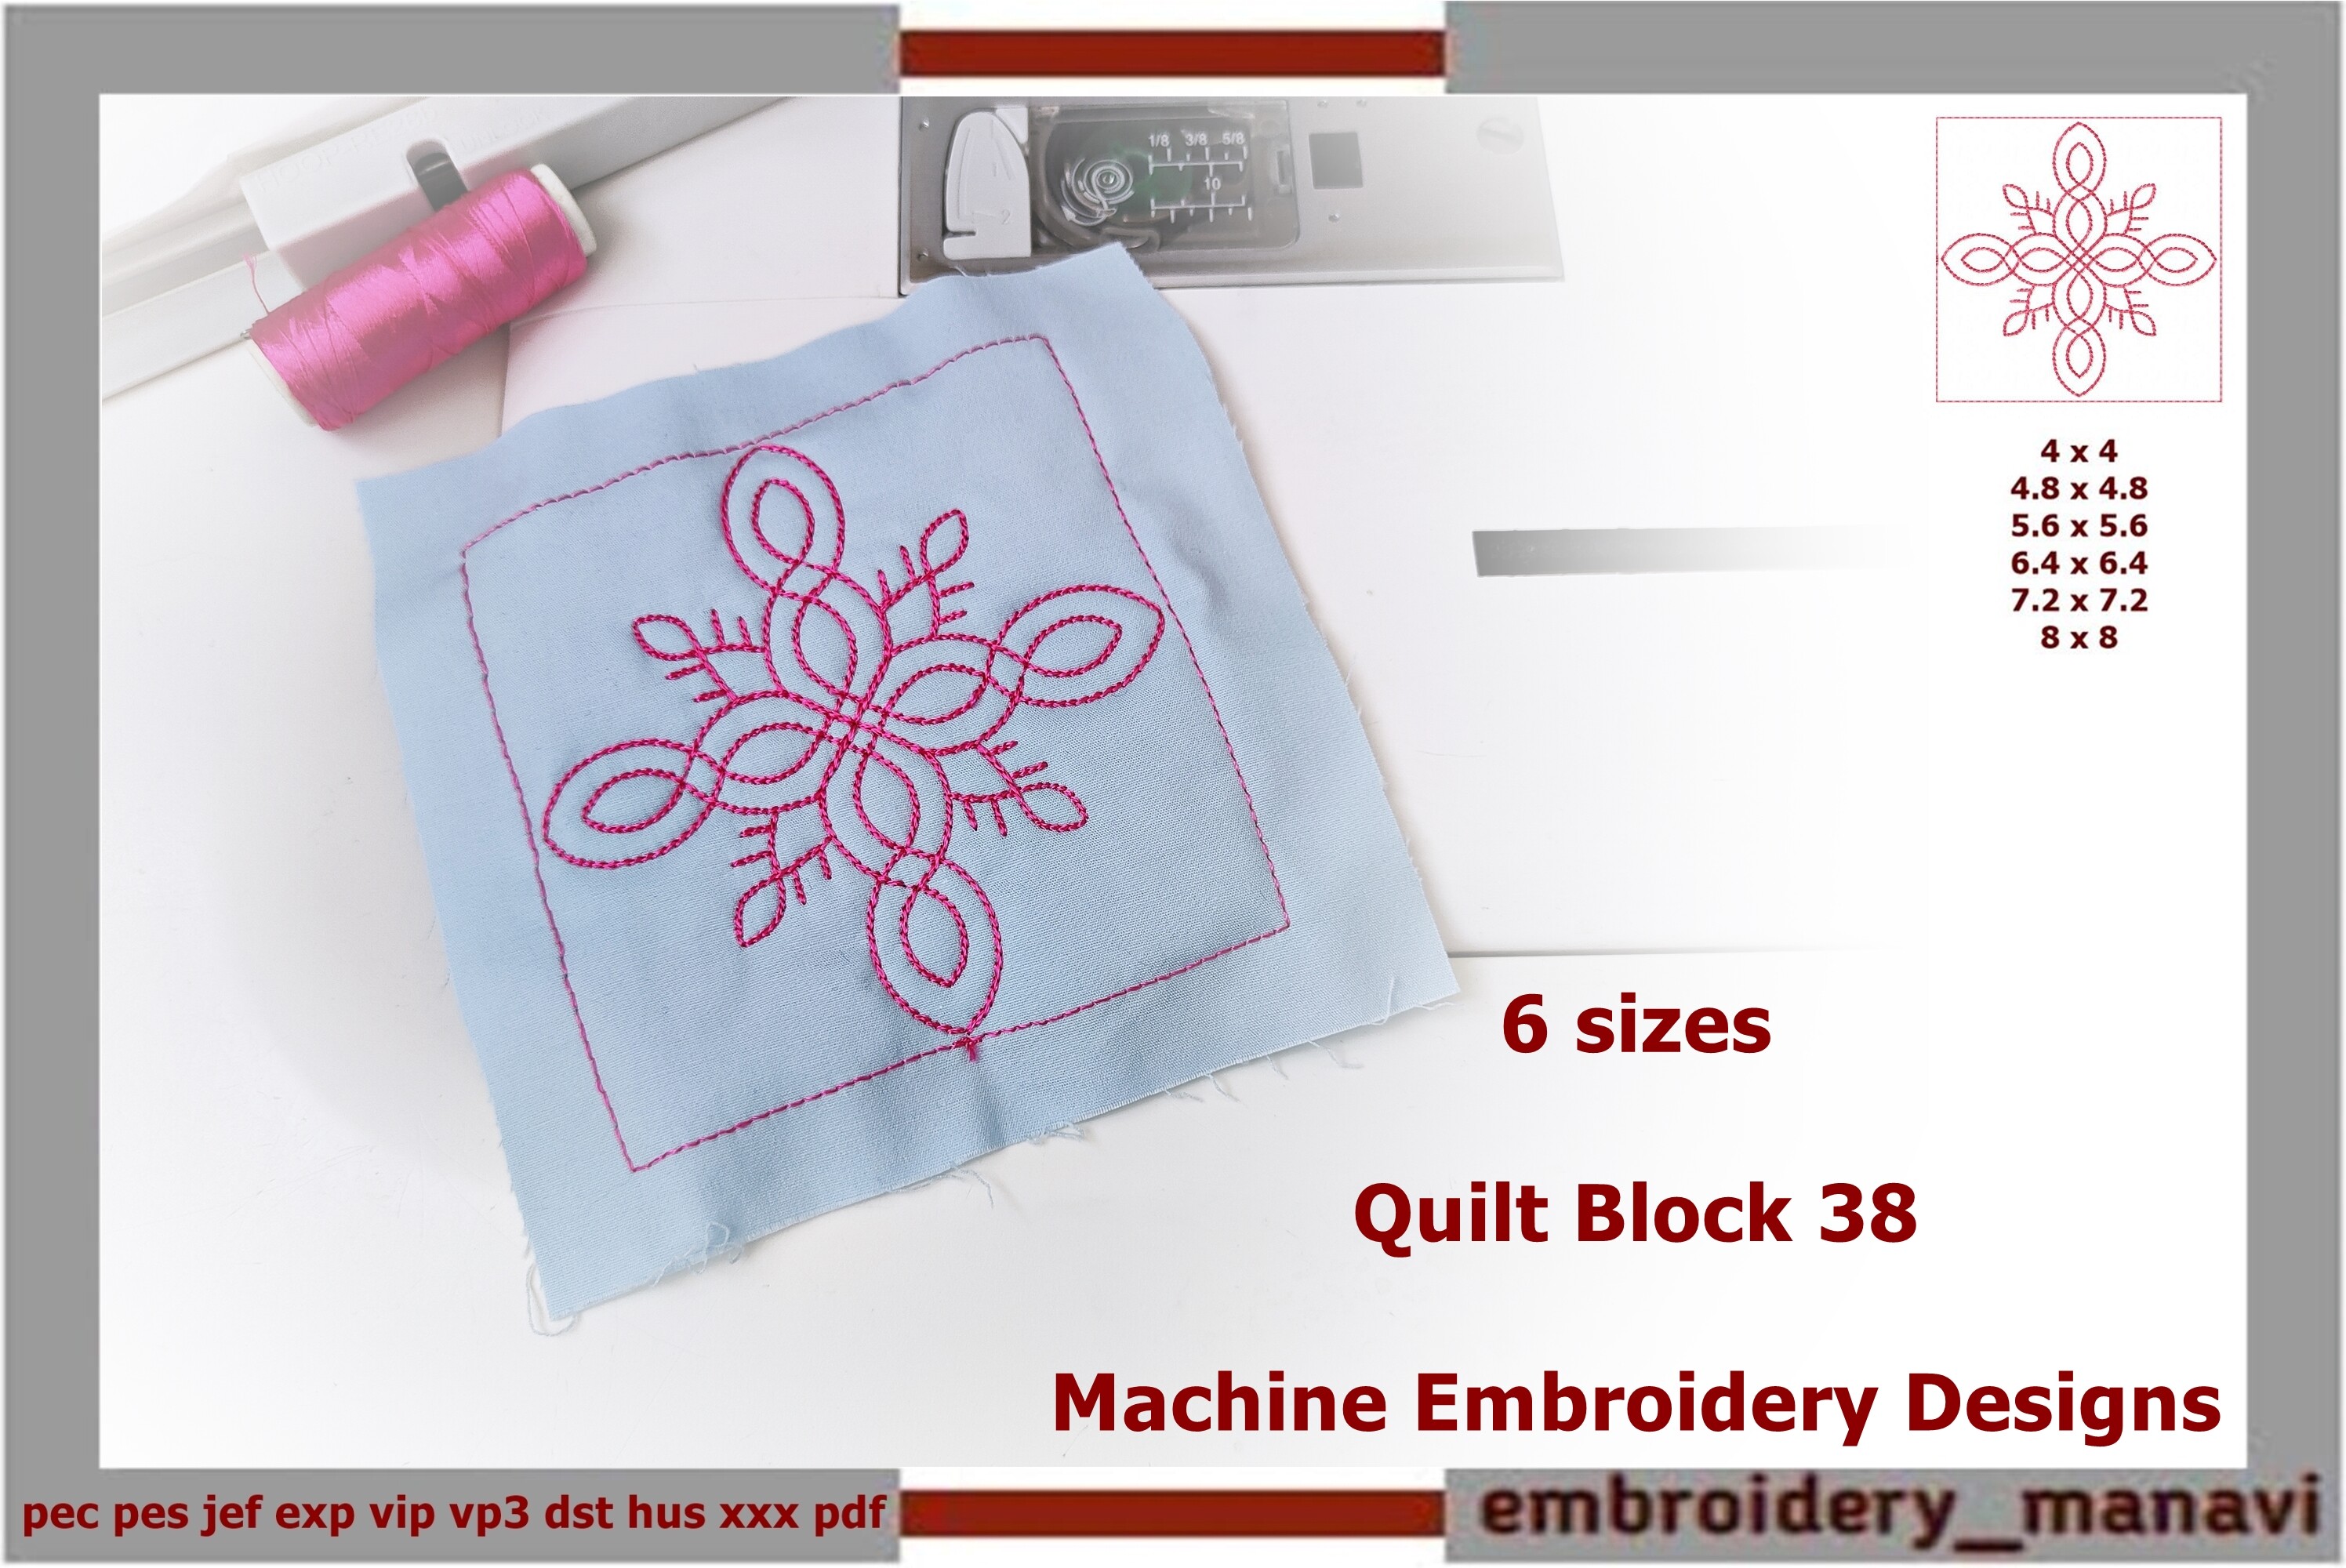
Quilting with Floral Plant Patterns
DSTEXPHUS
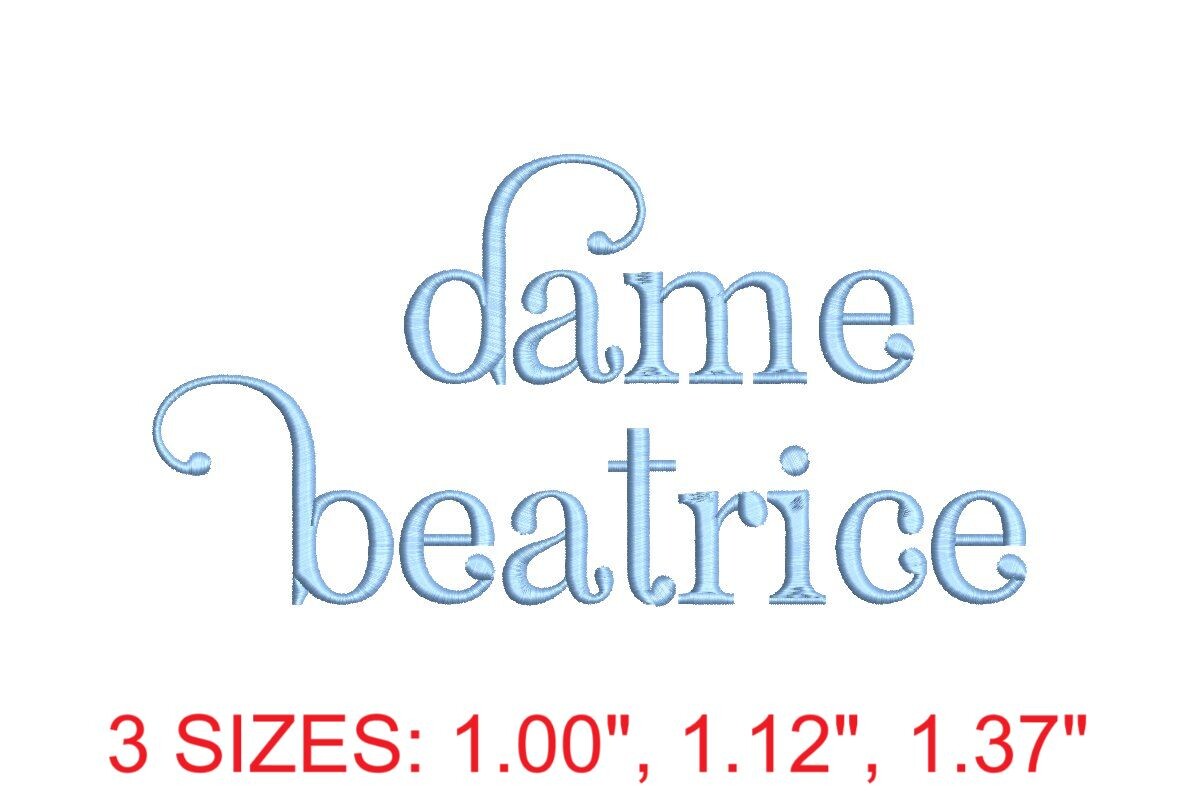
Dame Beatrice Embroidery Font
PES
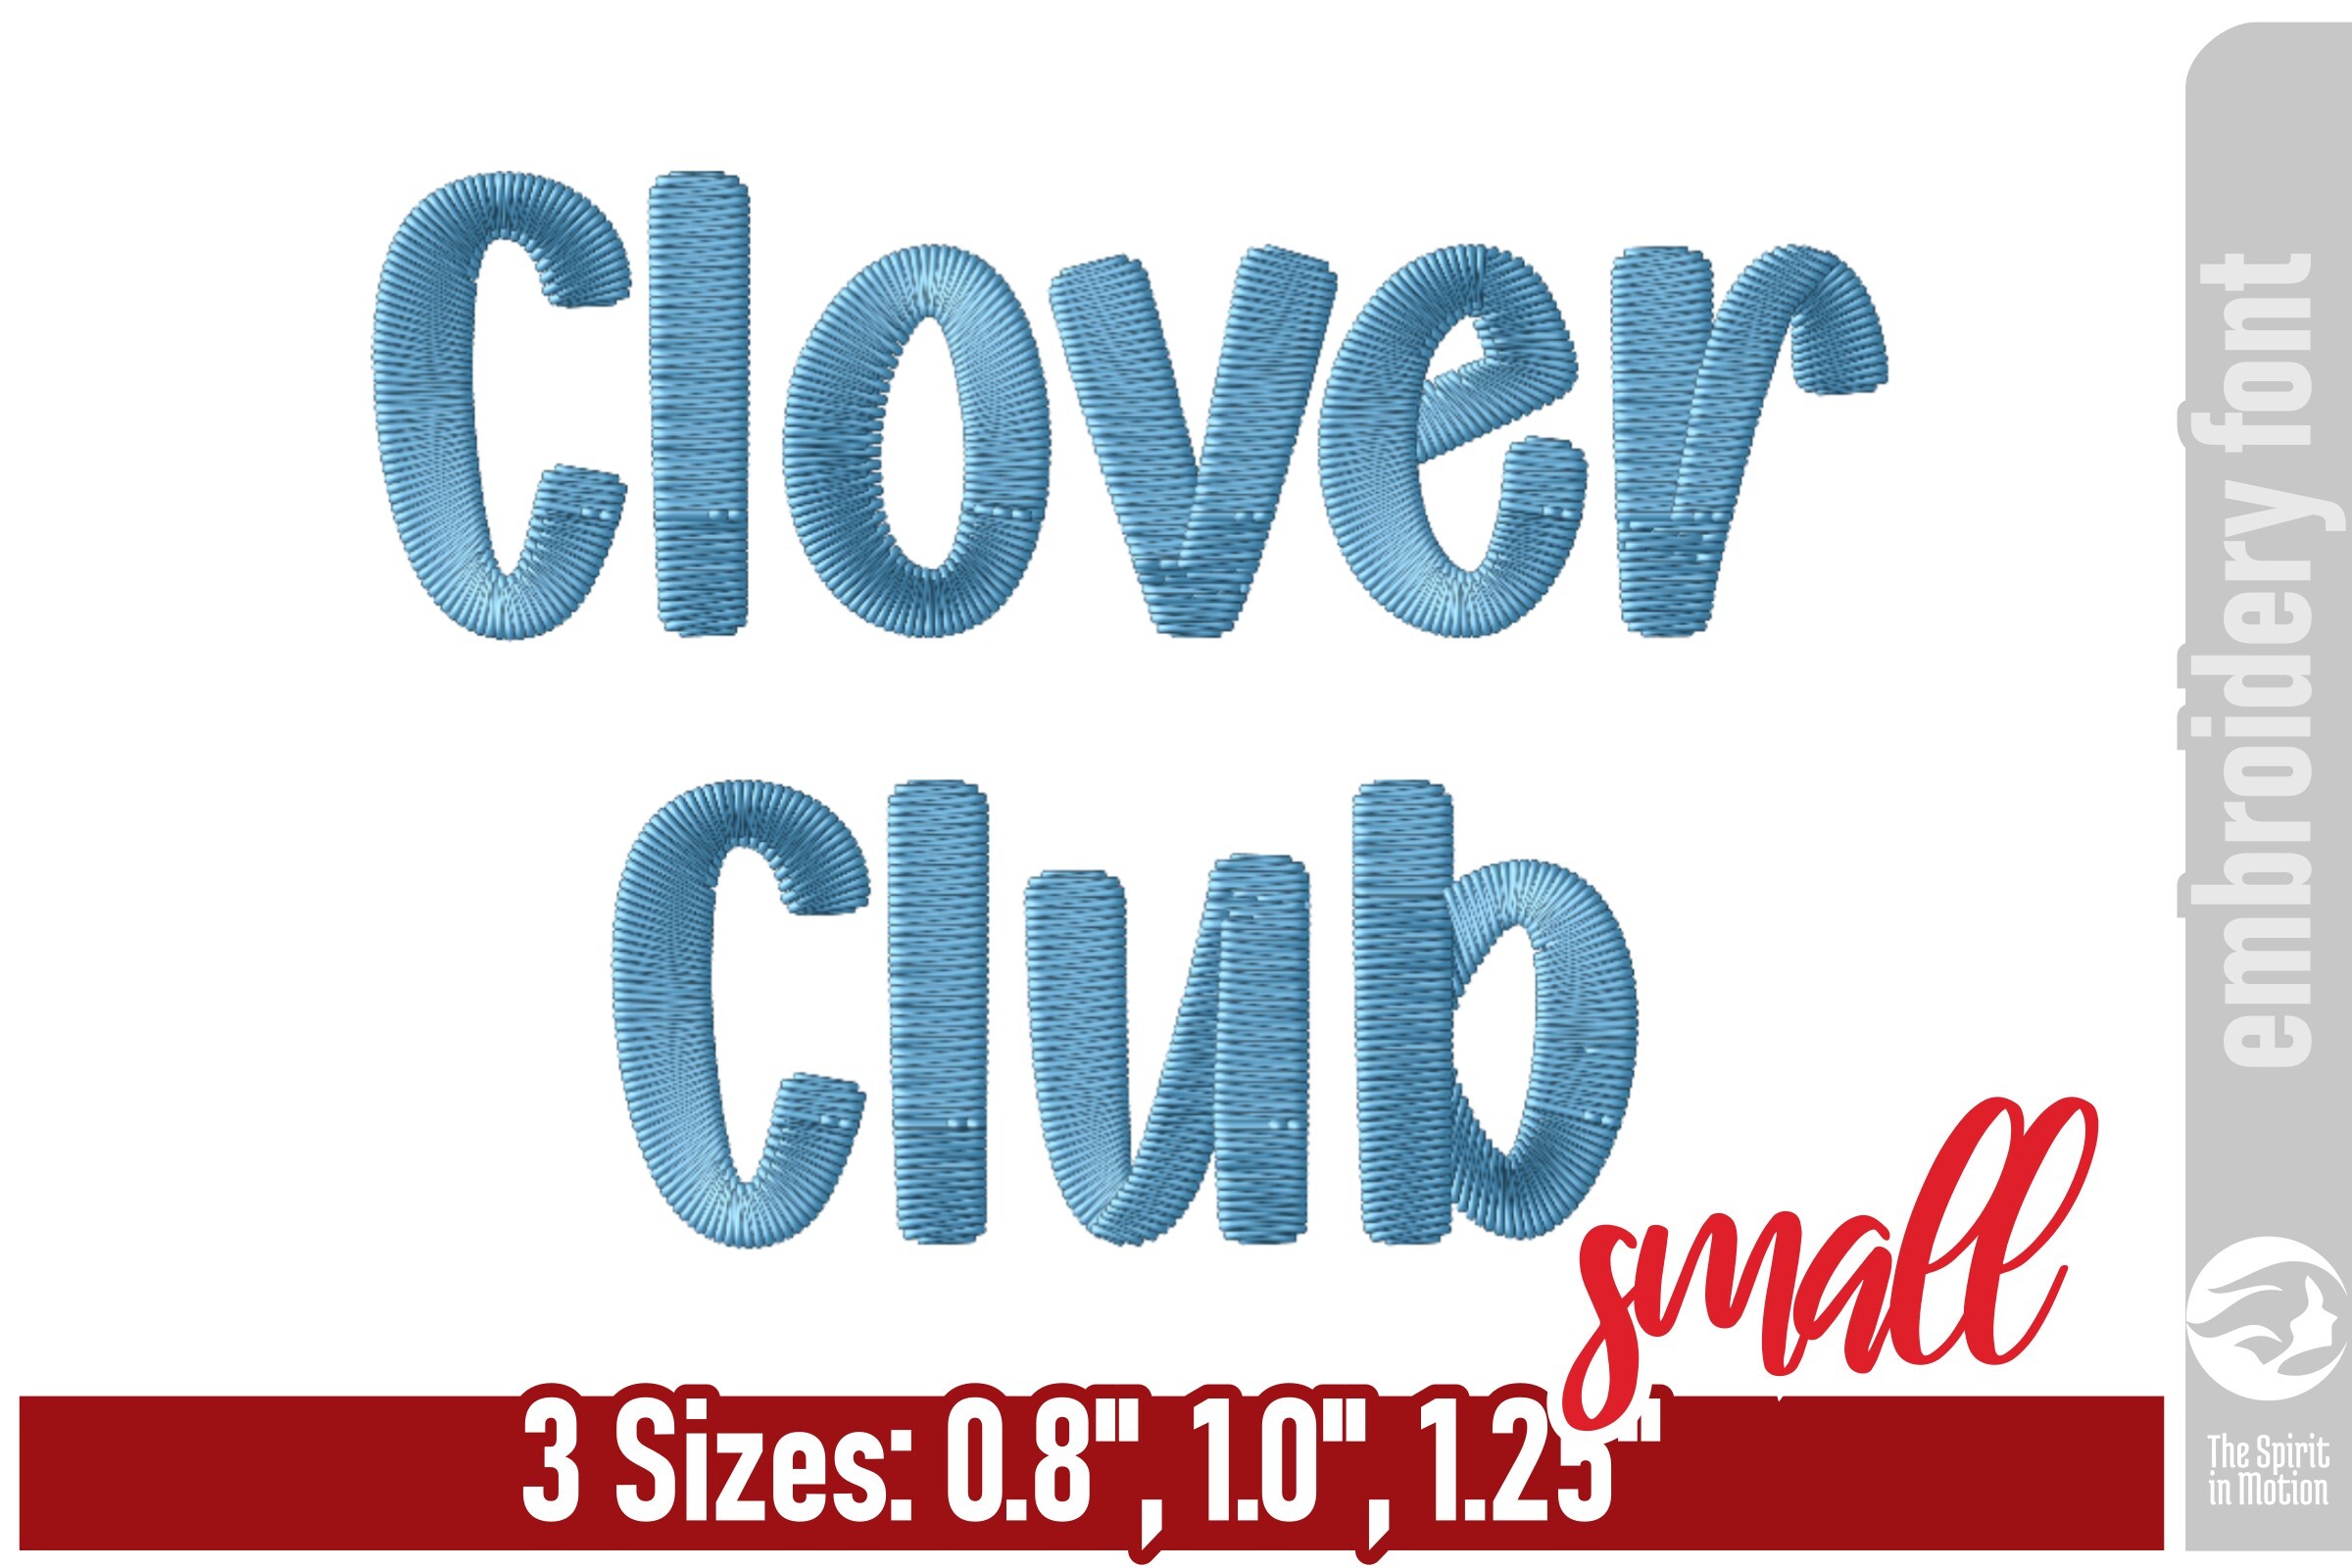
Clover Club Playful Embroidery Font - S
PES
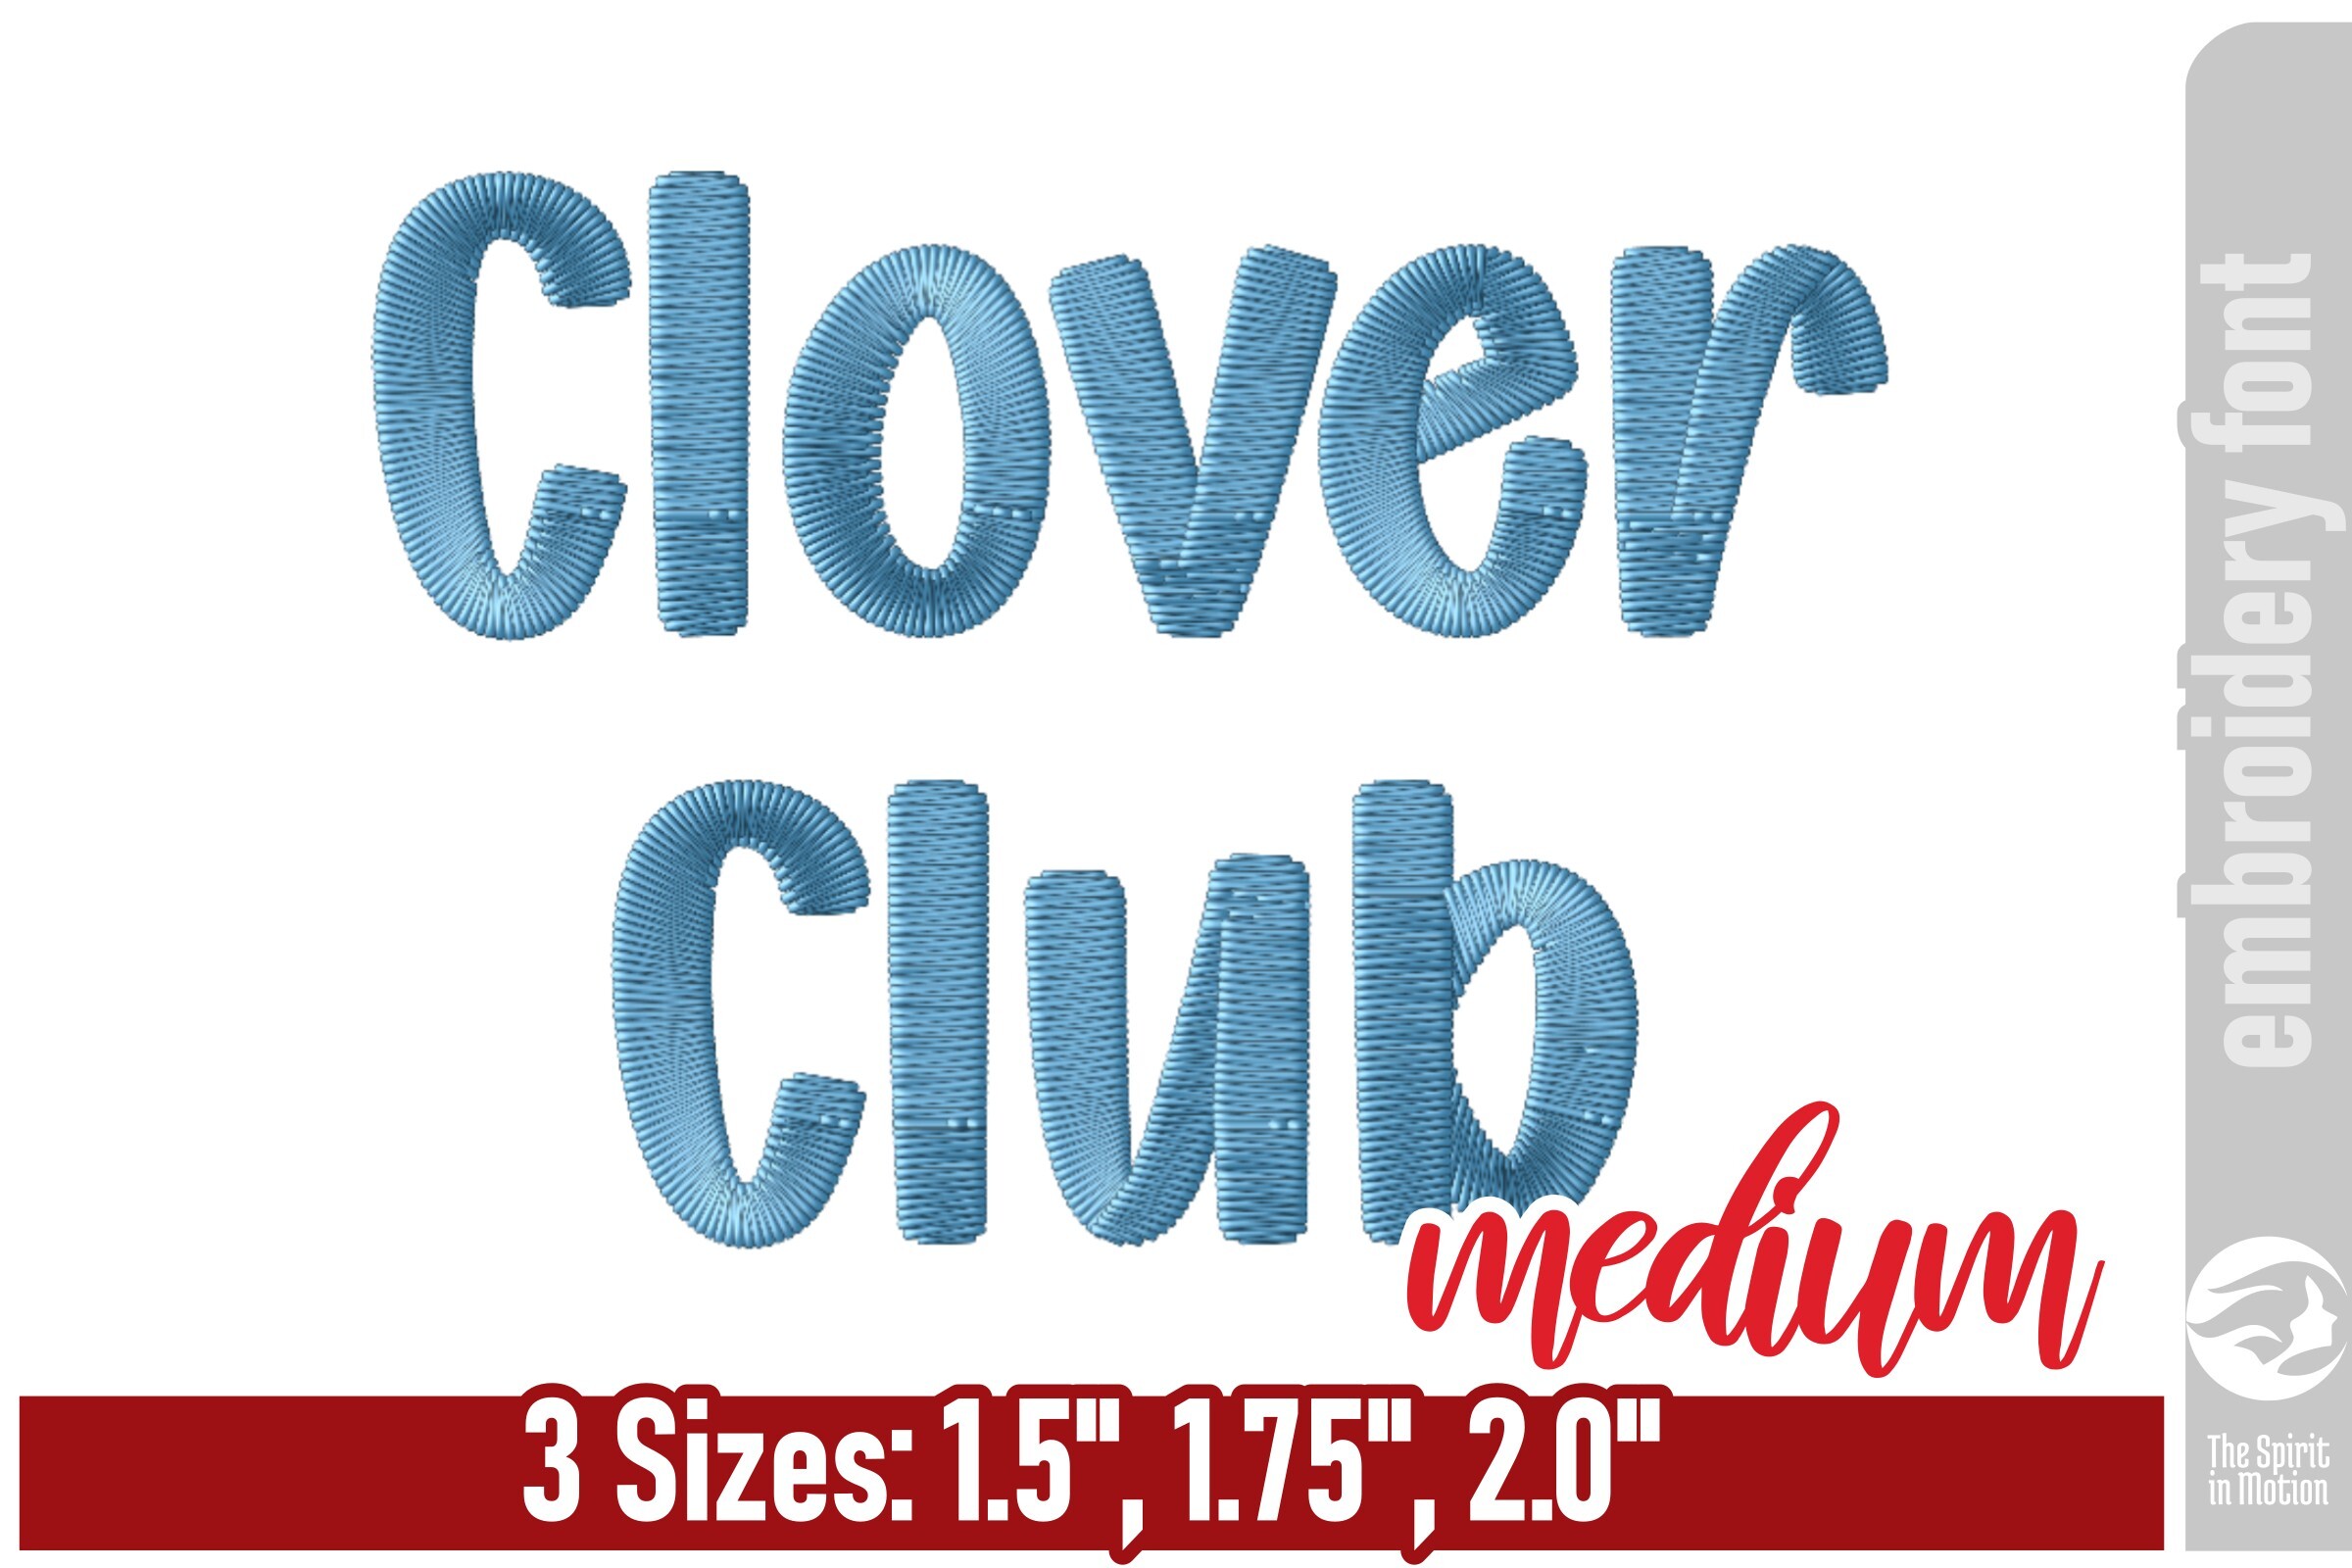
Clover Club Playful Embroidery Font - M
PES

Abstract Hearts - Modern Valentine
DSTEXPHUS
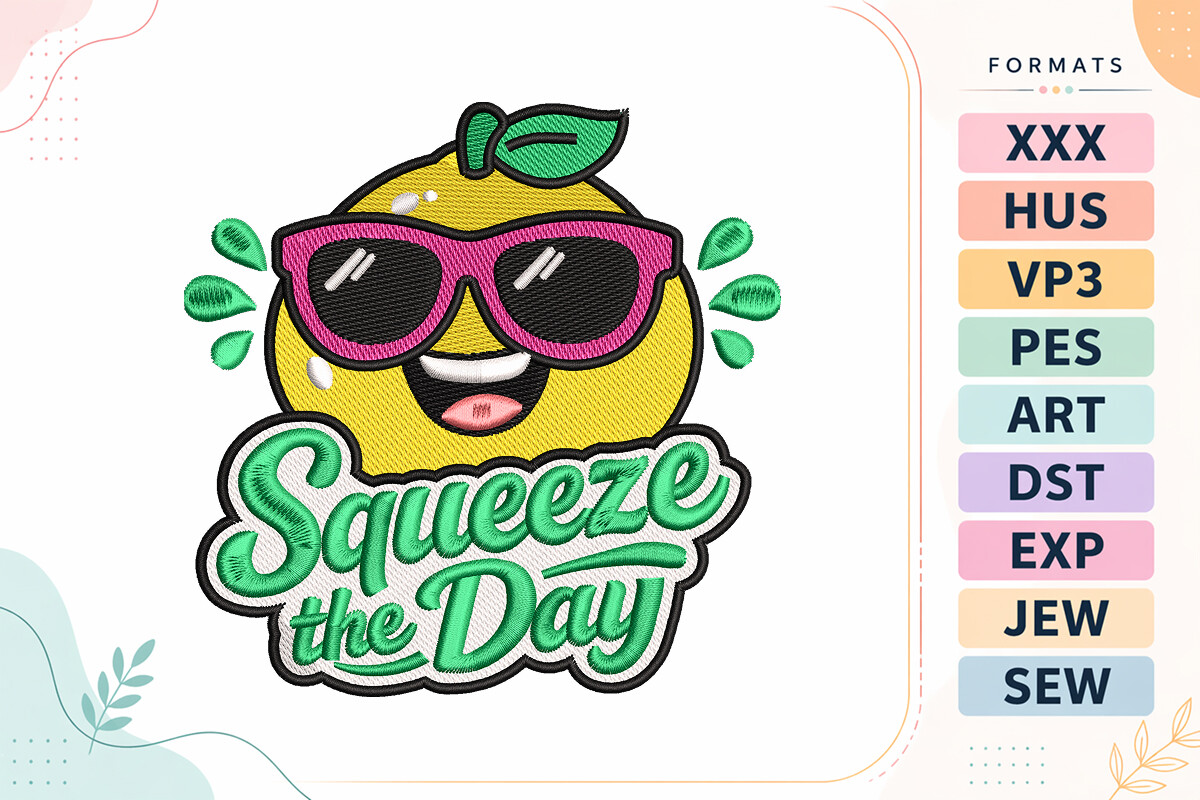
Funny Lemon Summer Quote
DSTEXPHUS
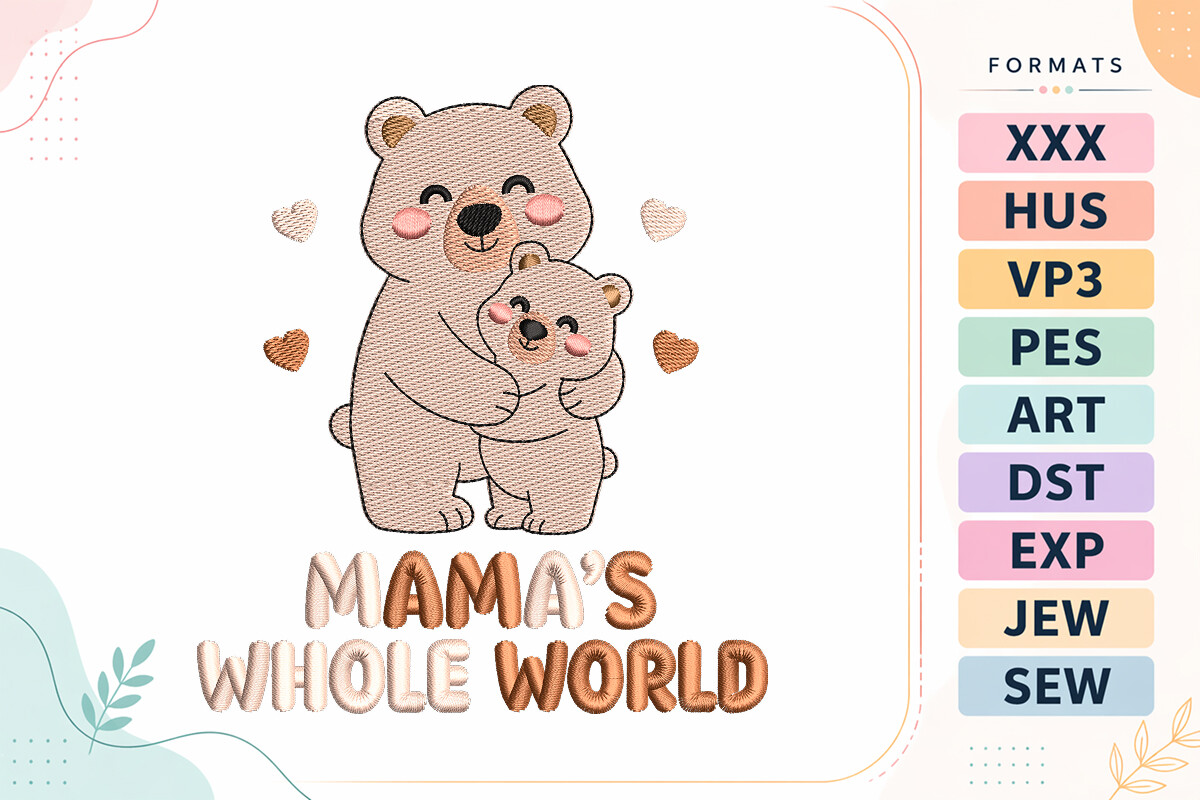
Cute Bear Mother's Day
DSTEXPHUS
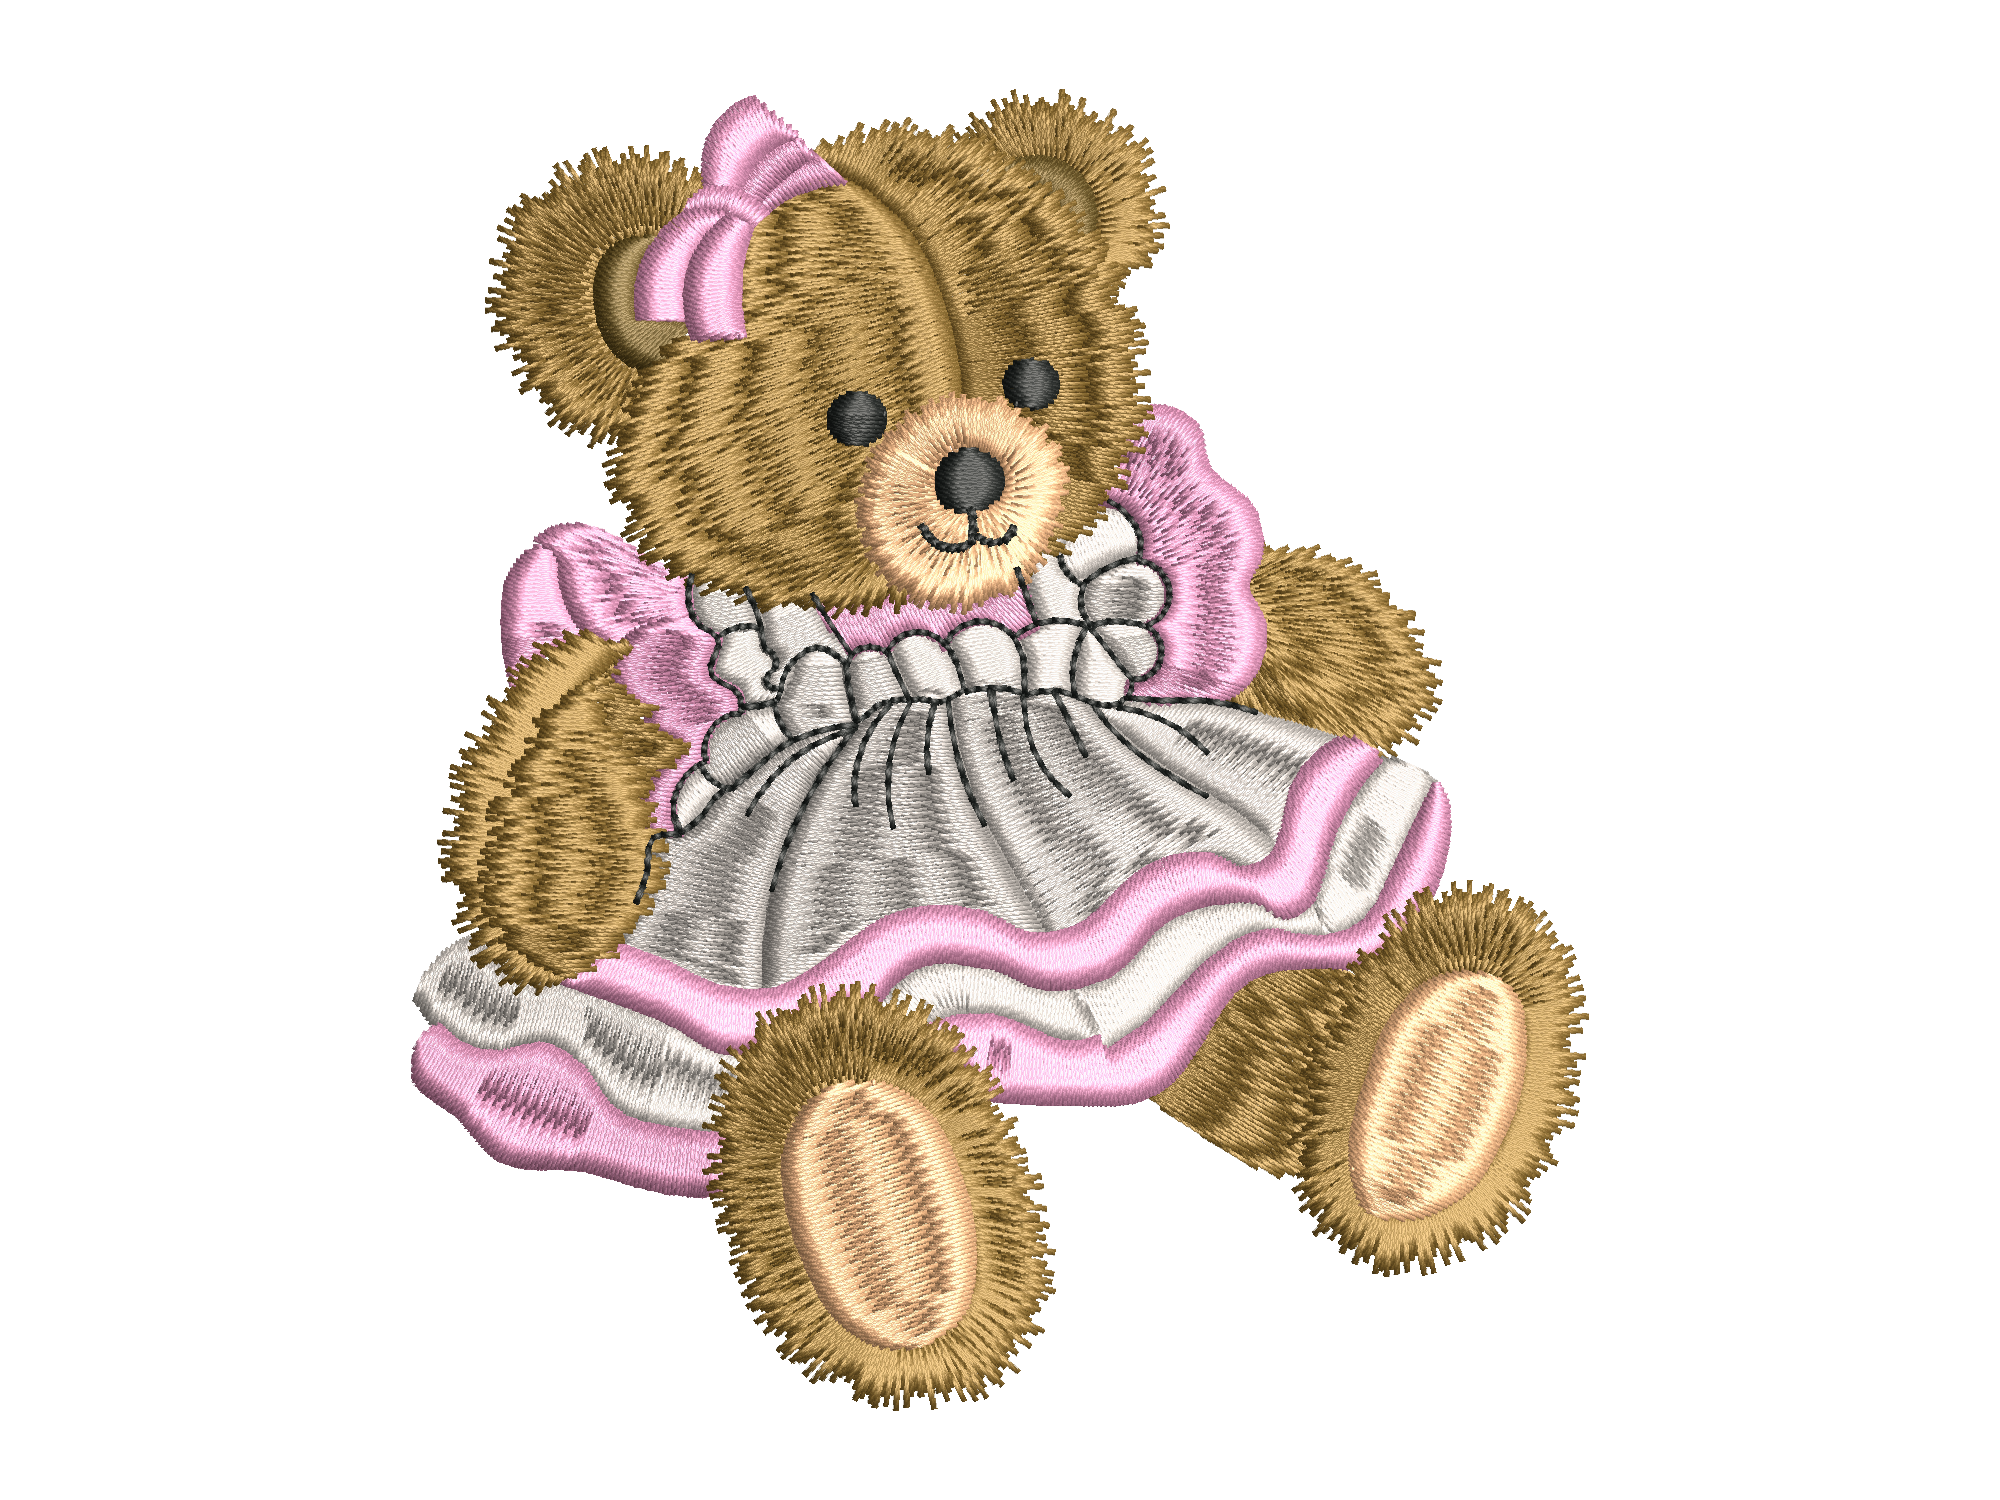
Sitting Teddy Bear in Pink Dress
XXXJEFEXP
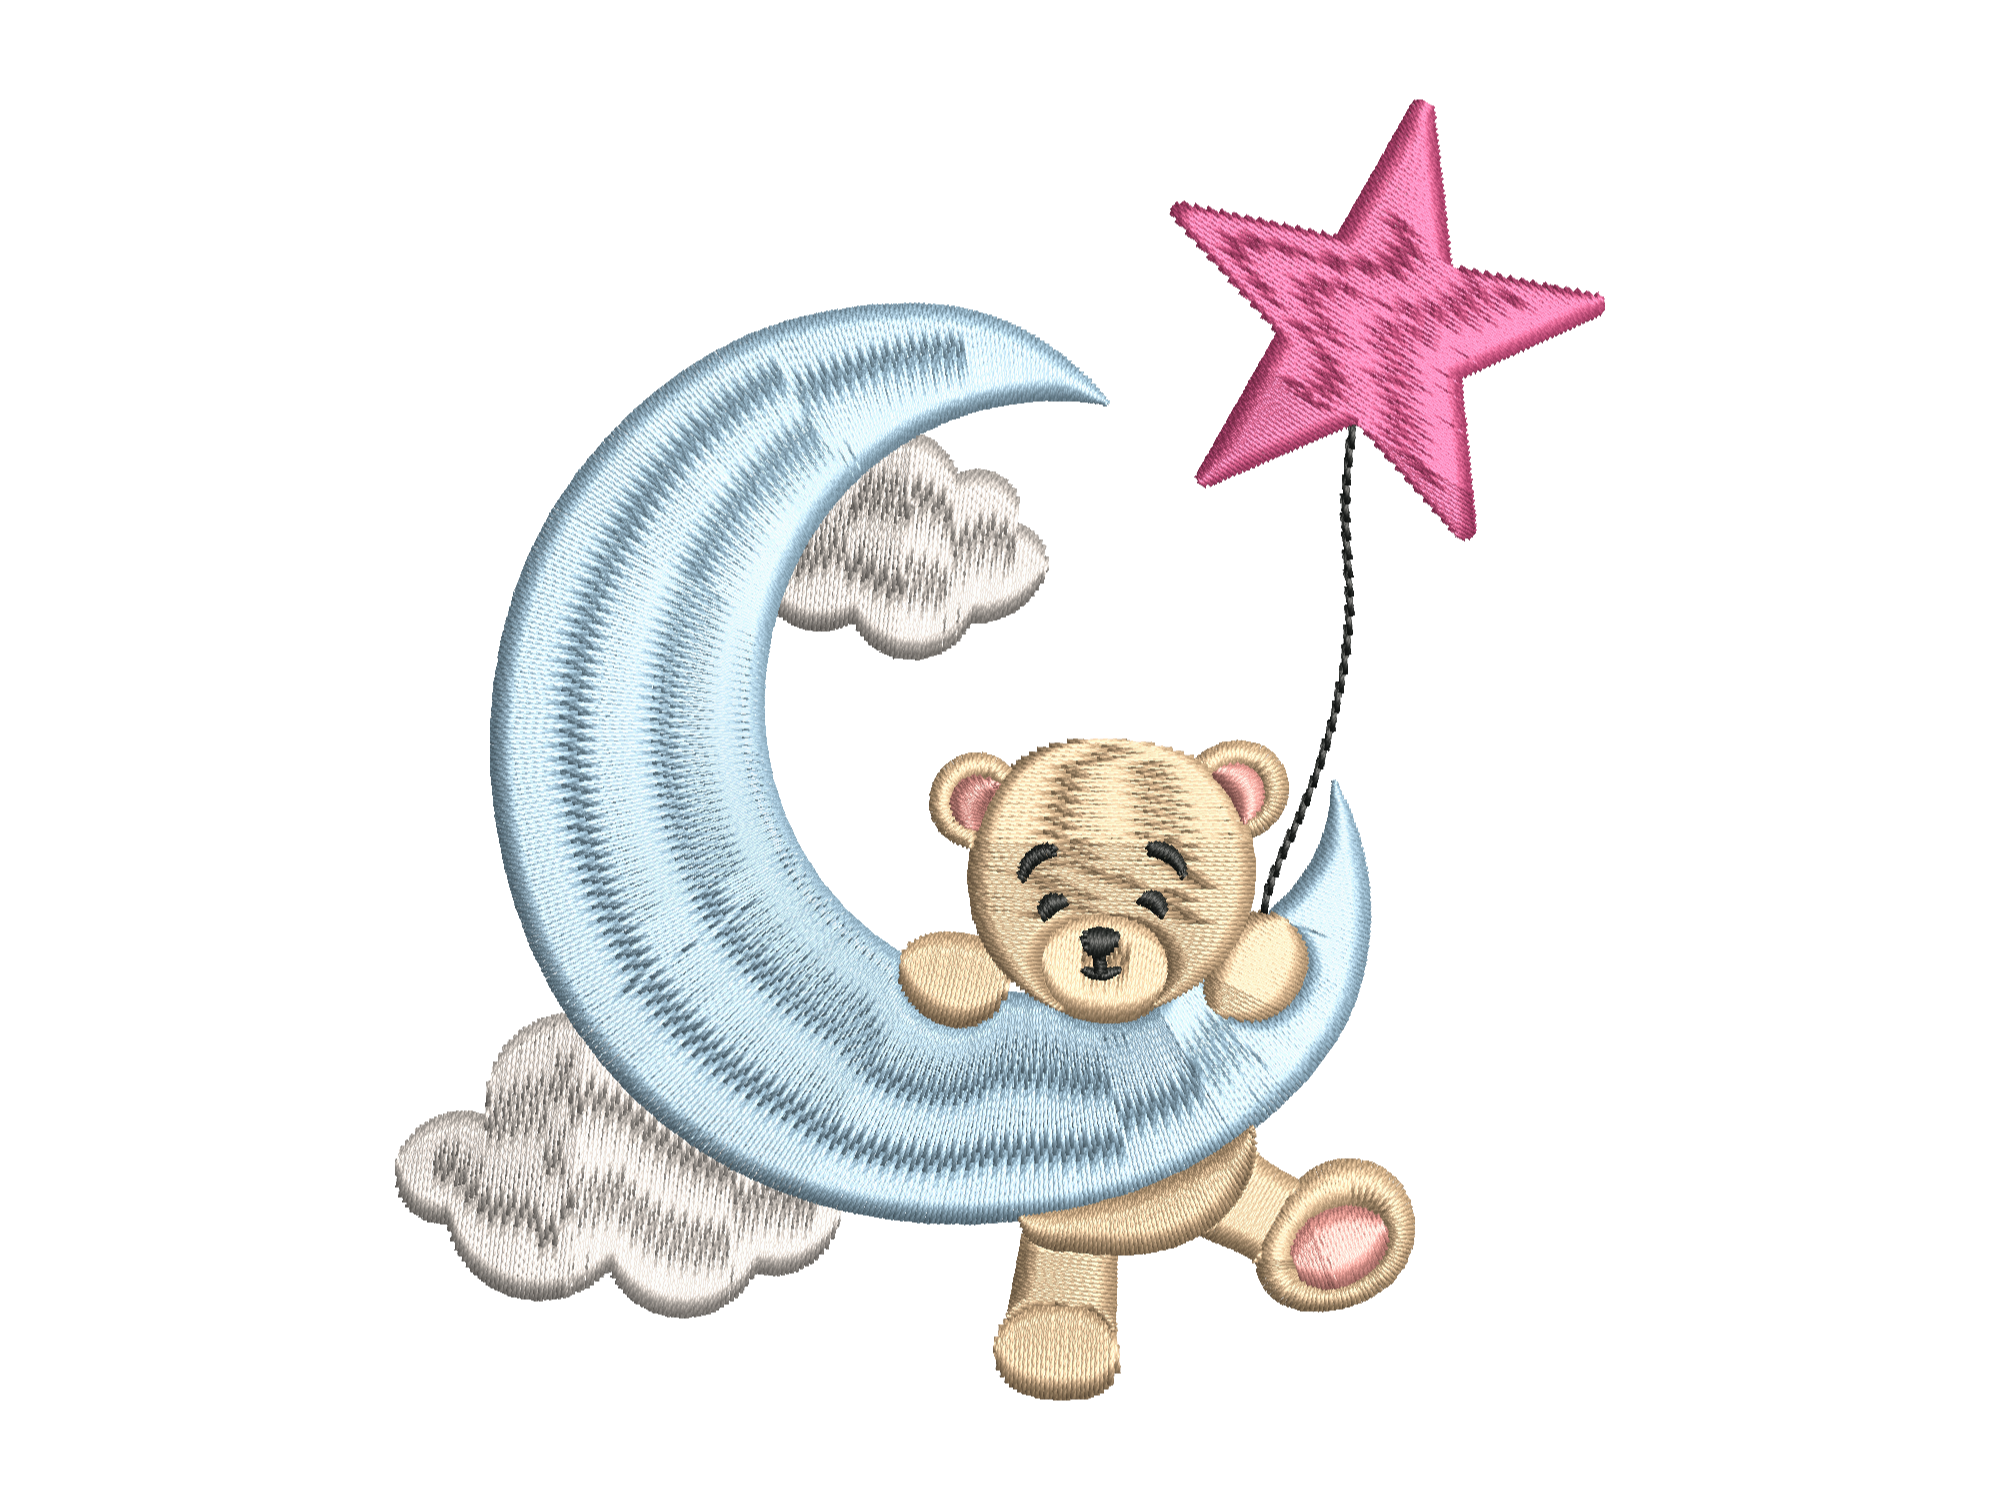
Teddy Bear on Moon Embroidery
DSTPESXXX
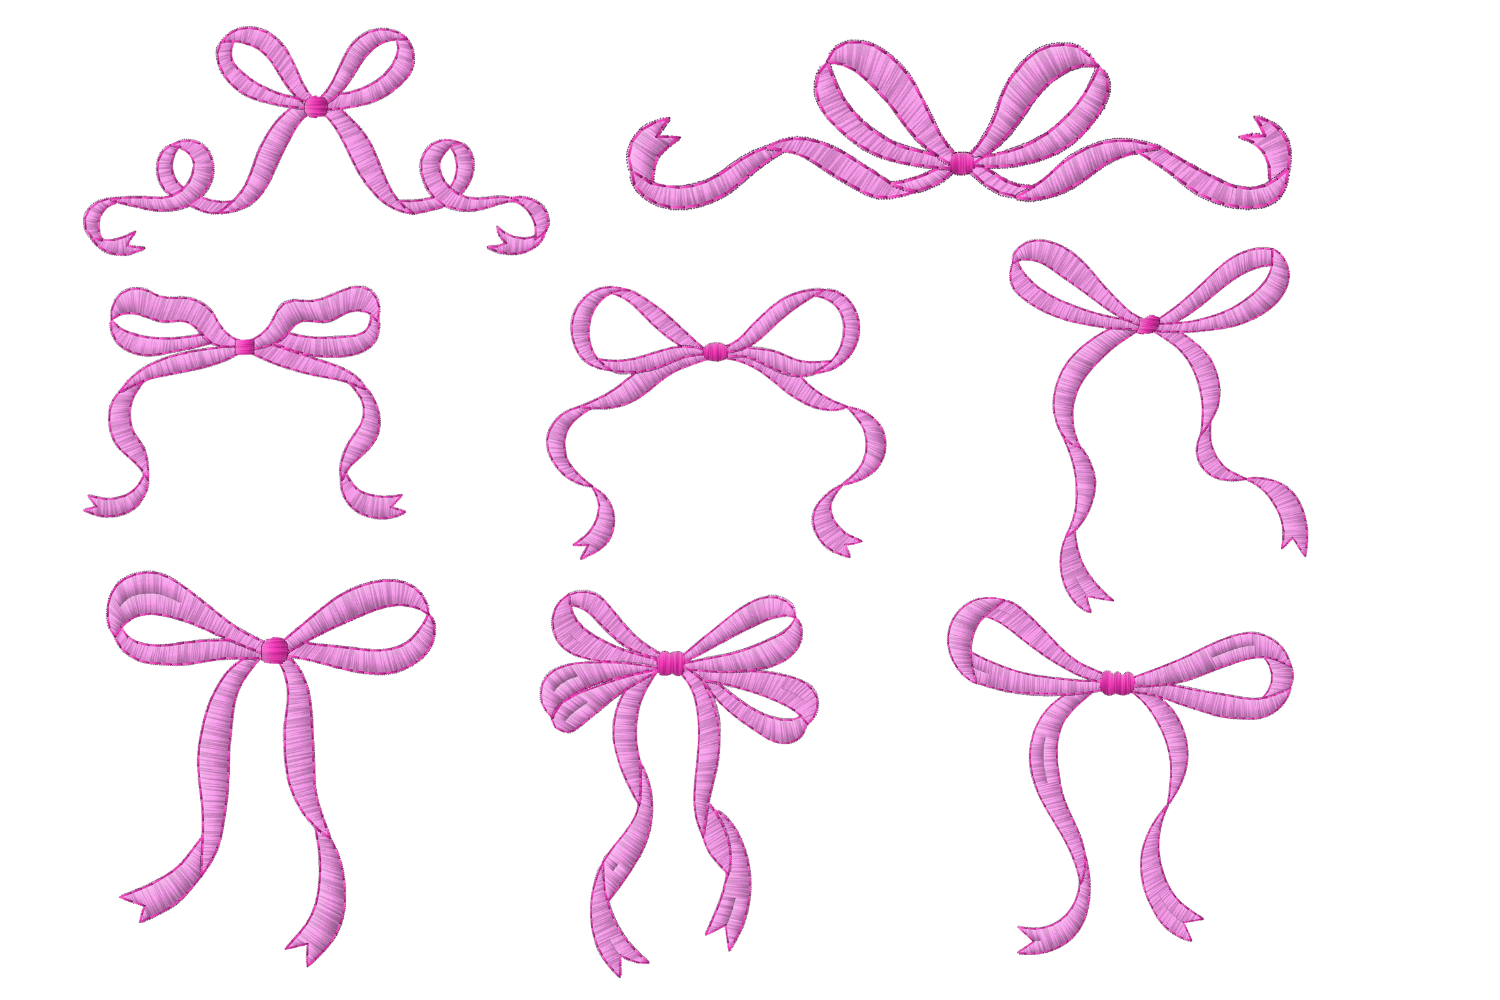
Creative Bow Embroidery Bundle
DSTEXPHUS
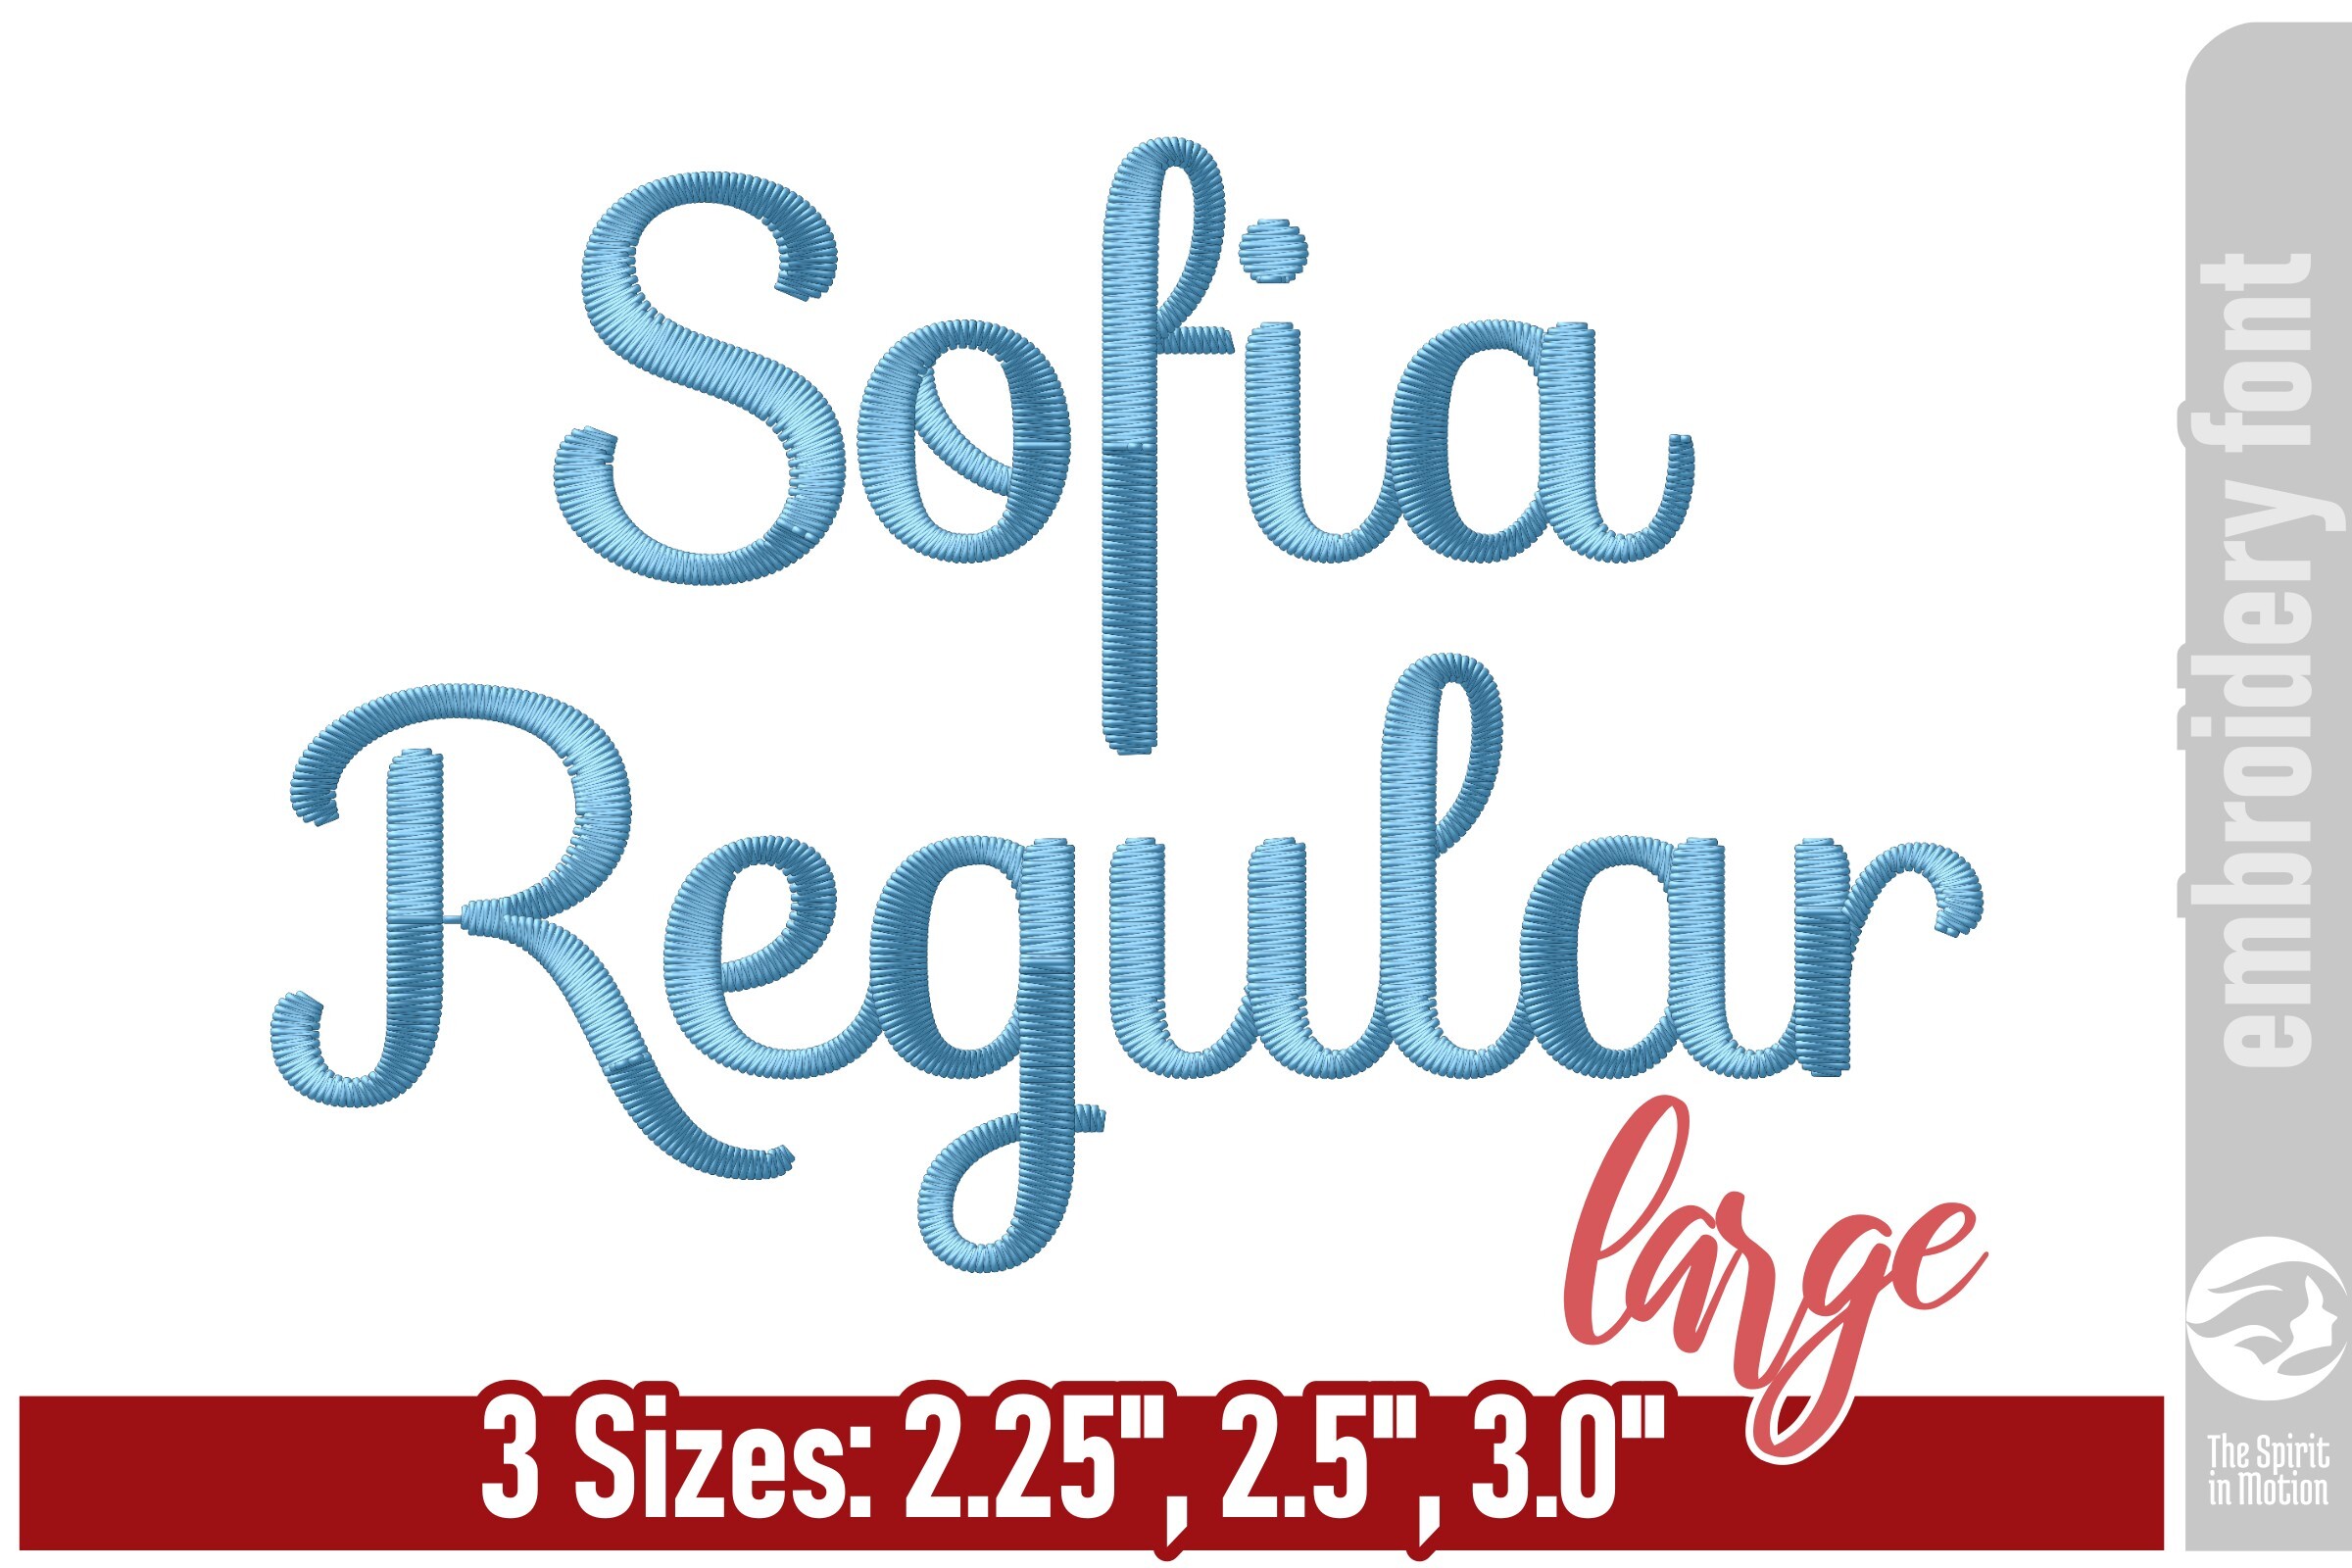
Sofia Regular Embroidery Font - Large
PES
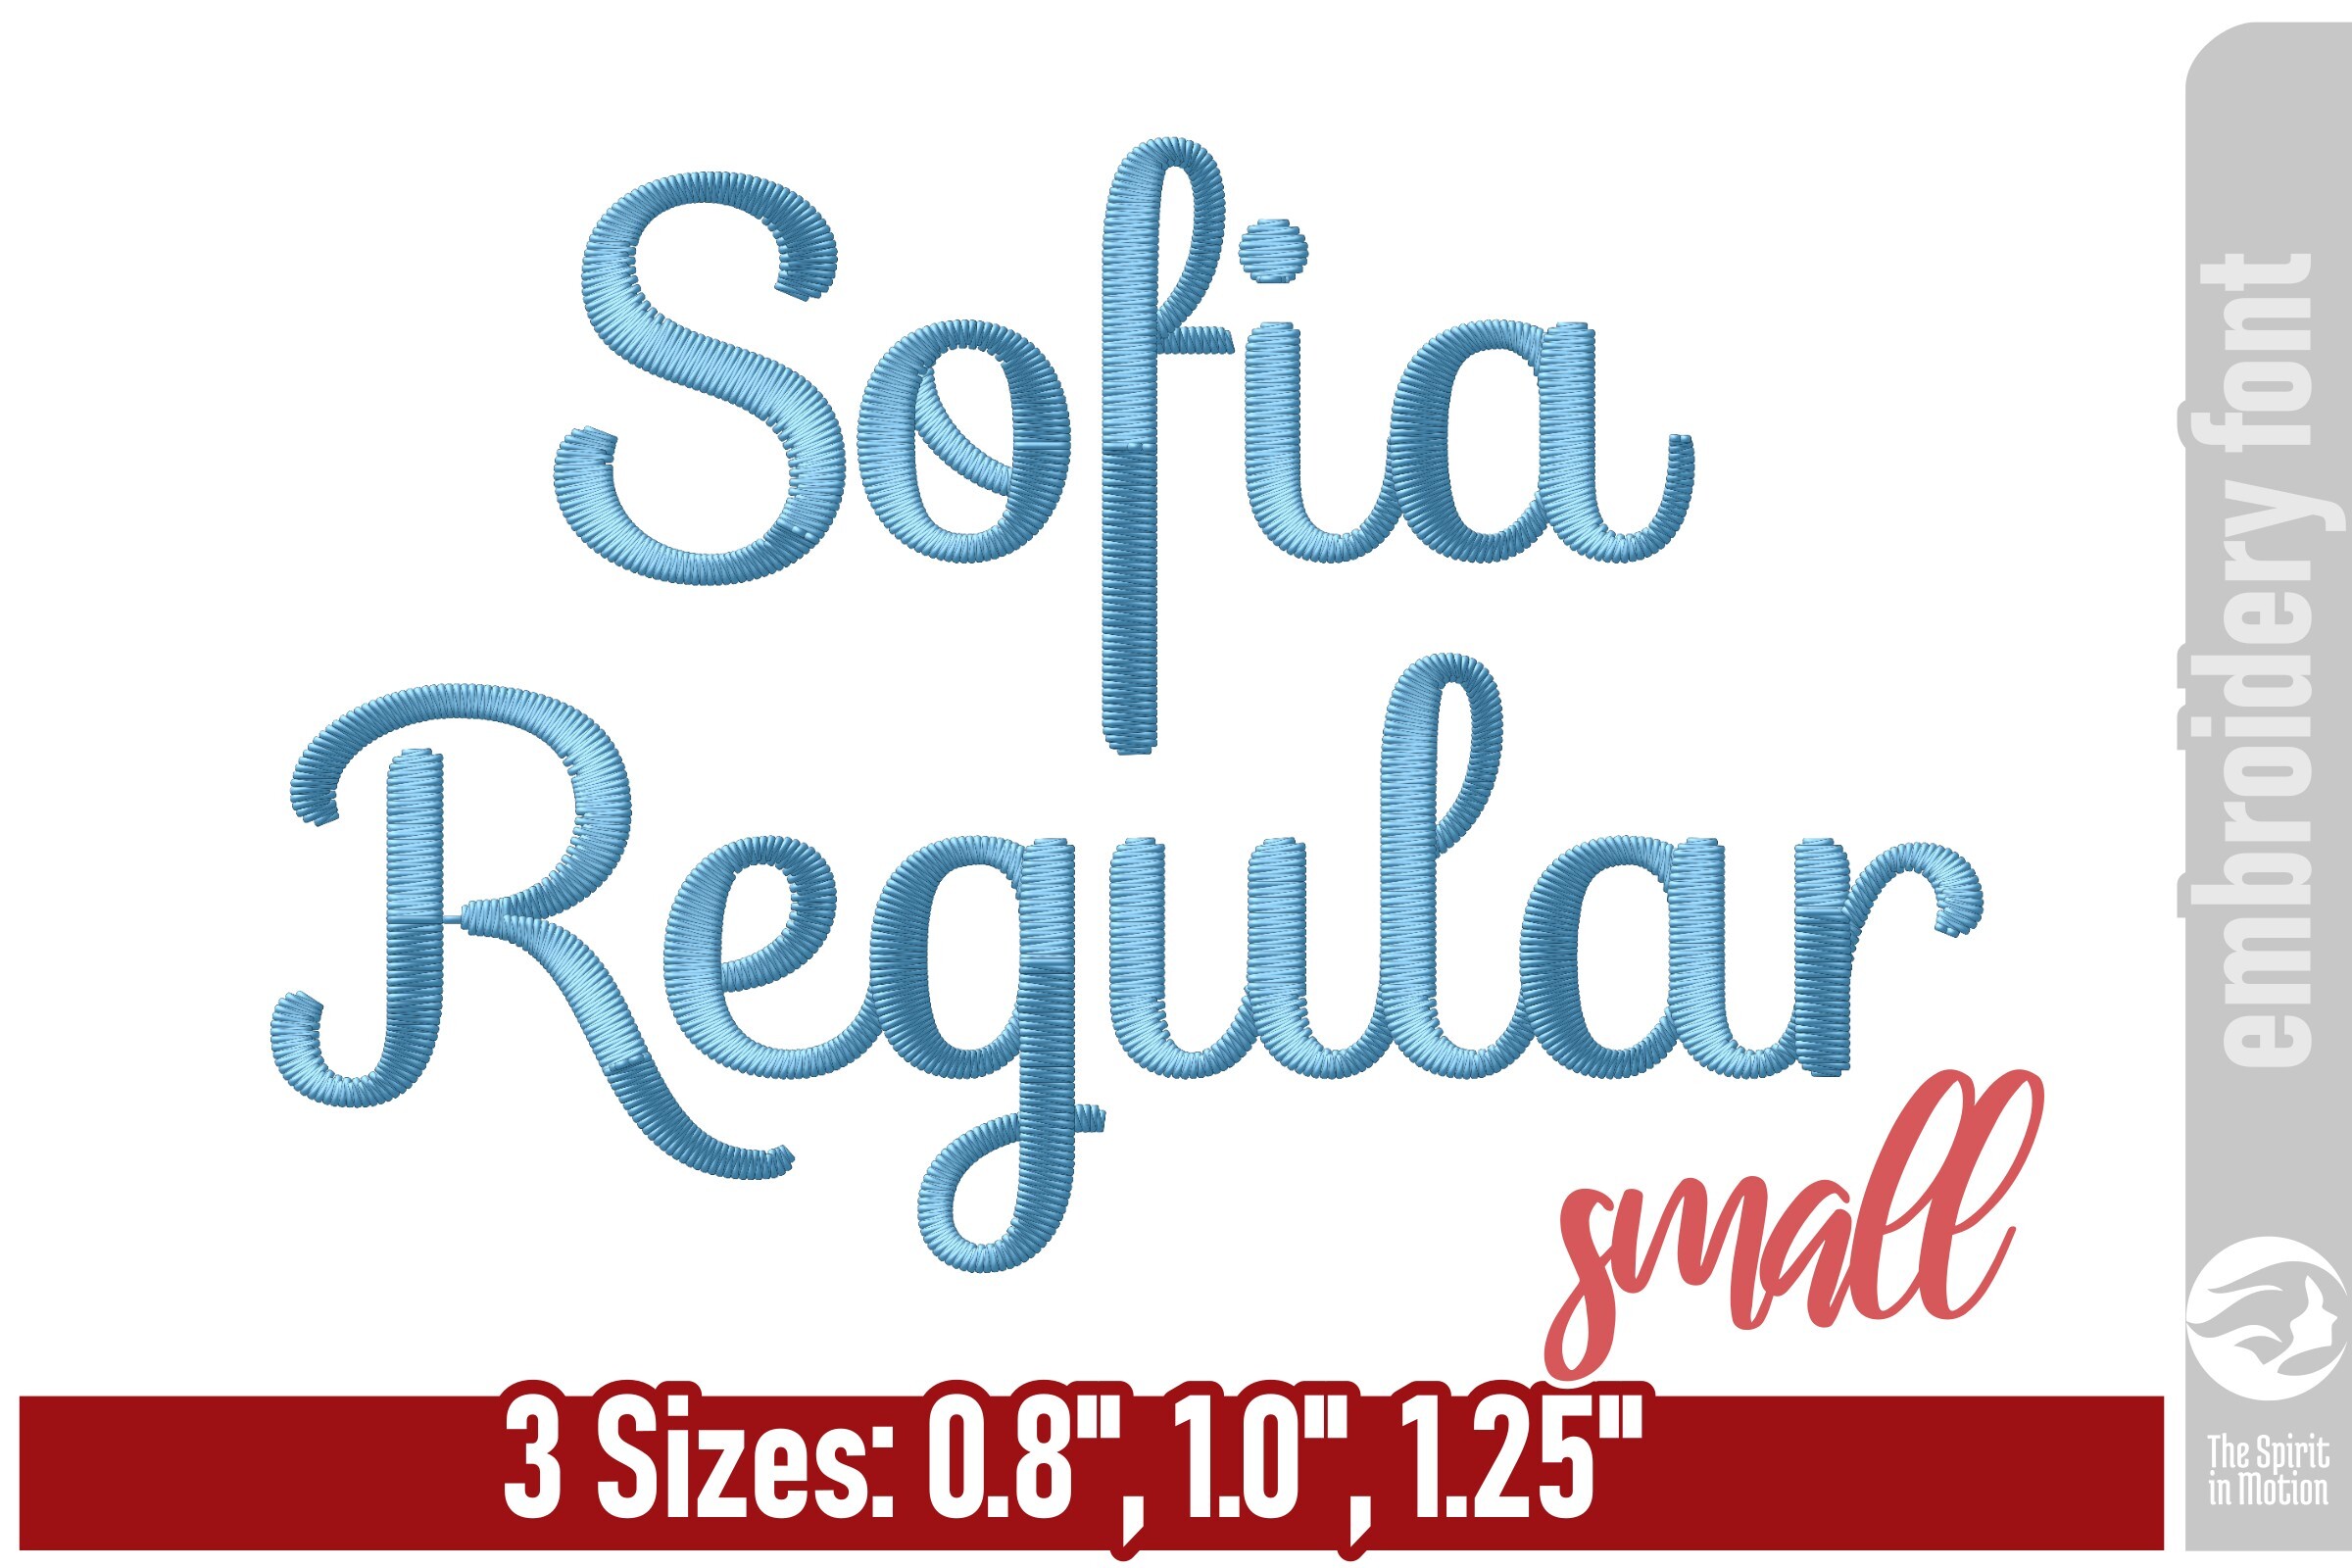
Sofia Regular Embroidery Font - Small
PES
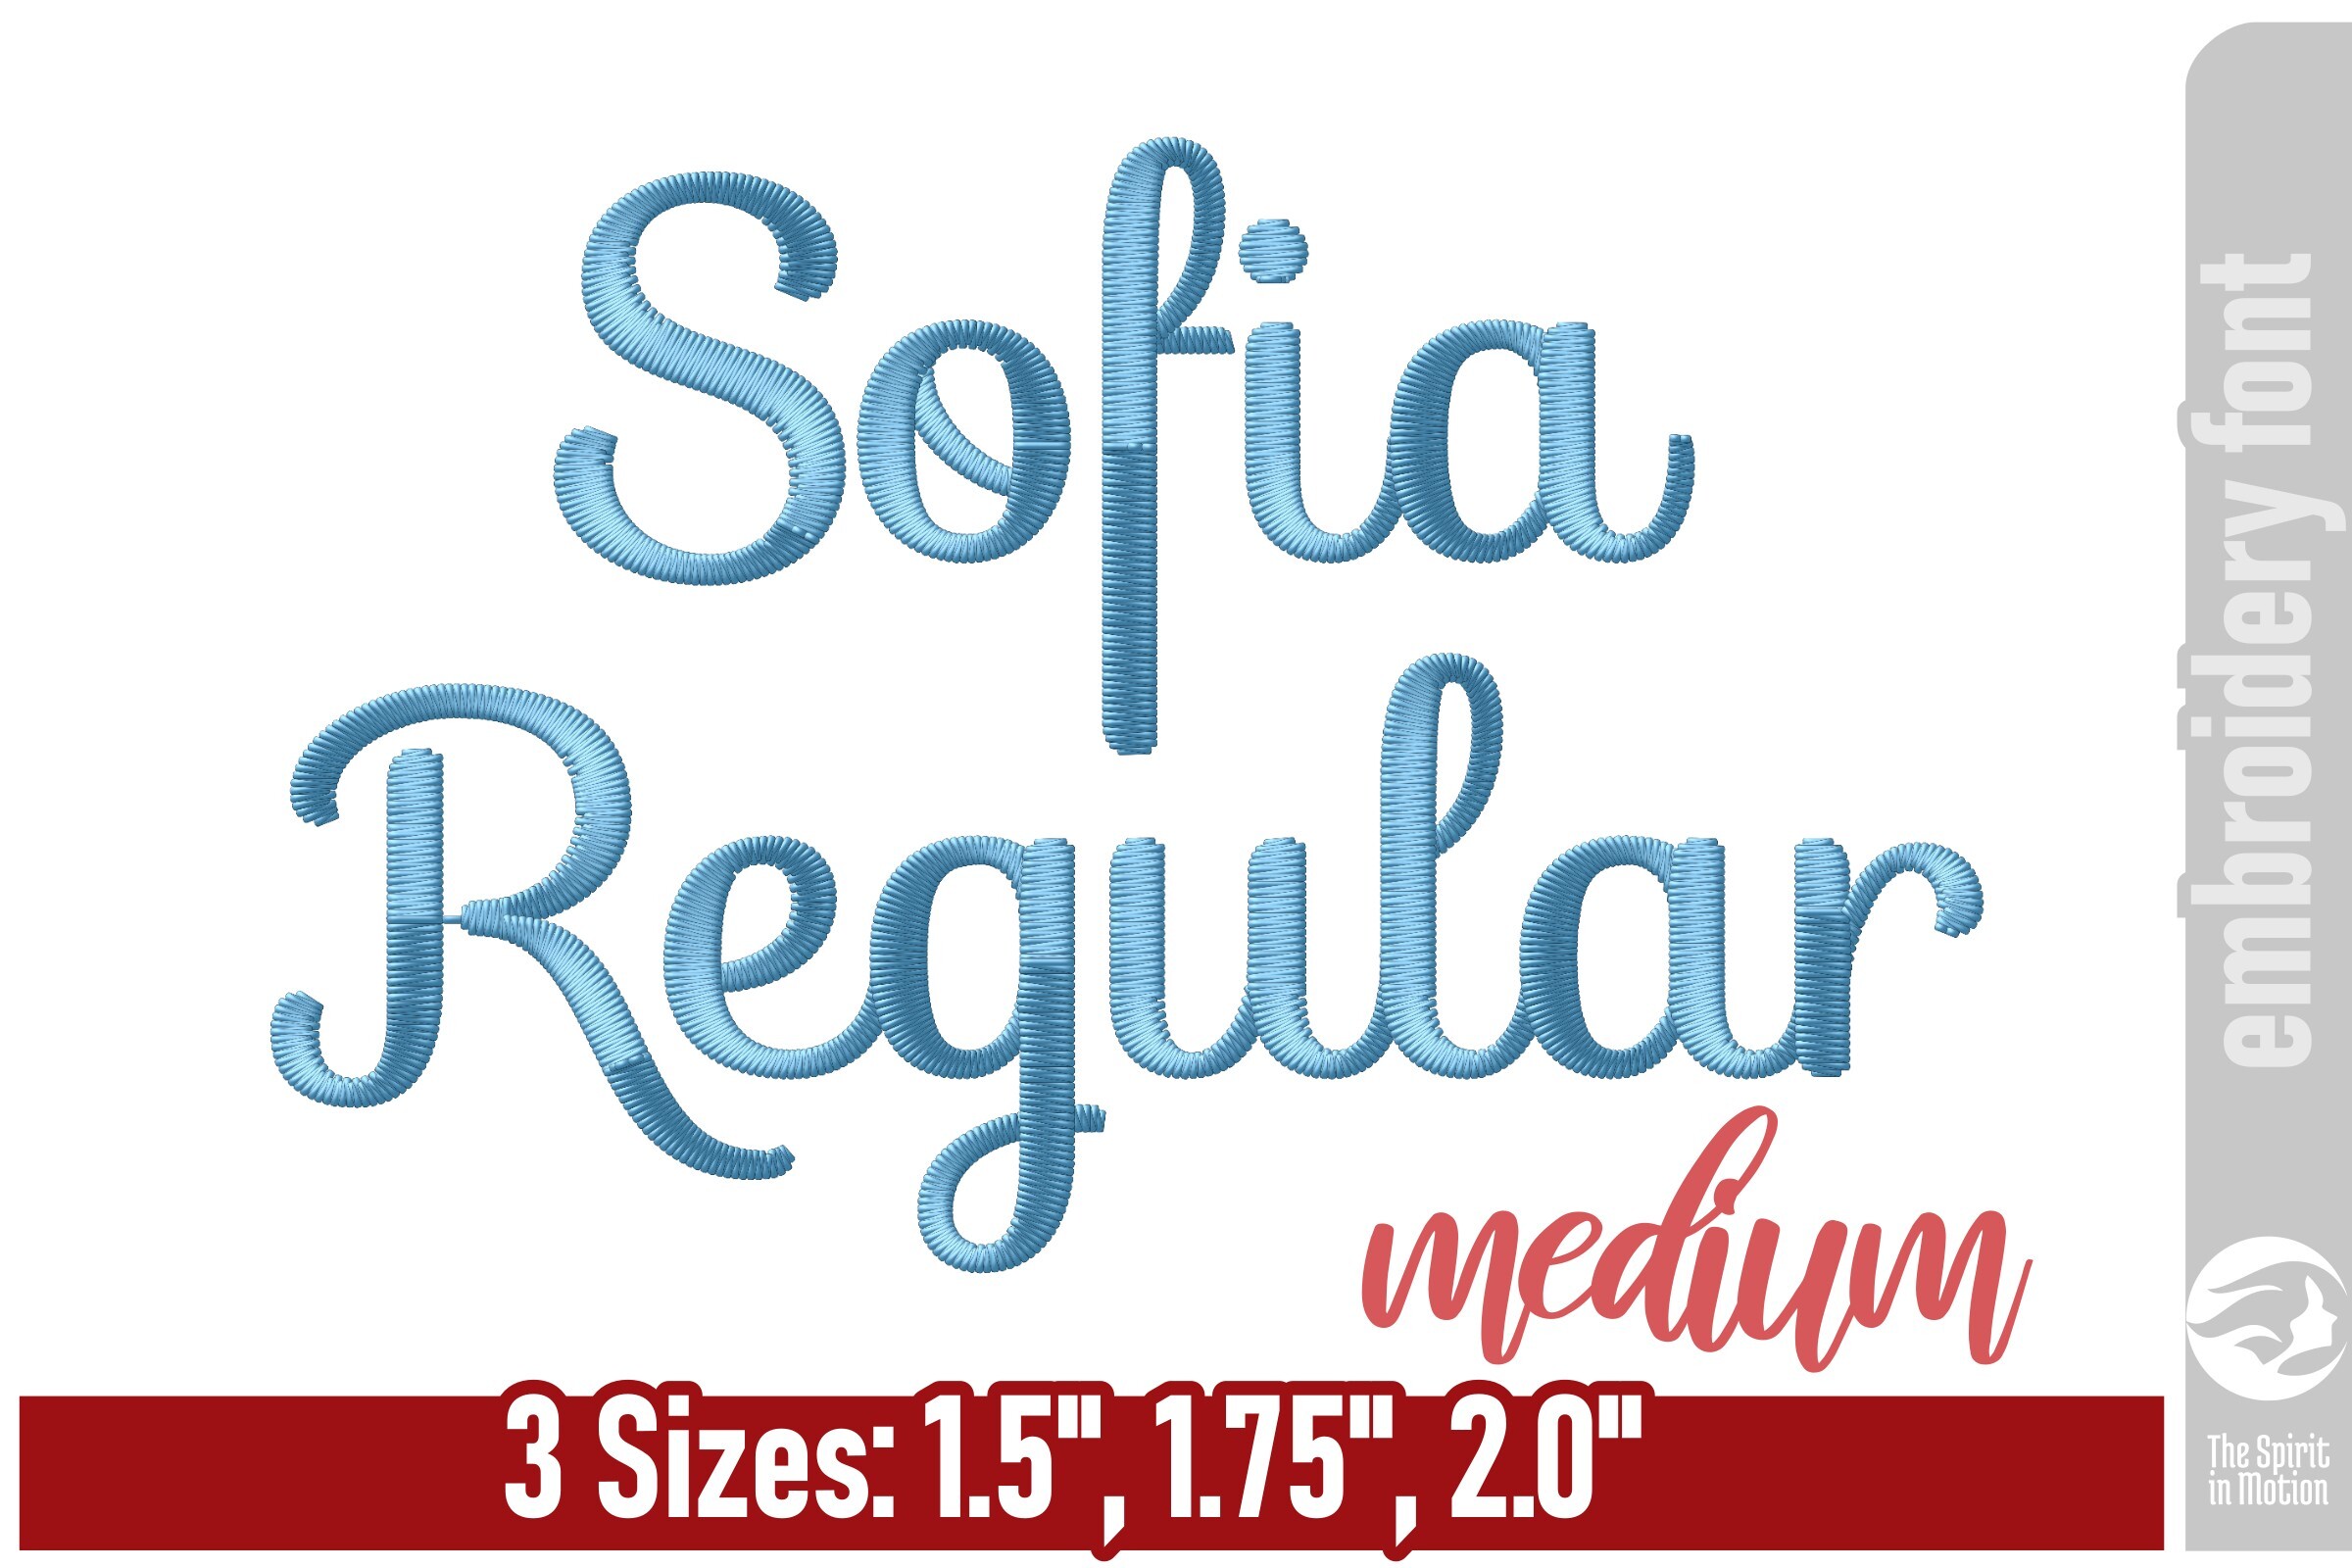
Sofia Regular Embroidery Font - Medium
PES

Tangled Christmas Lights "HO HO HO"
DSTEXPHUS
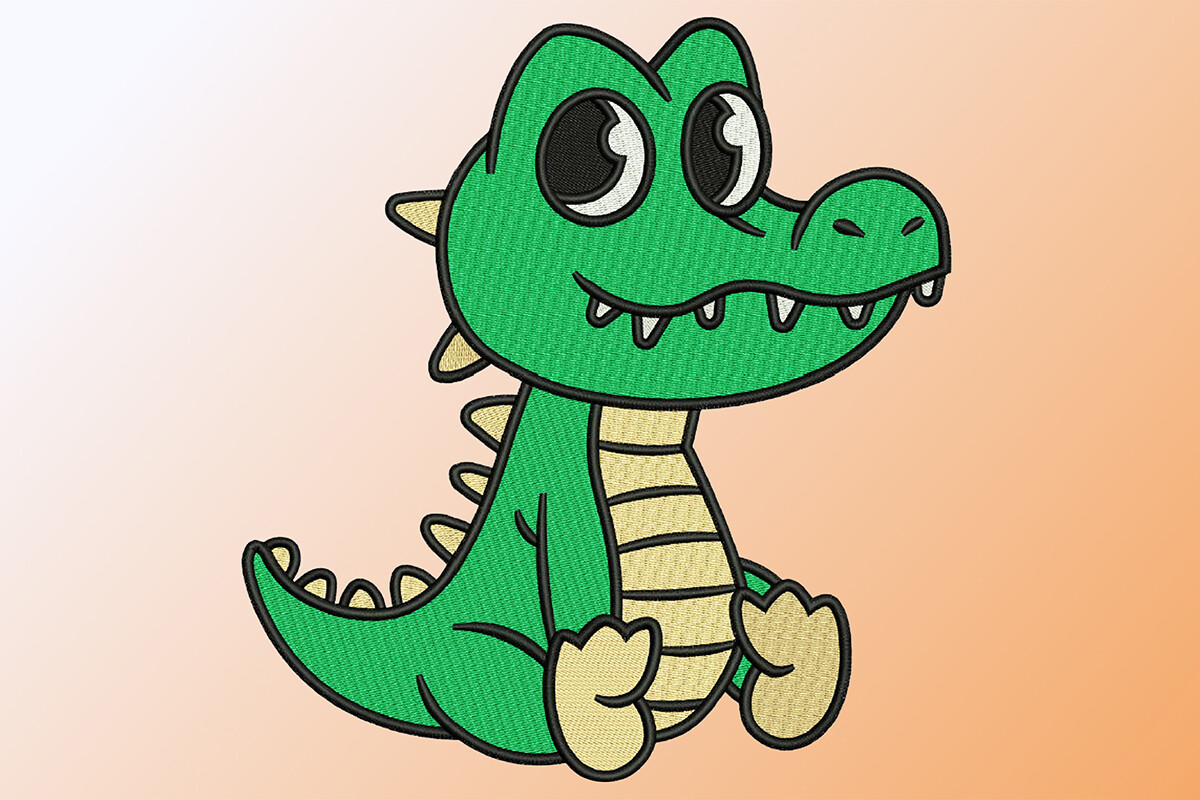
Chibi Sitting Alligator
DSTEXPHUS
Elegant Pink Bow
DSTEXPHUS
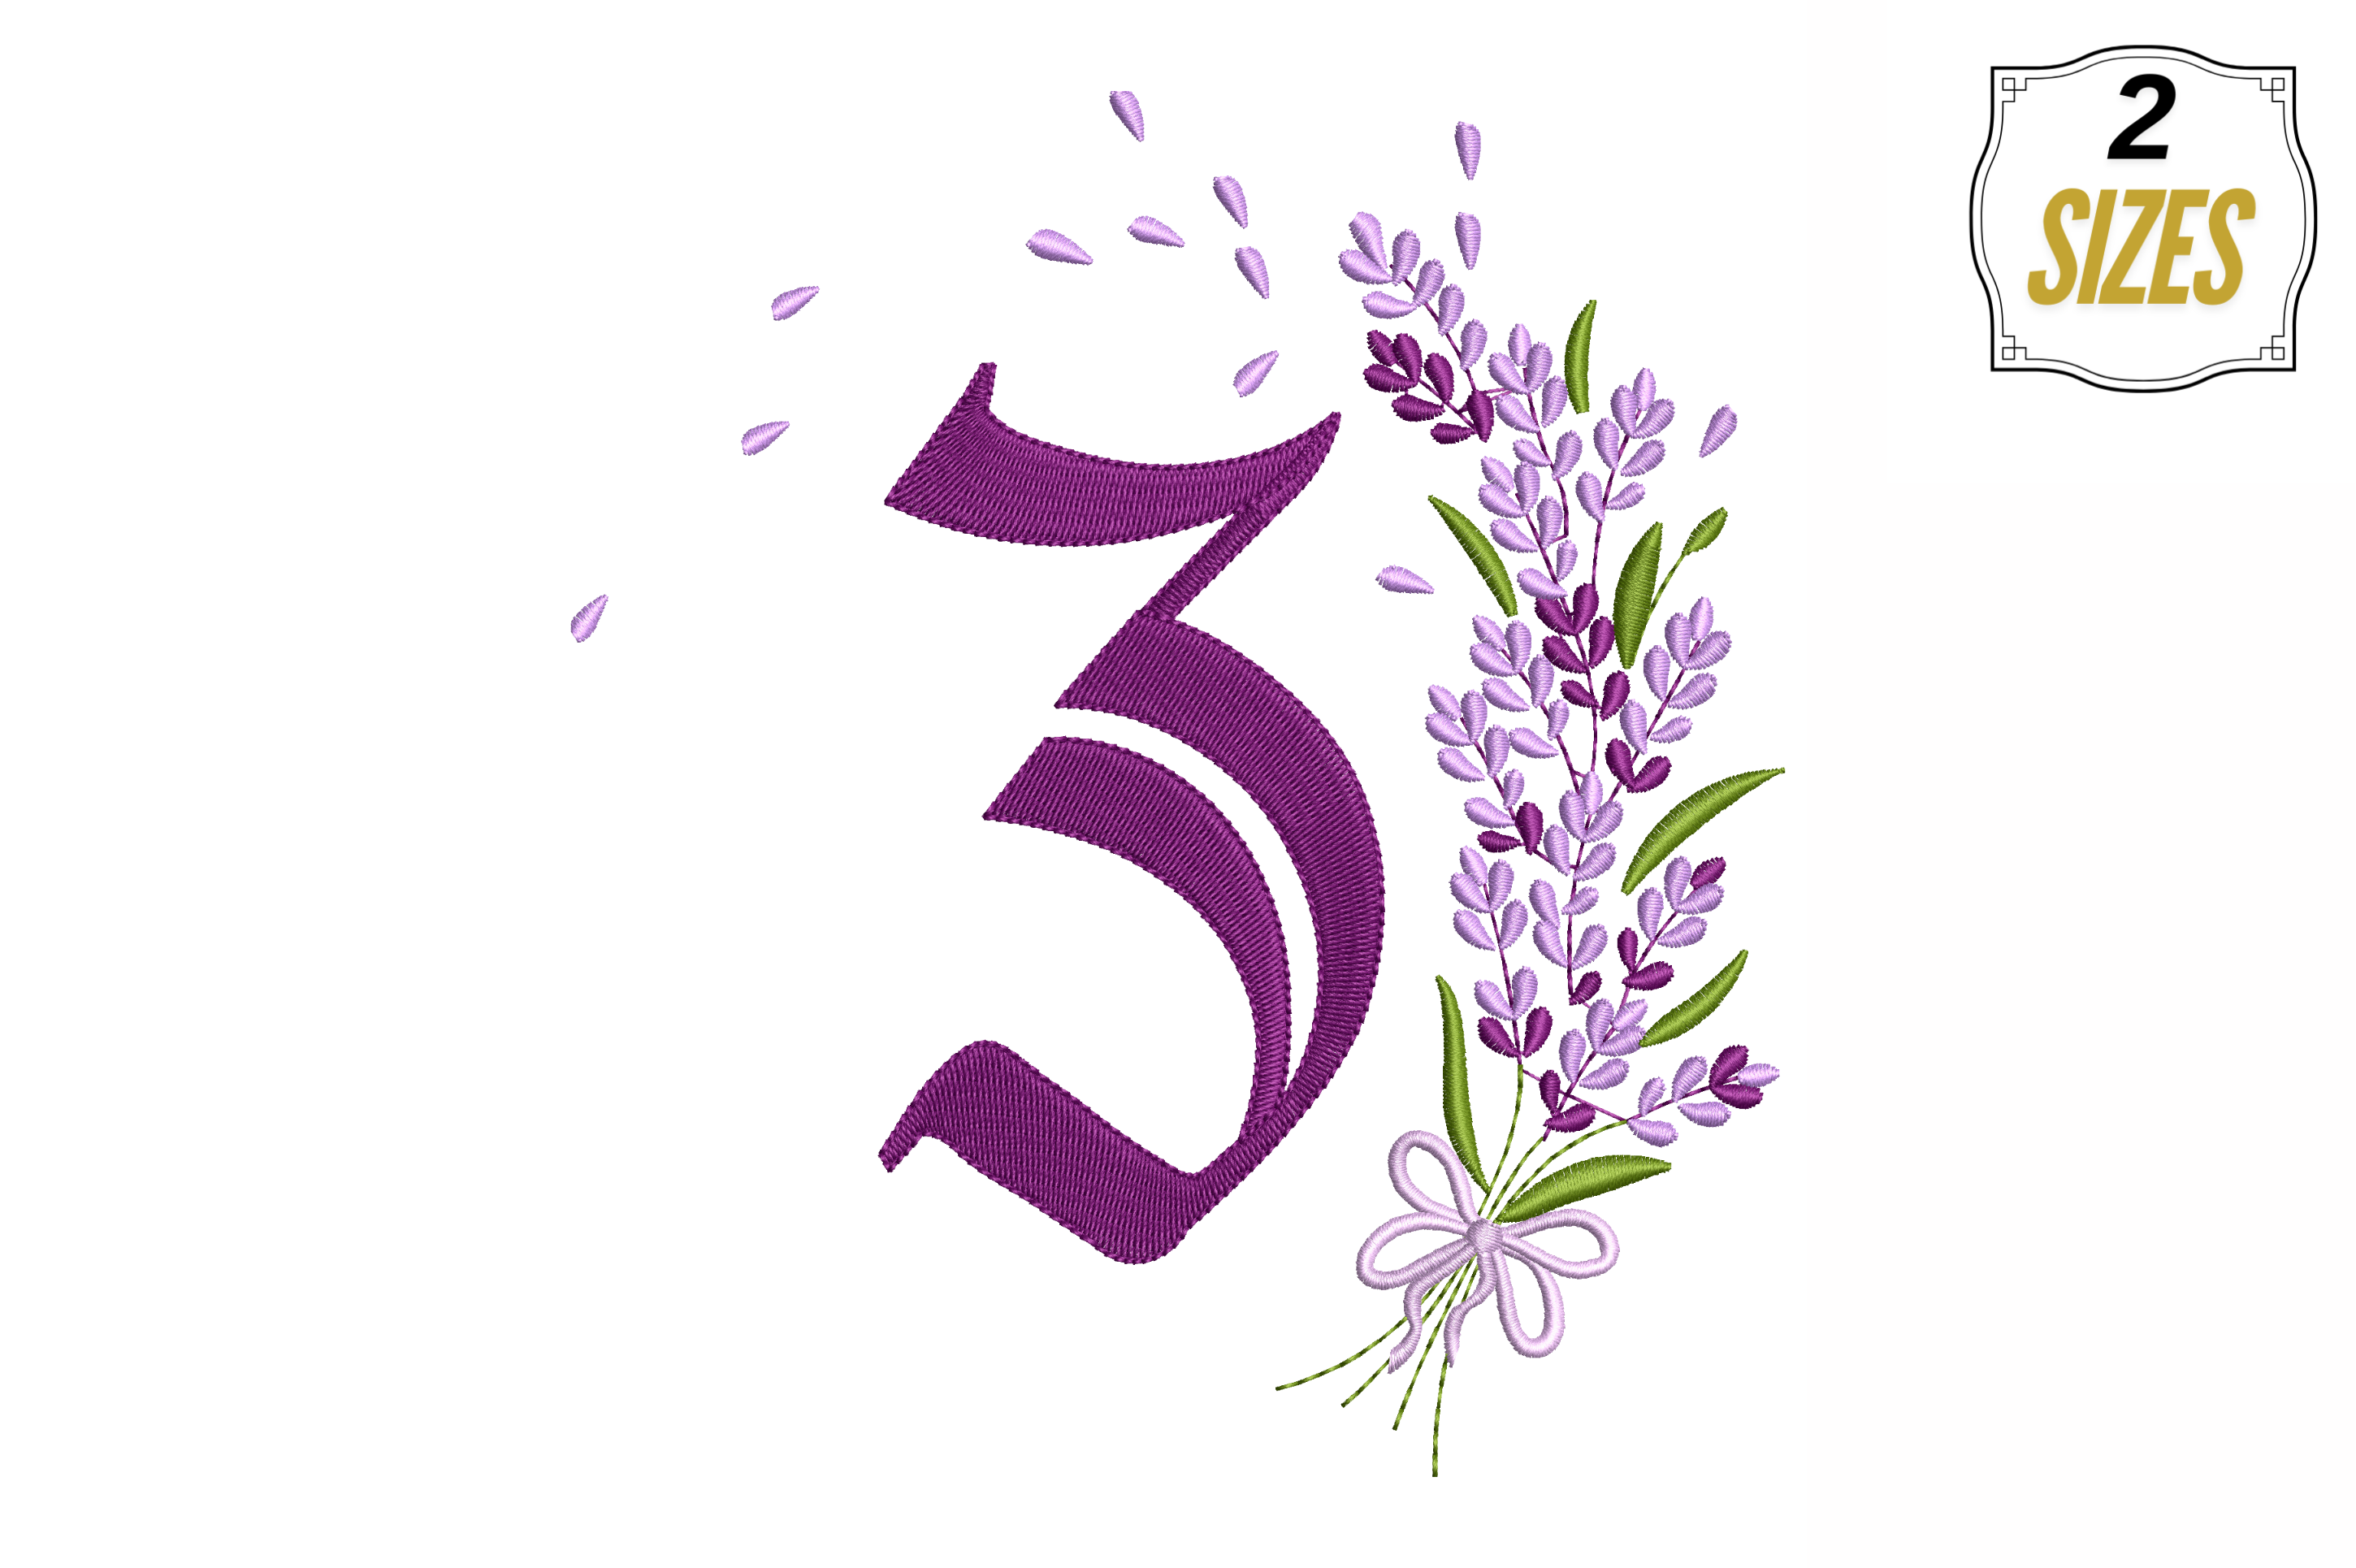
Letter Z
DSTEXPHUS
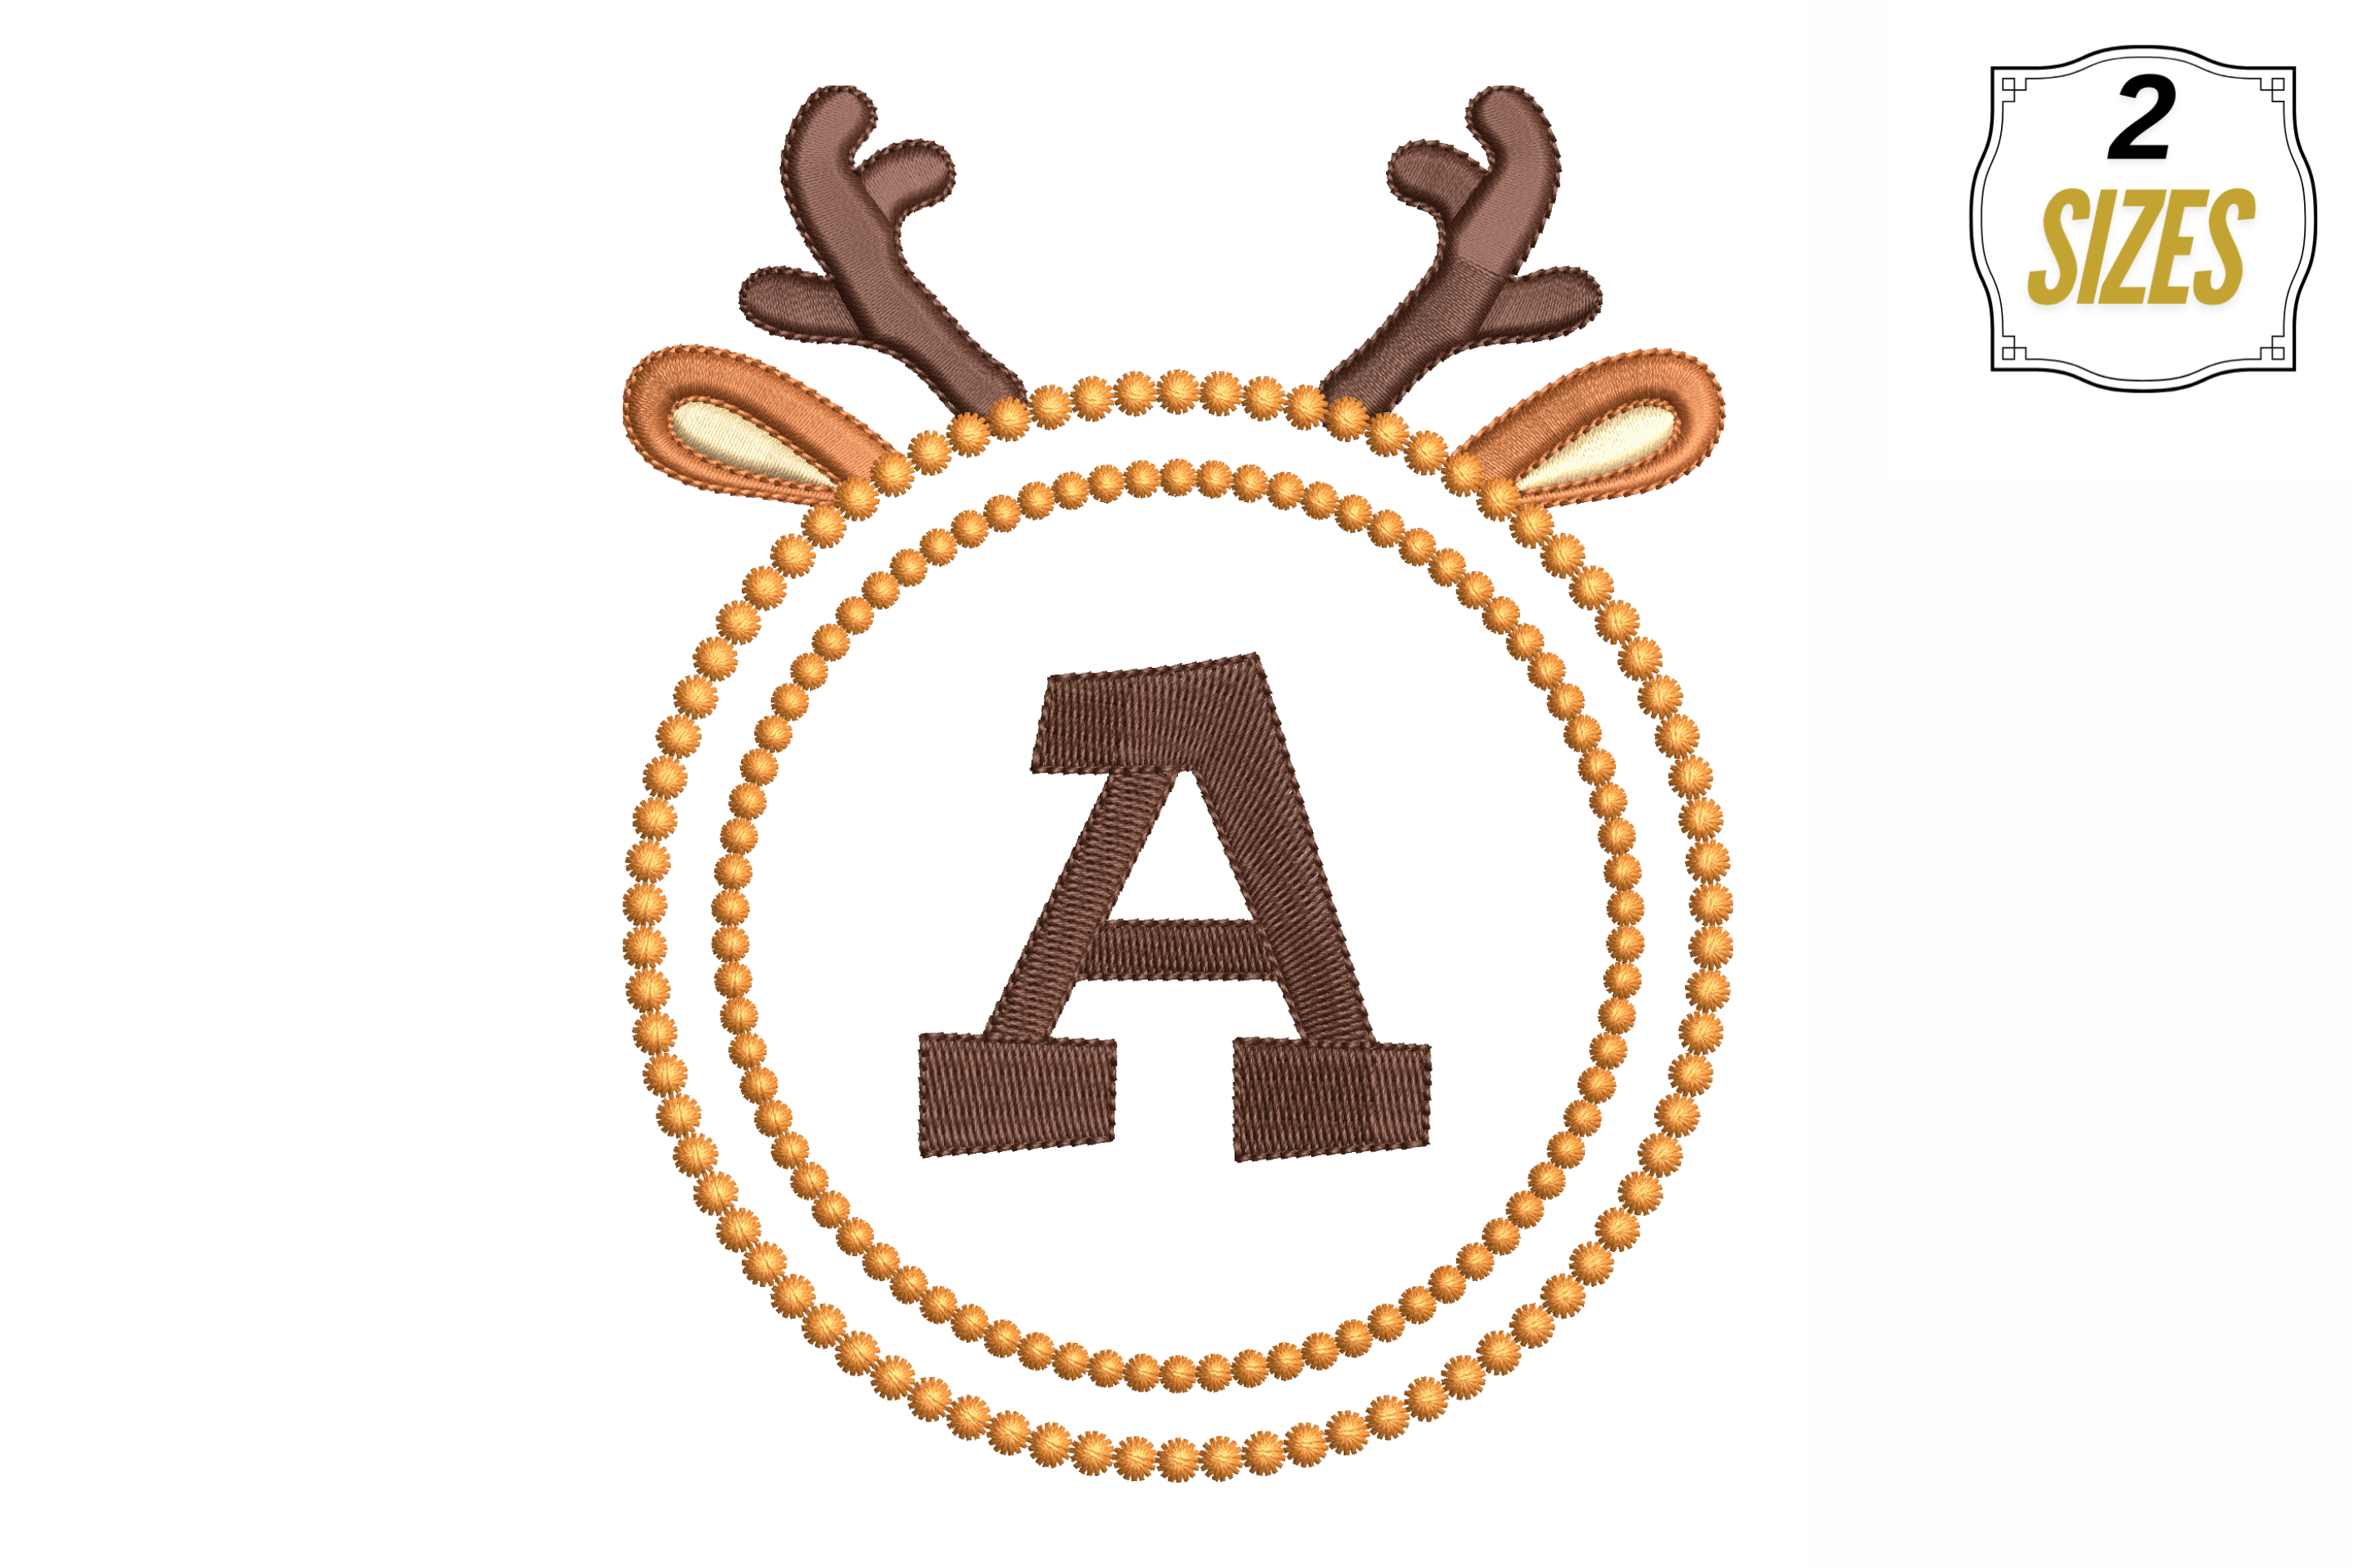
Letter a in Cute Frame
DSTEXPHUS
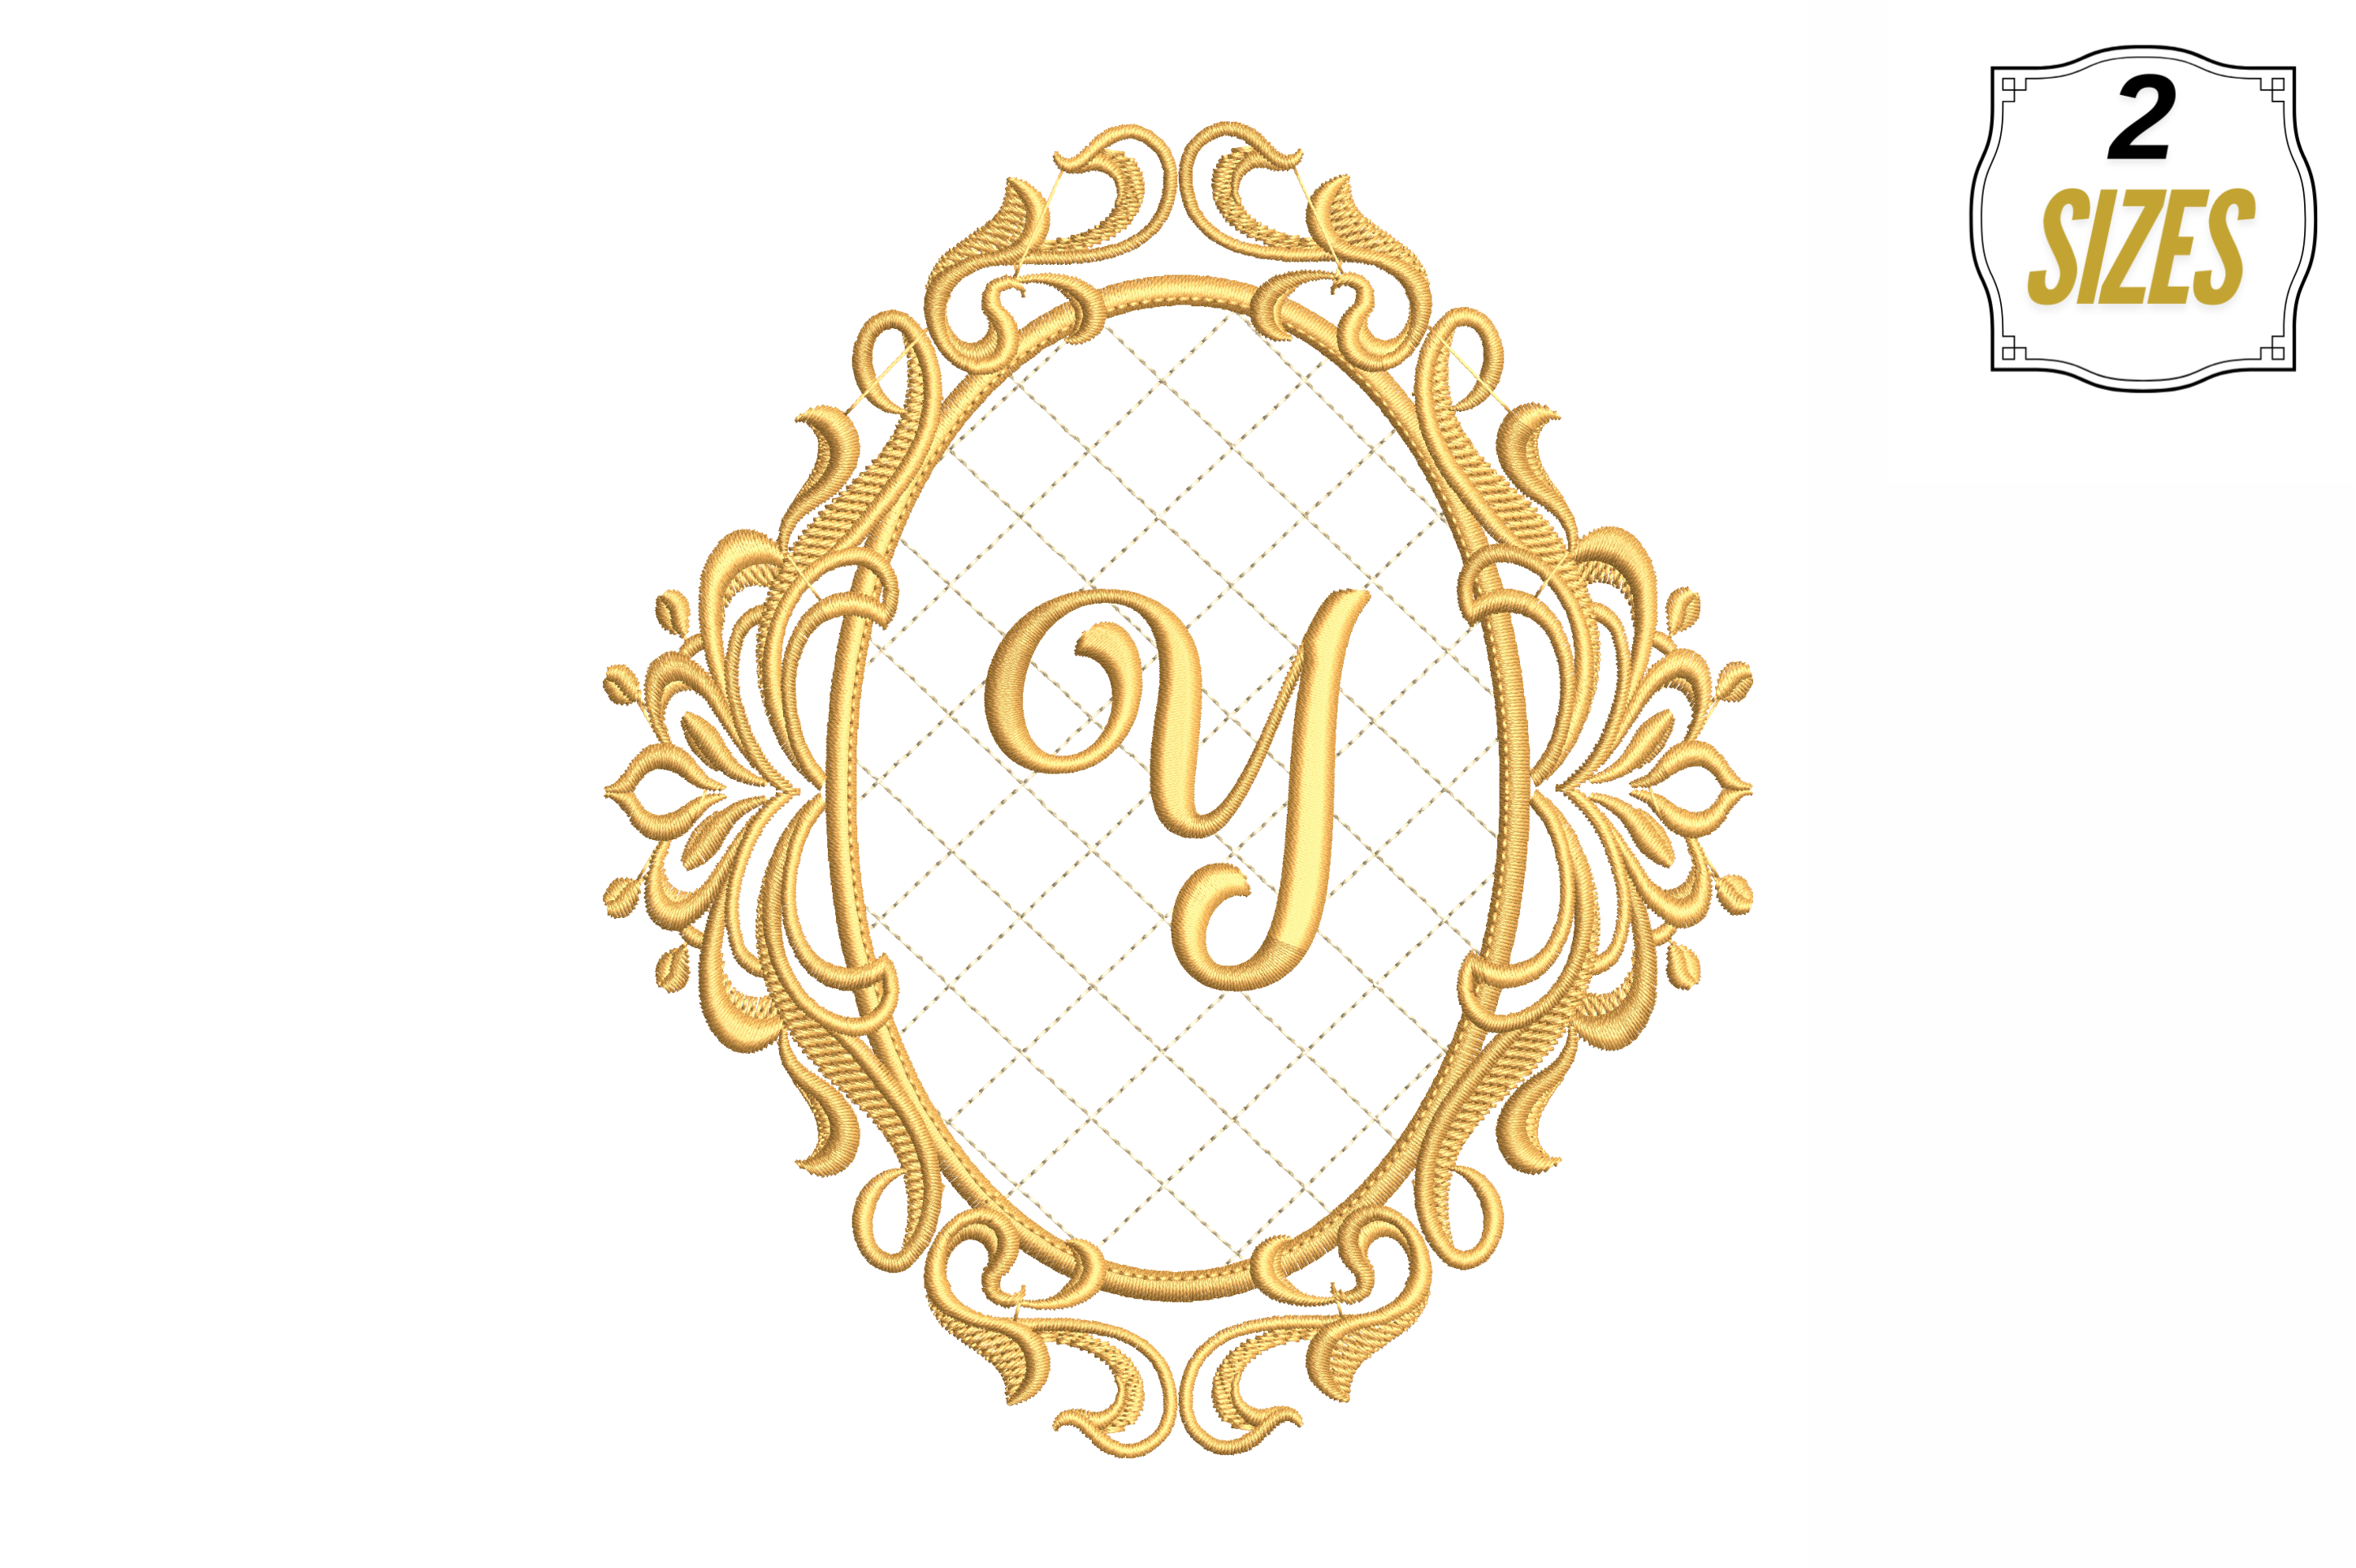
Letter Y in a Beautiful Frame
DSTEXPHUS
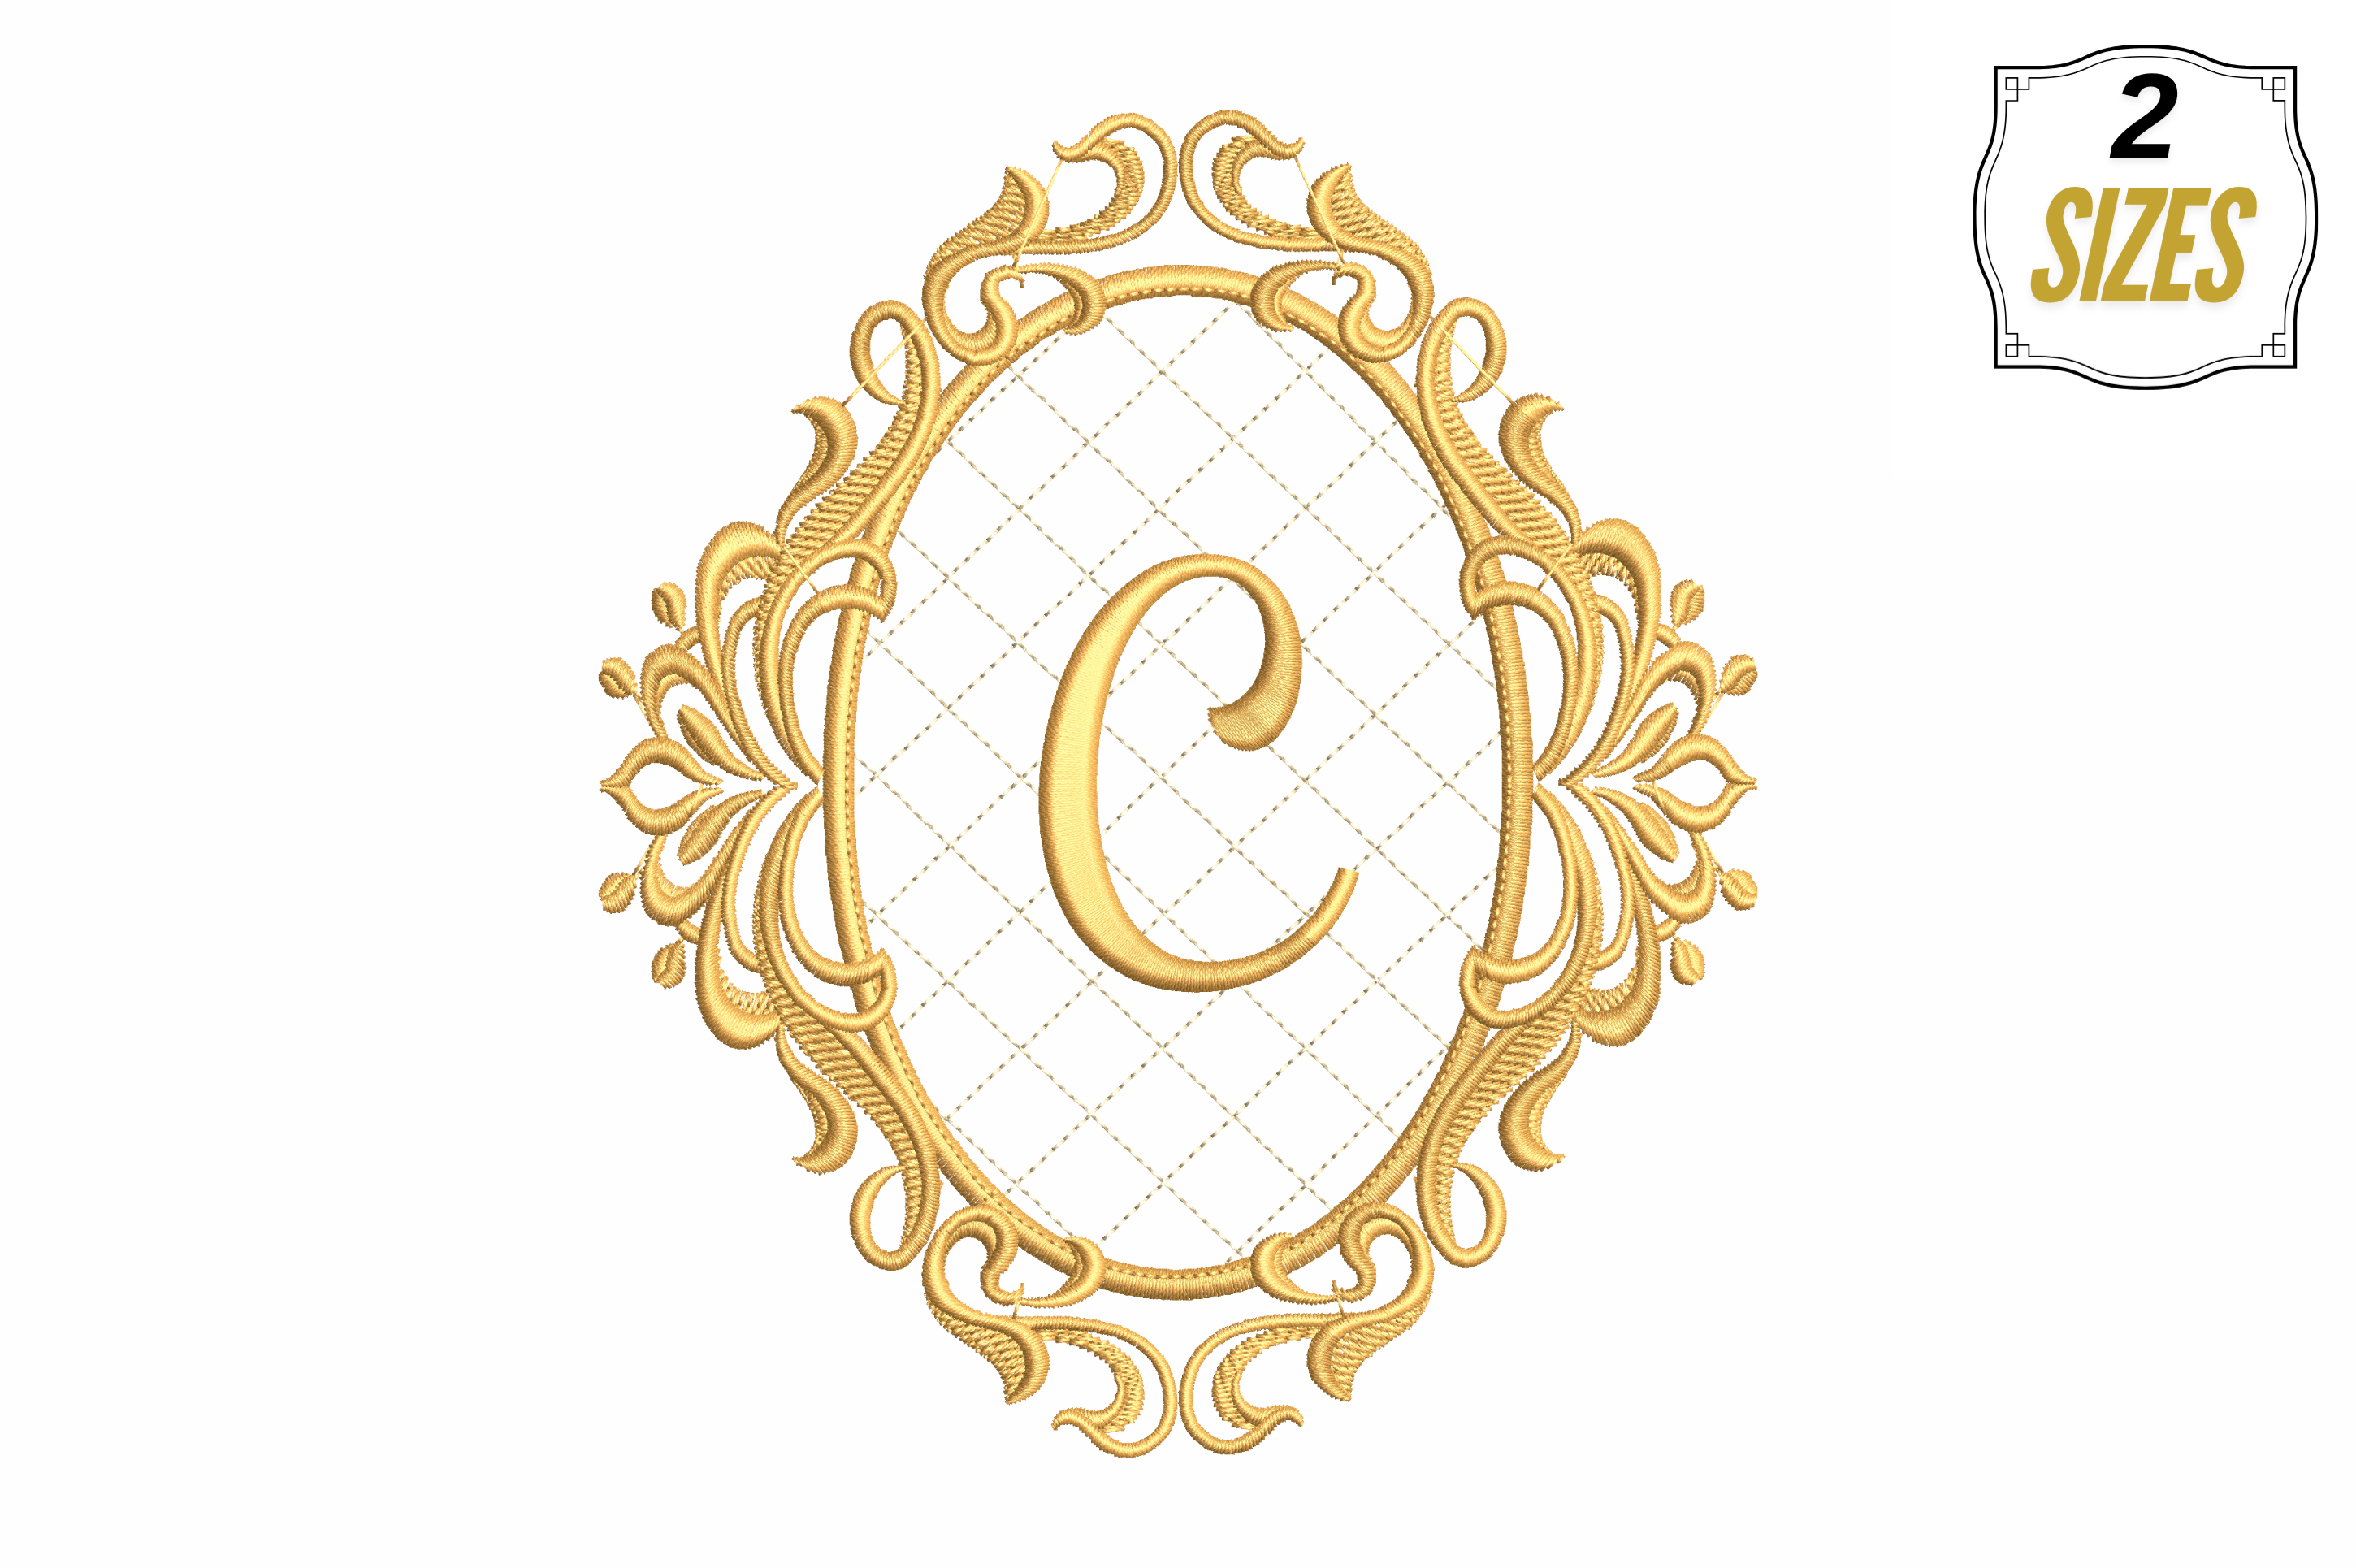
Letter C in a Beautiful Frame
DSTEXPHUS
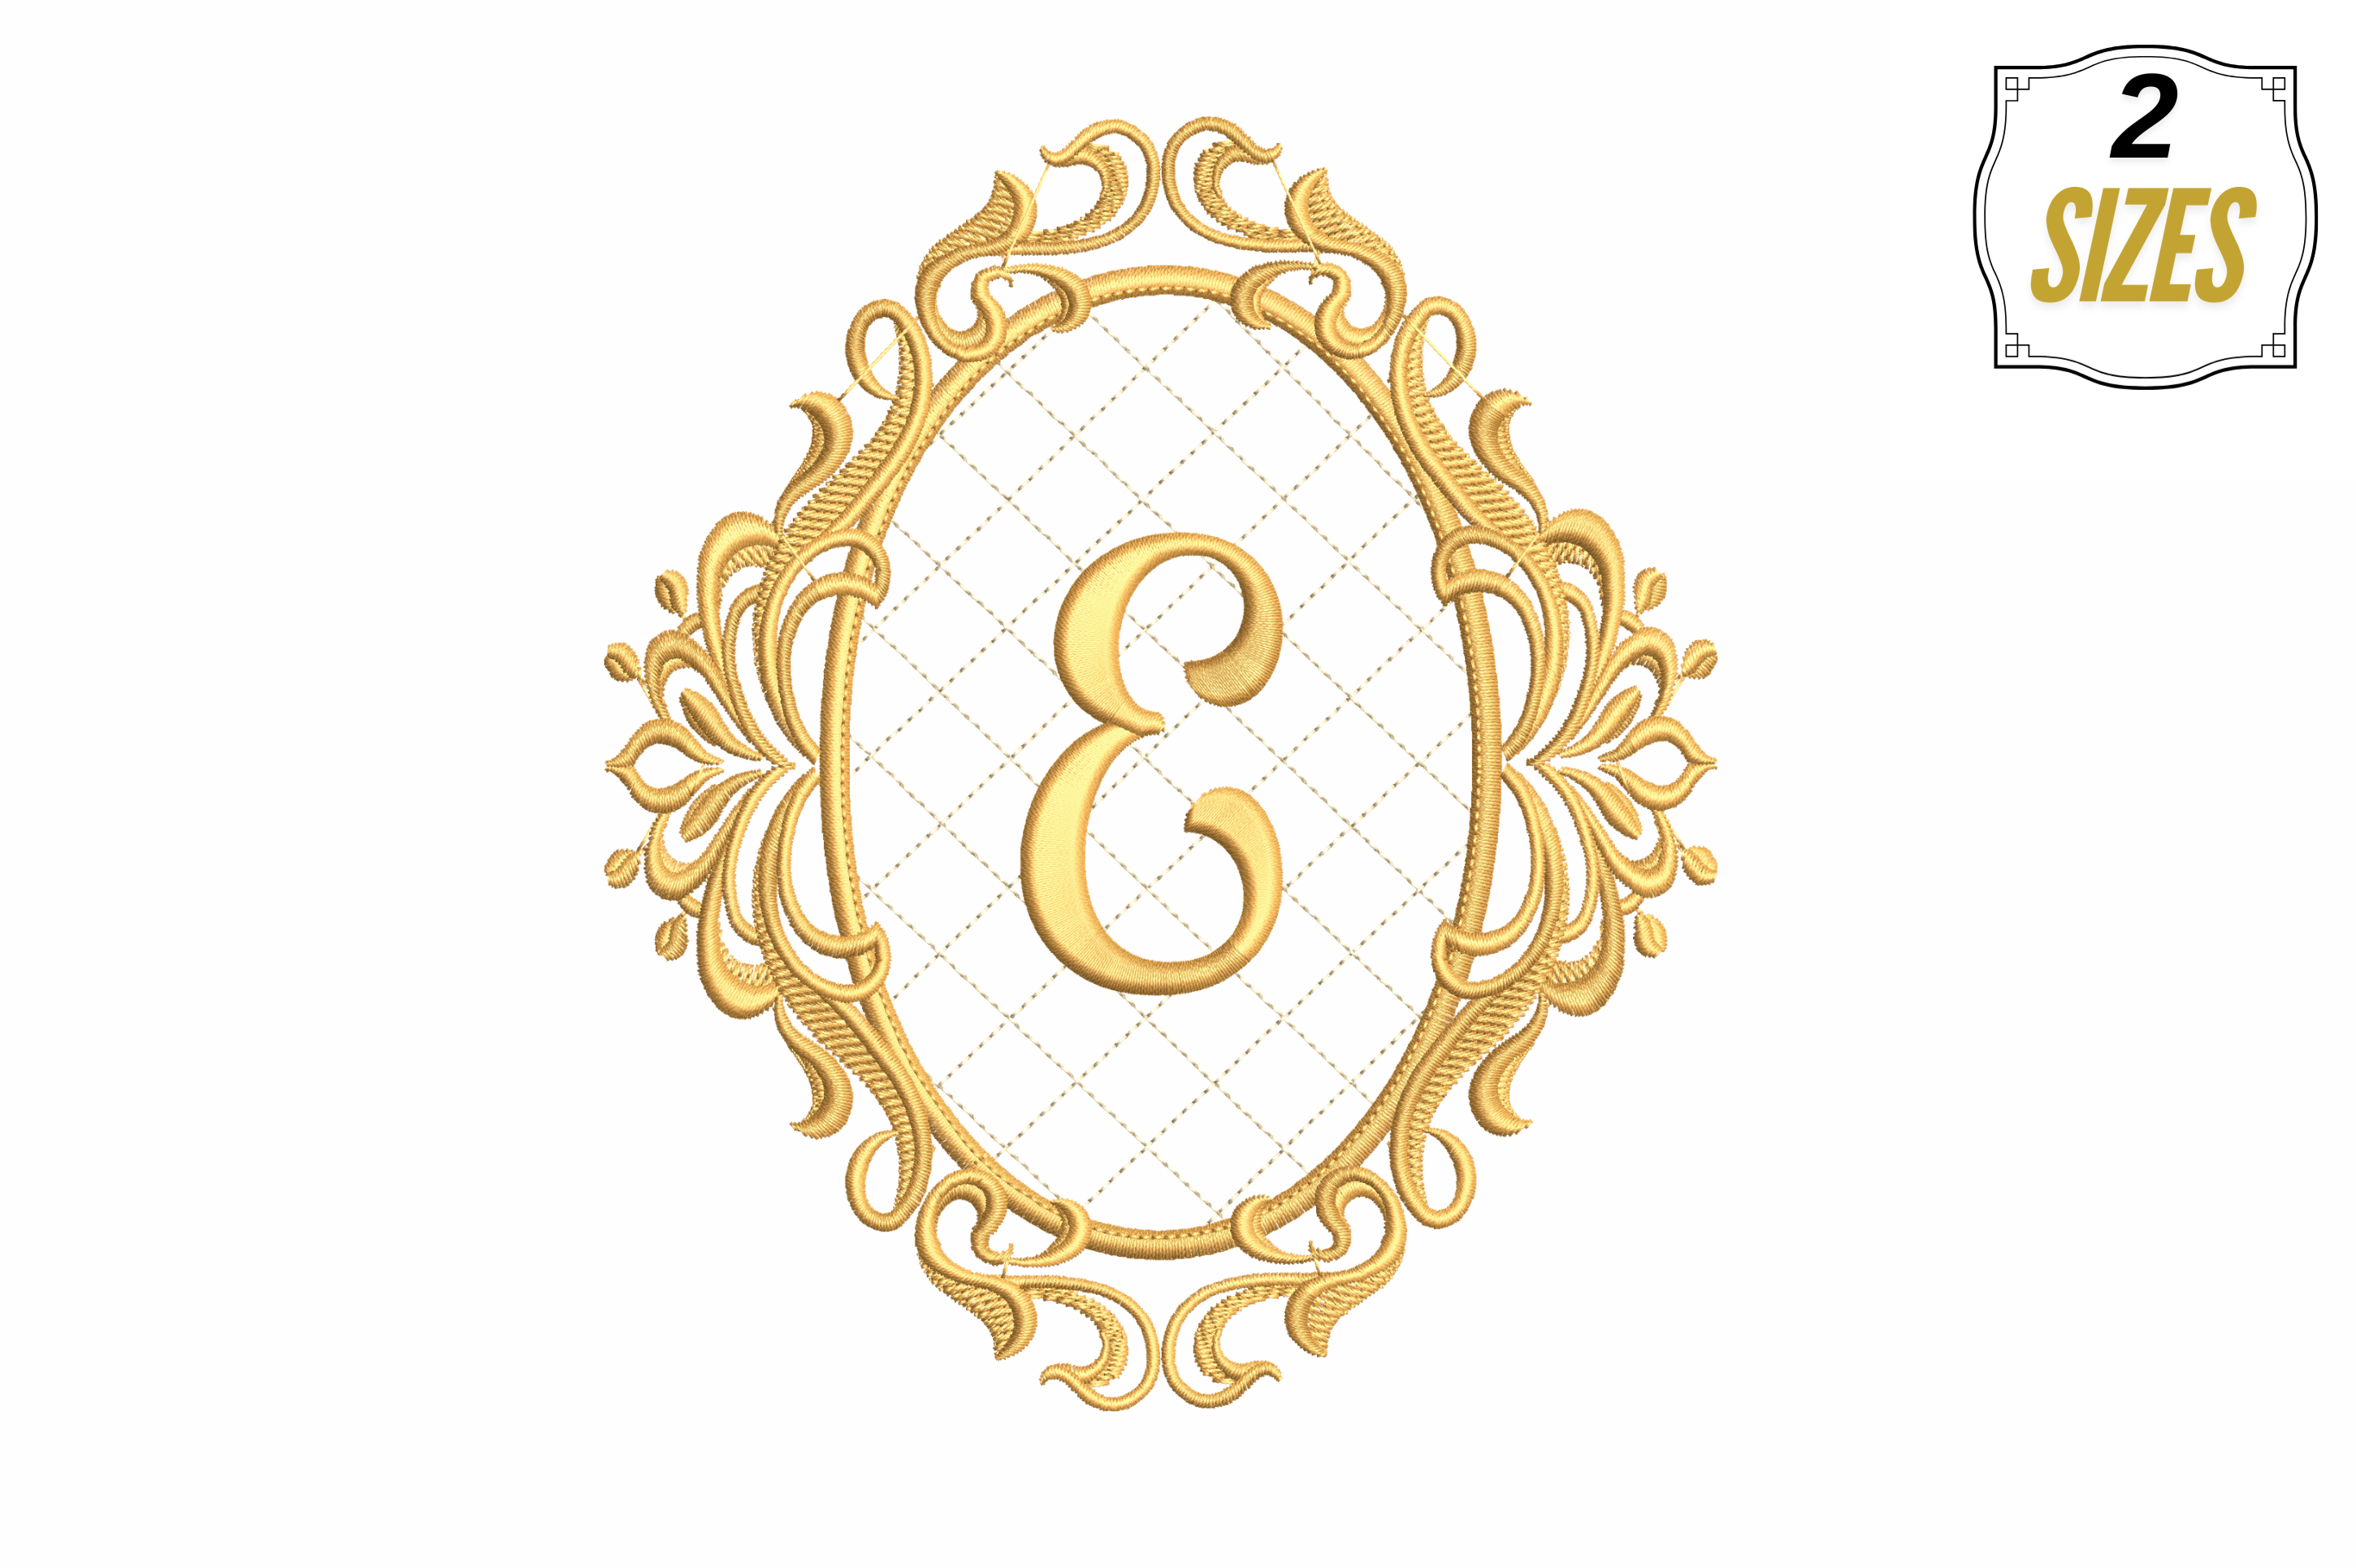
Letter E in a Beautiful Frame
DSTEXPHUS

Cute Hedgehog Patch Embroidery Design
XXXHUSPES
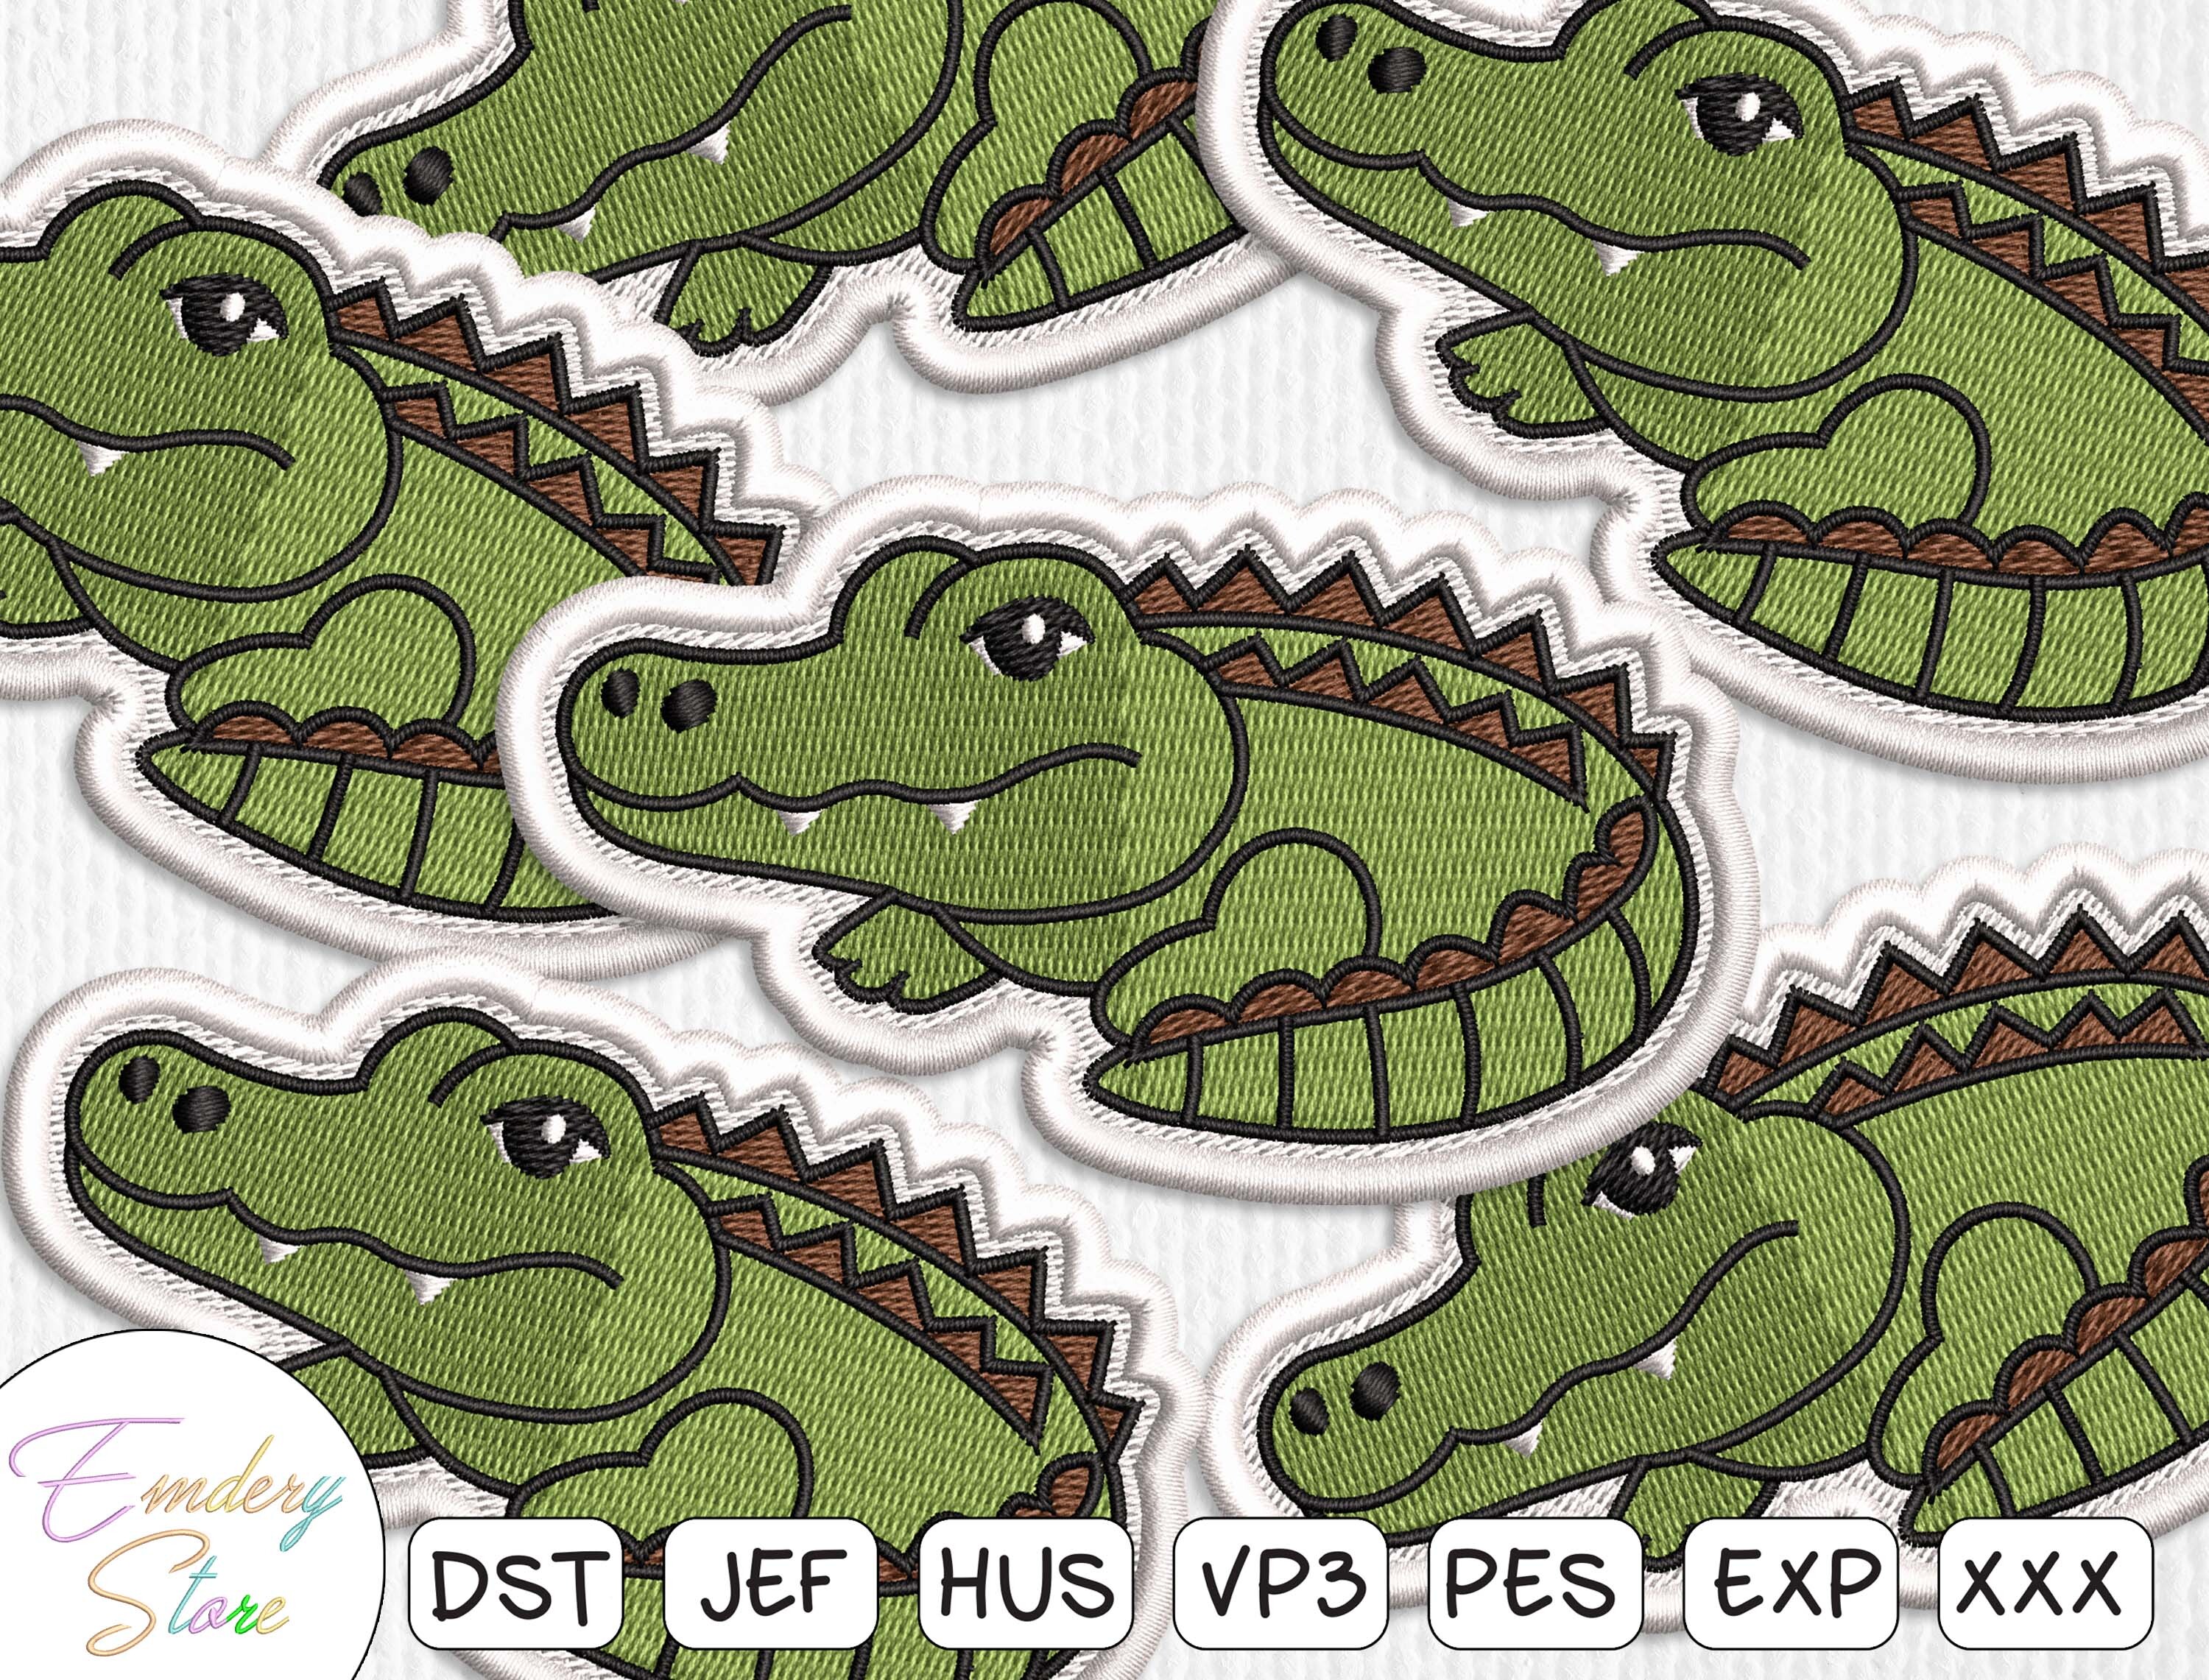
Alligator Patch Embroidery Design
HUSXXXART
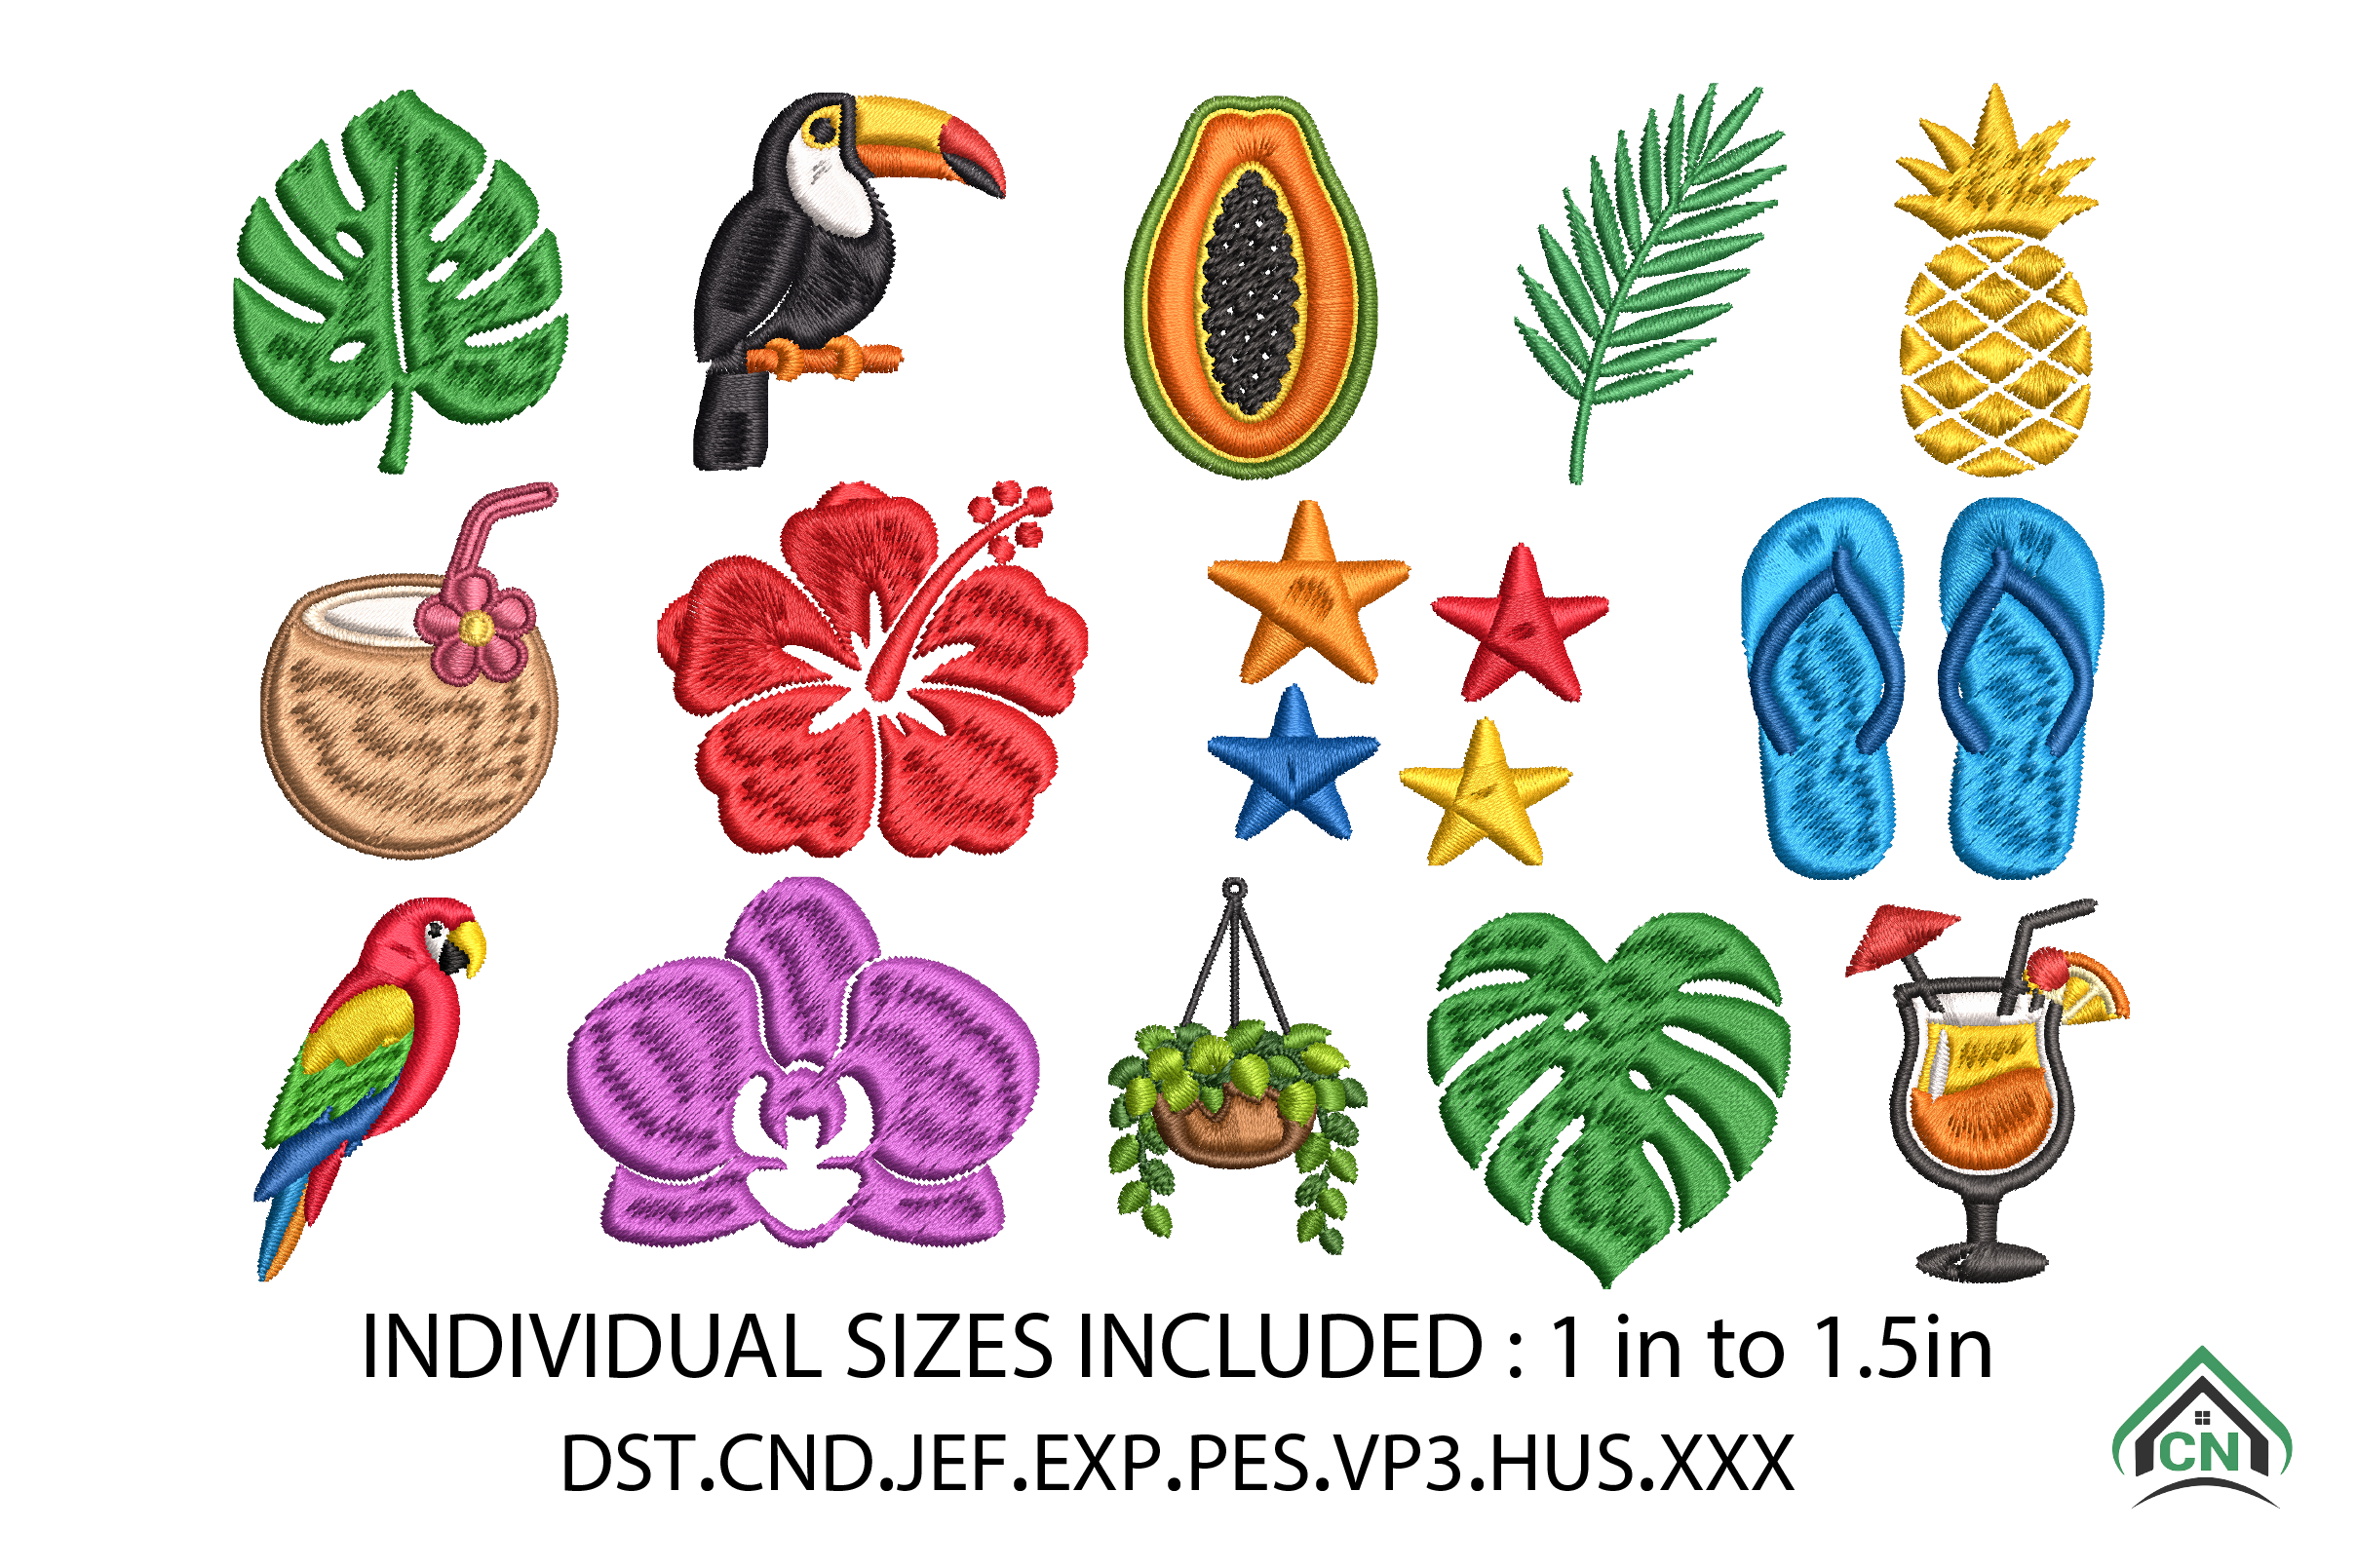
Tropical Summer Mini Embroidery Bundle
DSTEXPHUS
Mini Flower Icons Embroidery Design
DSTEXPHUS

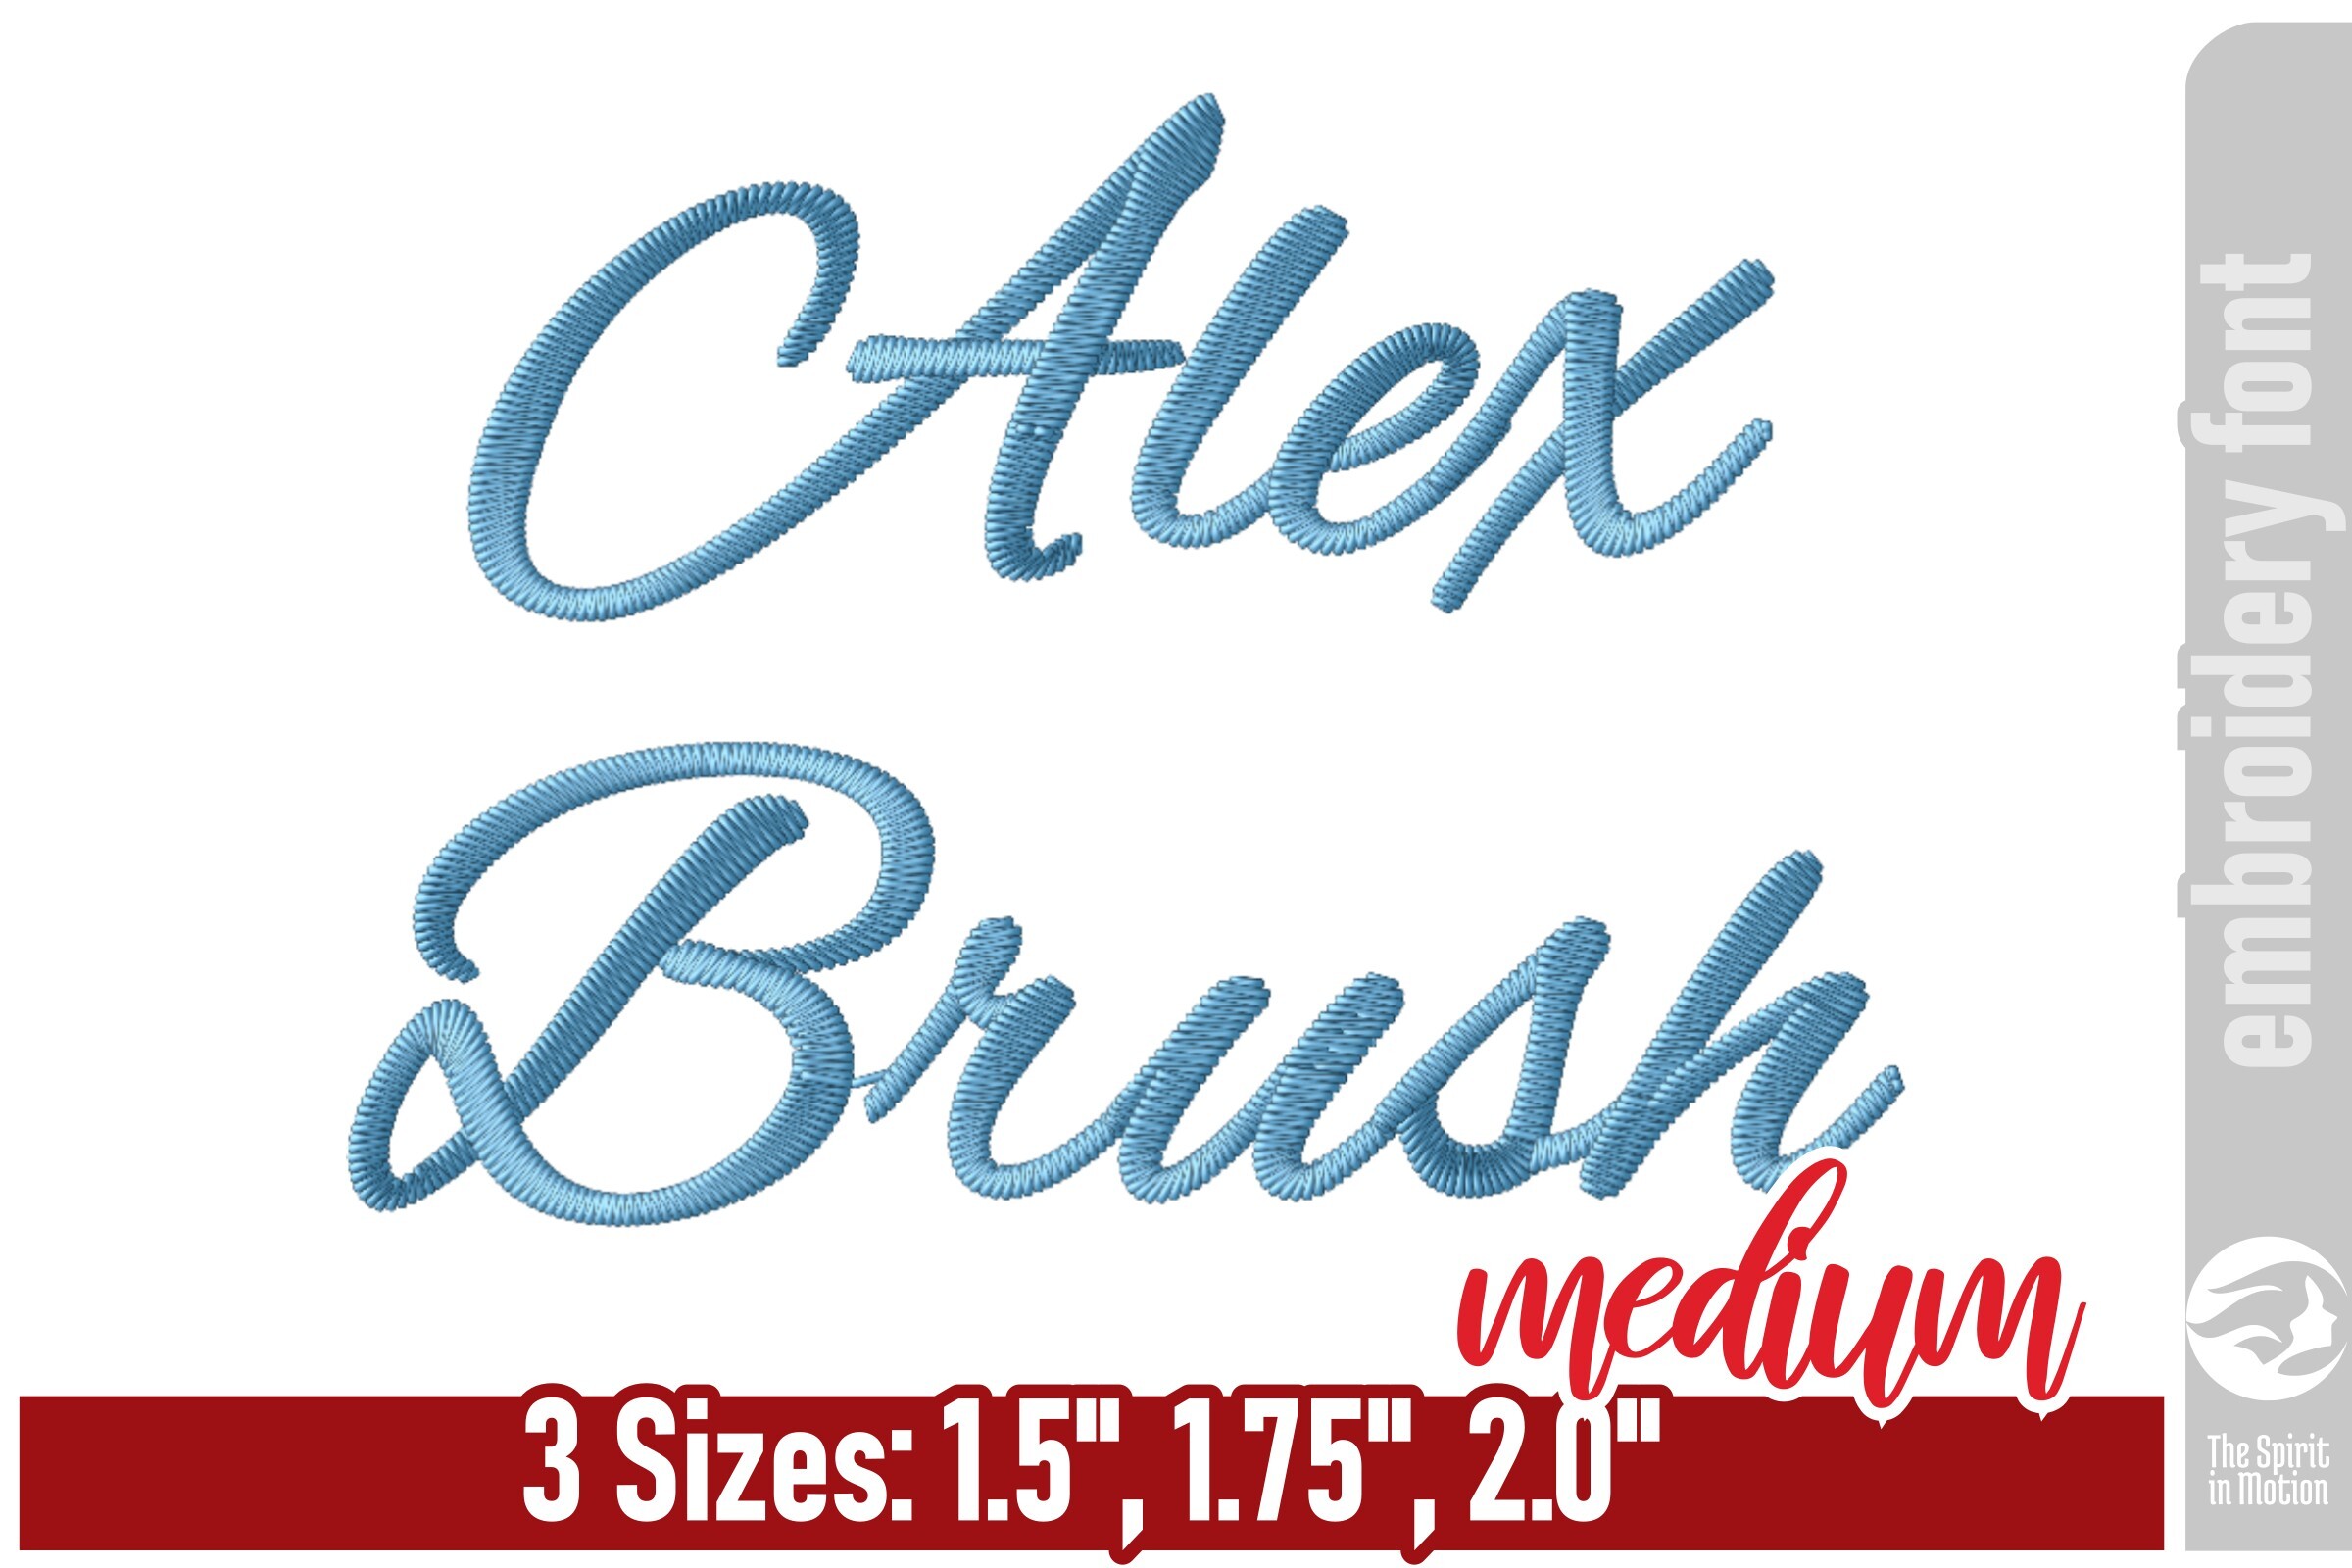
Alex Brush Script Embroidery Font - S
PES
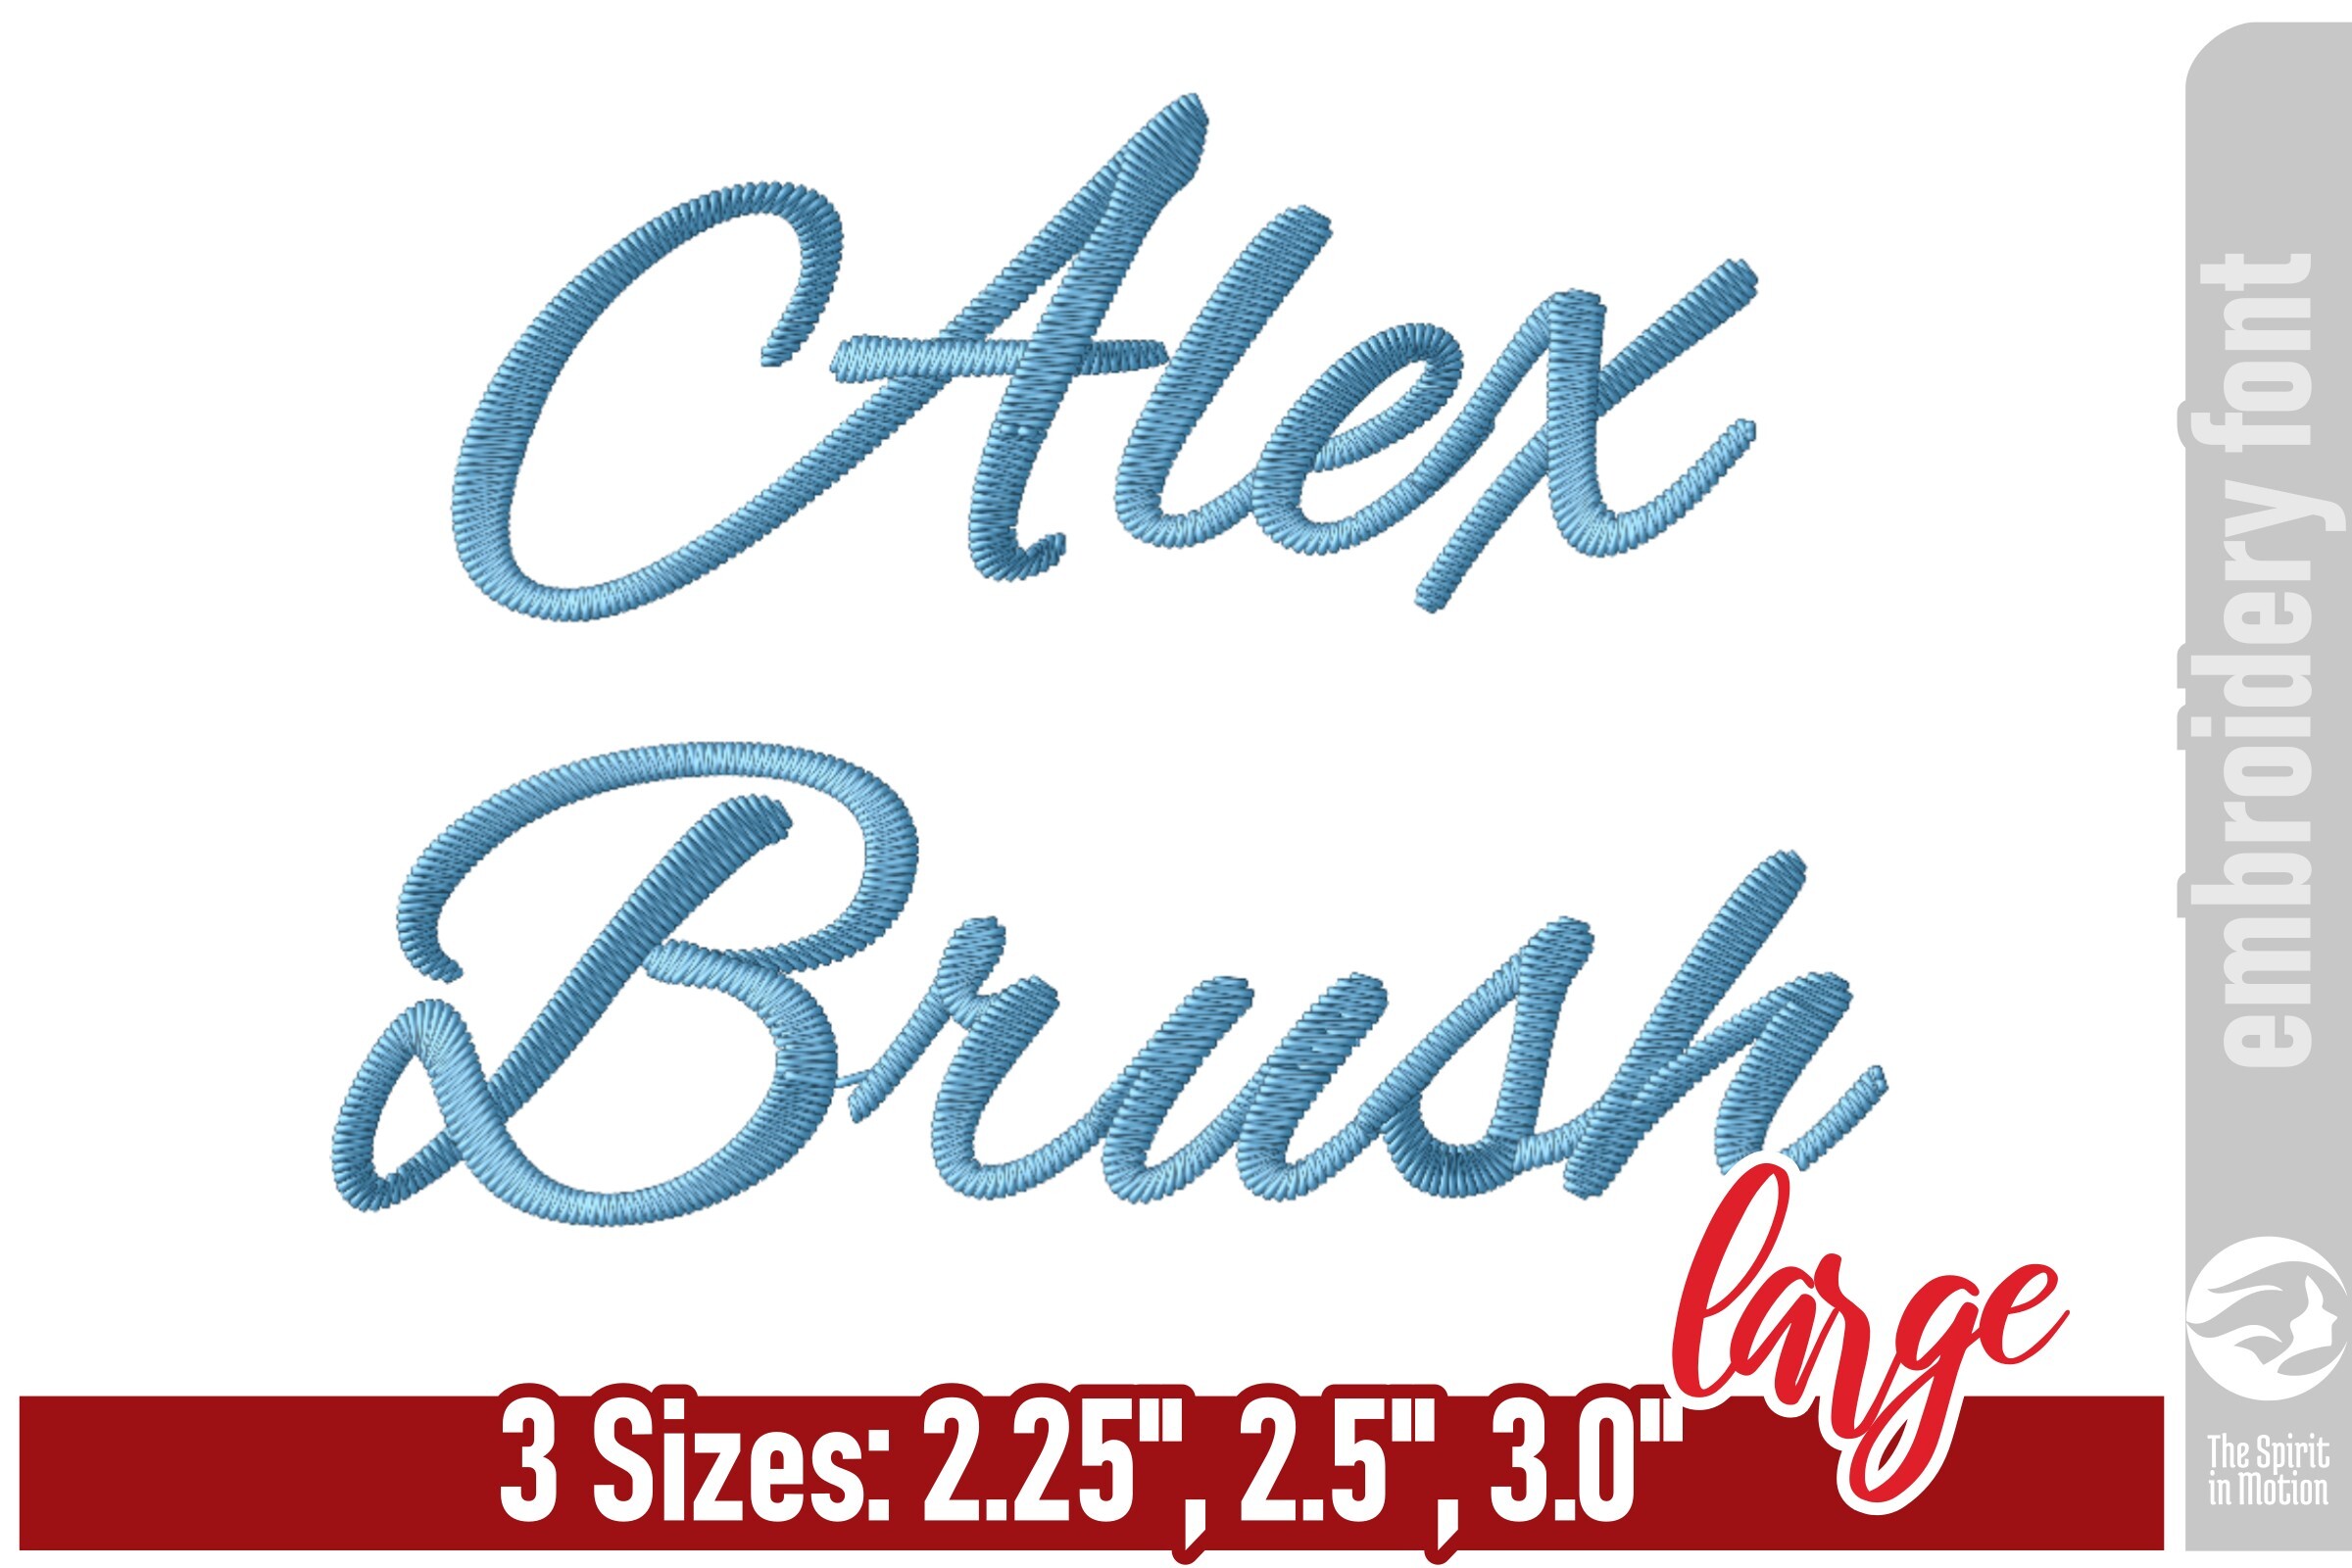
Alex Brush Script Embroidery Font - L
PESJEF
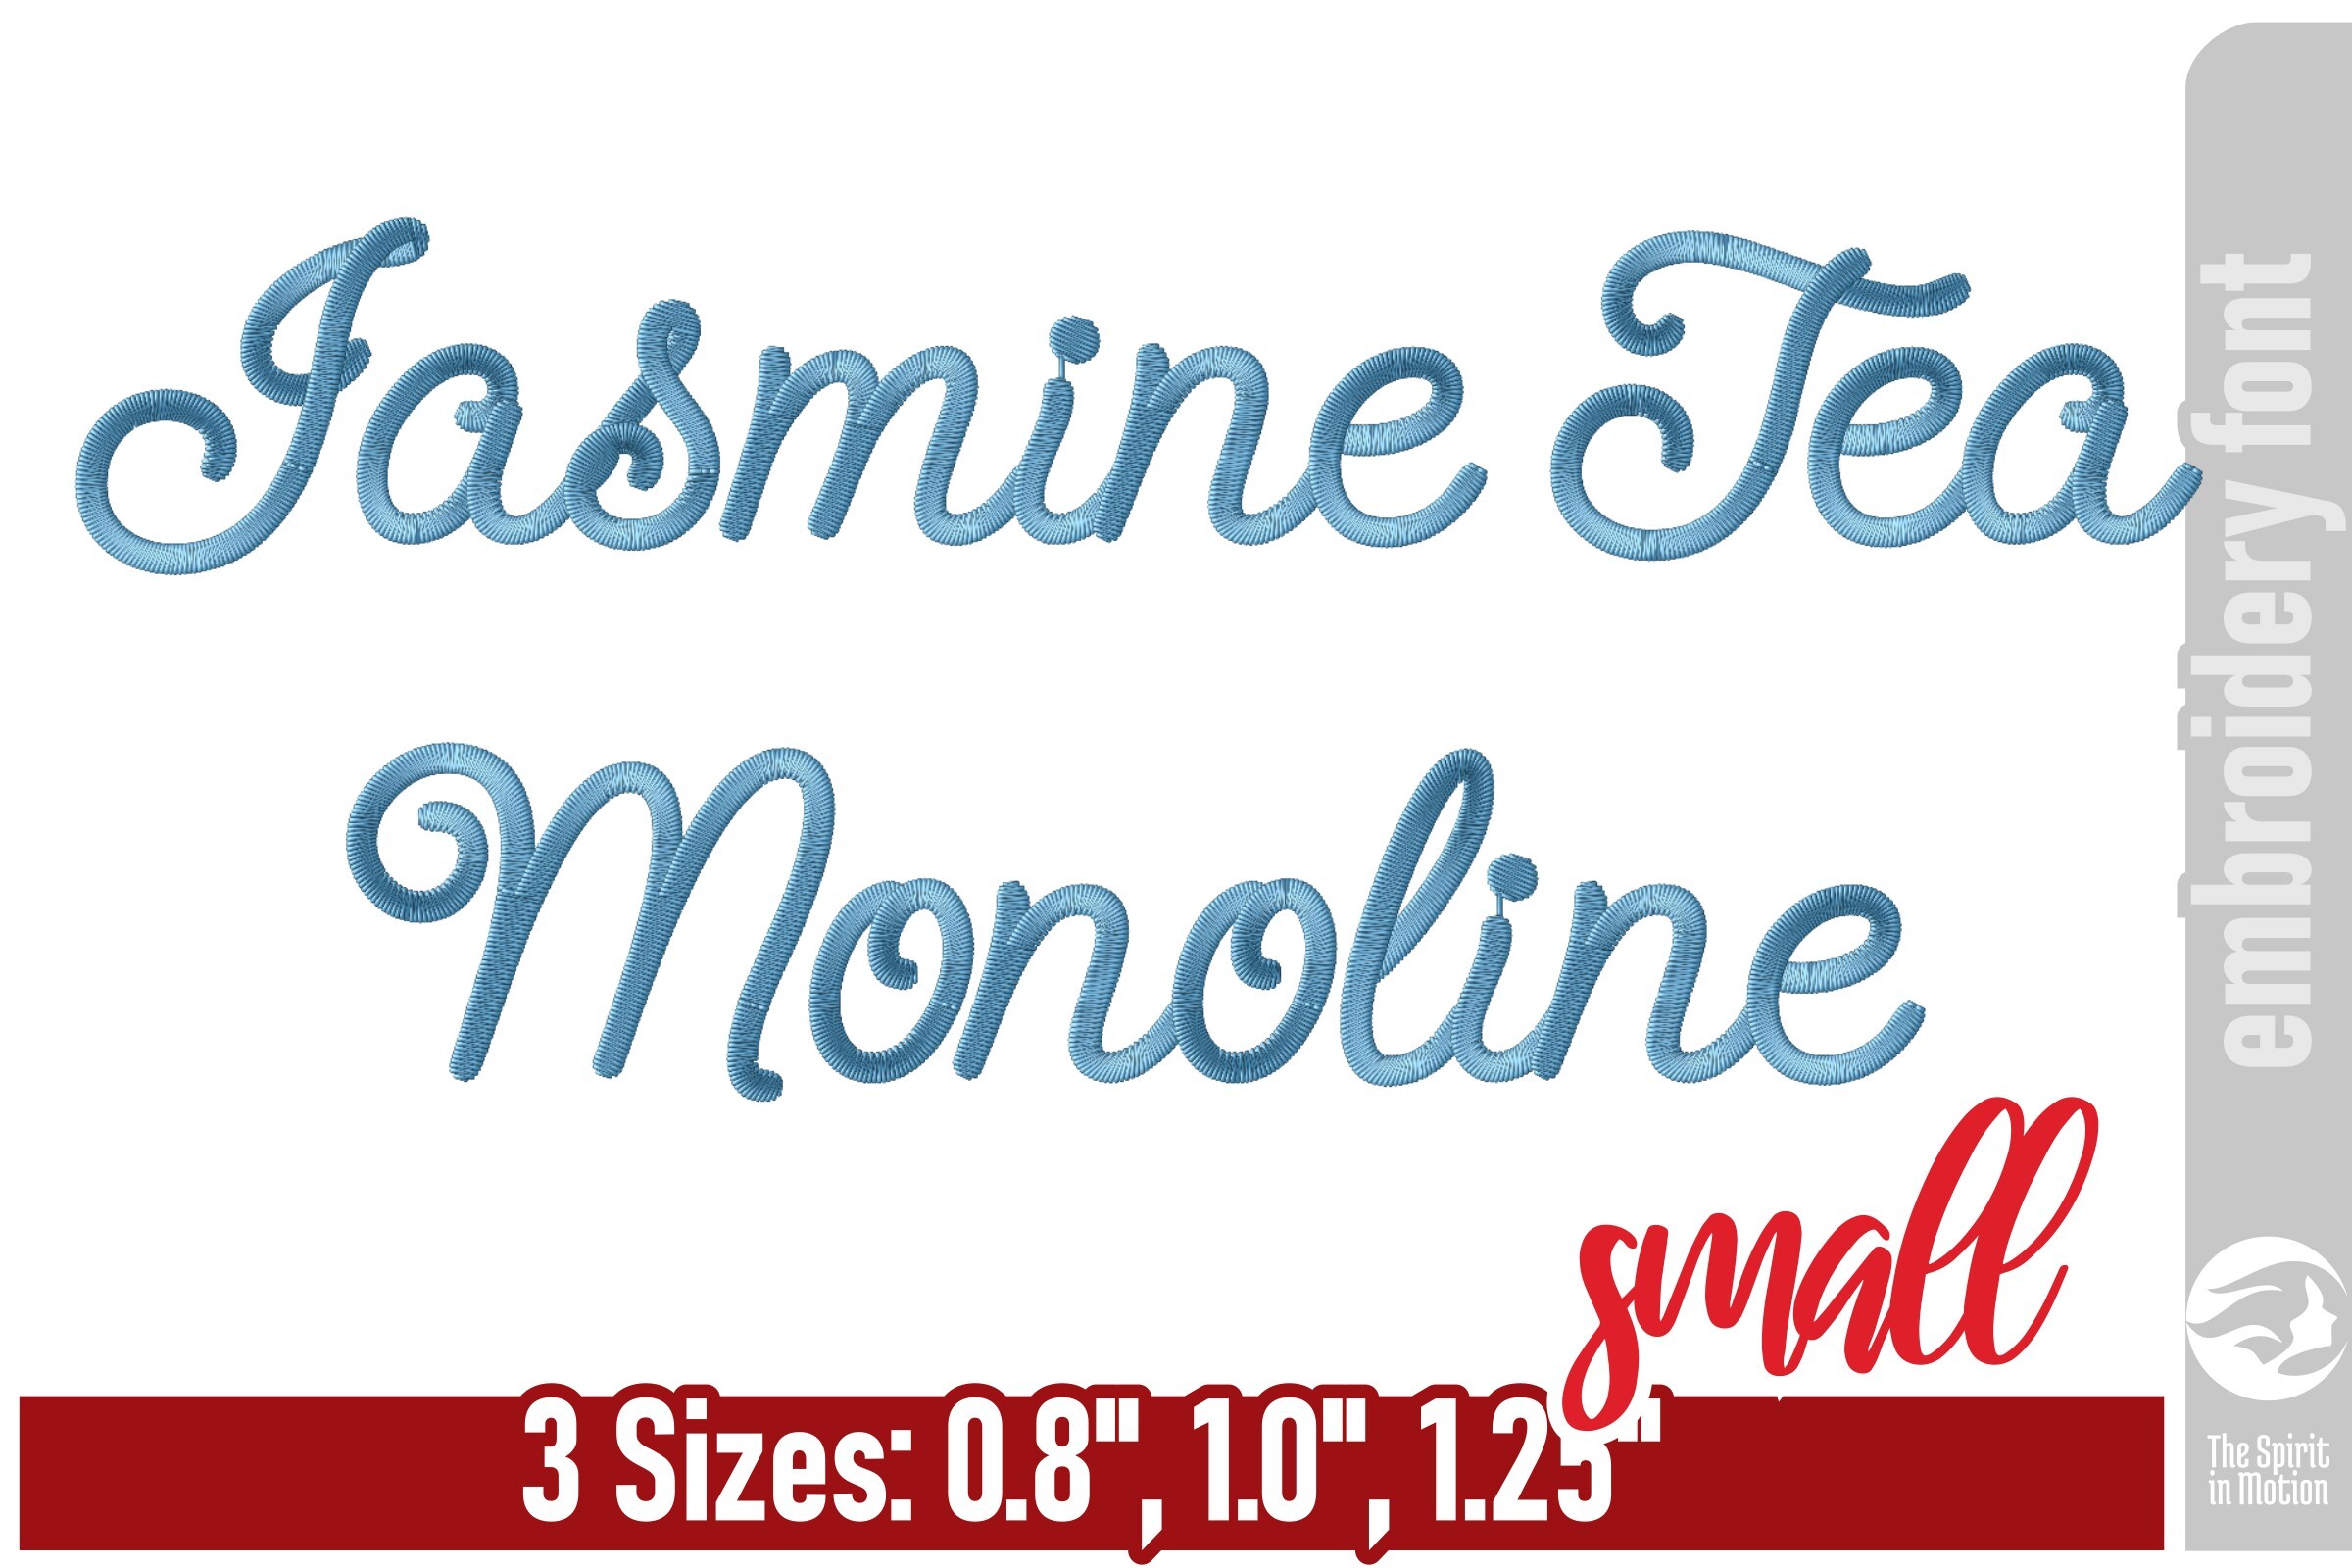
Jasmine Tea Monoline Embroidery Font - S
PES
Alex Brush Script Embroidery Font - M
PES