← Back to catalog
Get Embroidery Floss Bracelets Tutorials Psd
Search results ranked by title, tags, category, designer, format, and description relevance.
Can't Get Enough Embroidery Font
PES
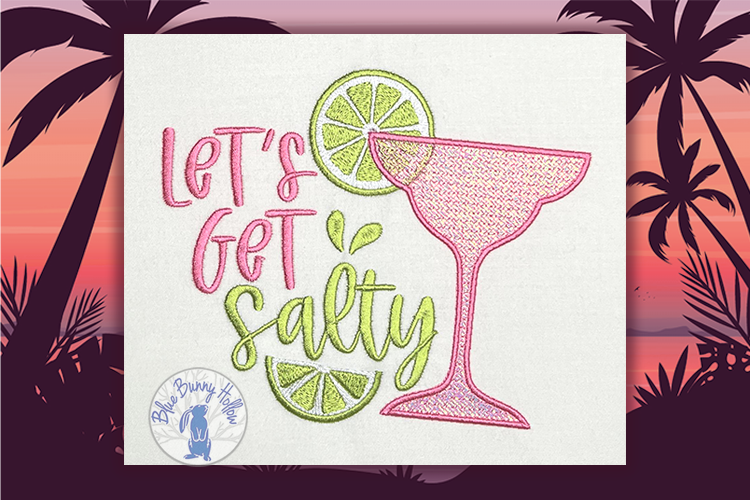
Let's Get Salty
DSTEXPHUS
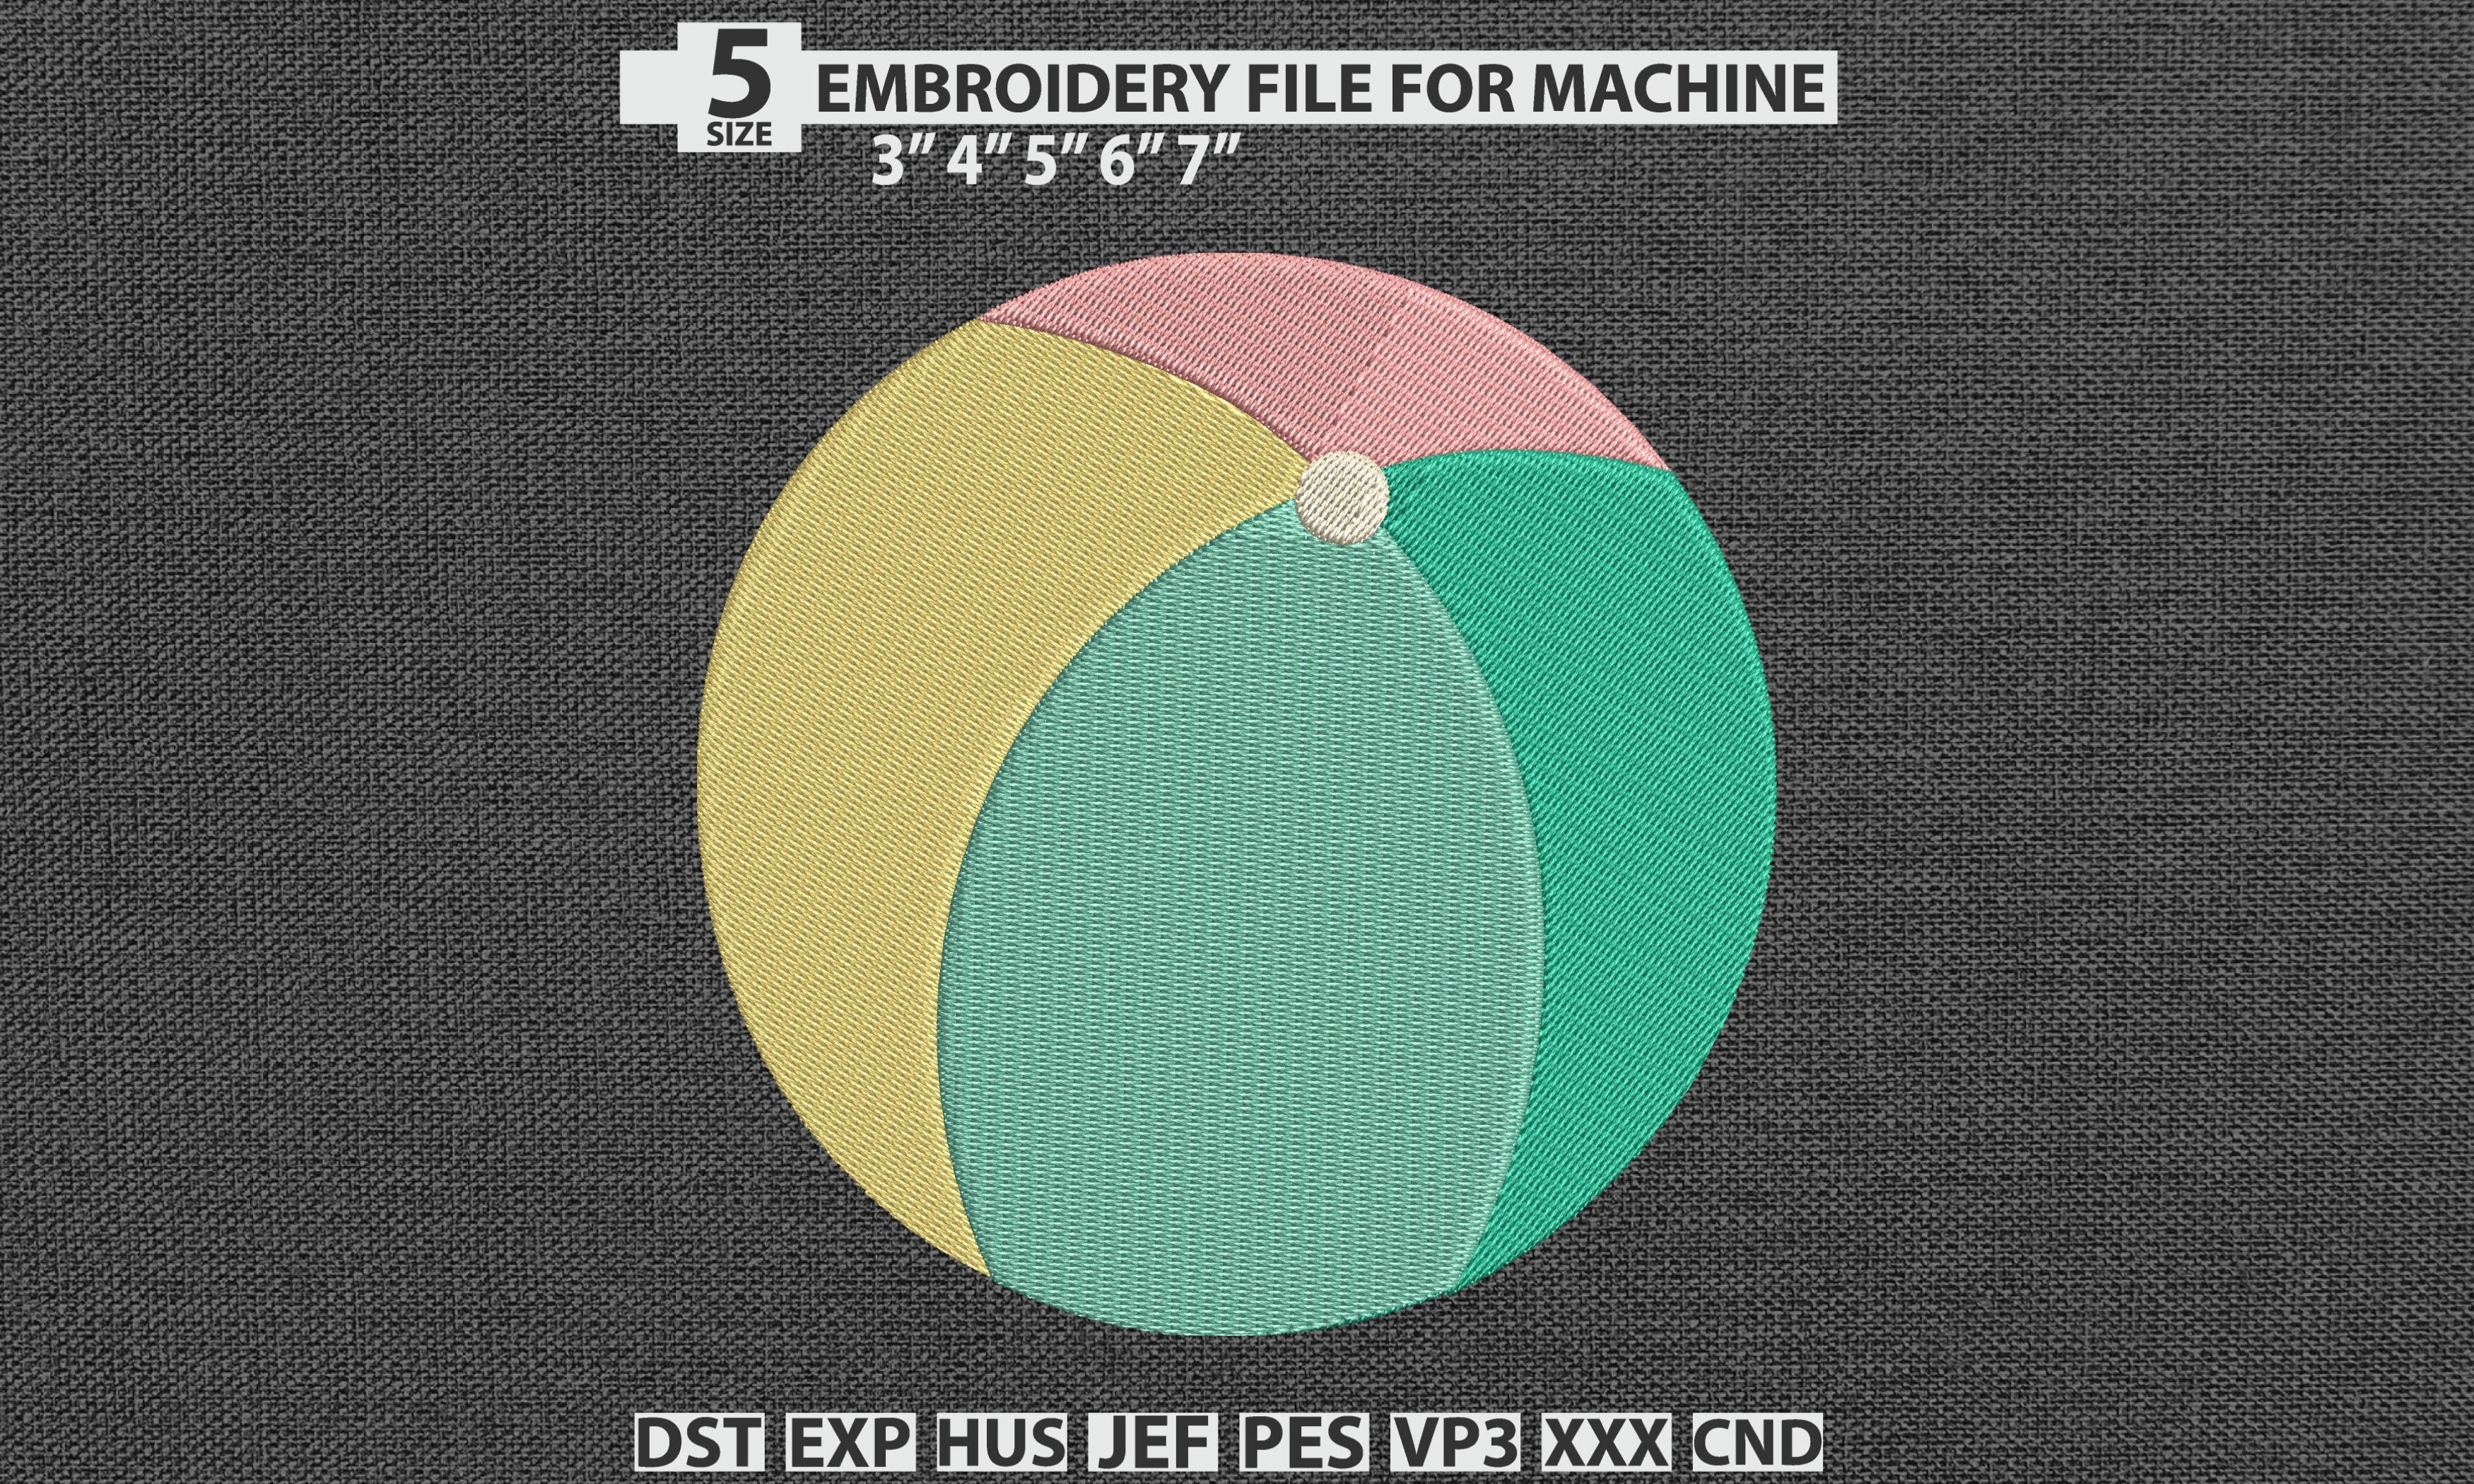
Beach Ball DST PES Pattern Summer Word
DSTPESEXP
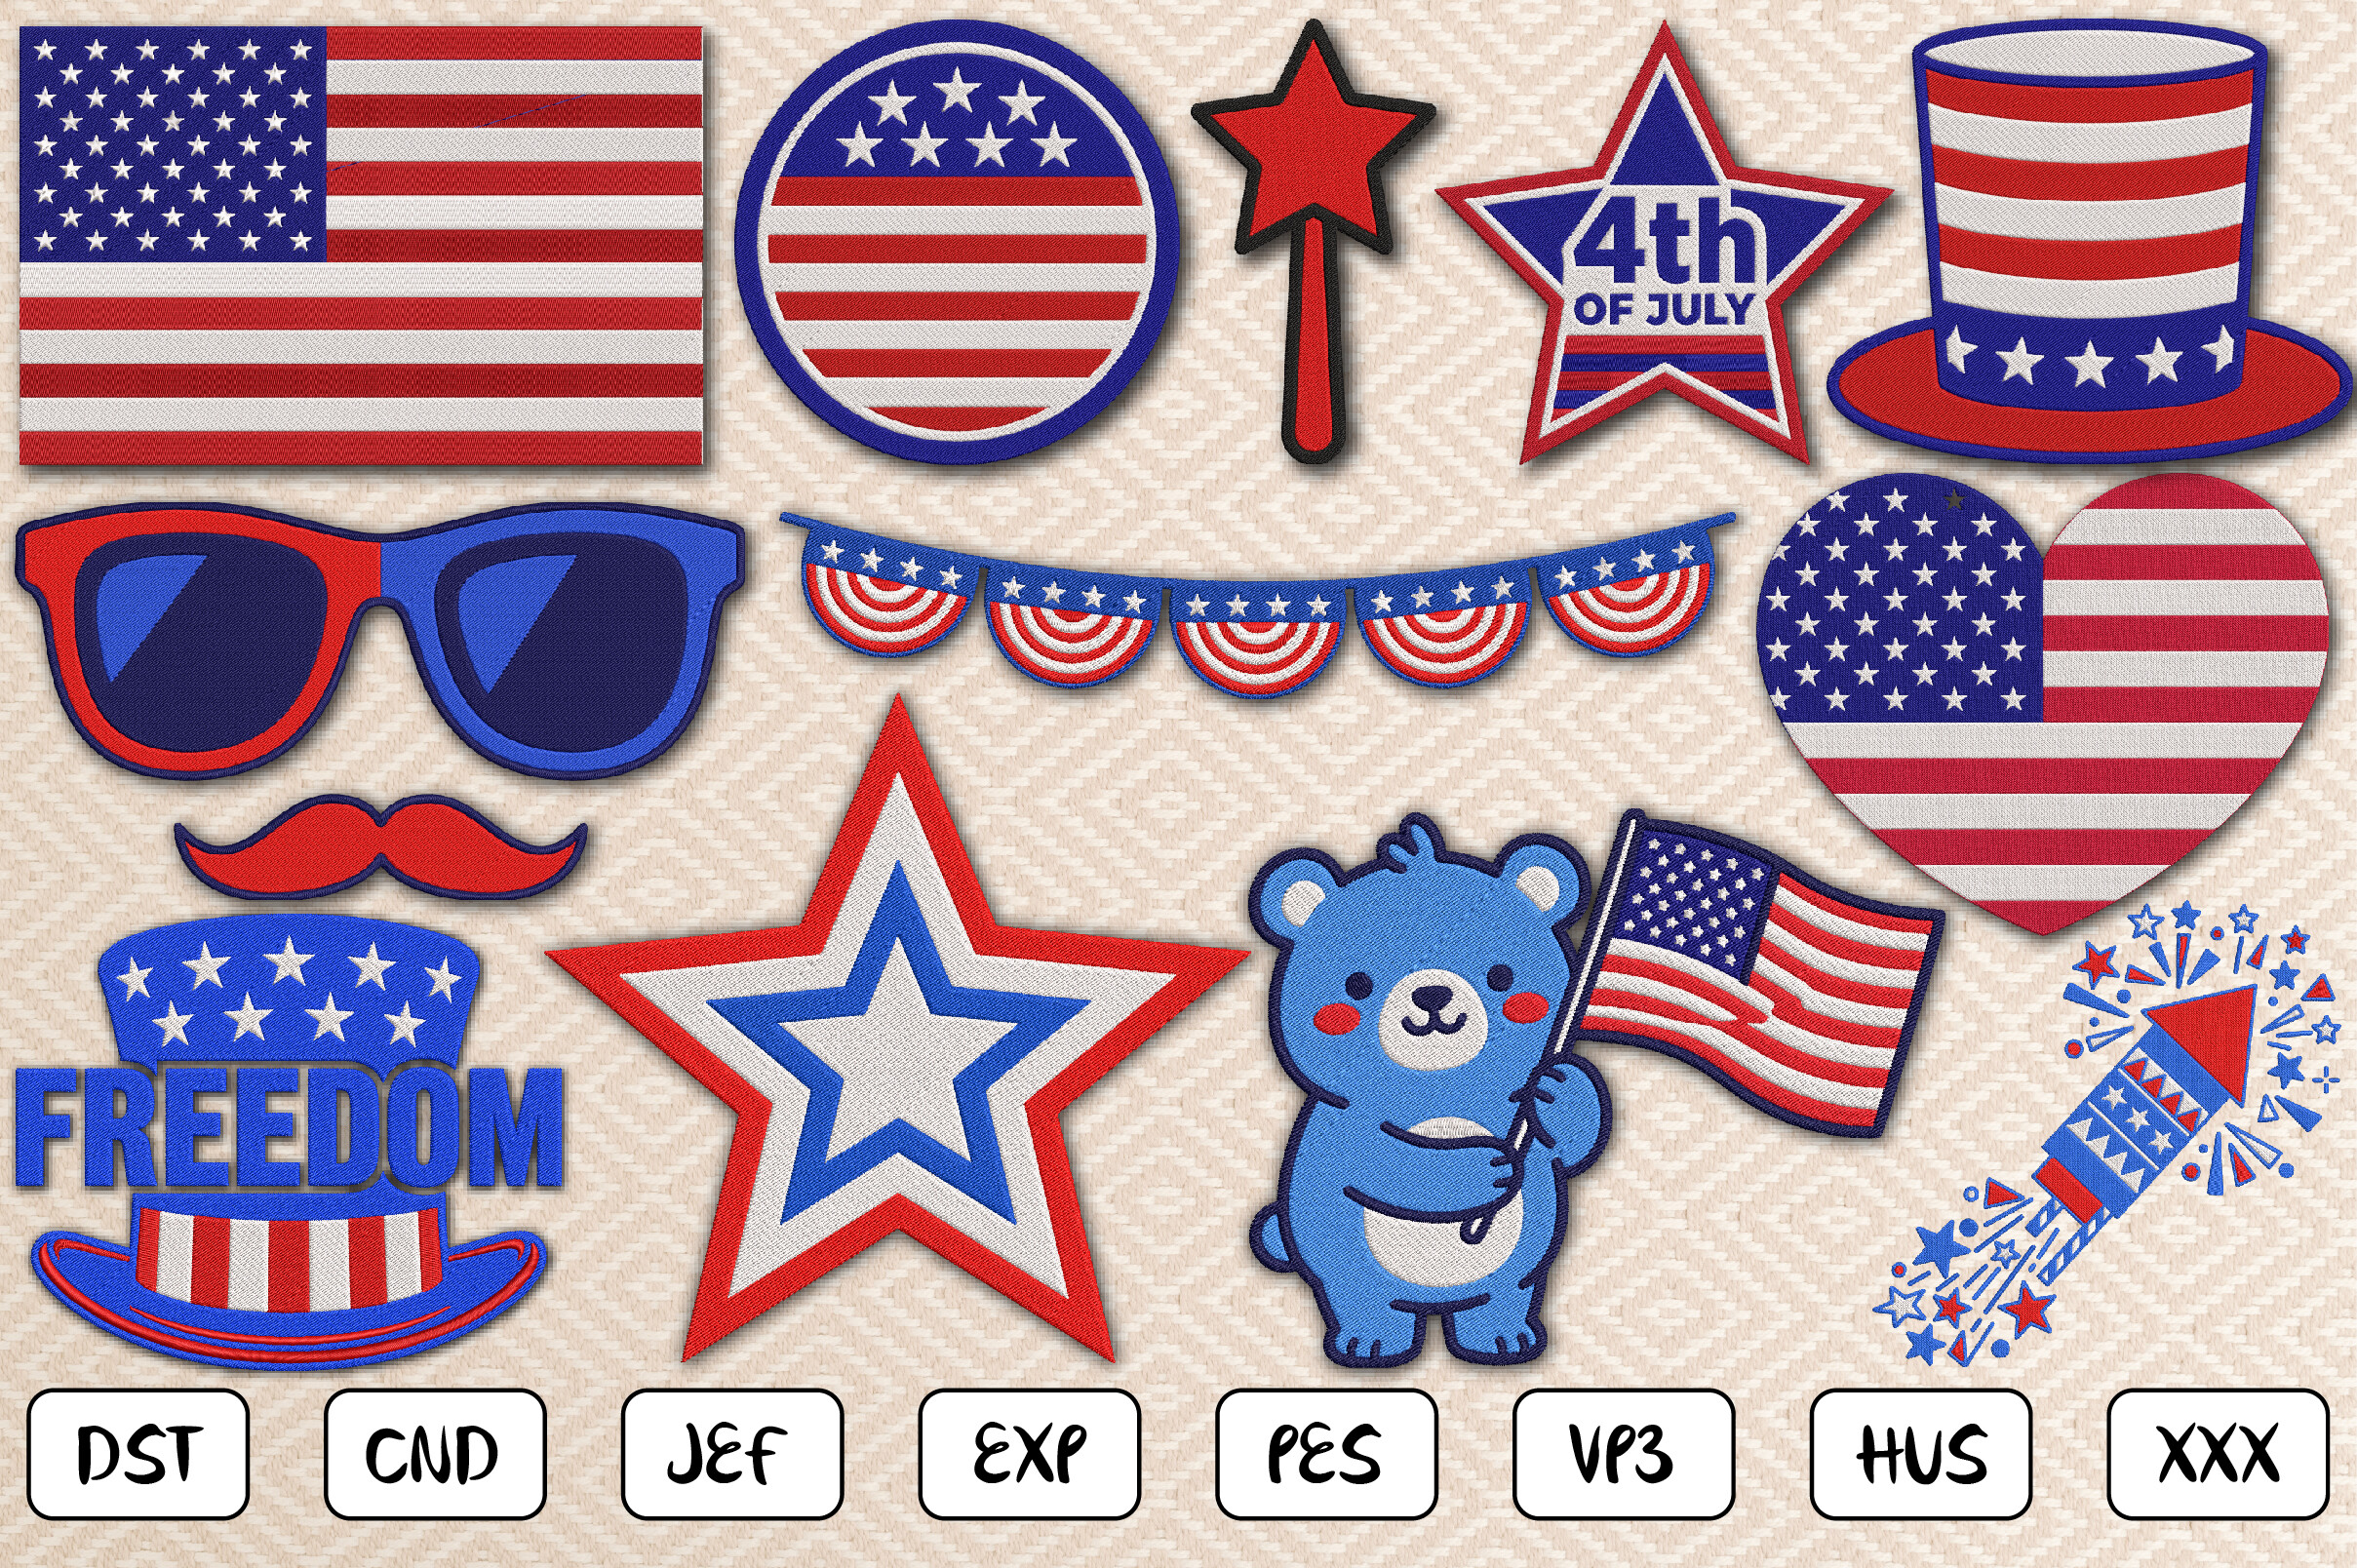
4th of July Embroidery Bundle
XXXDSTEXP
Retro Stacked Summer Embroidery
DSTEXPHUS
Vacay Mode DST PES Embroidery Designs
DSTPESEXP

Tangled Christmas Lights "HO HO HO"
DSTEXPHUS
Pickleball
DSTEXPHUS

Coastal Summer Beach Vibes
DSTEXPHUS
Christmas Winter Unicorn
DSTEXPHUS
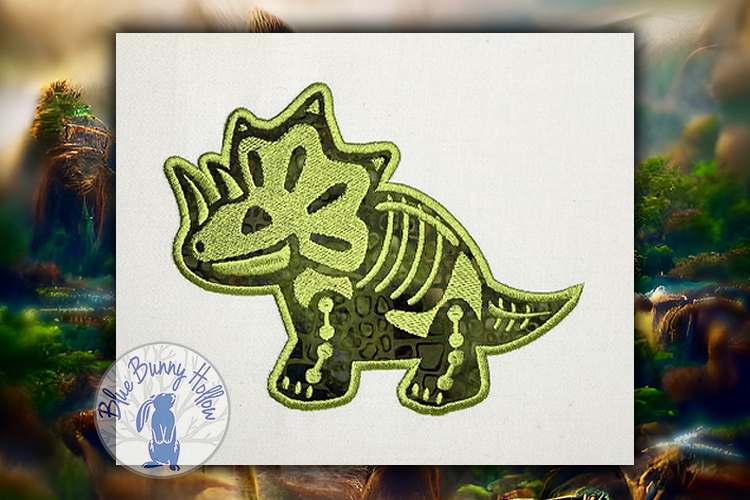
Dinosaur
DSTEXPHUS
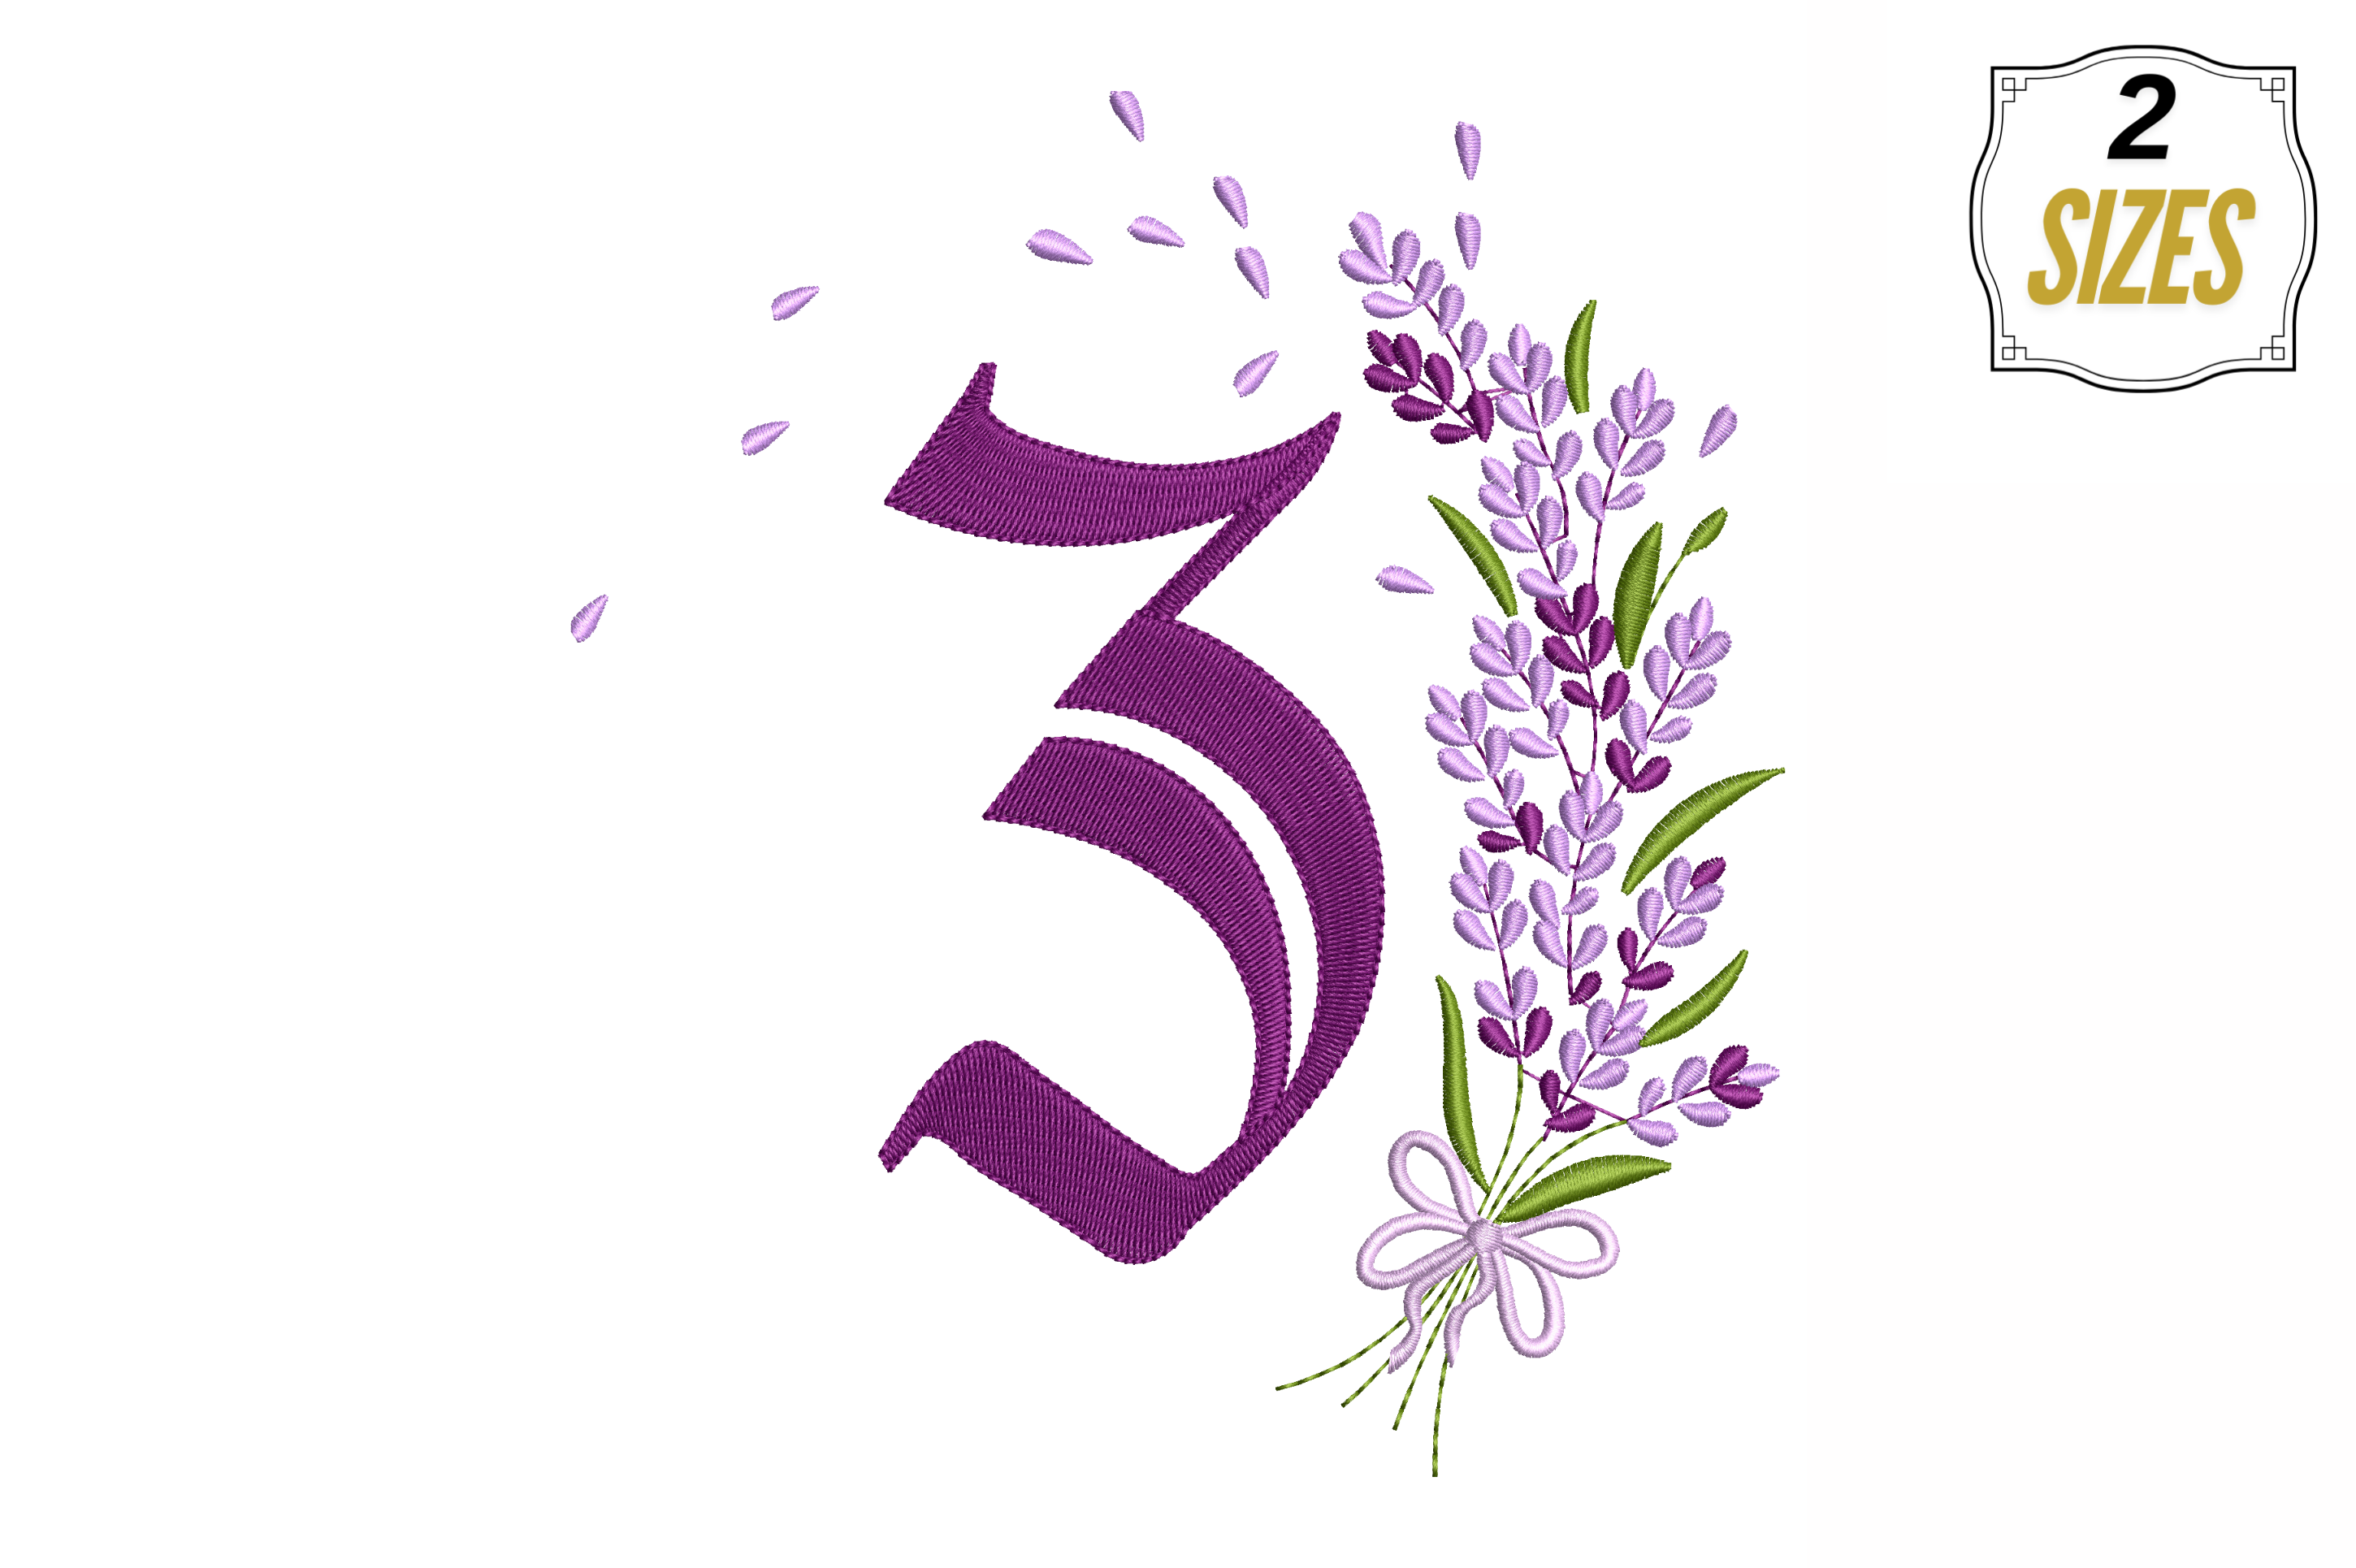
Letter Z
DSTEXPHUS
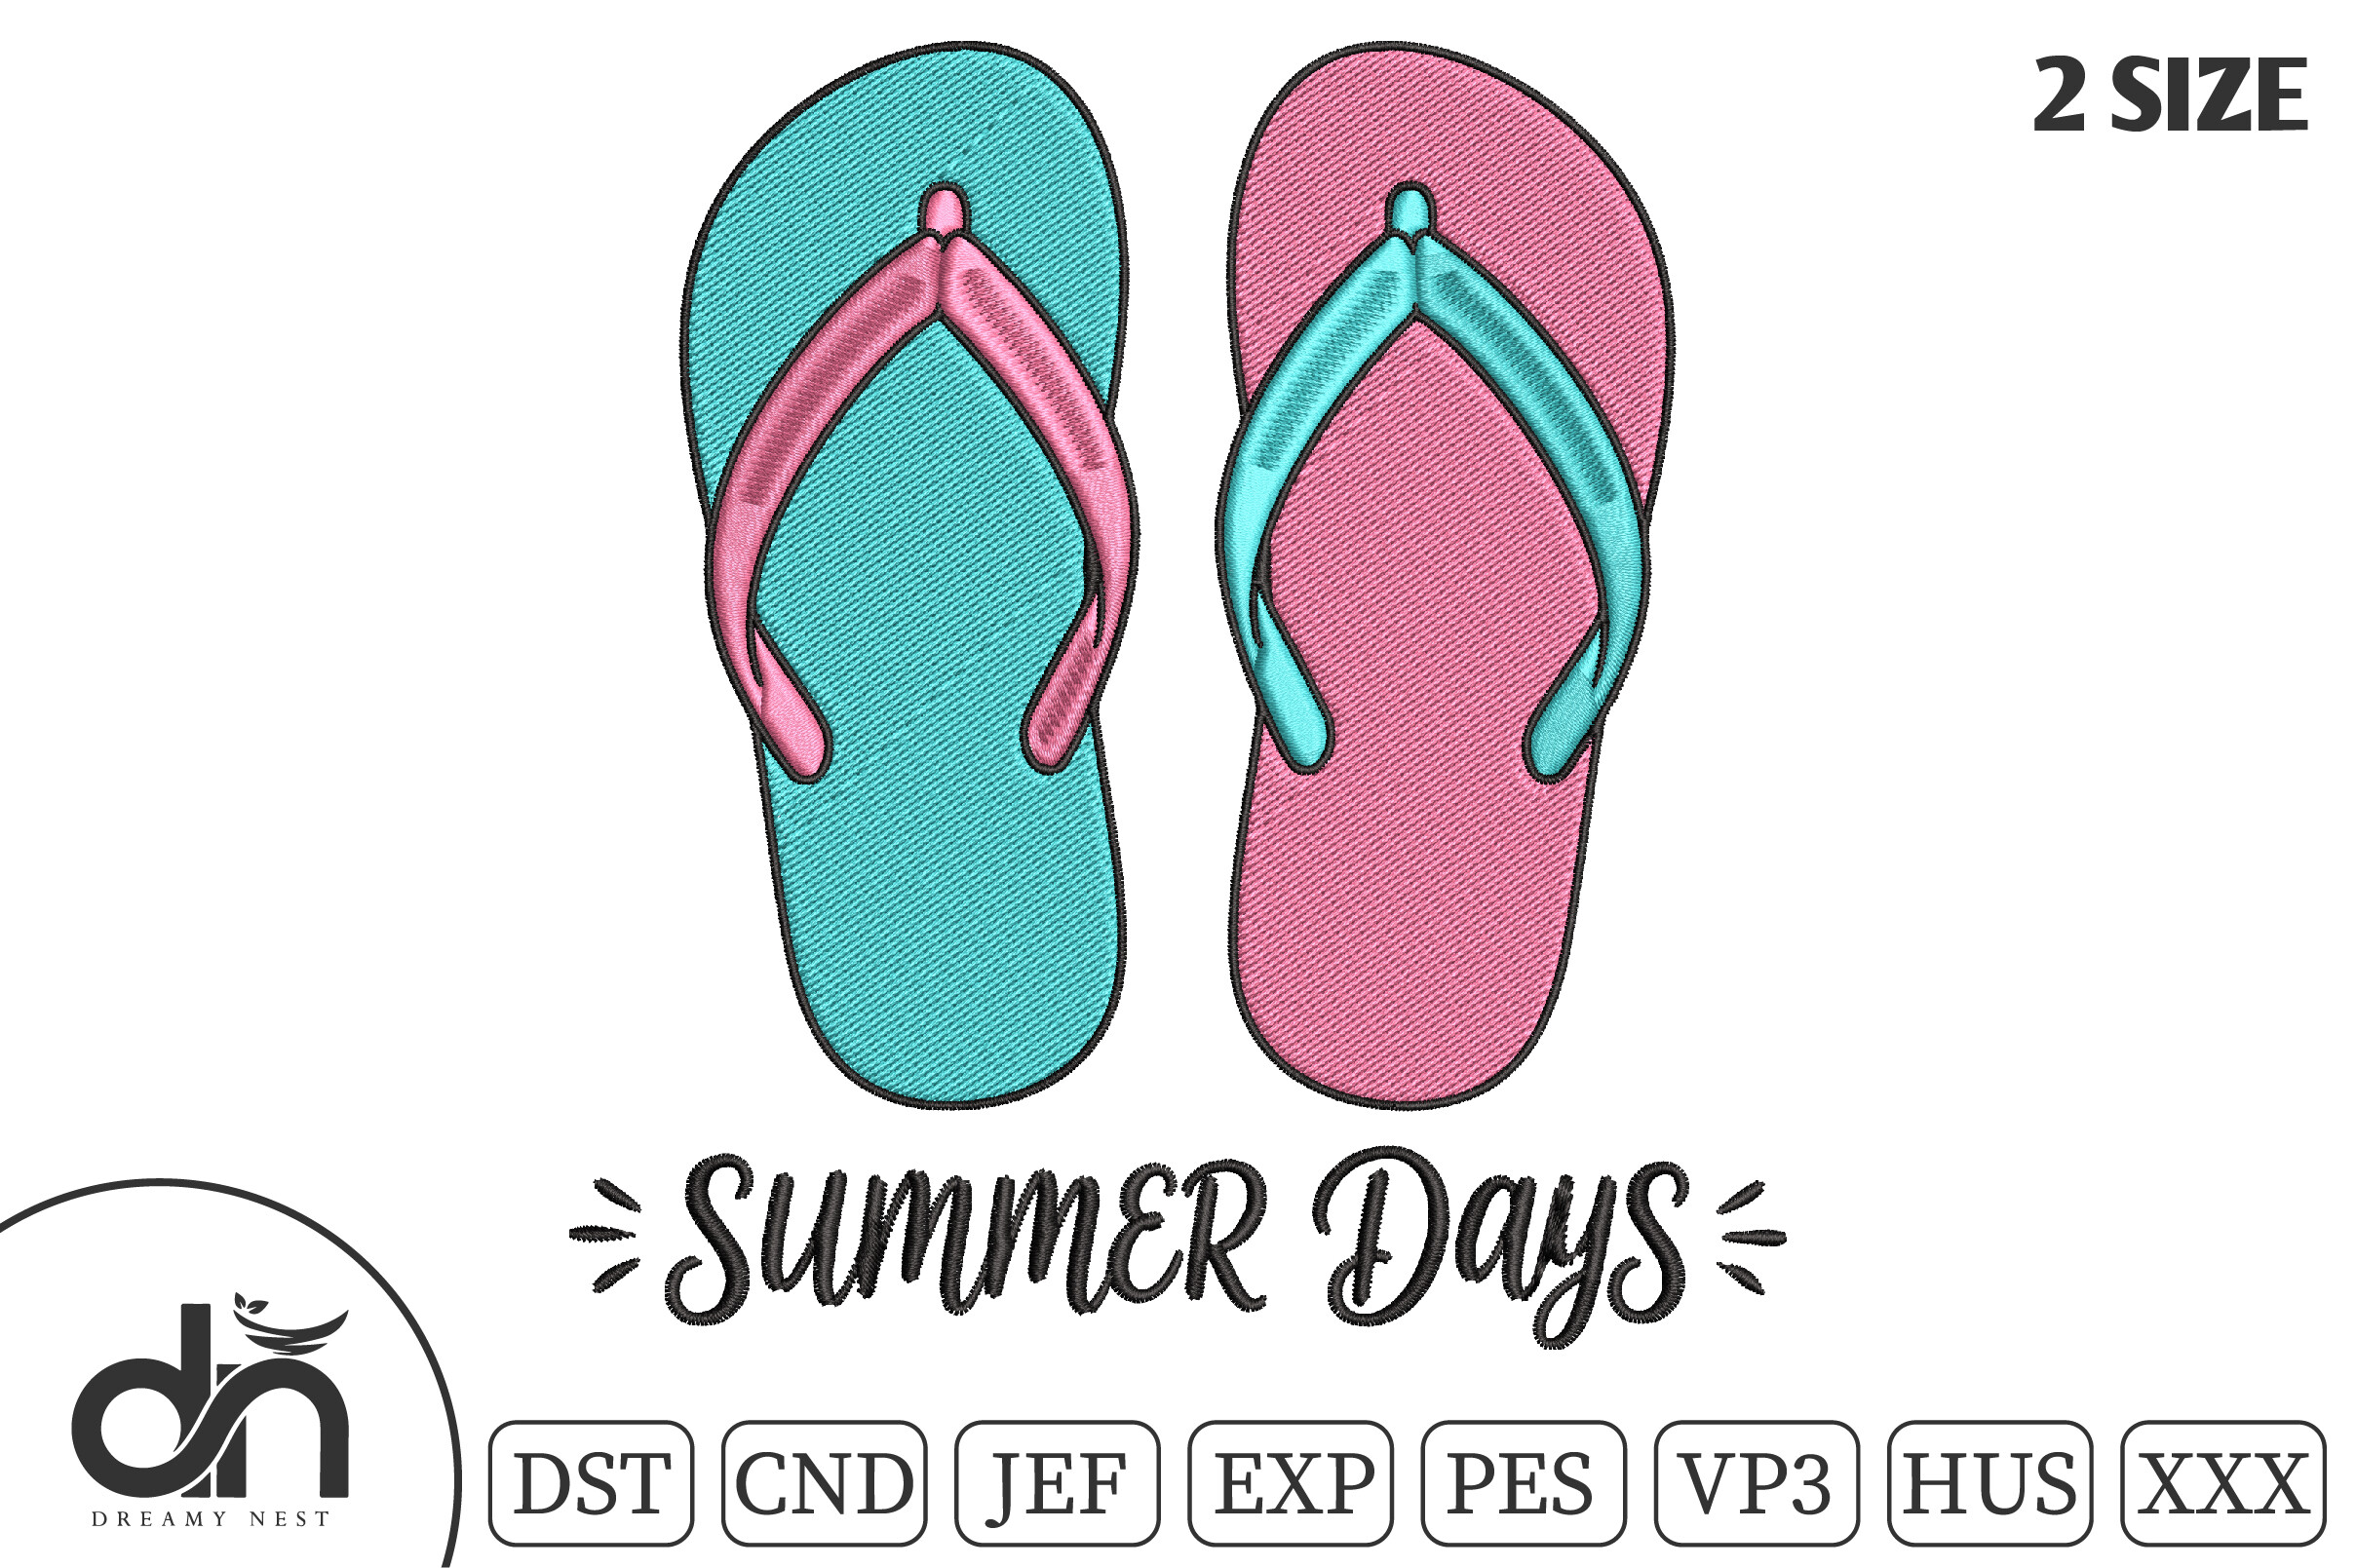
Summer Days Flip-Flops Embroidery
DSTEXPHUS
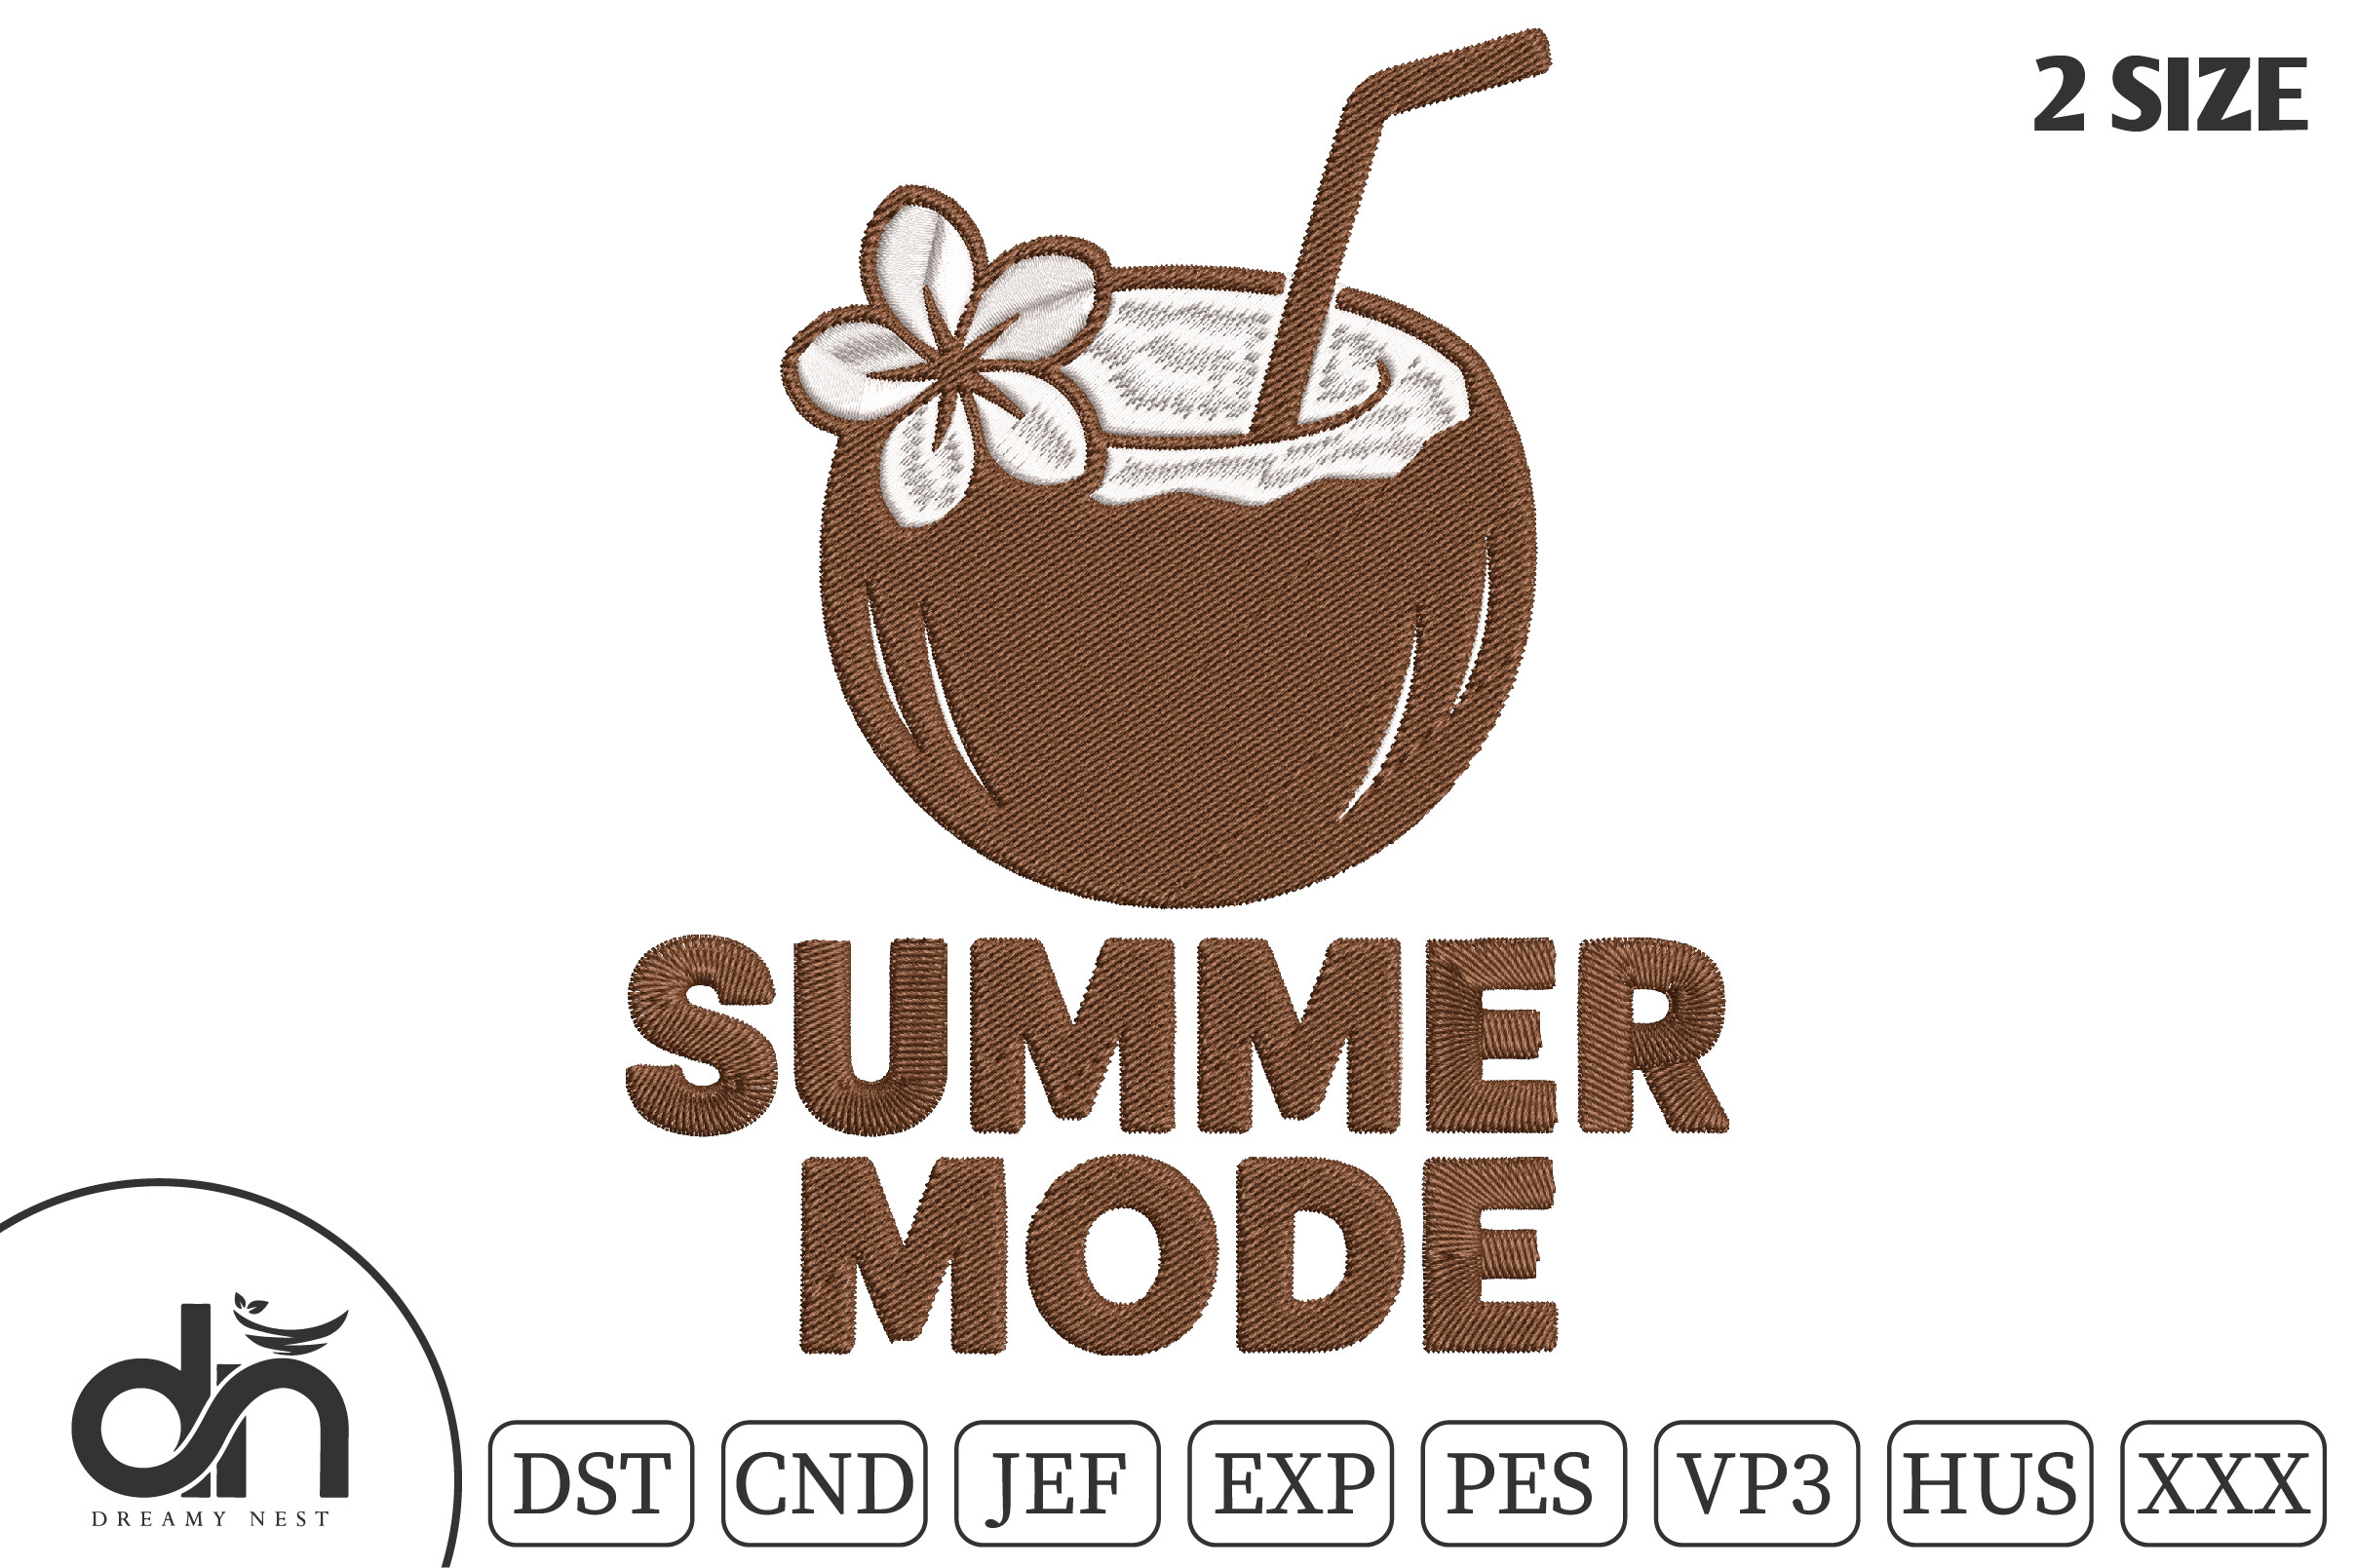
Summer Mode Coconut Drink Embroidery
DSTEXPHUS
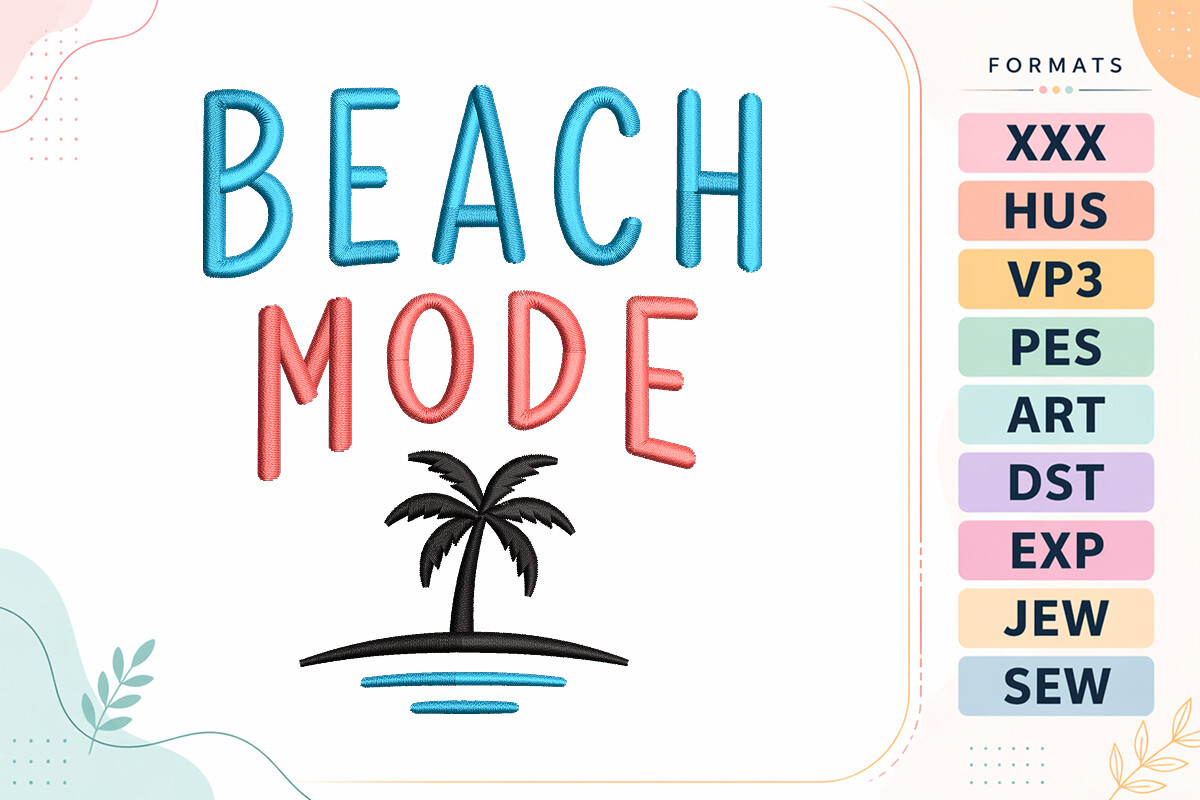
Beach Mode Summer Quote
DSTEXPHUS

Letter a in Cute Frame
DSTEXPHUS

Letter Y in a Beautiful Frame
DSTEXPHUS
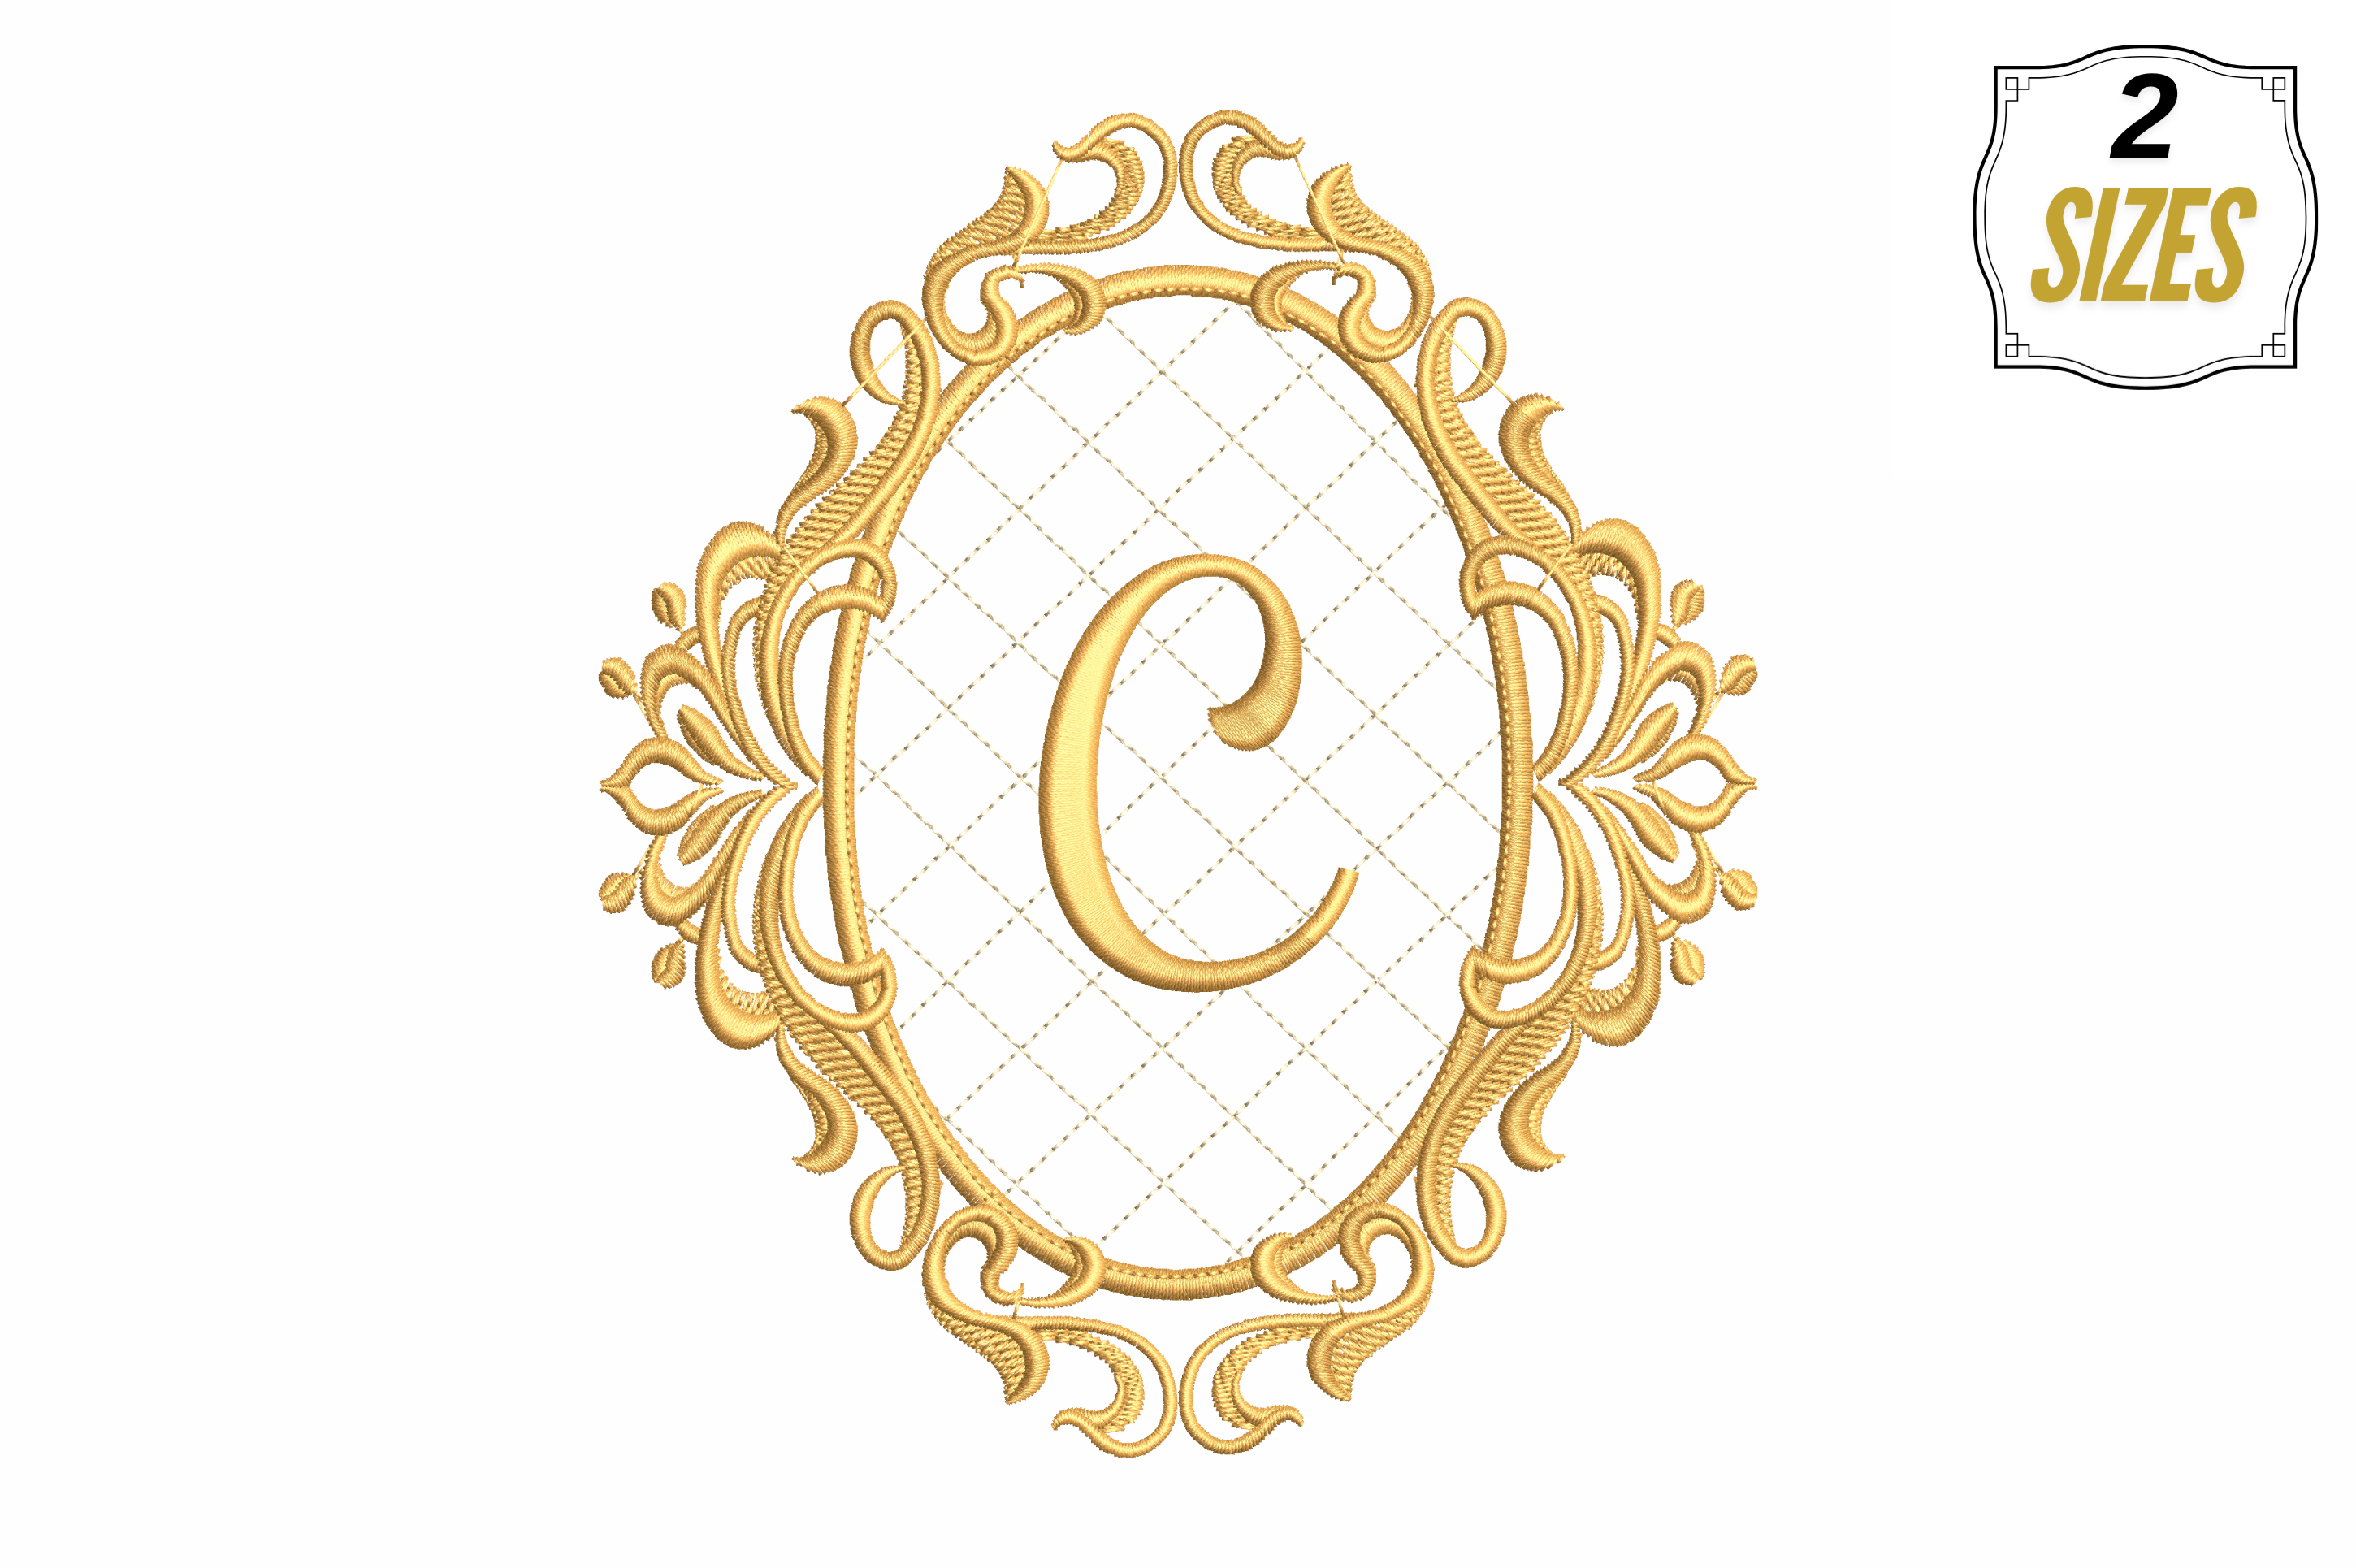
Letter C in a Beautiful Frame
DSTEXPHUS
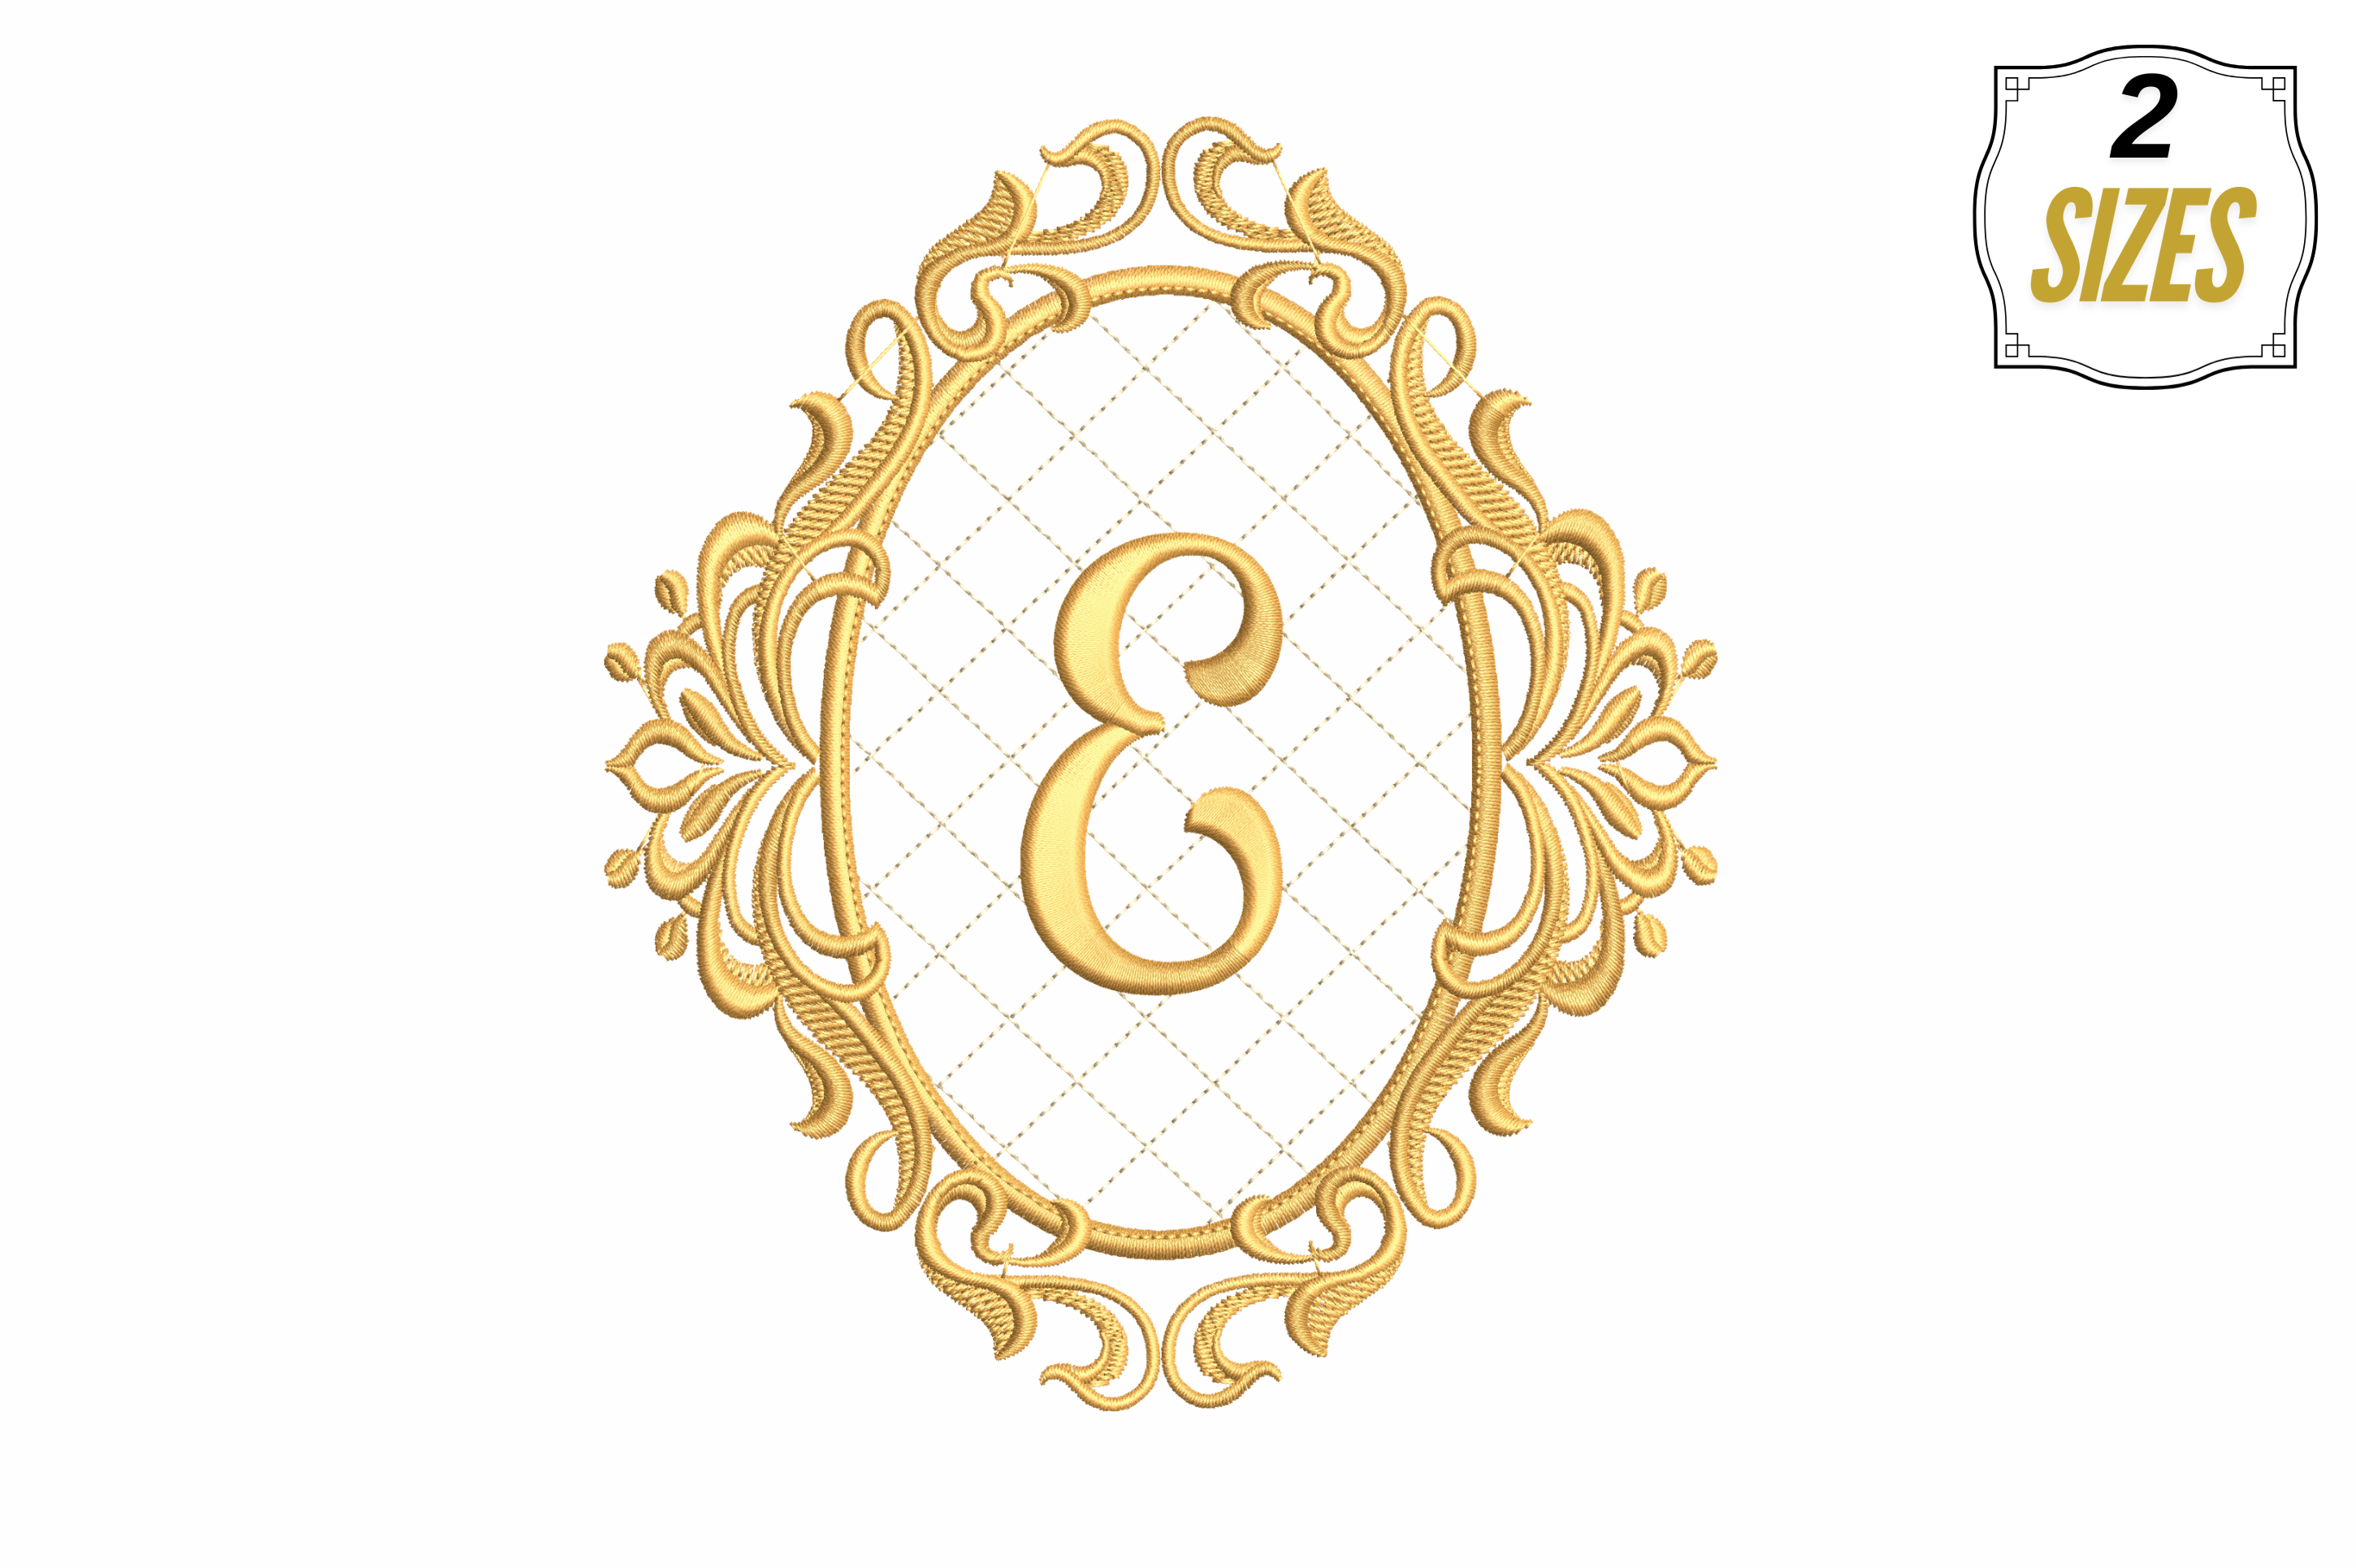
Letter E in a Beautiful Frame
DSTEXPHUS
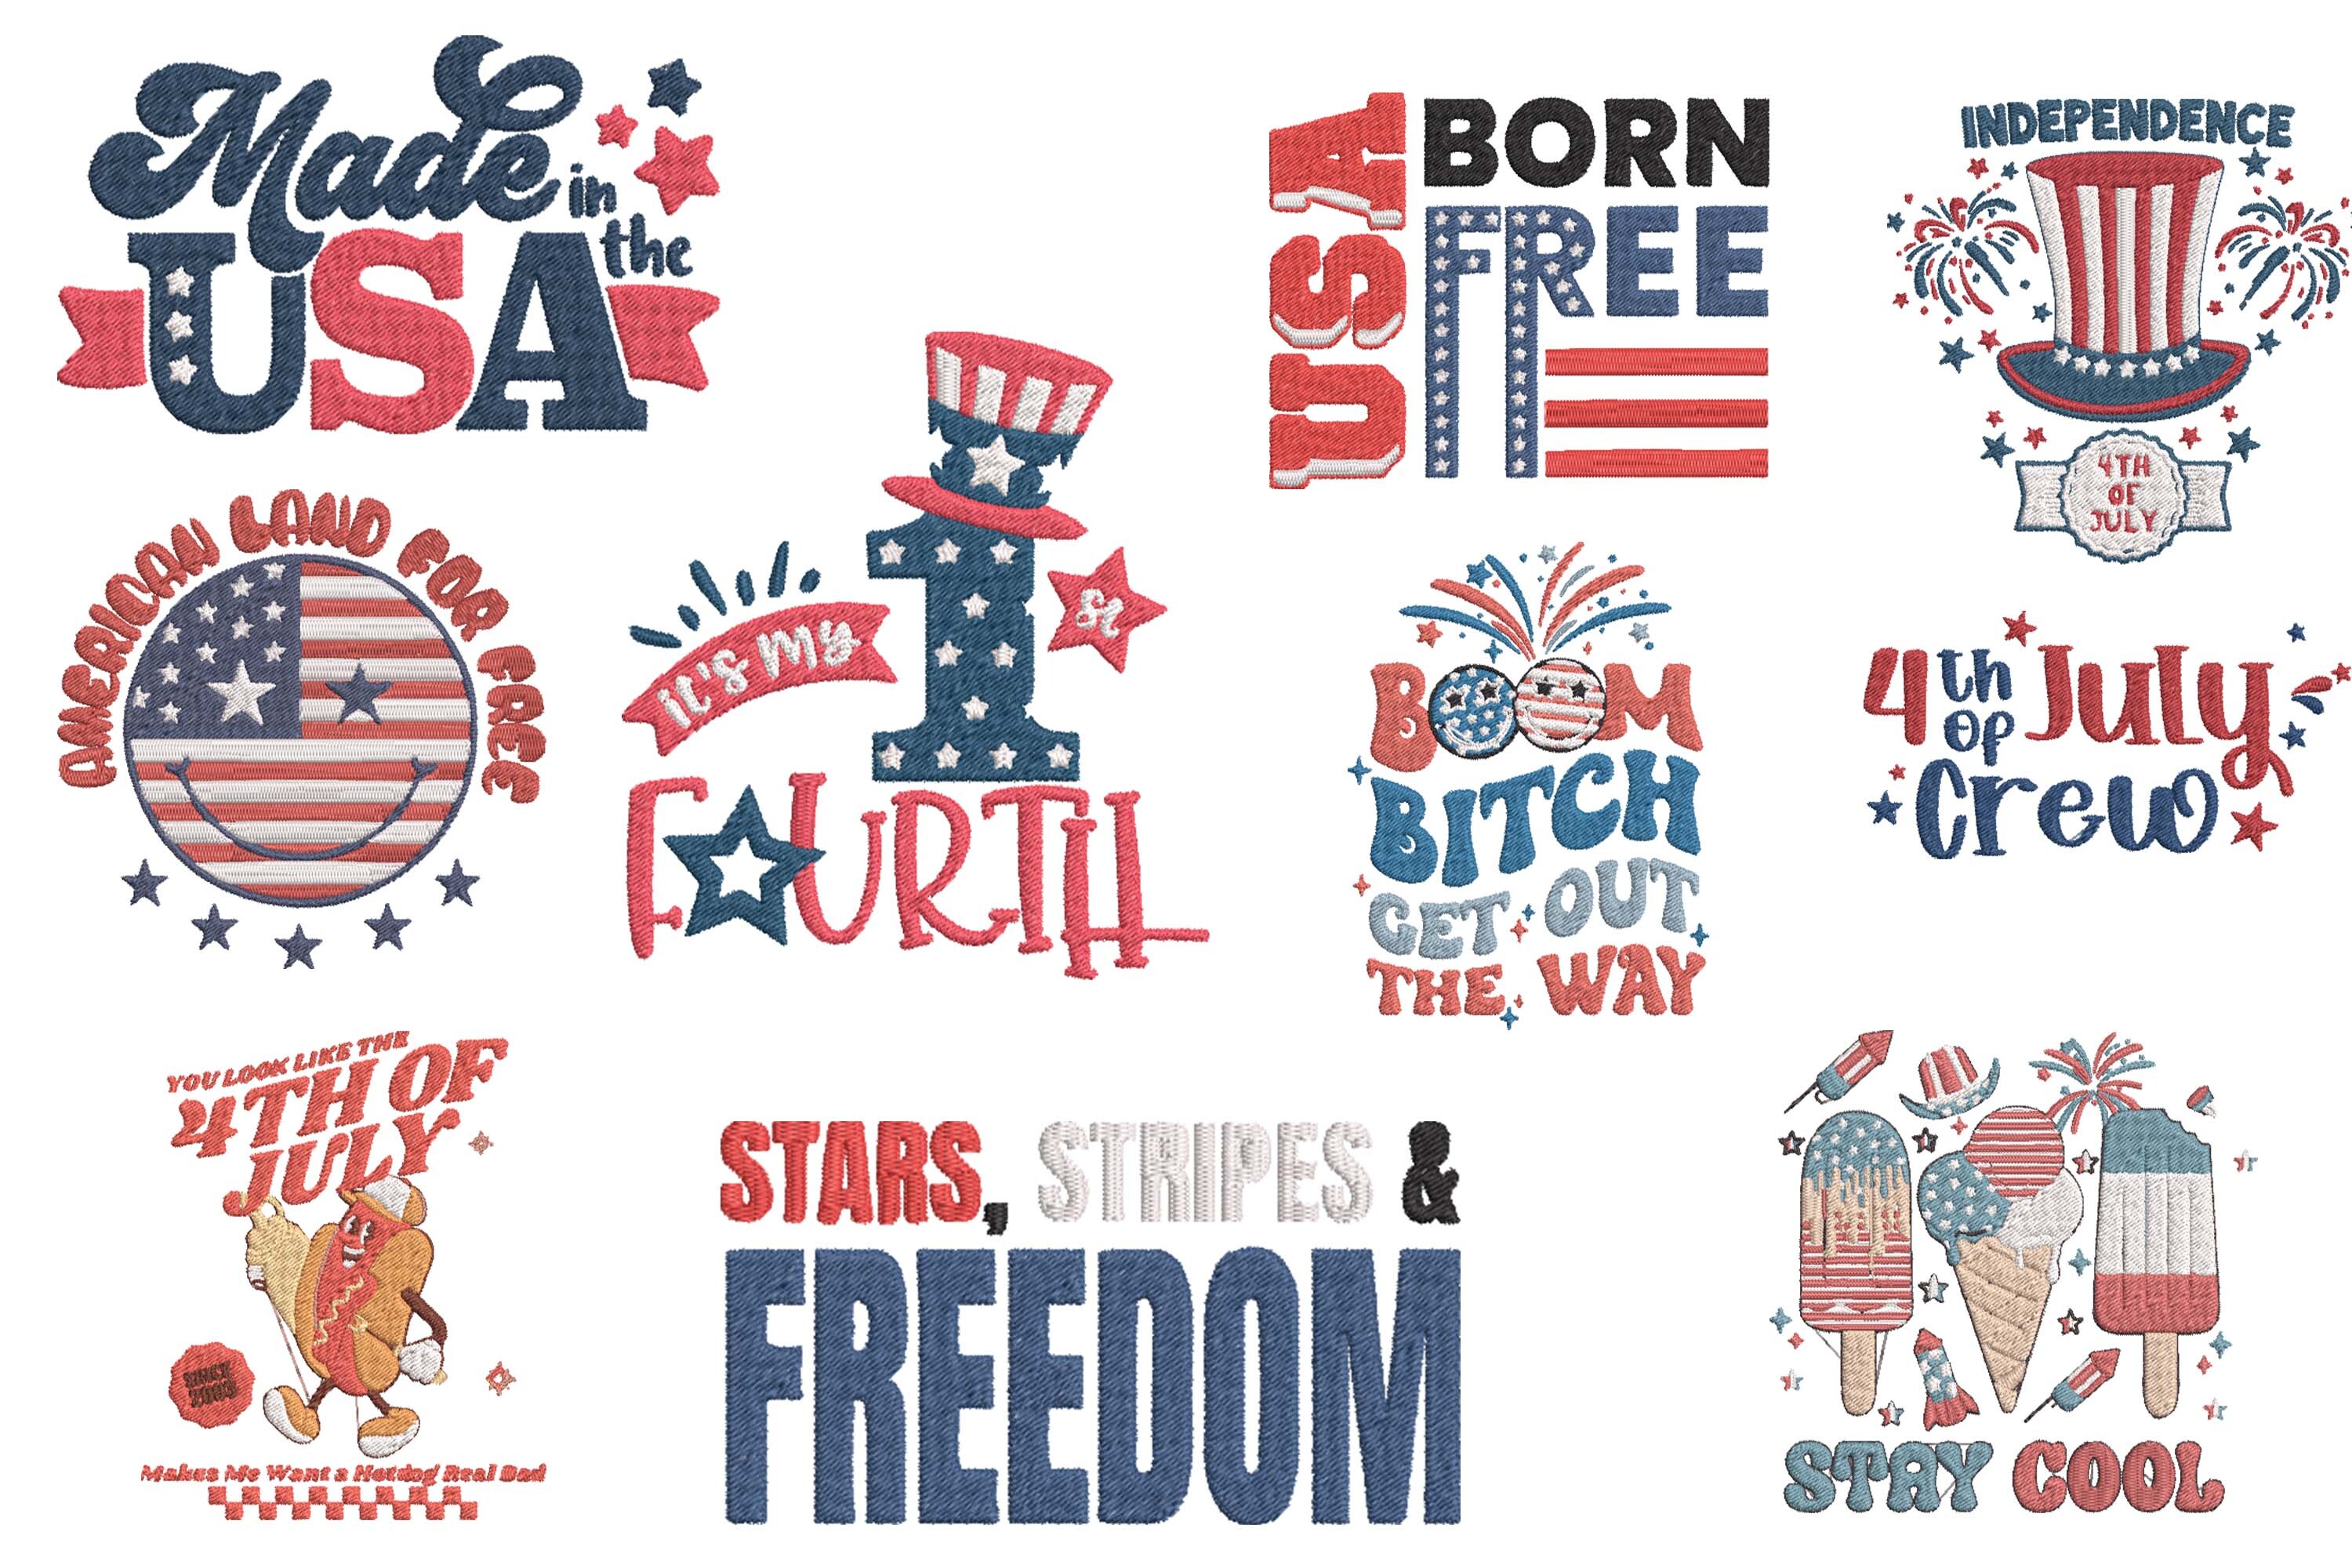
Retro and Sassy 4th July Embroidery Bundle
ARTDSTEXP
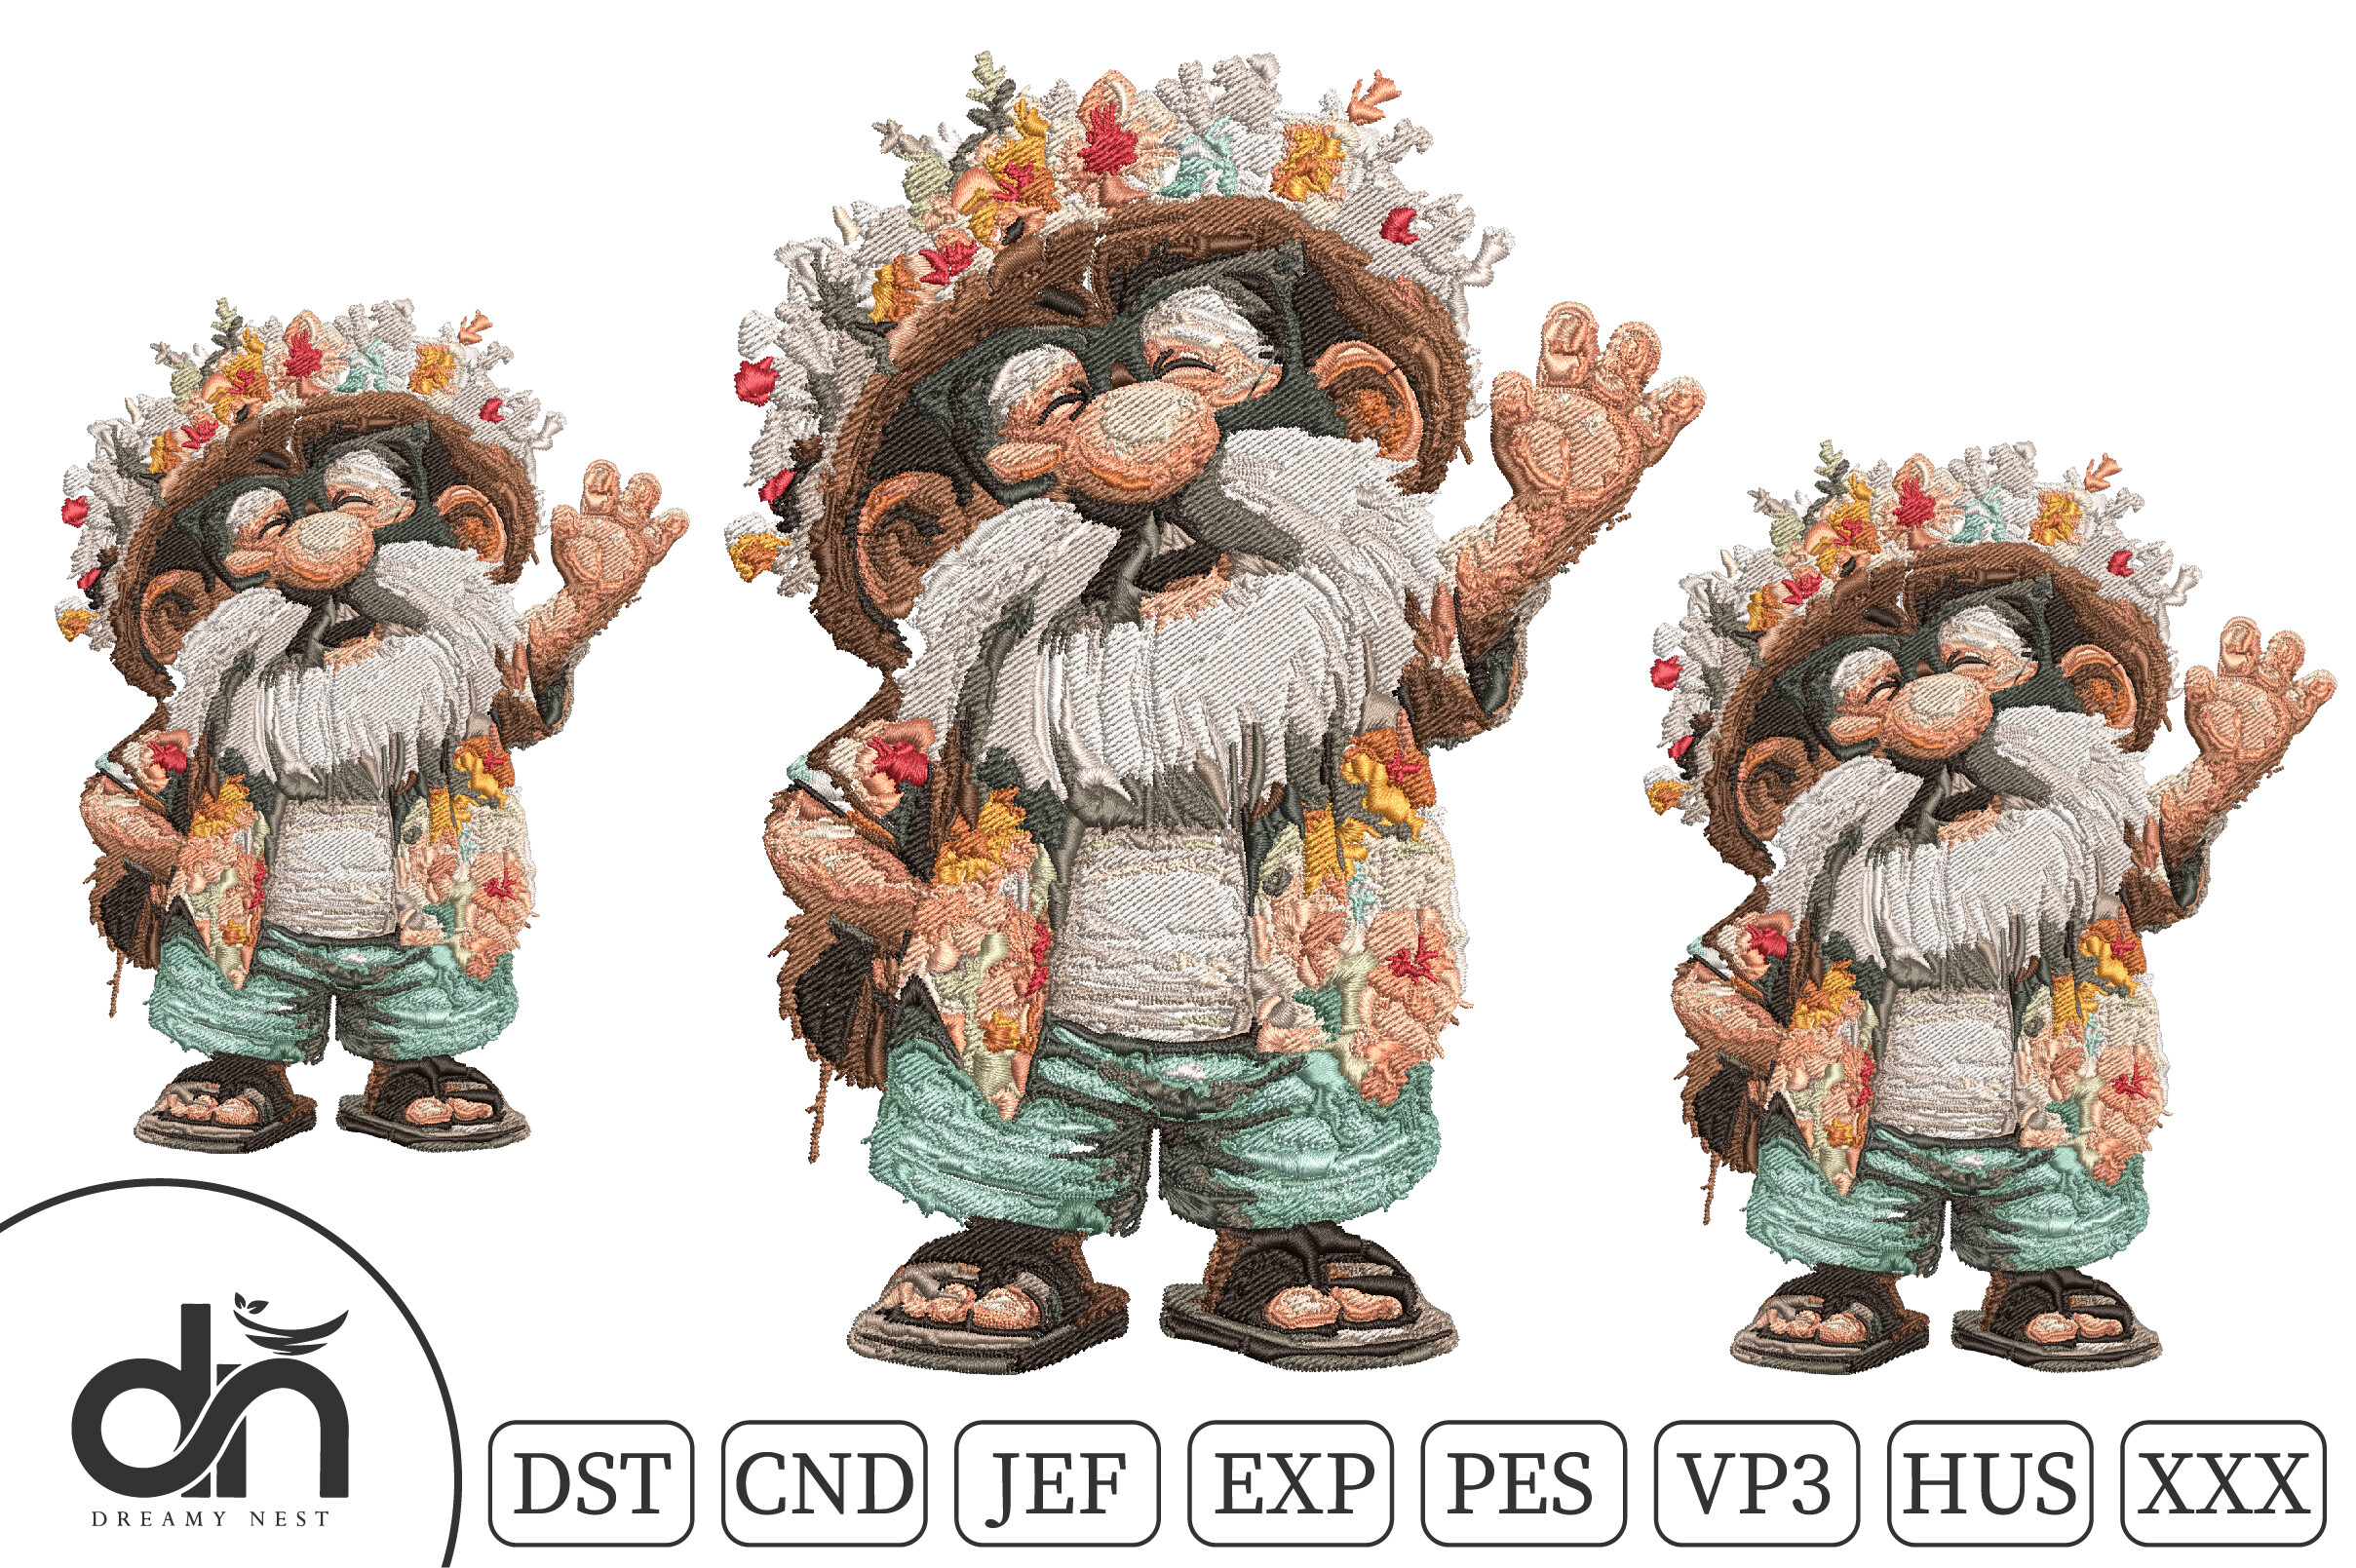
Summer Beach Gnome Embroidery Design
DSTEXPJEF
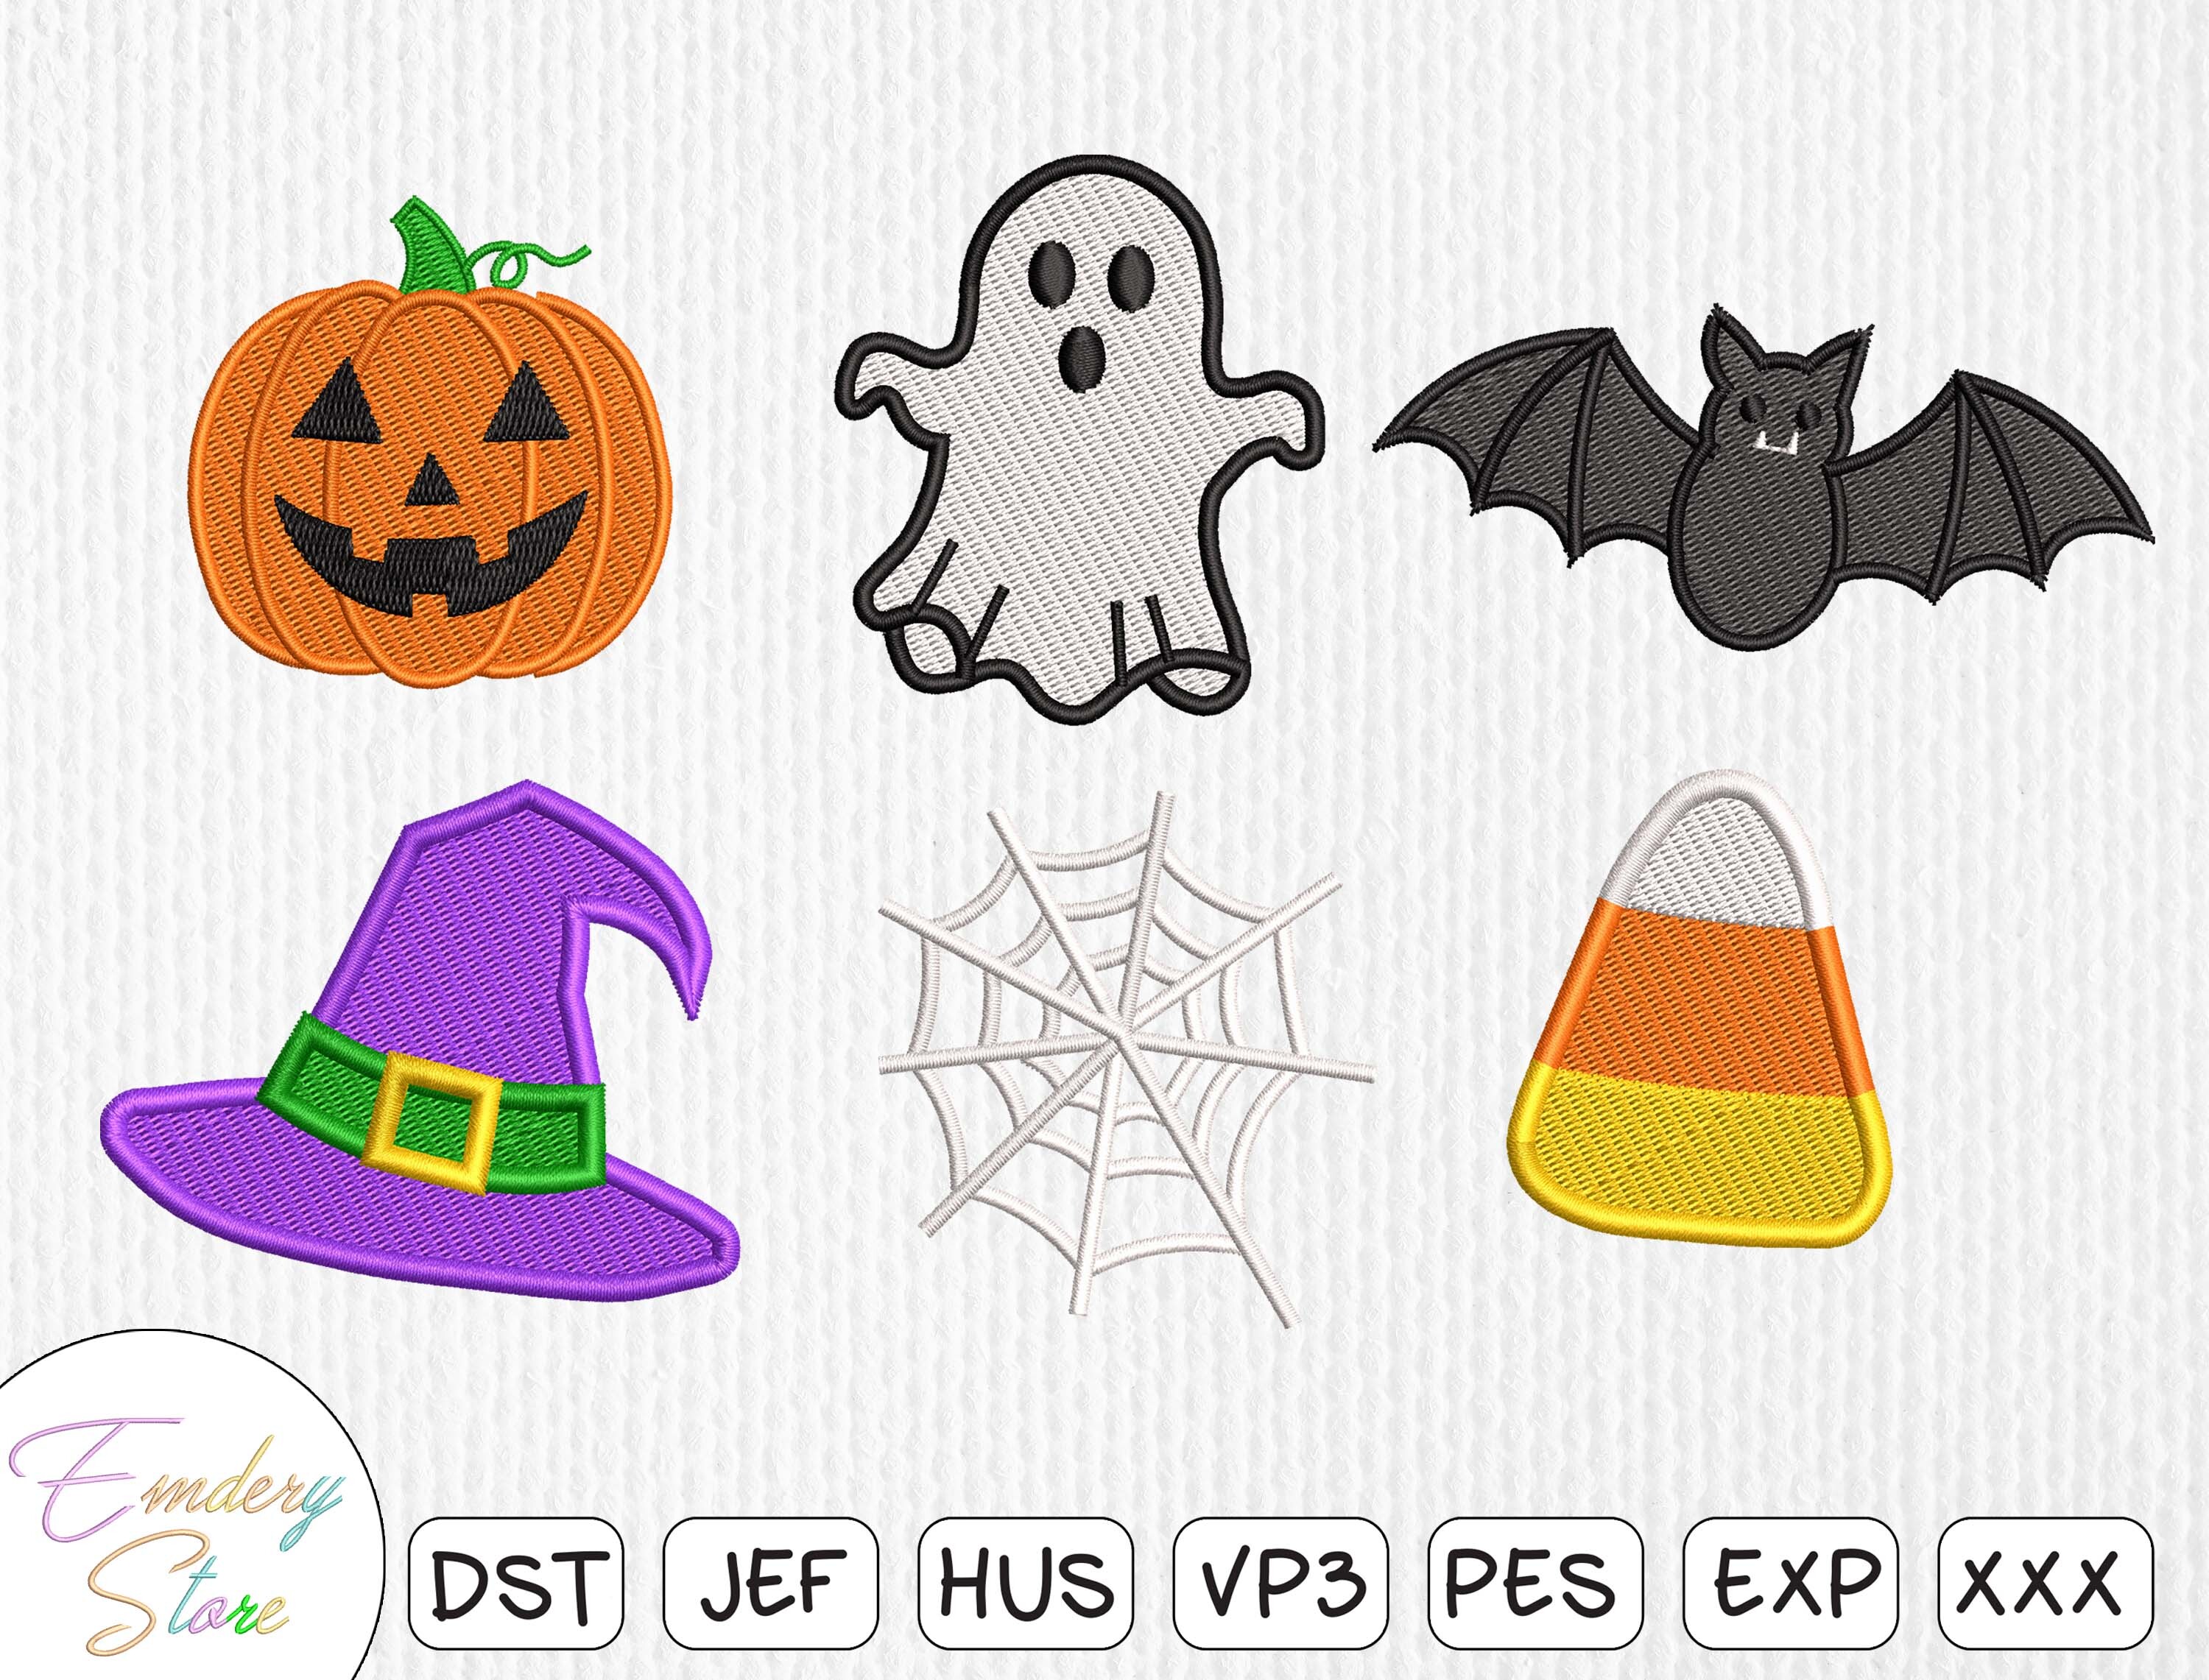
Halloween Embroidery Patch Set
EXPXXXHUS

Cute Student Bag Patch Embroidery File
ARTJEFPES
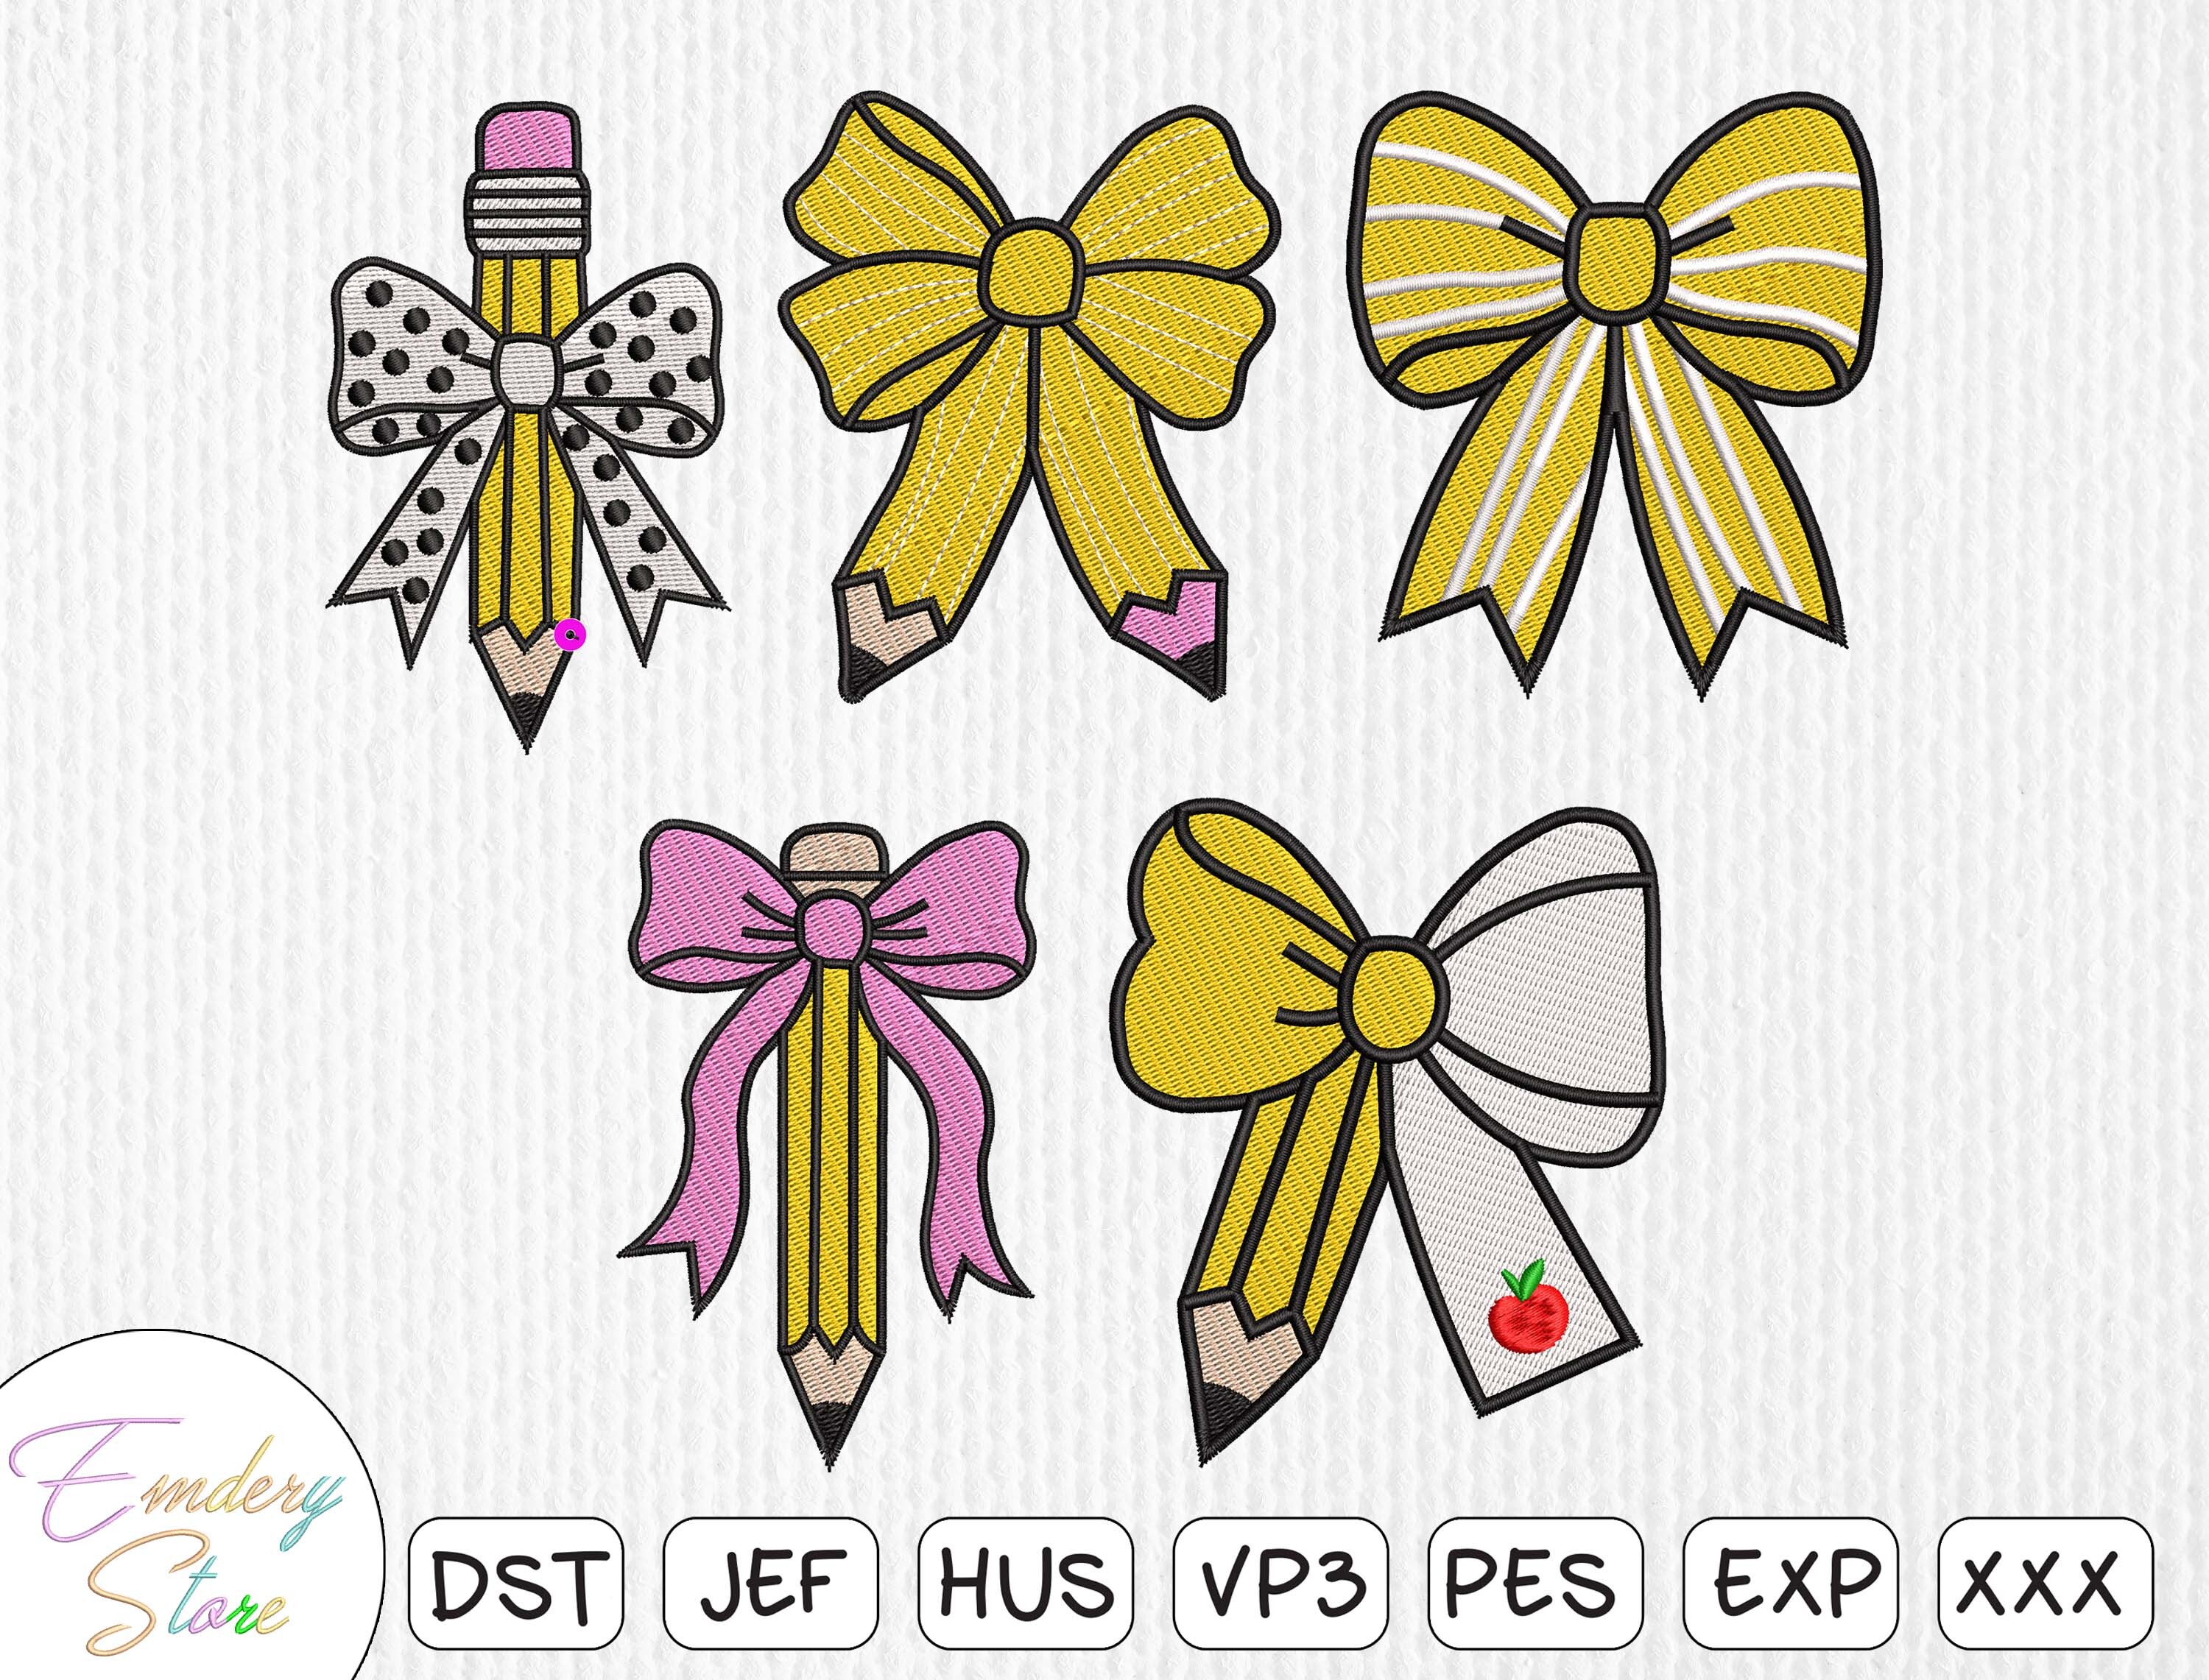
Teacher Appreciation Patches Embroidery
XXXHUSVP3
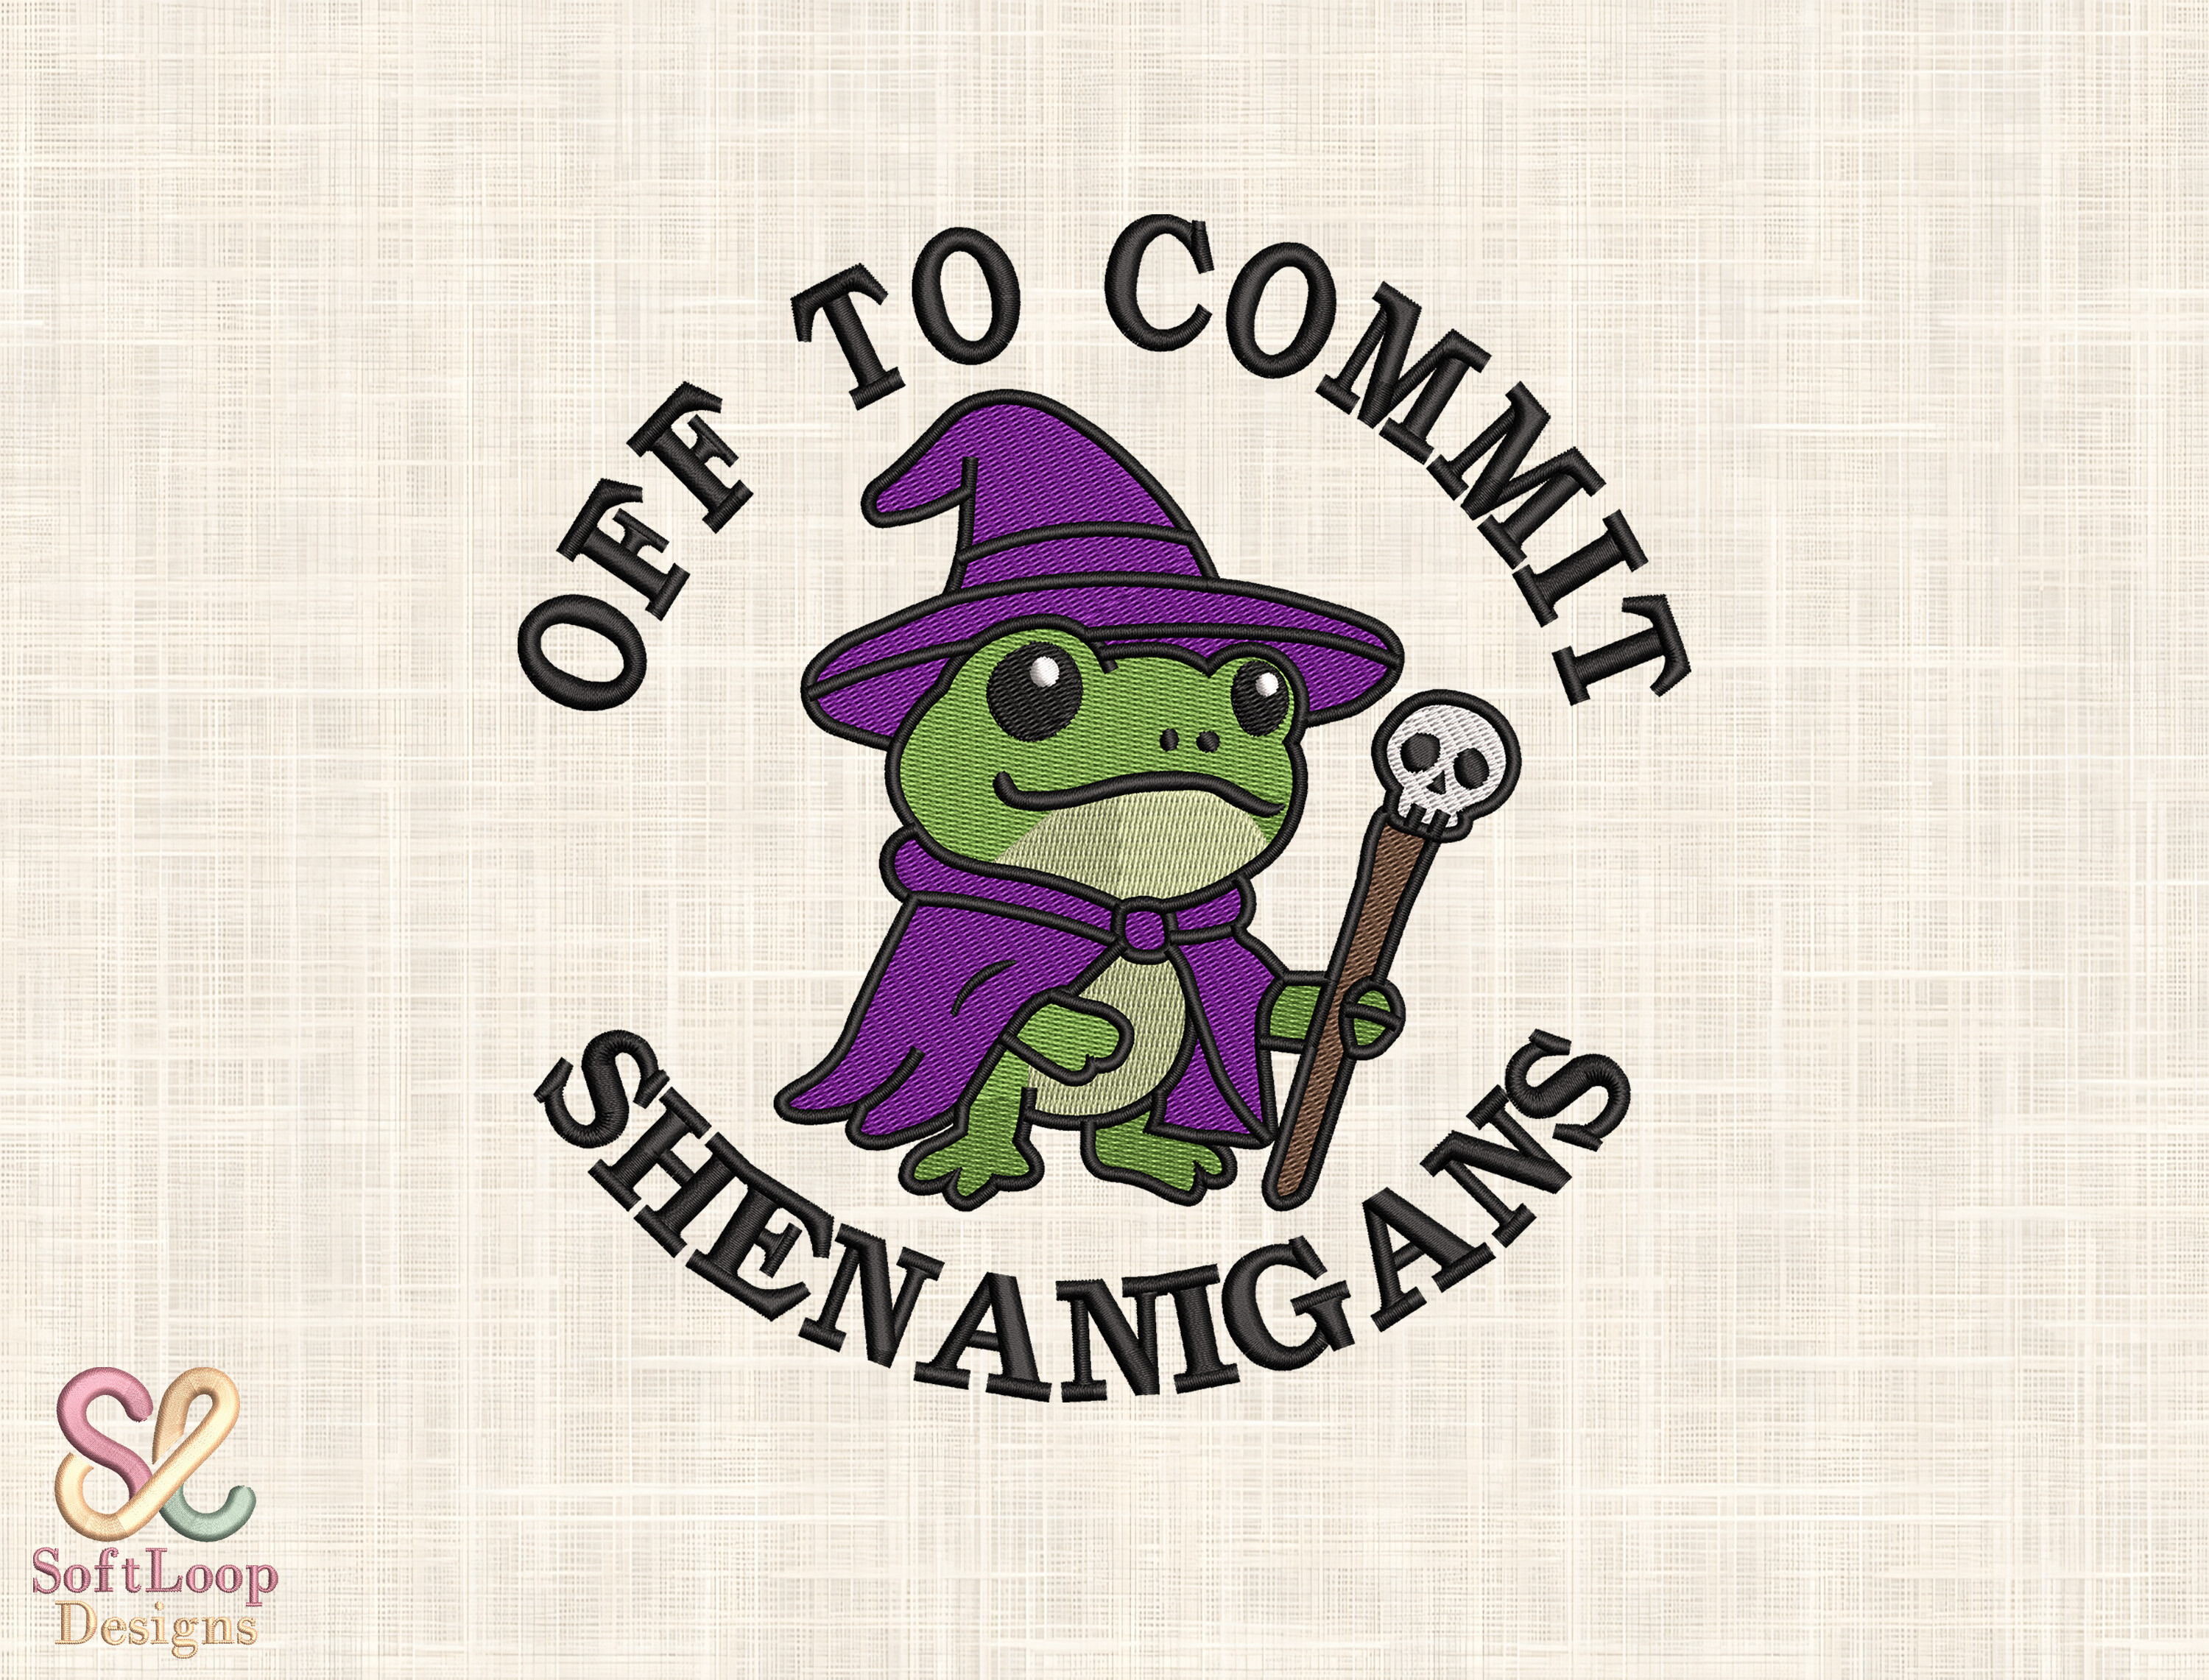
Whimsical Wizard Frog Embroidery
EXPXXXHUS
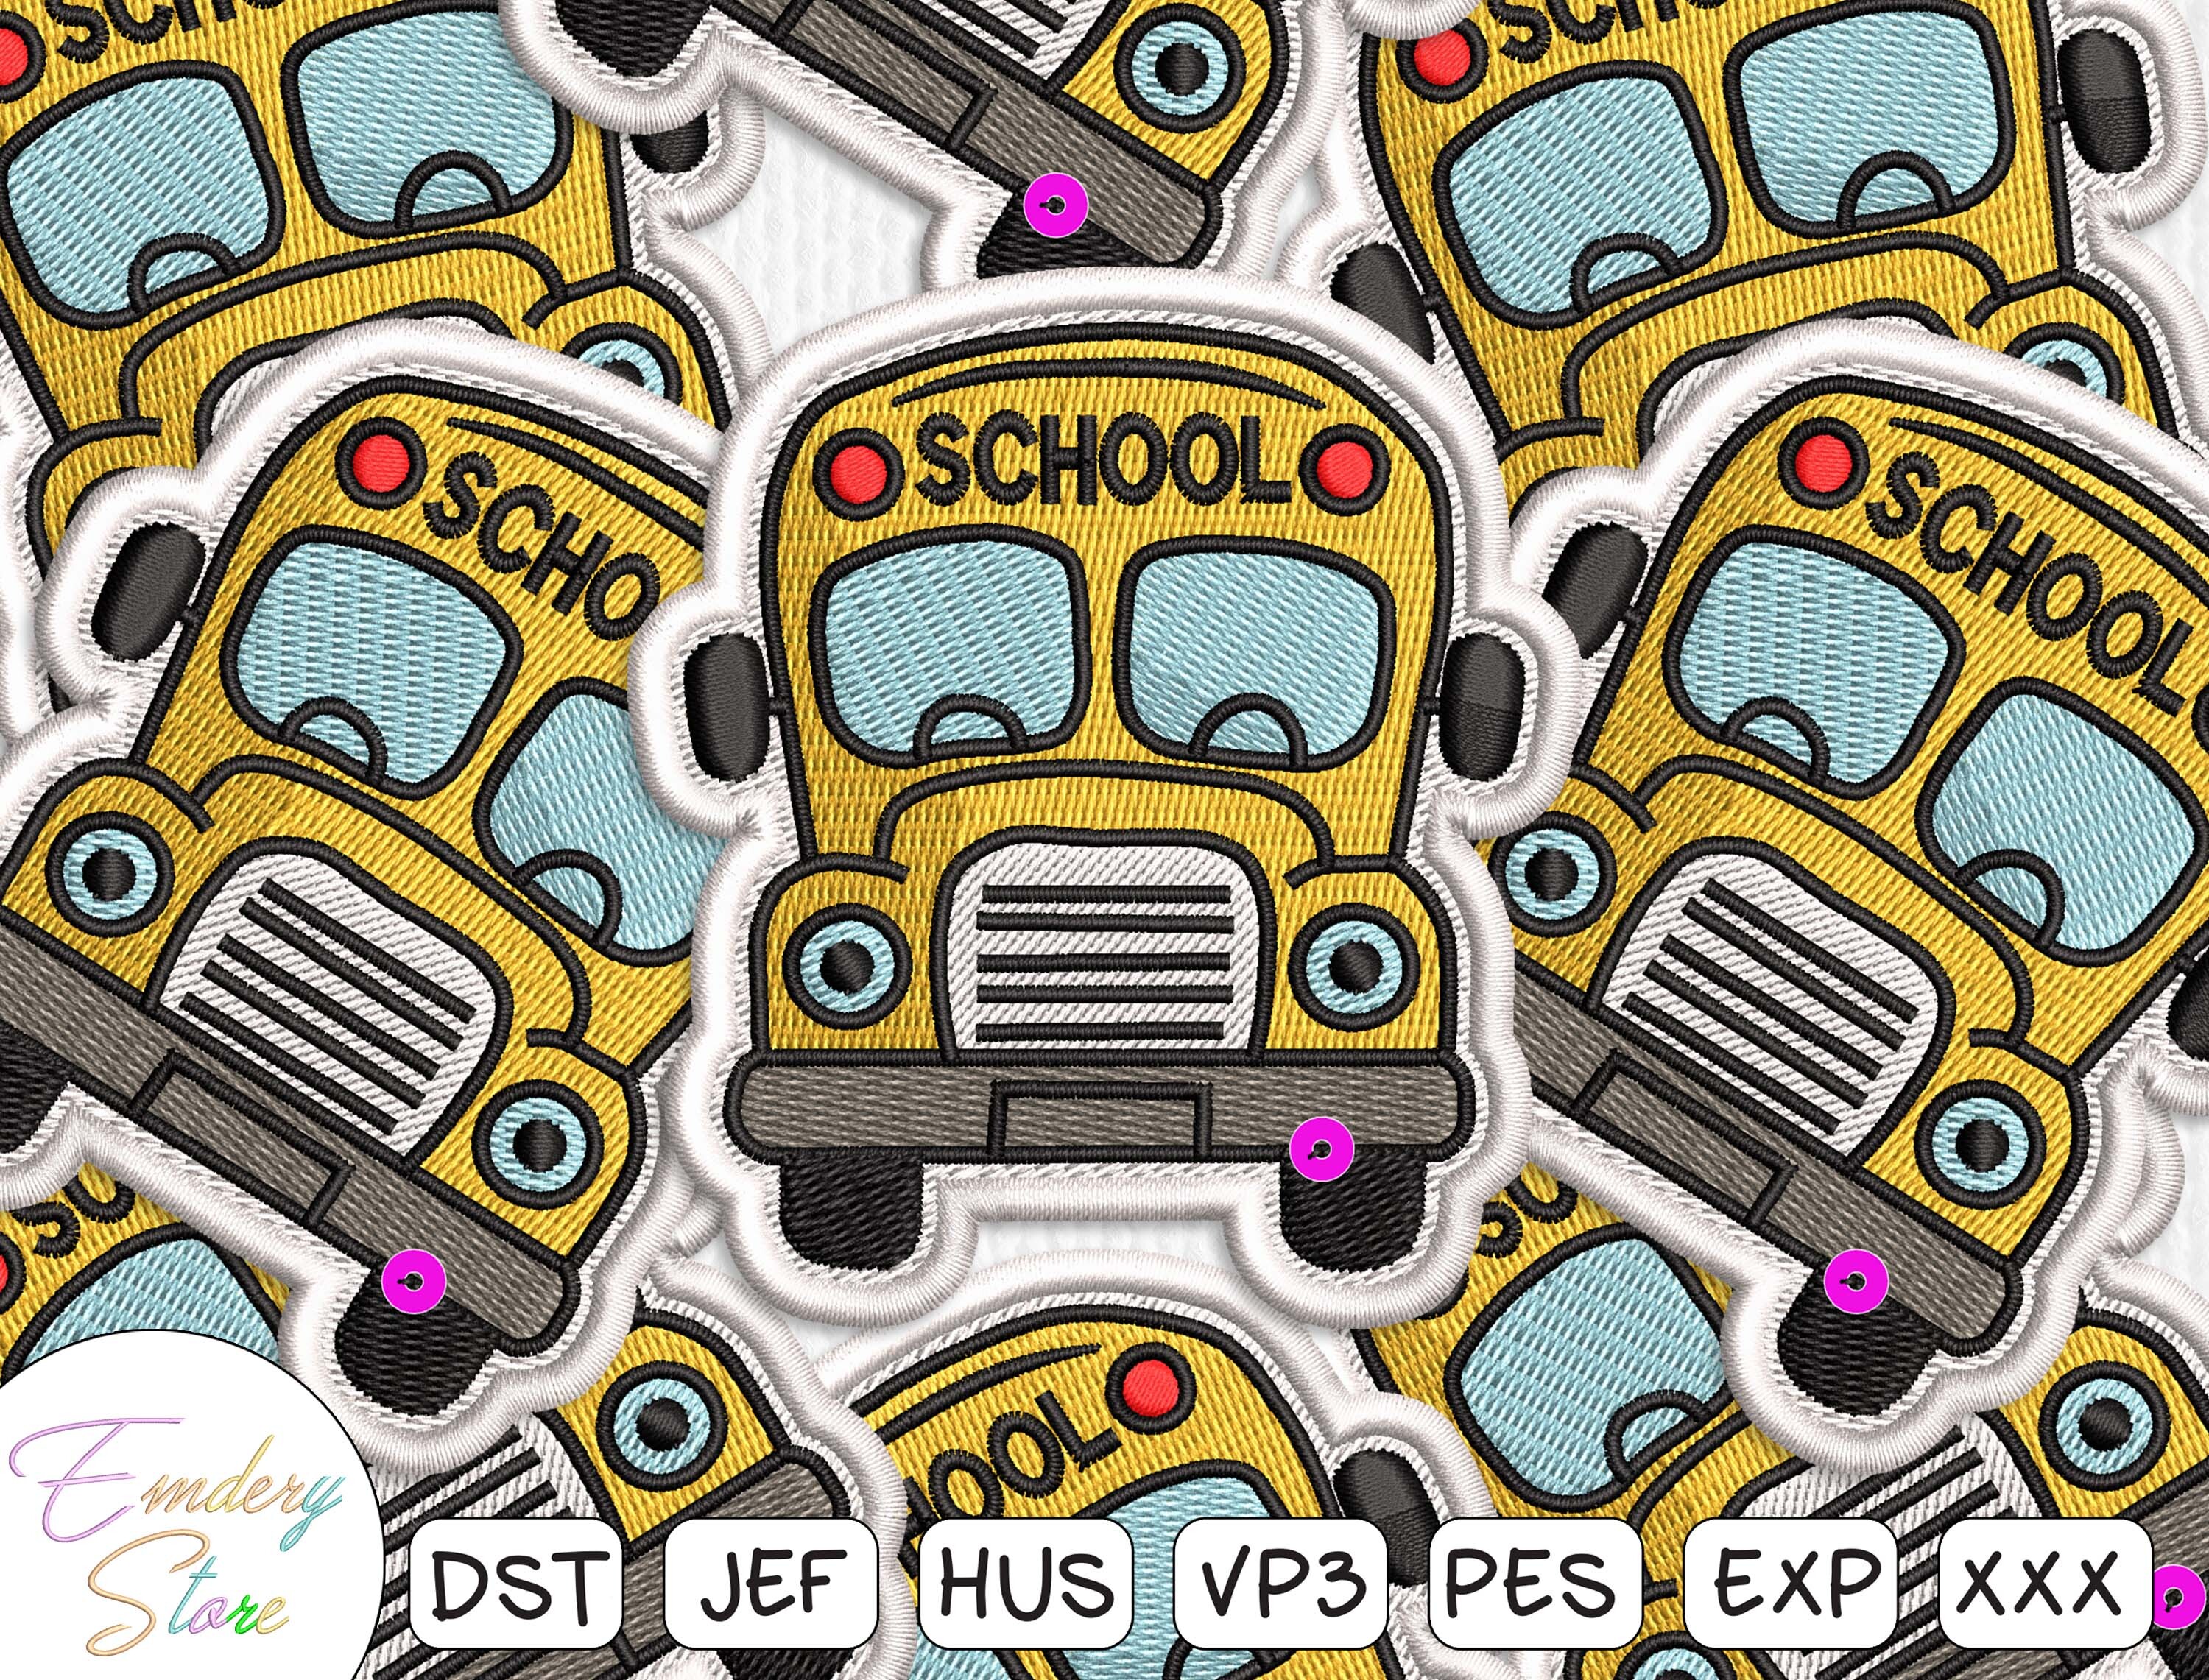
Classic Yellow School Bus Patch
HUSXXXART

Blank Patches
XXXHUSVP3
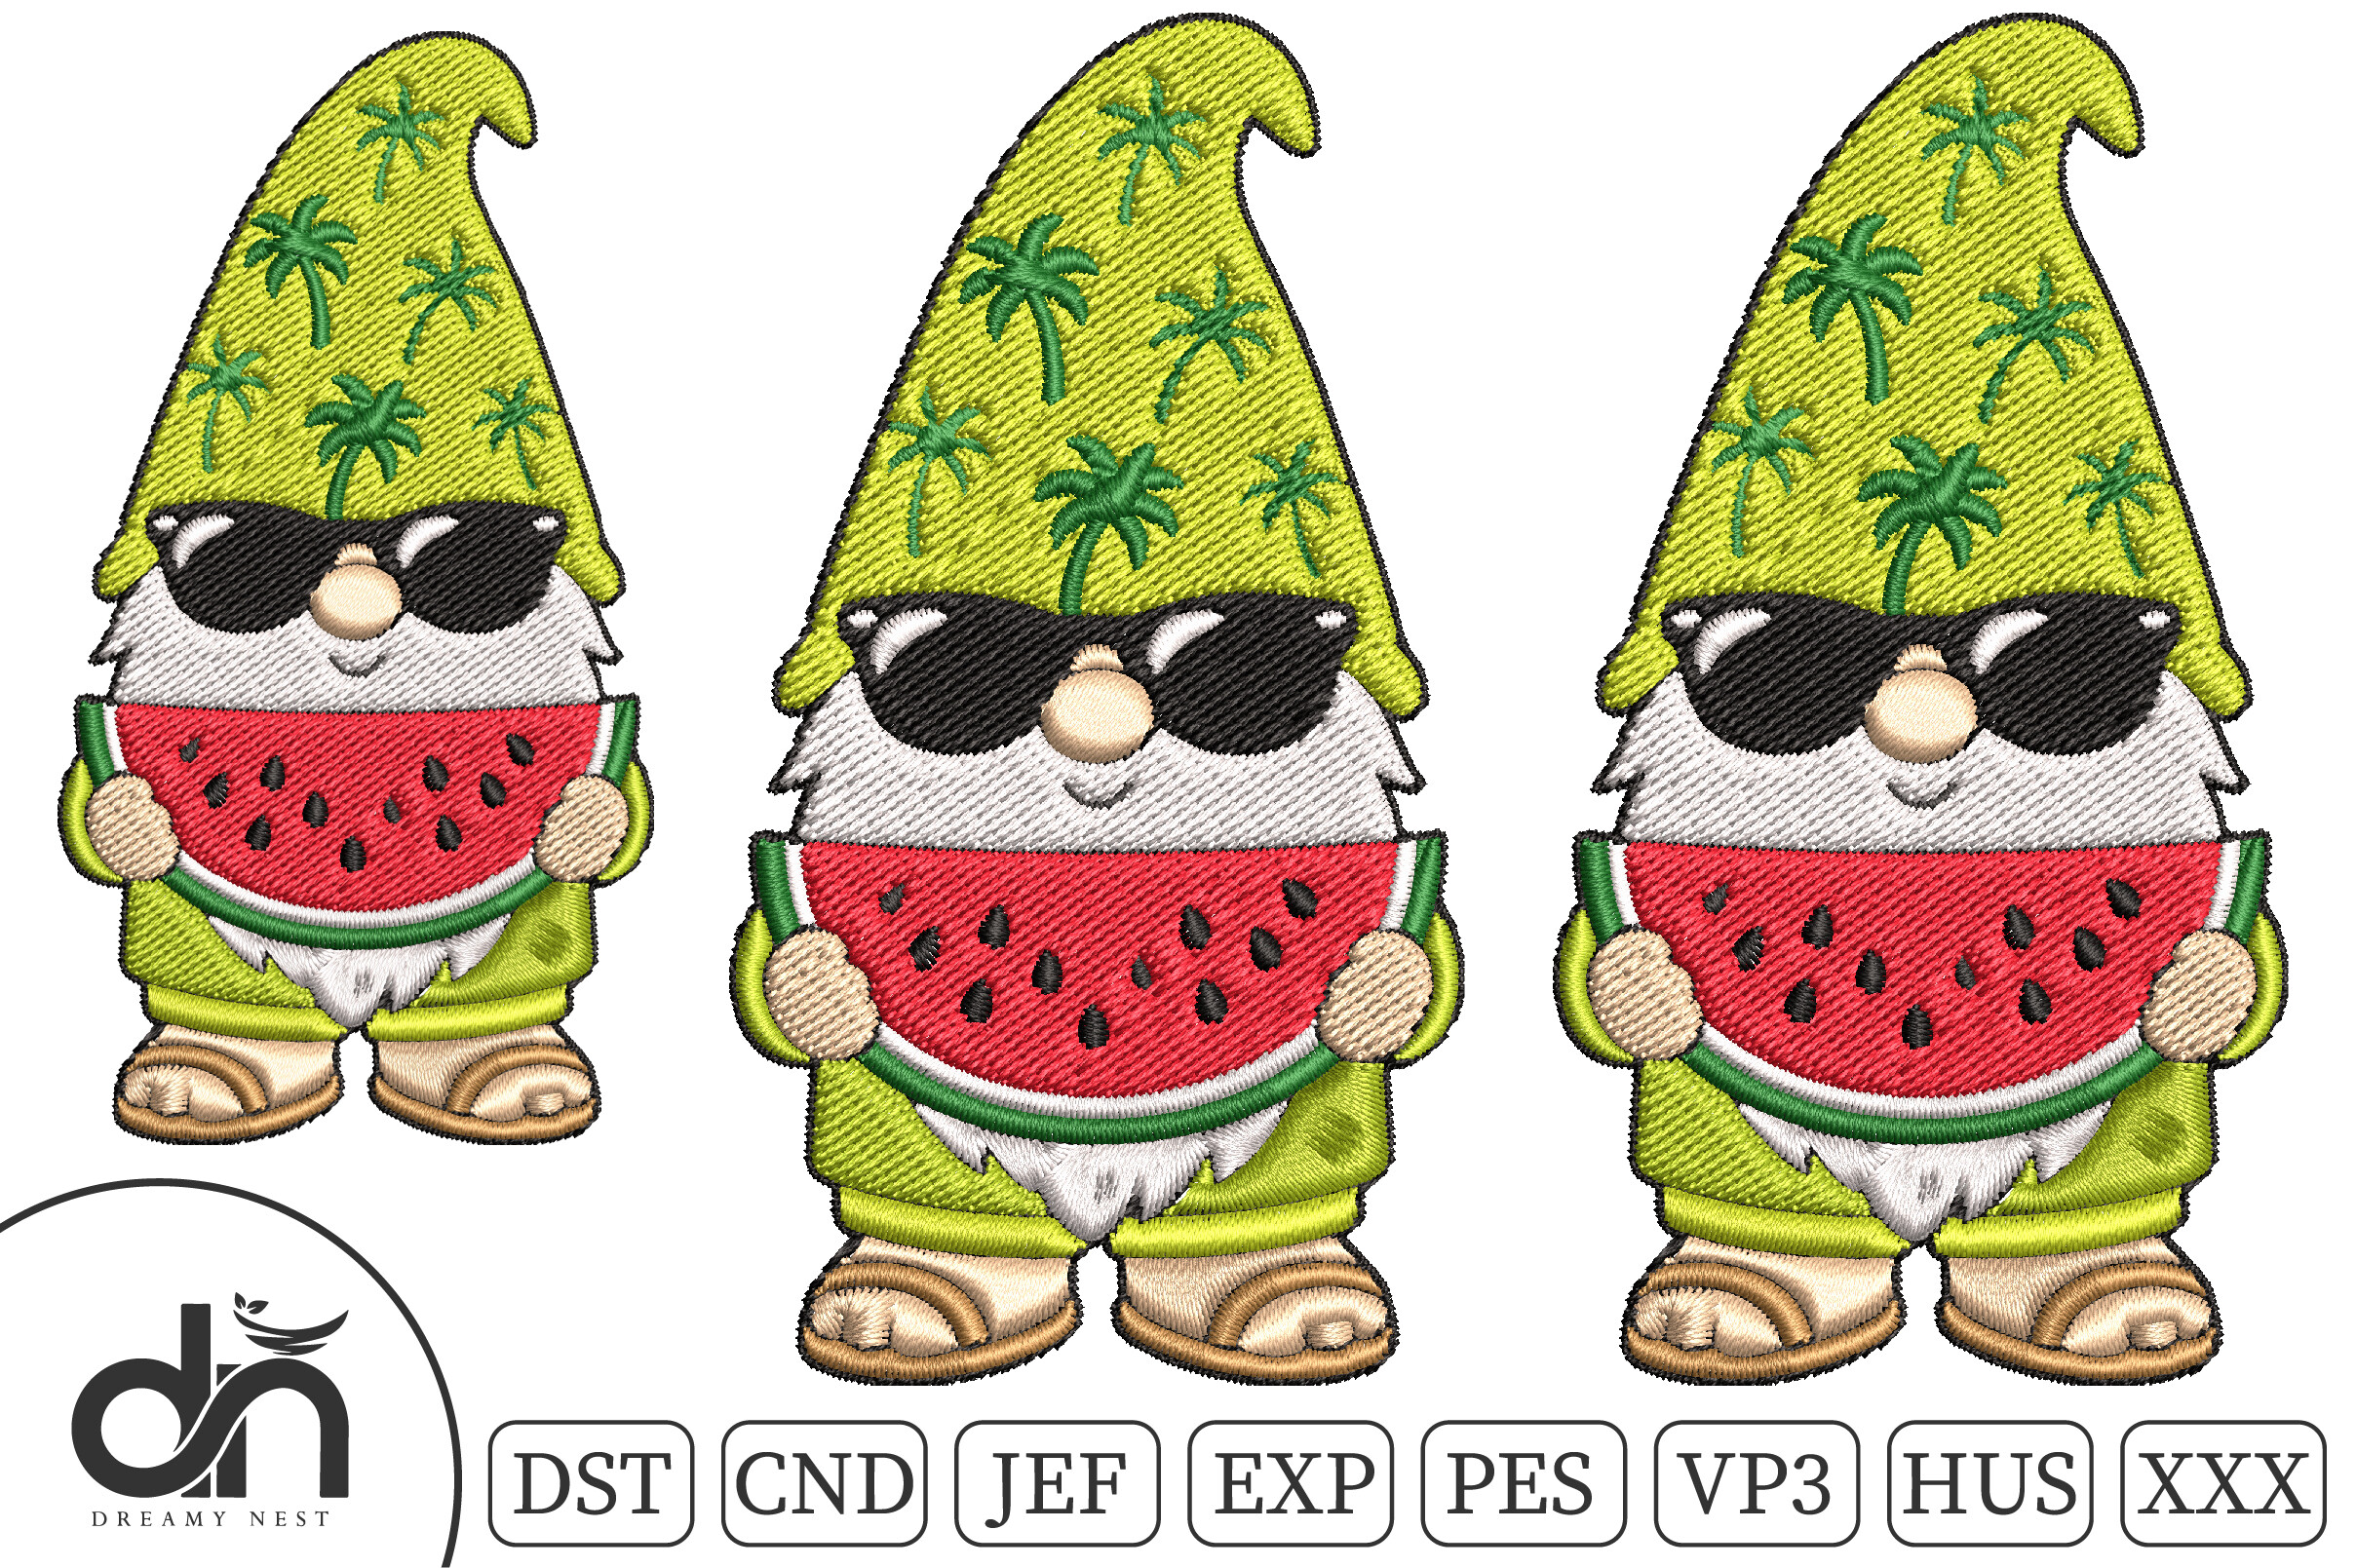
Summer Watermelon Gnome Embroidery Desig
DSTEXPHUS
Cocktail Icons Embroidery Design Bundle
DSTEXPHUS
Cocktail Icons Embroidery Design Bundle
DSTEXPHUS
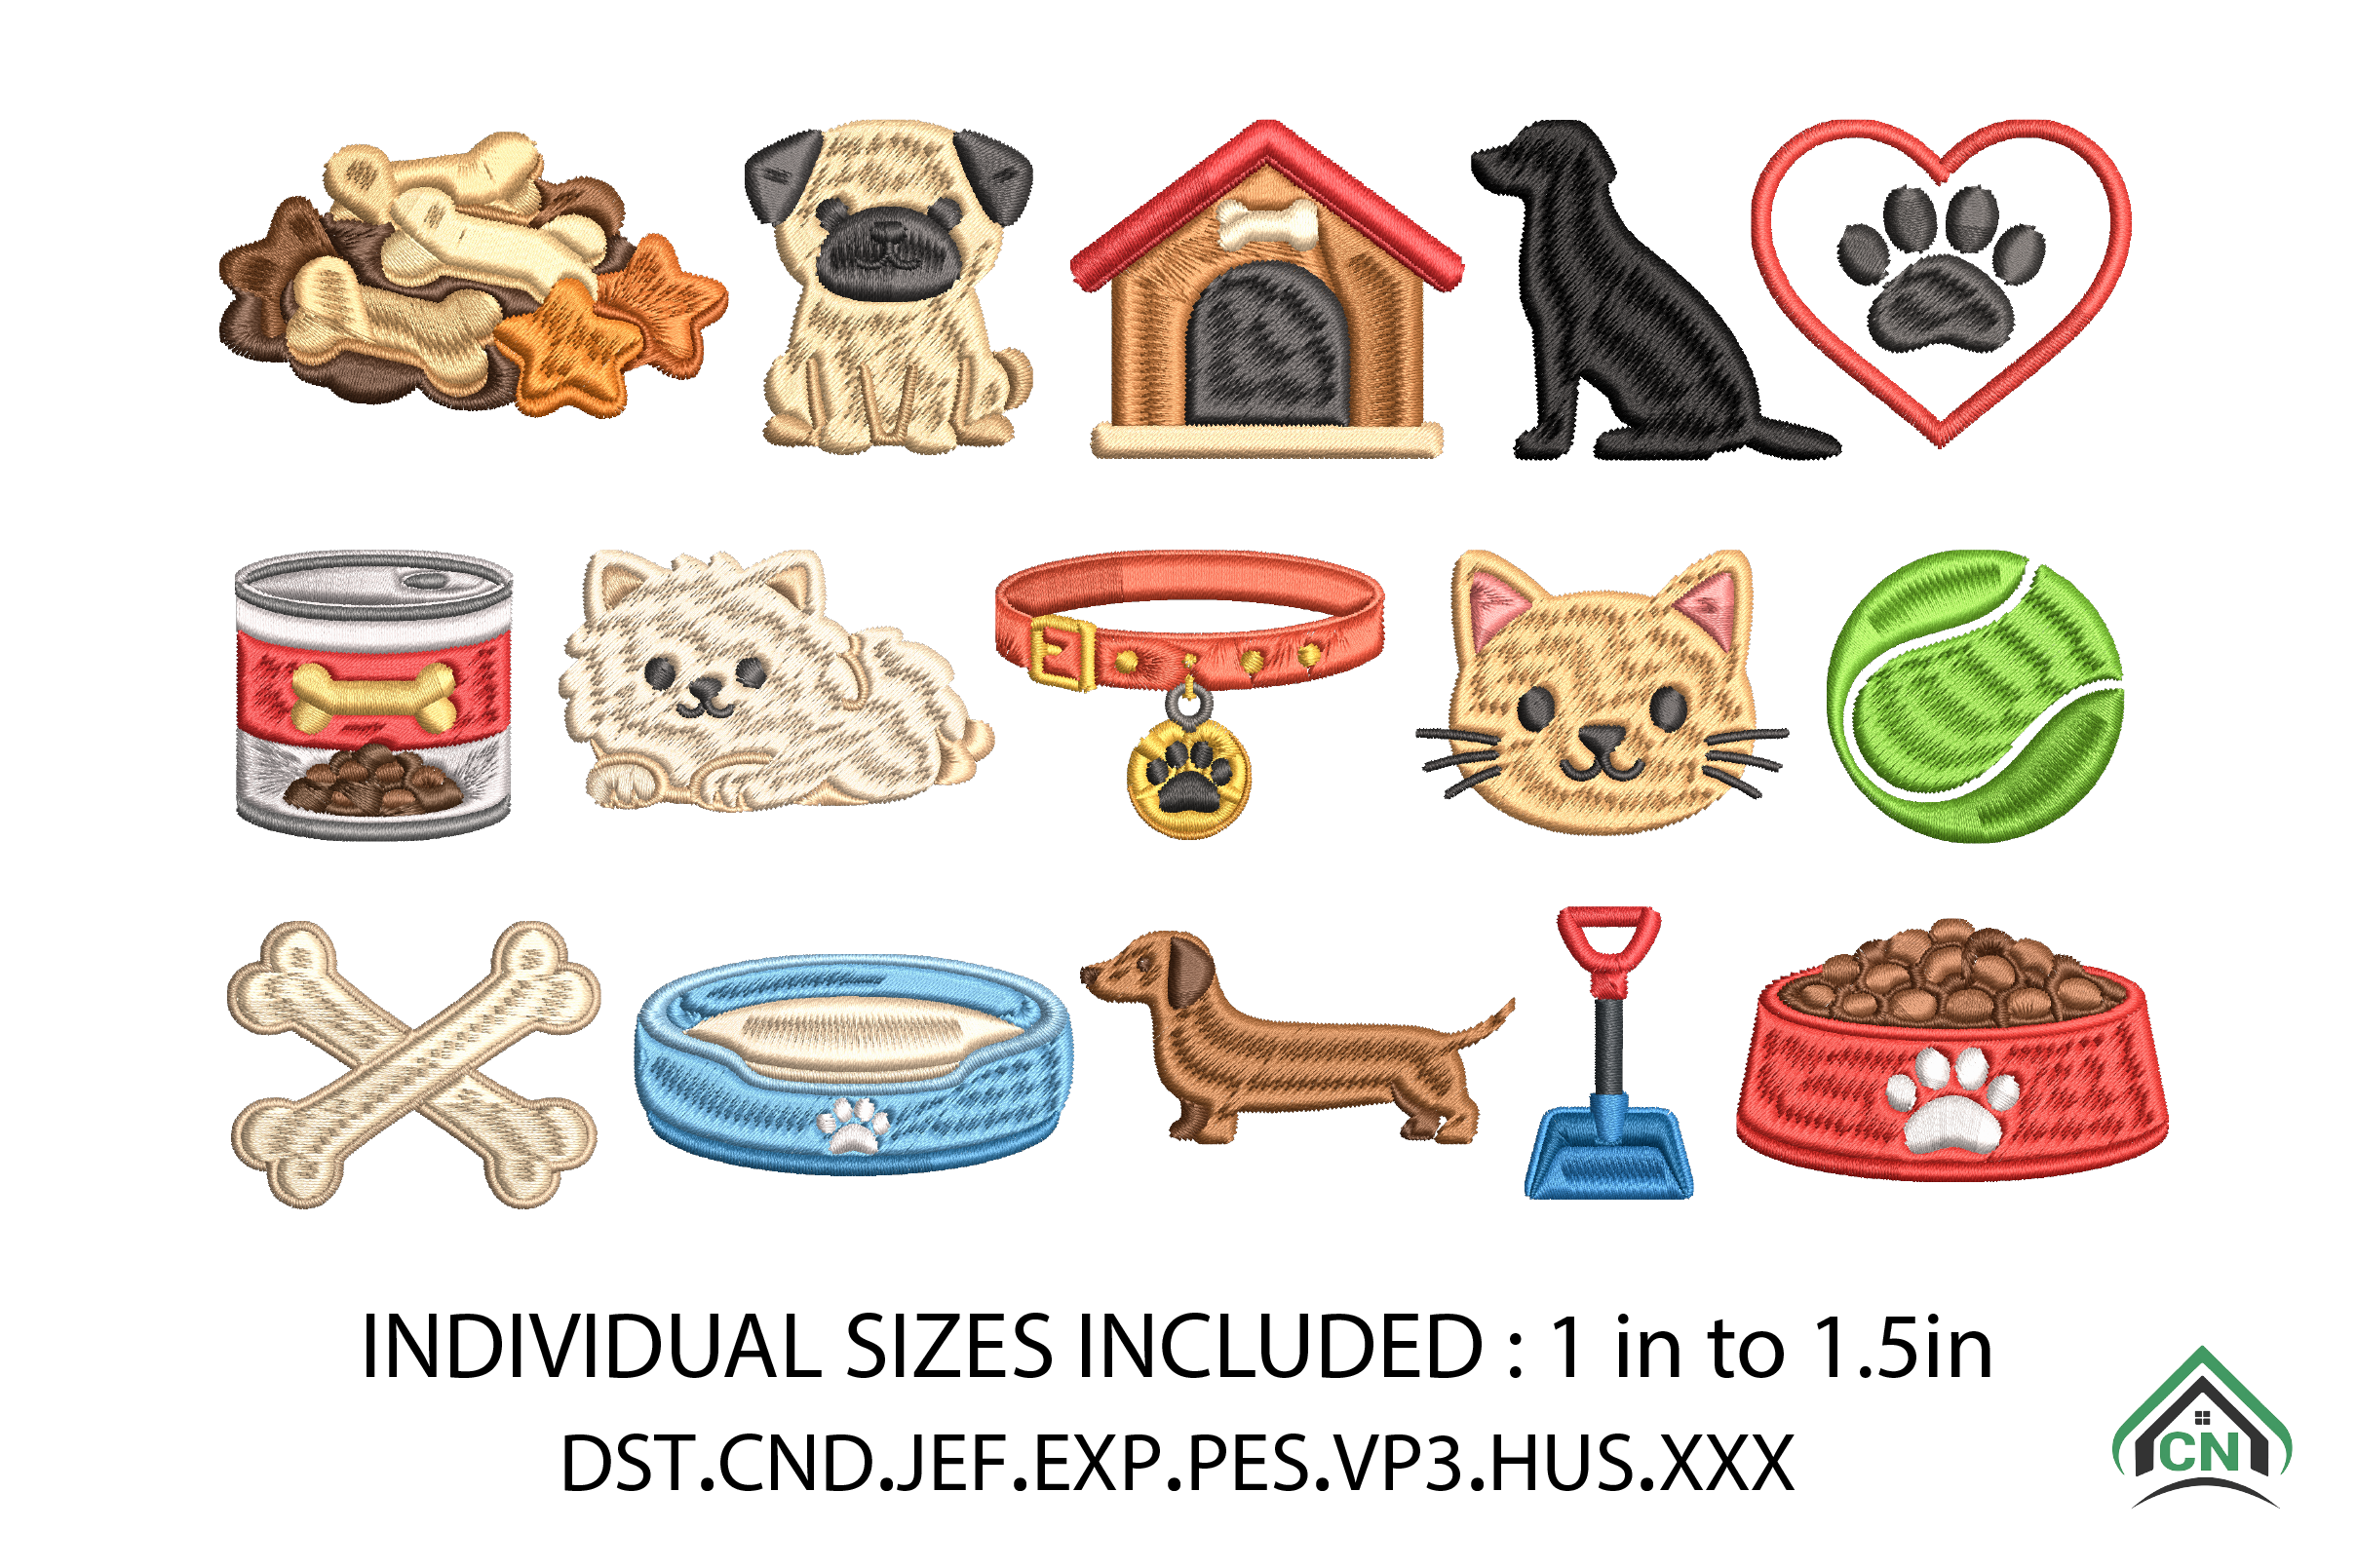
Cute Mini Pet Embroidery Bundle X15 File
DSTEXPHUS
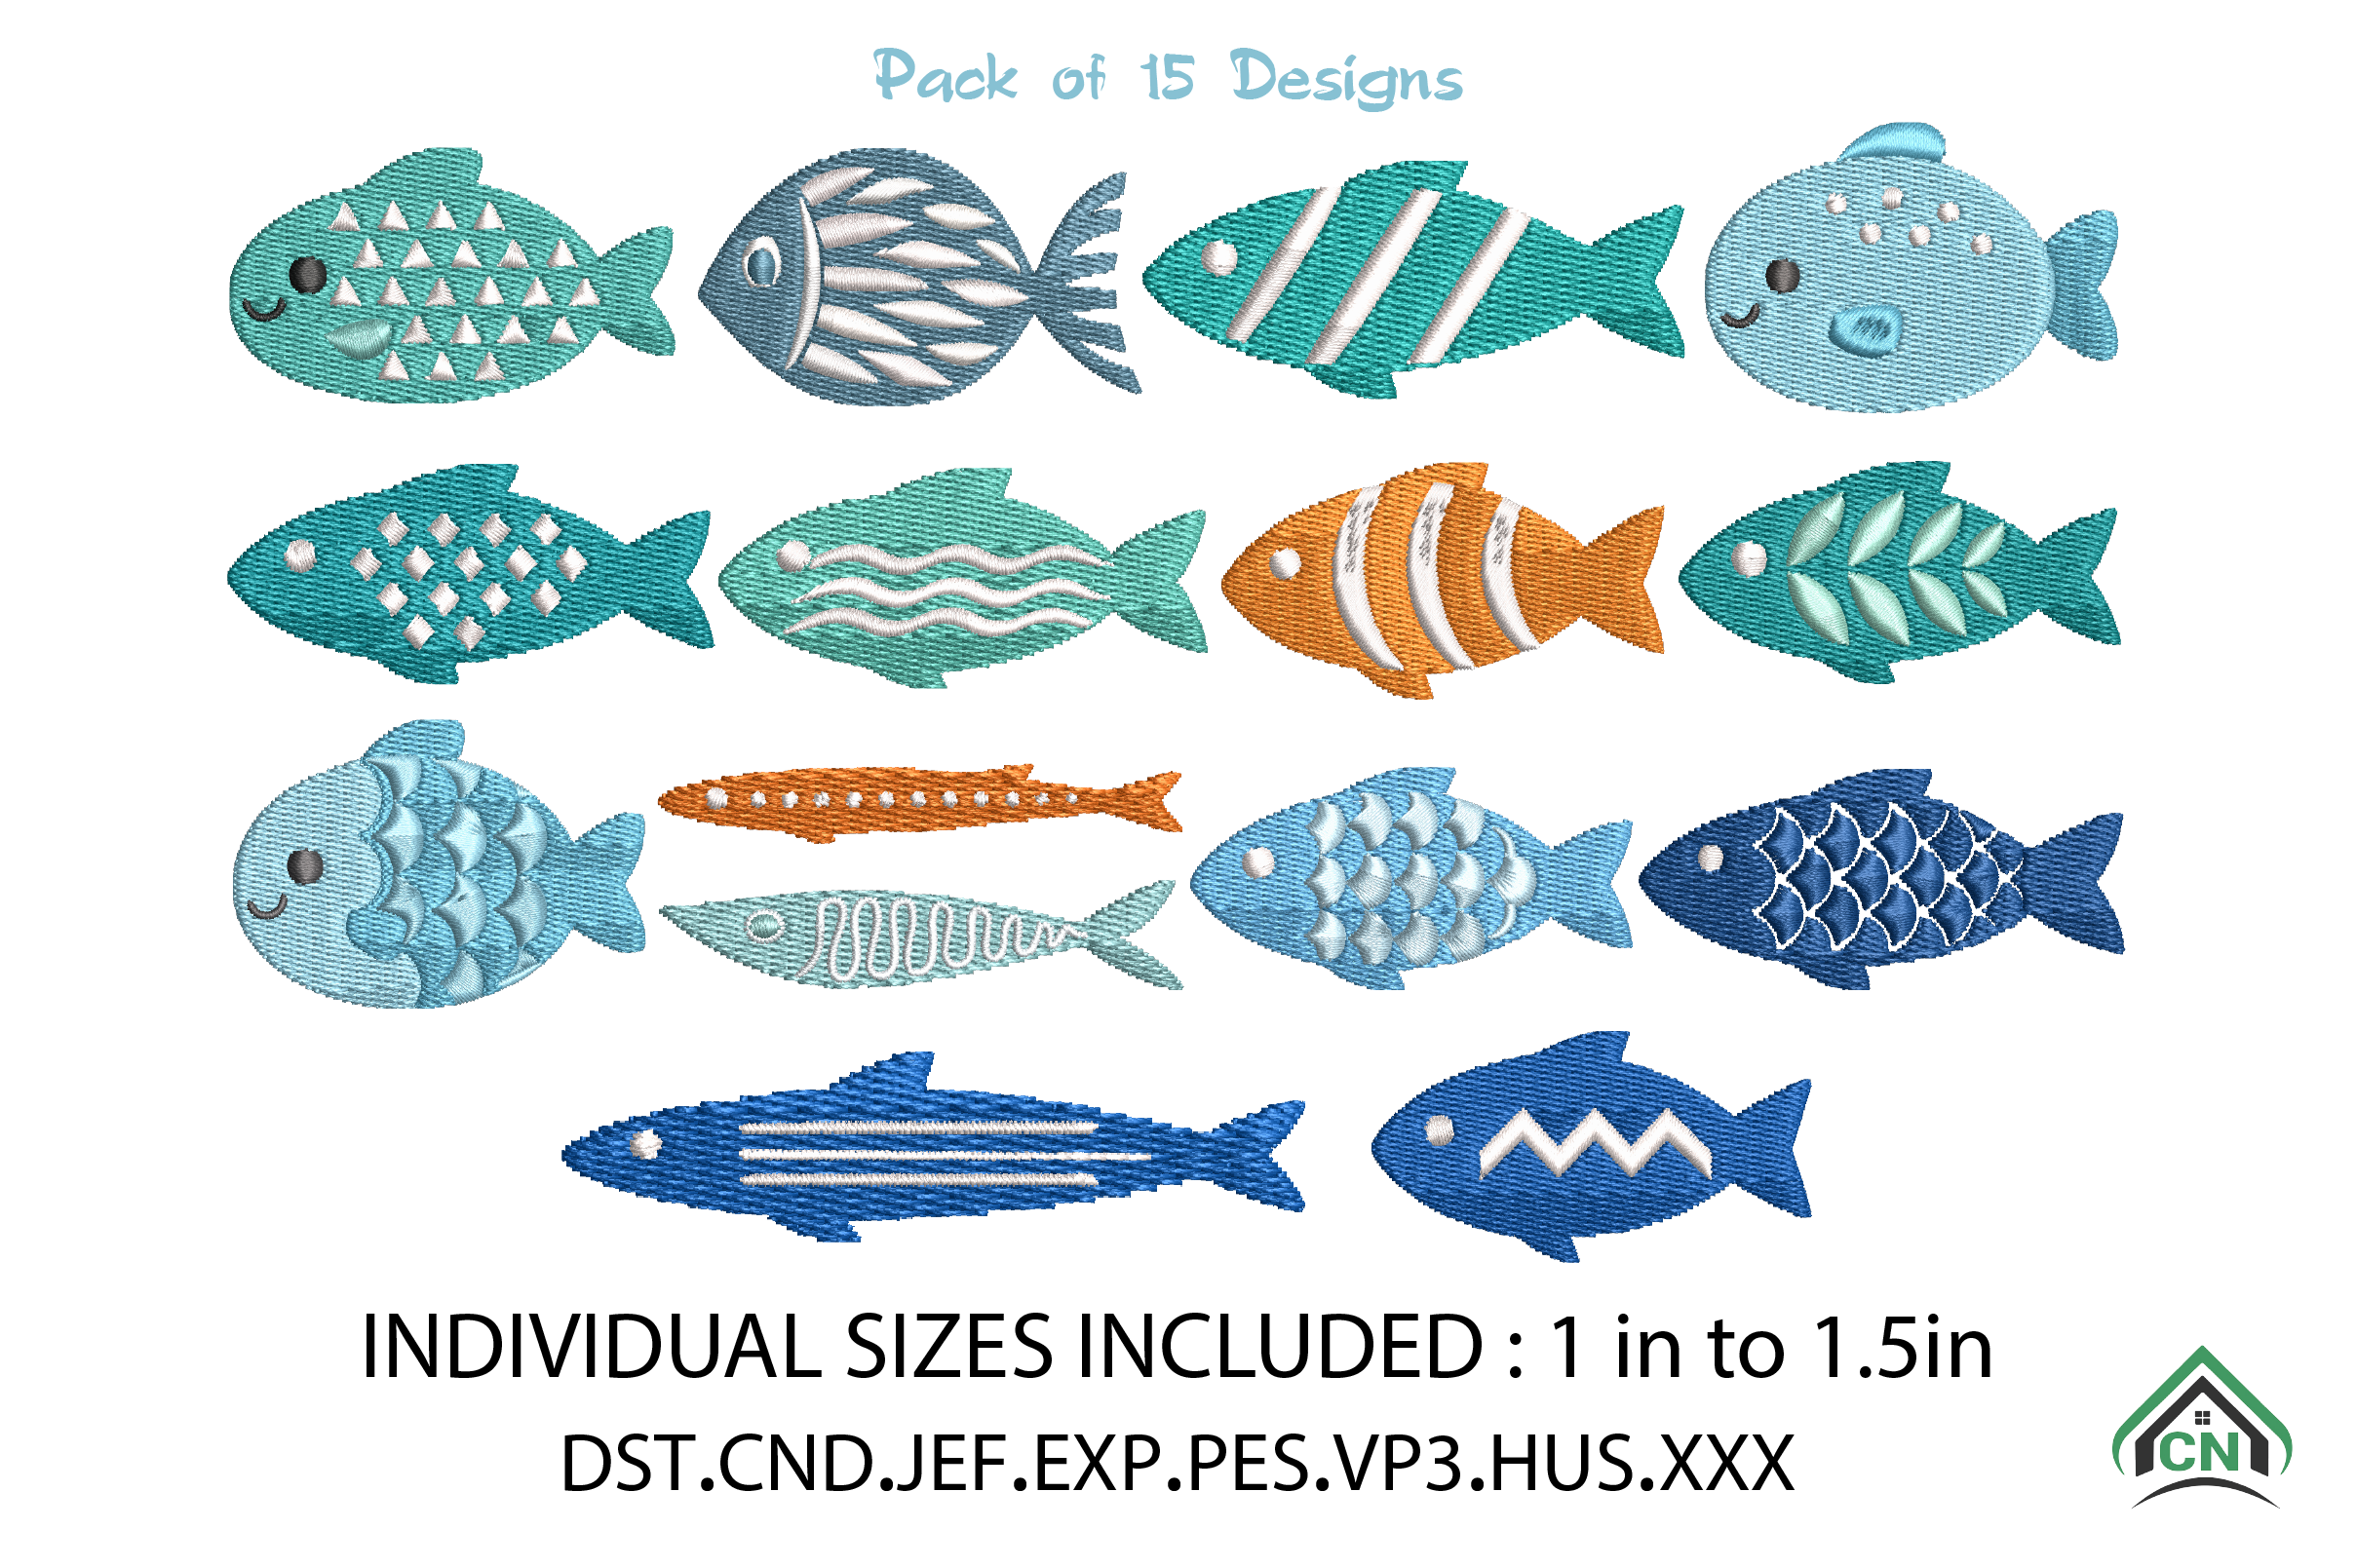
Fish Set Embroidery Design Bundle
DSTEXPHUS
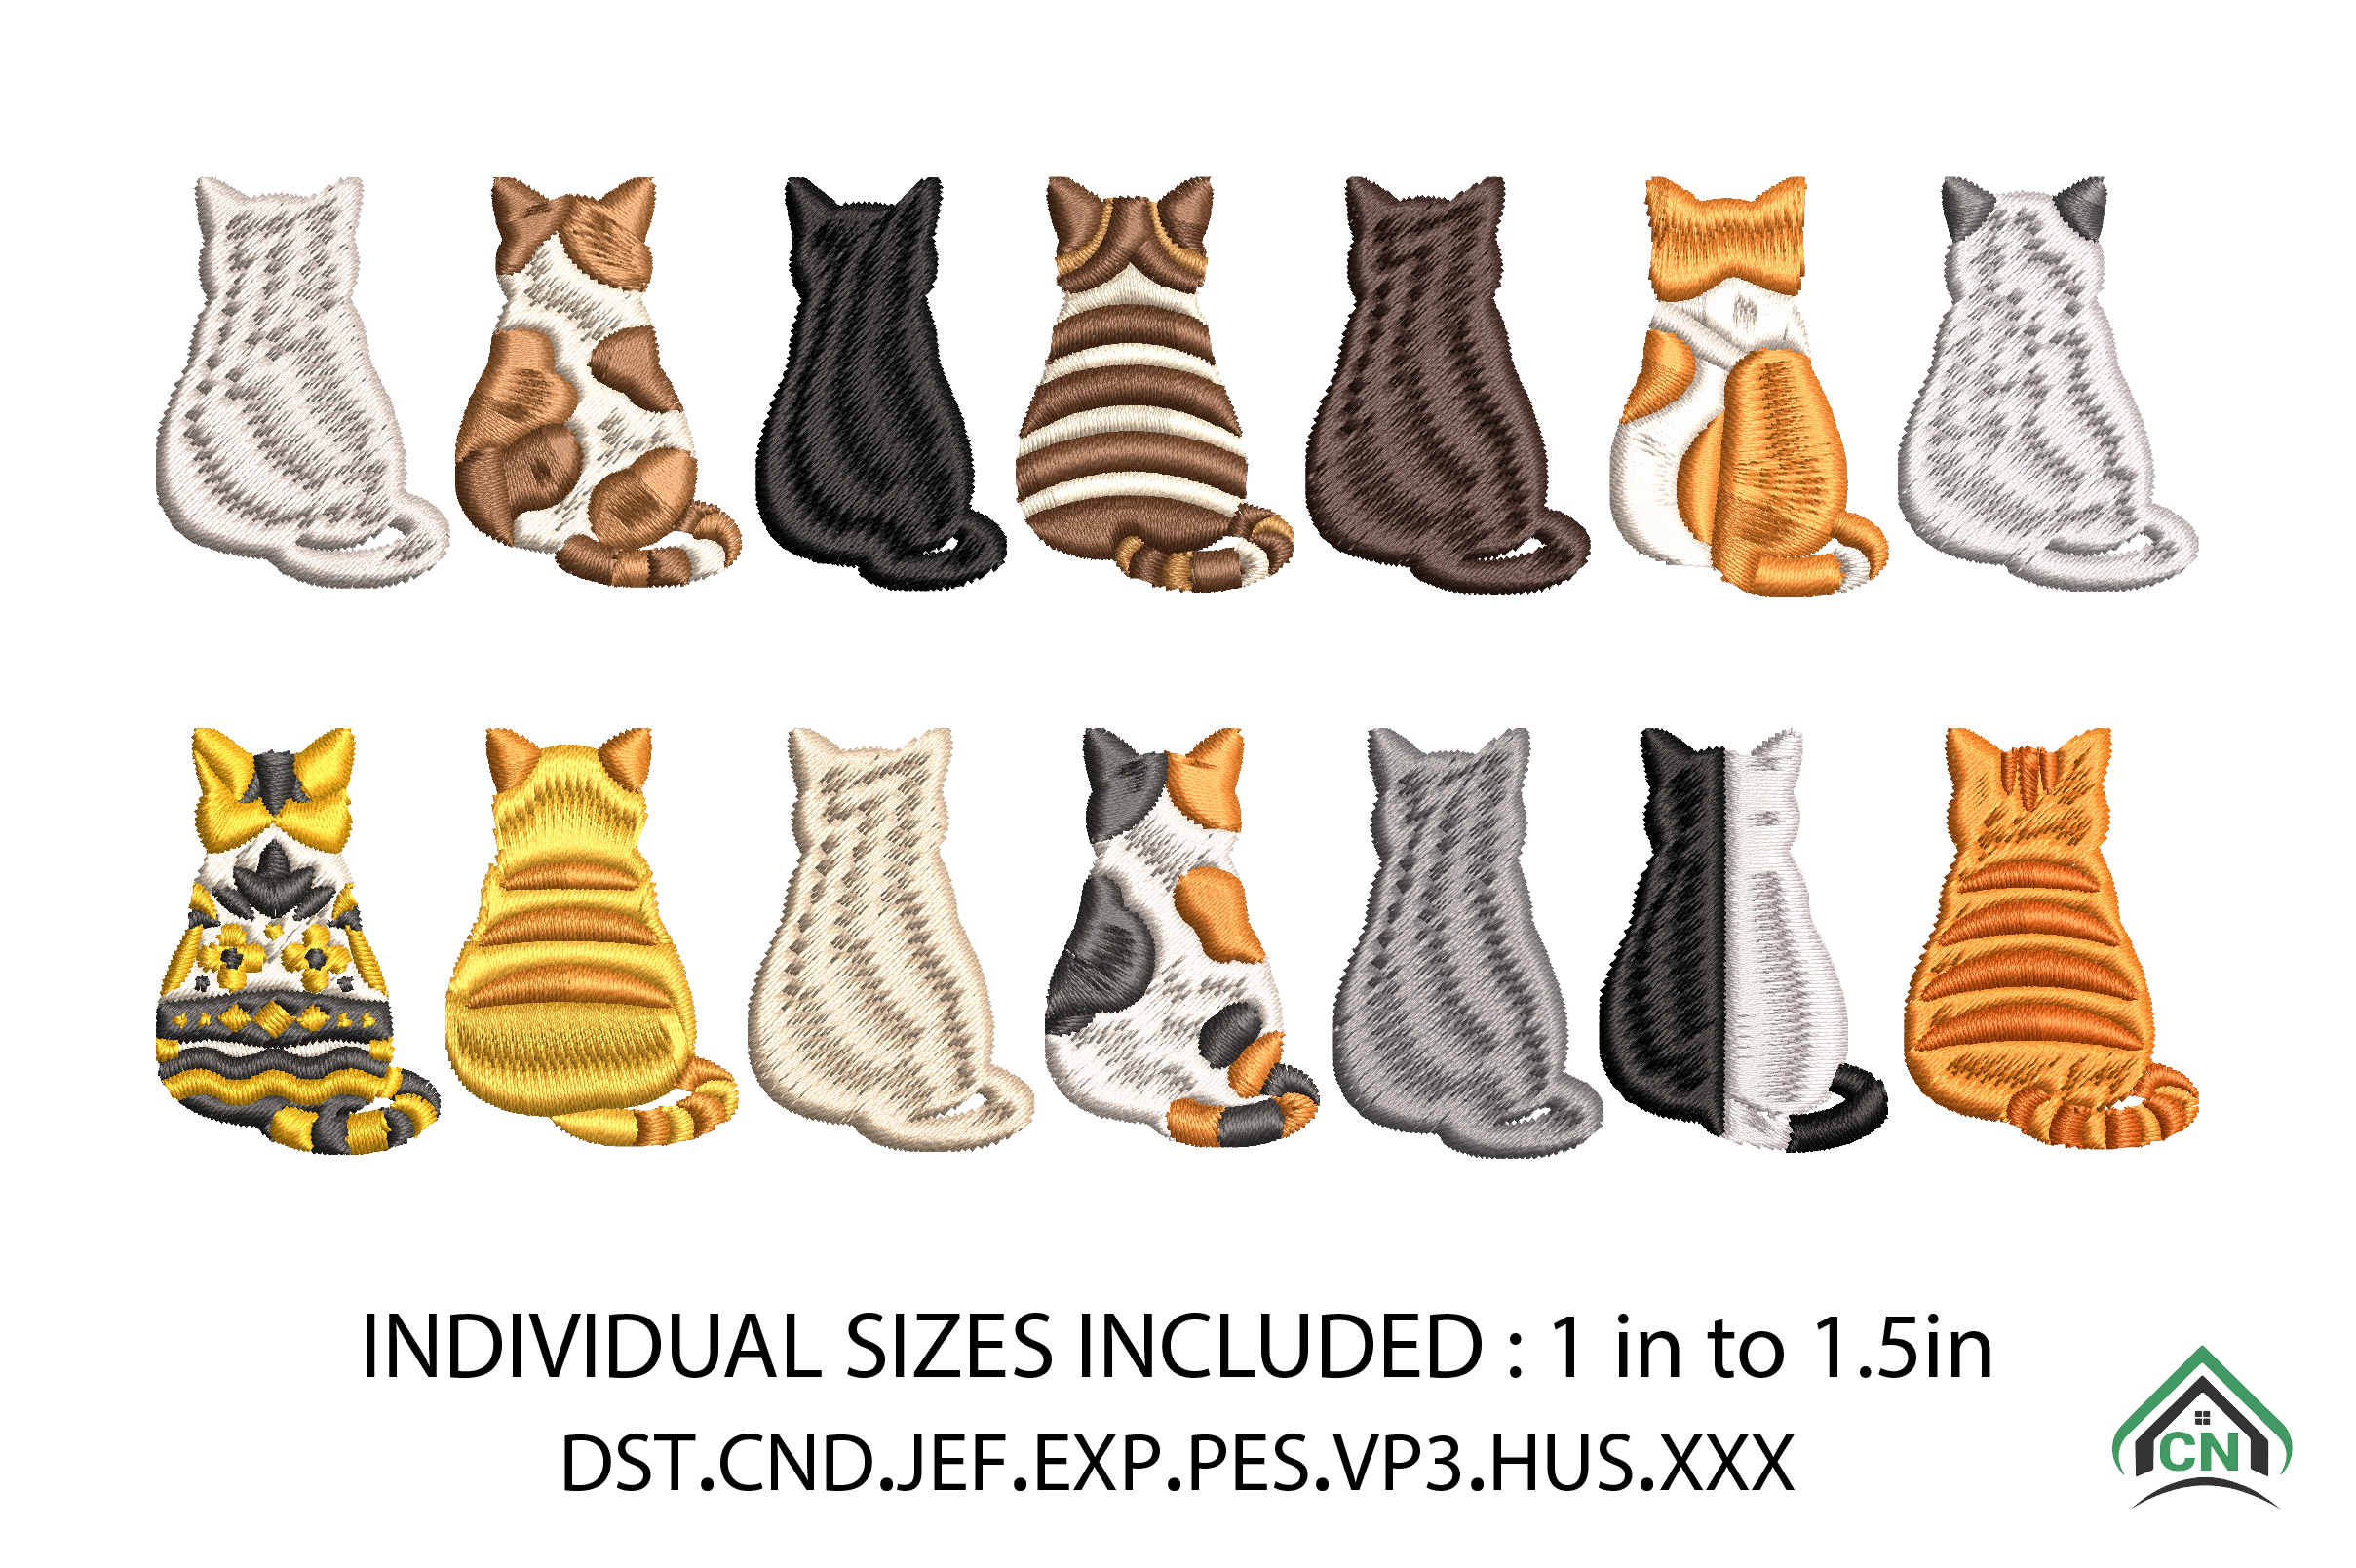
Friends Cat Embroidery Design Bundle
DSTEXPHUS
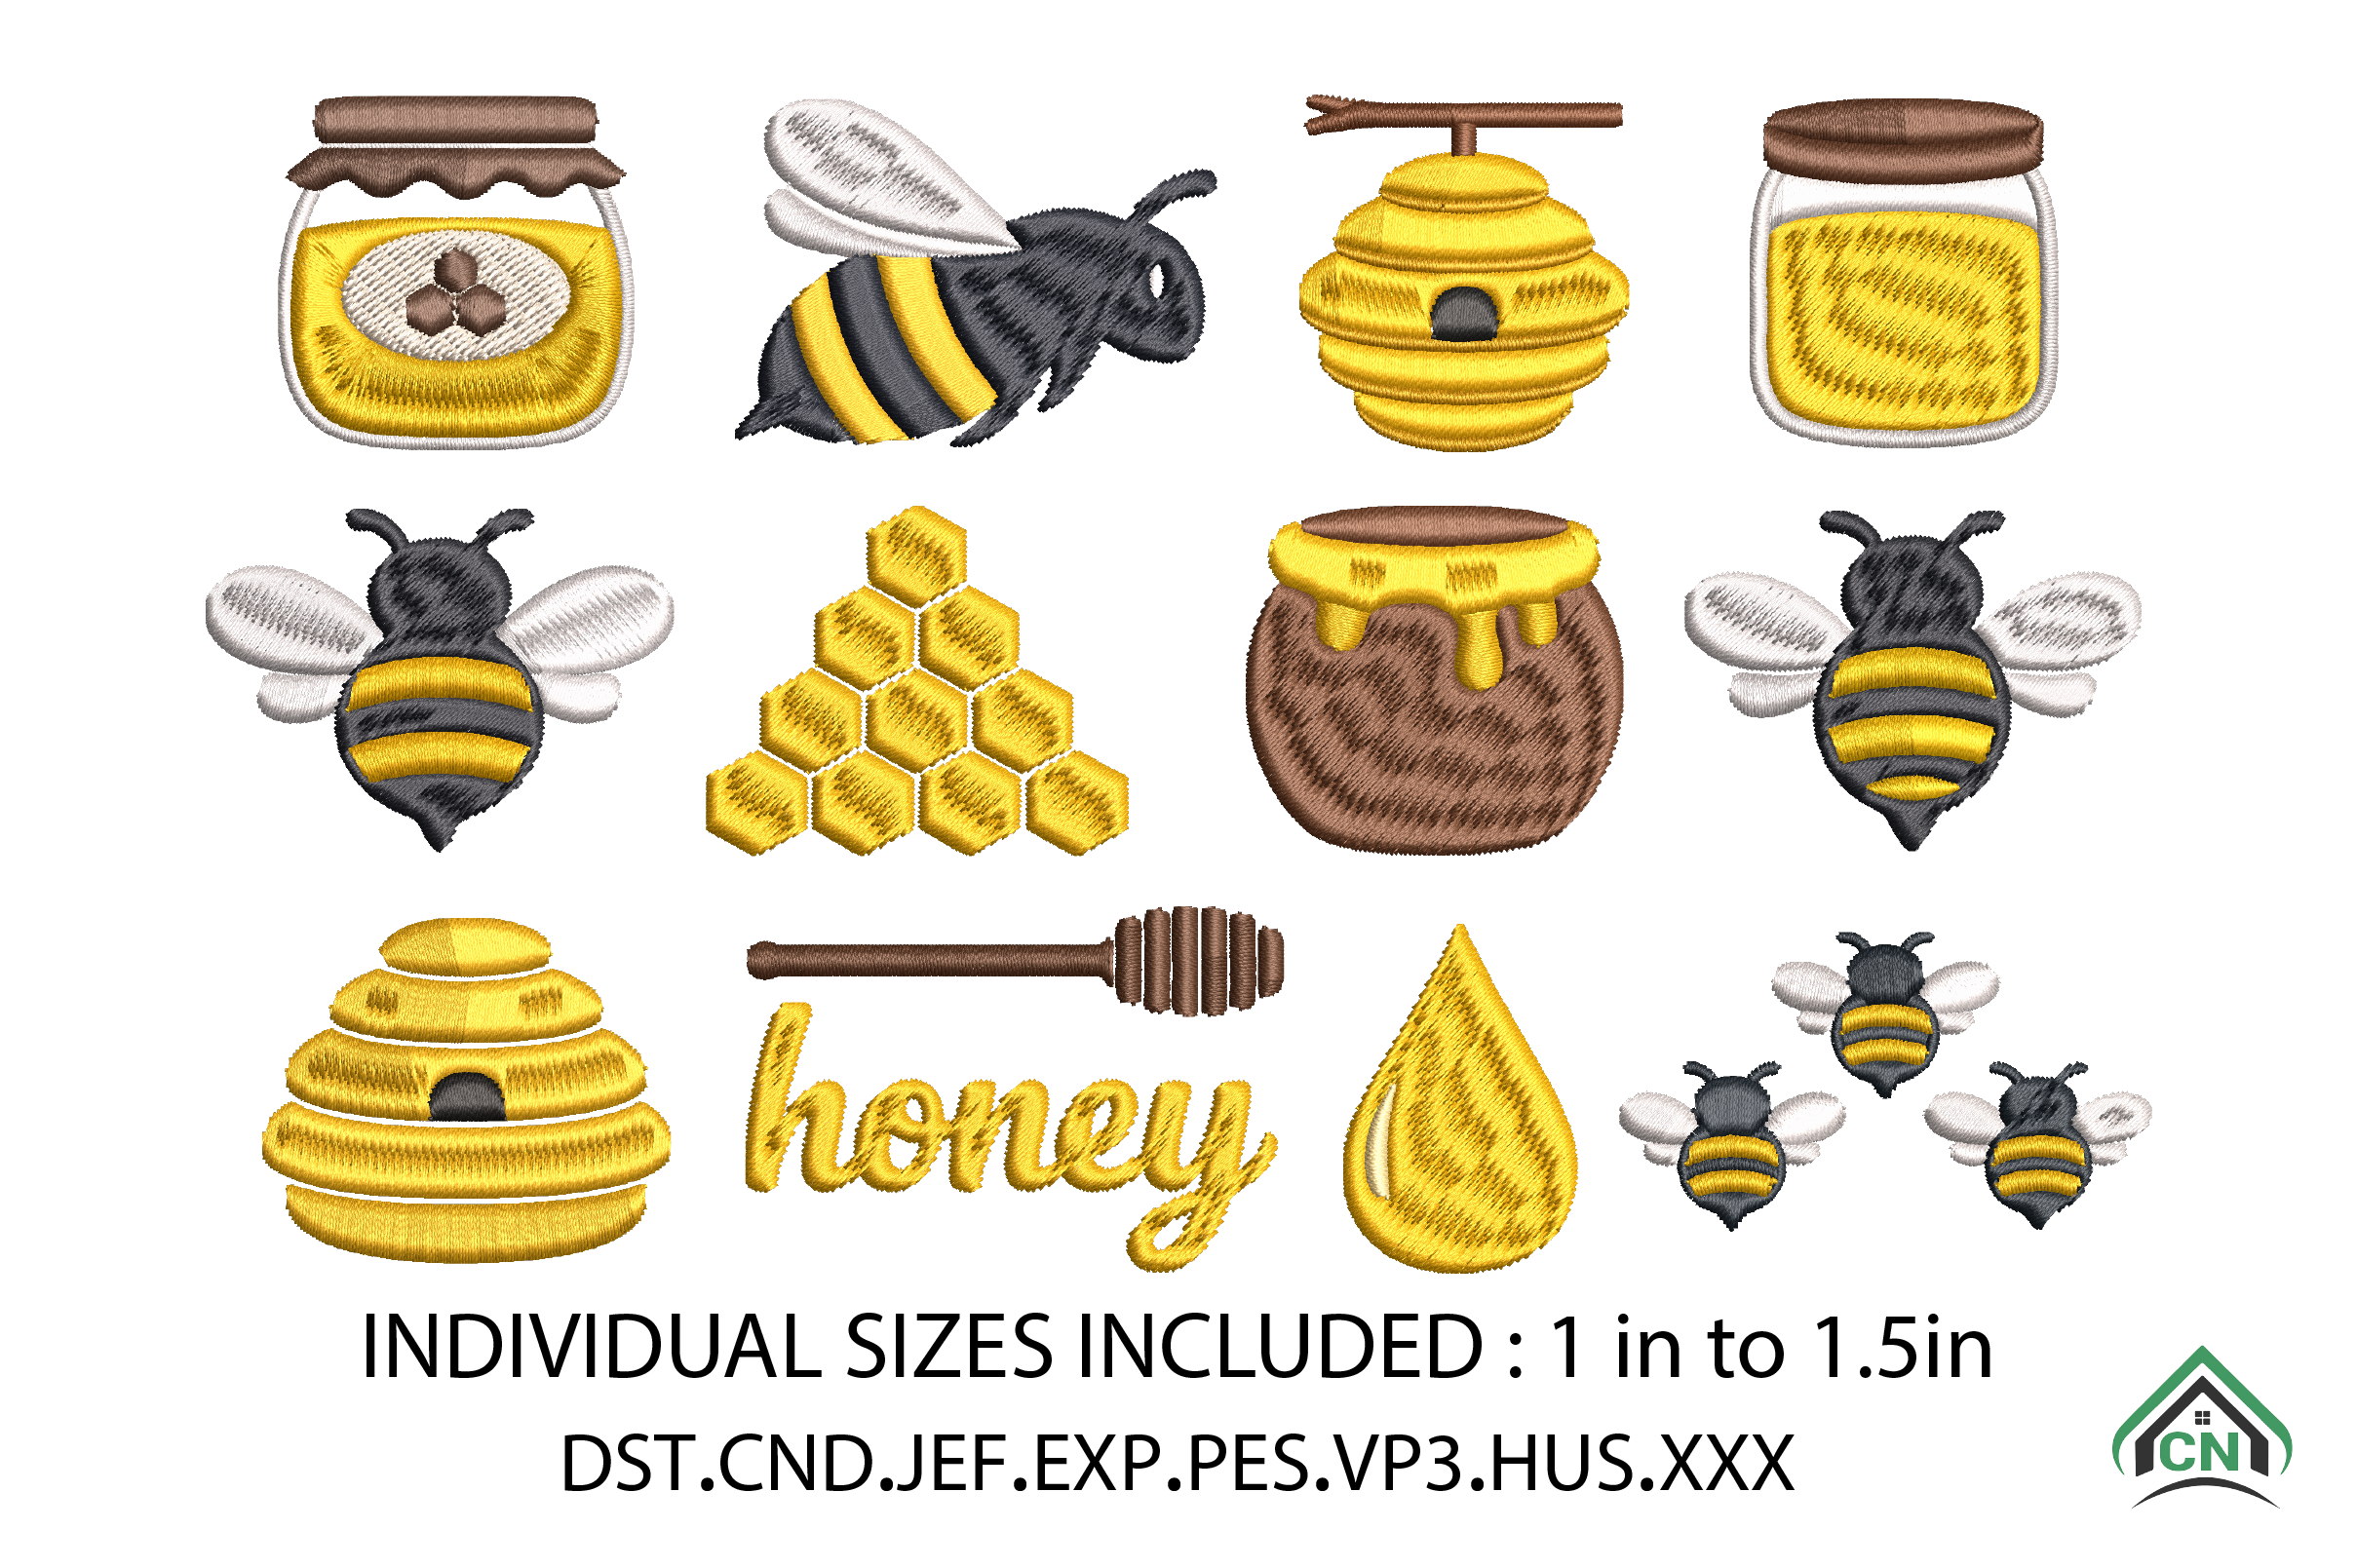
Honey Bee Mini Embroidery Bundle
DSTEXPHUS
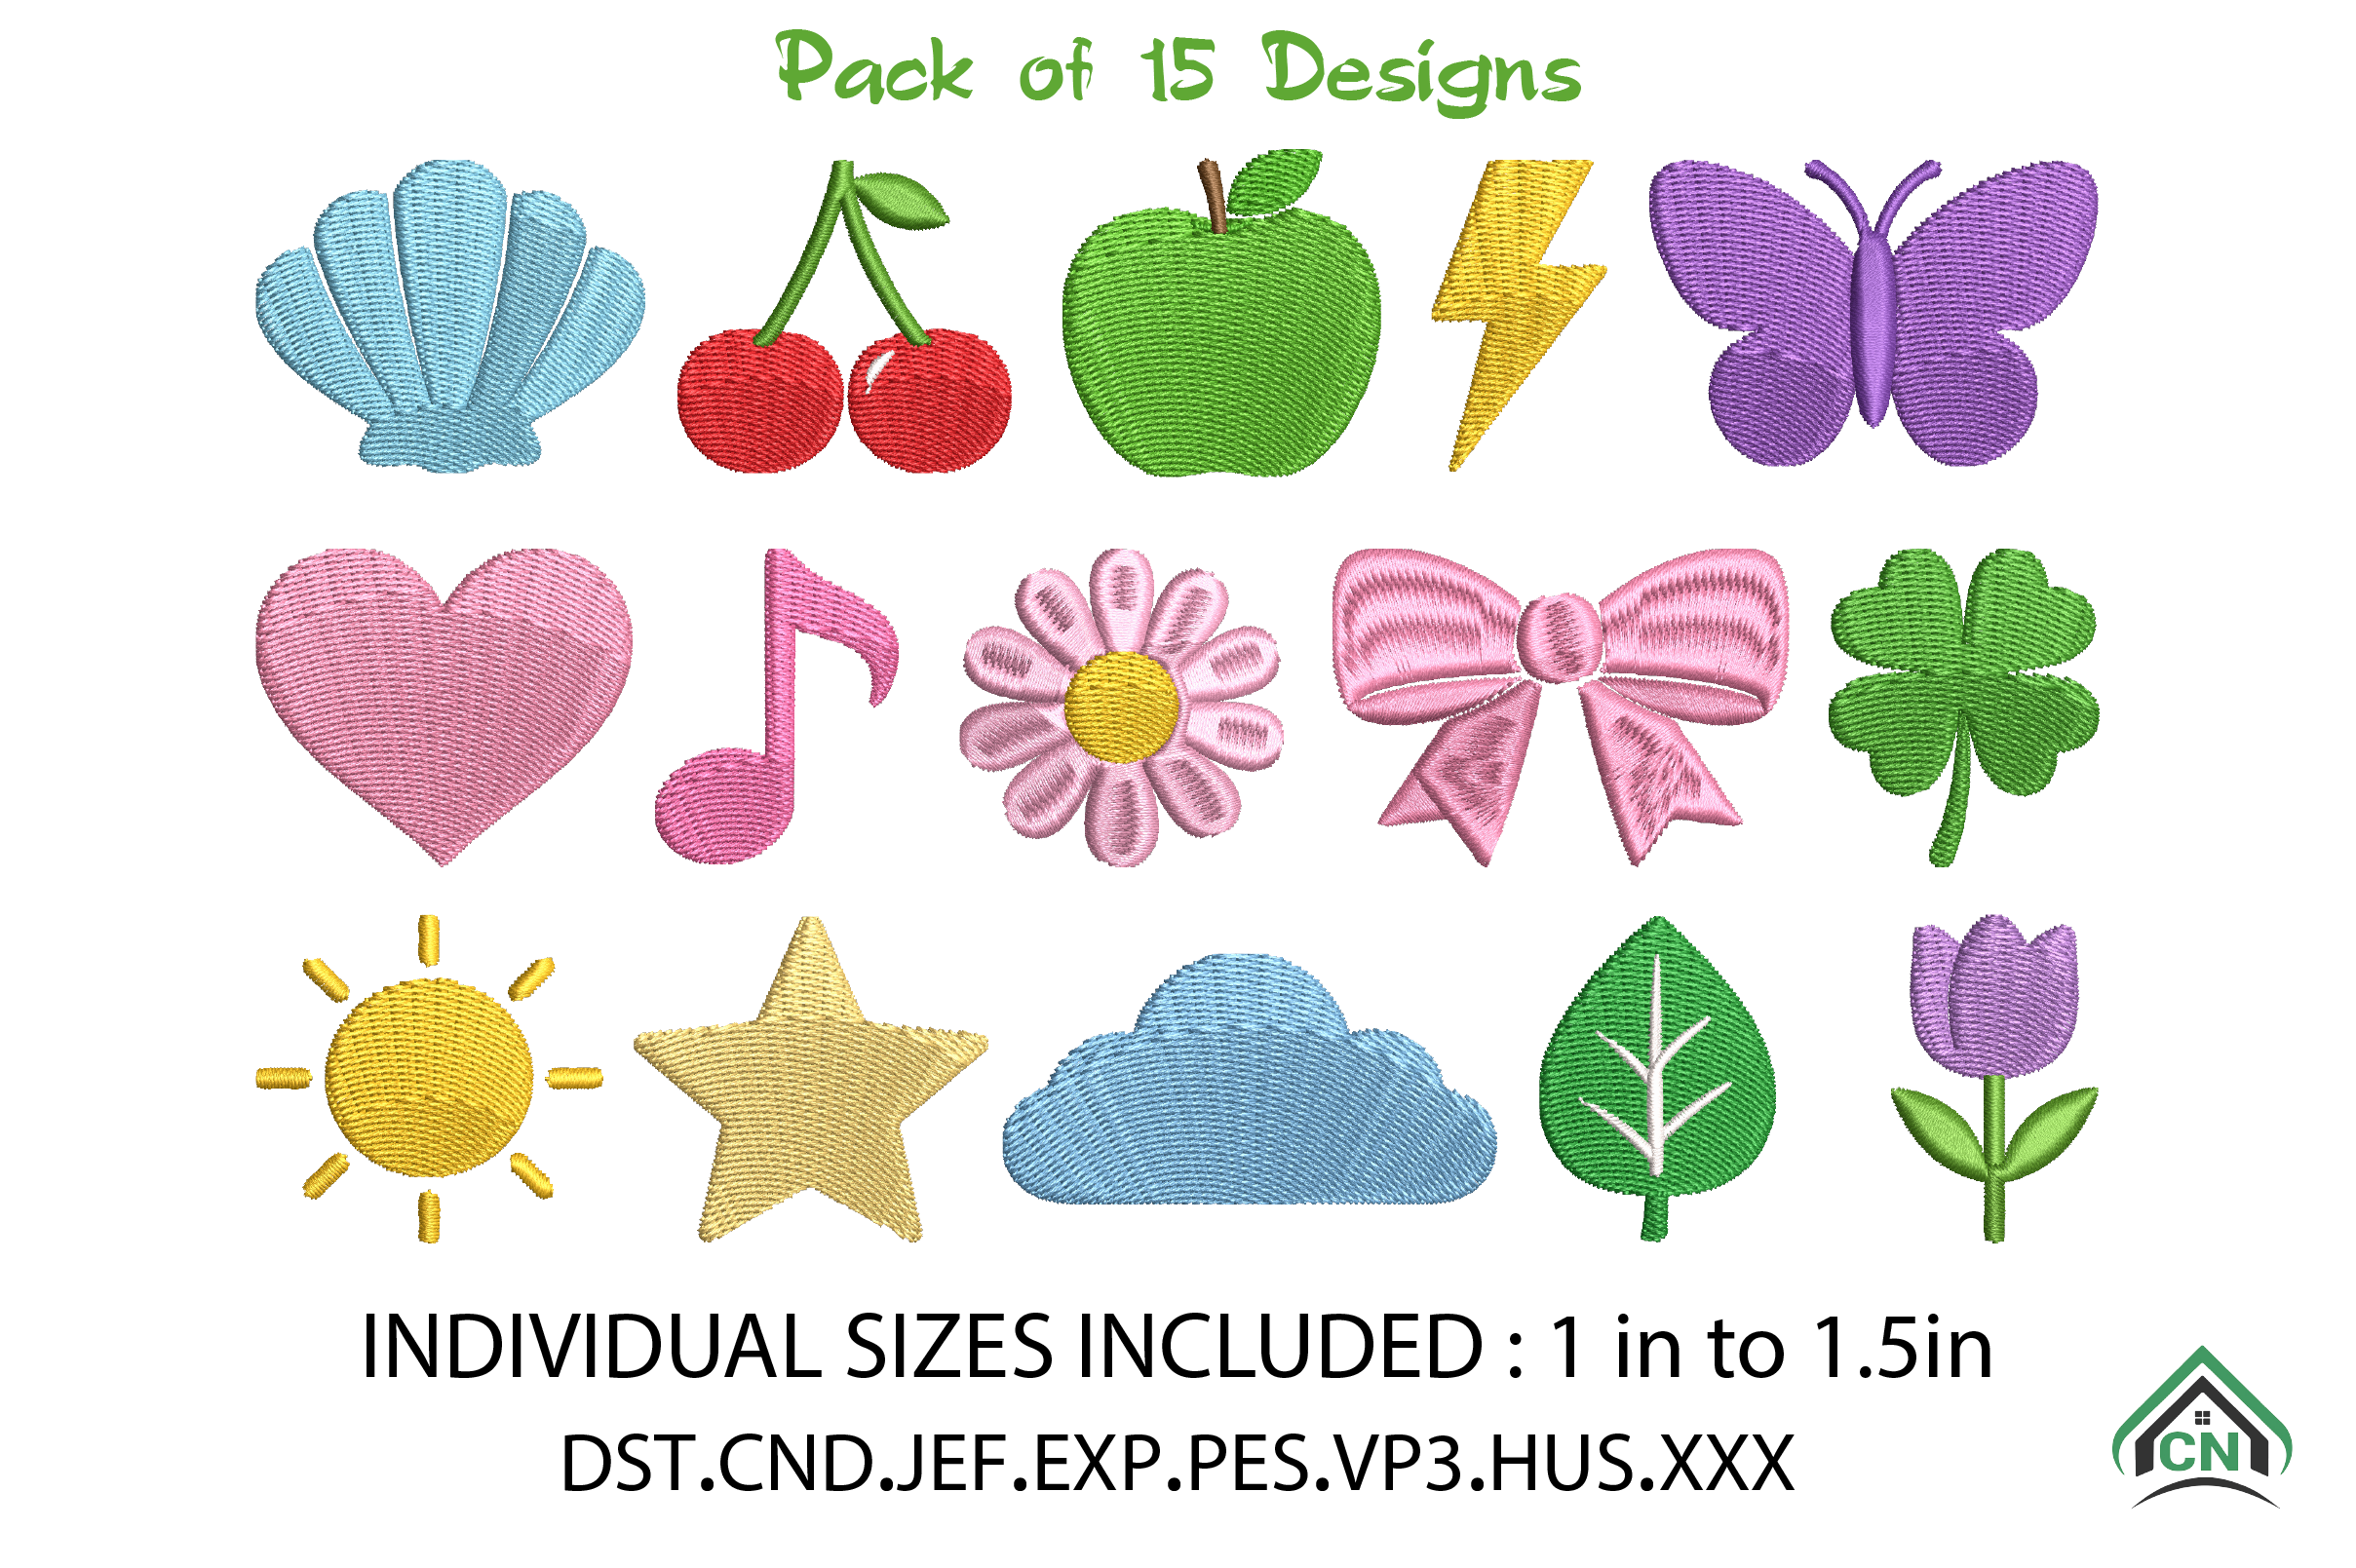
Min Cute Shapes Embroidery Bundle
DSTEXPHUS
Mini Baseball Icons Machine Embroidery
DSTEXPHUS