← Back to catalog
Create Beautiful Chicken Scratch Embroidery Designs
Search results ranked by title, tags, category, designer, format, and description relevance.
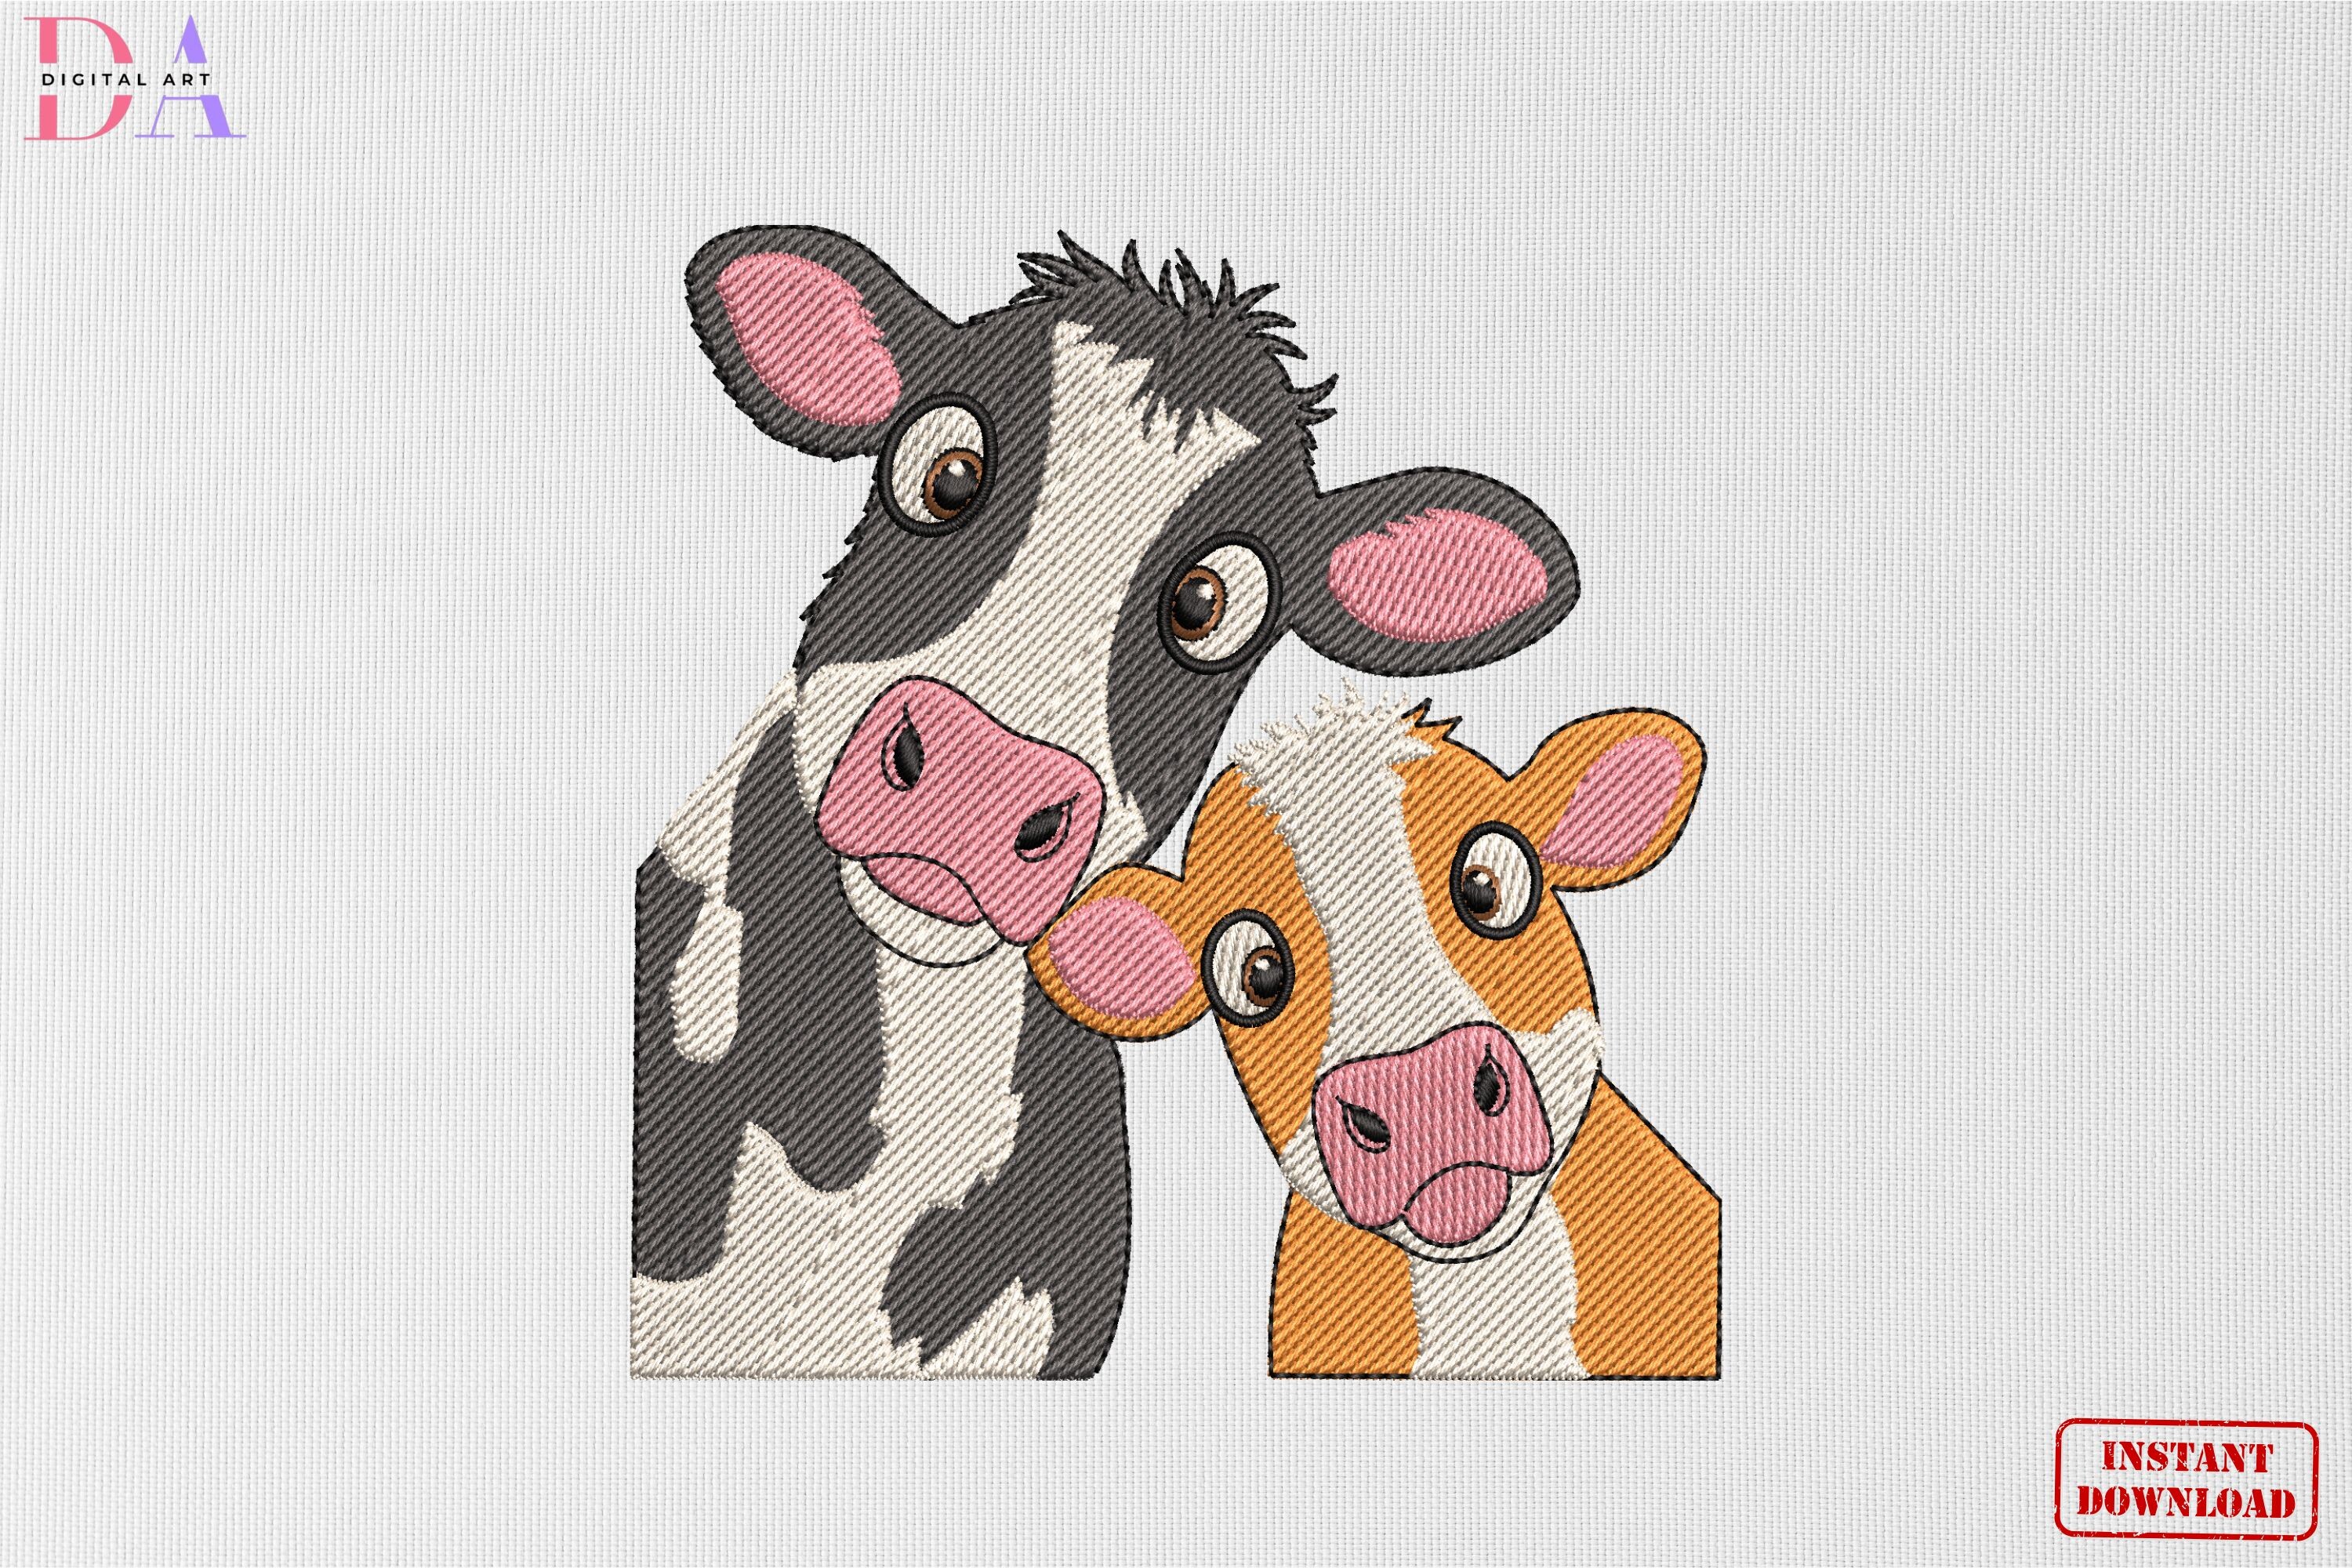
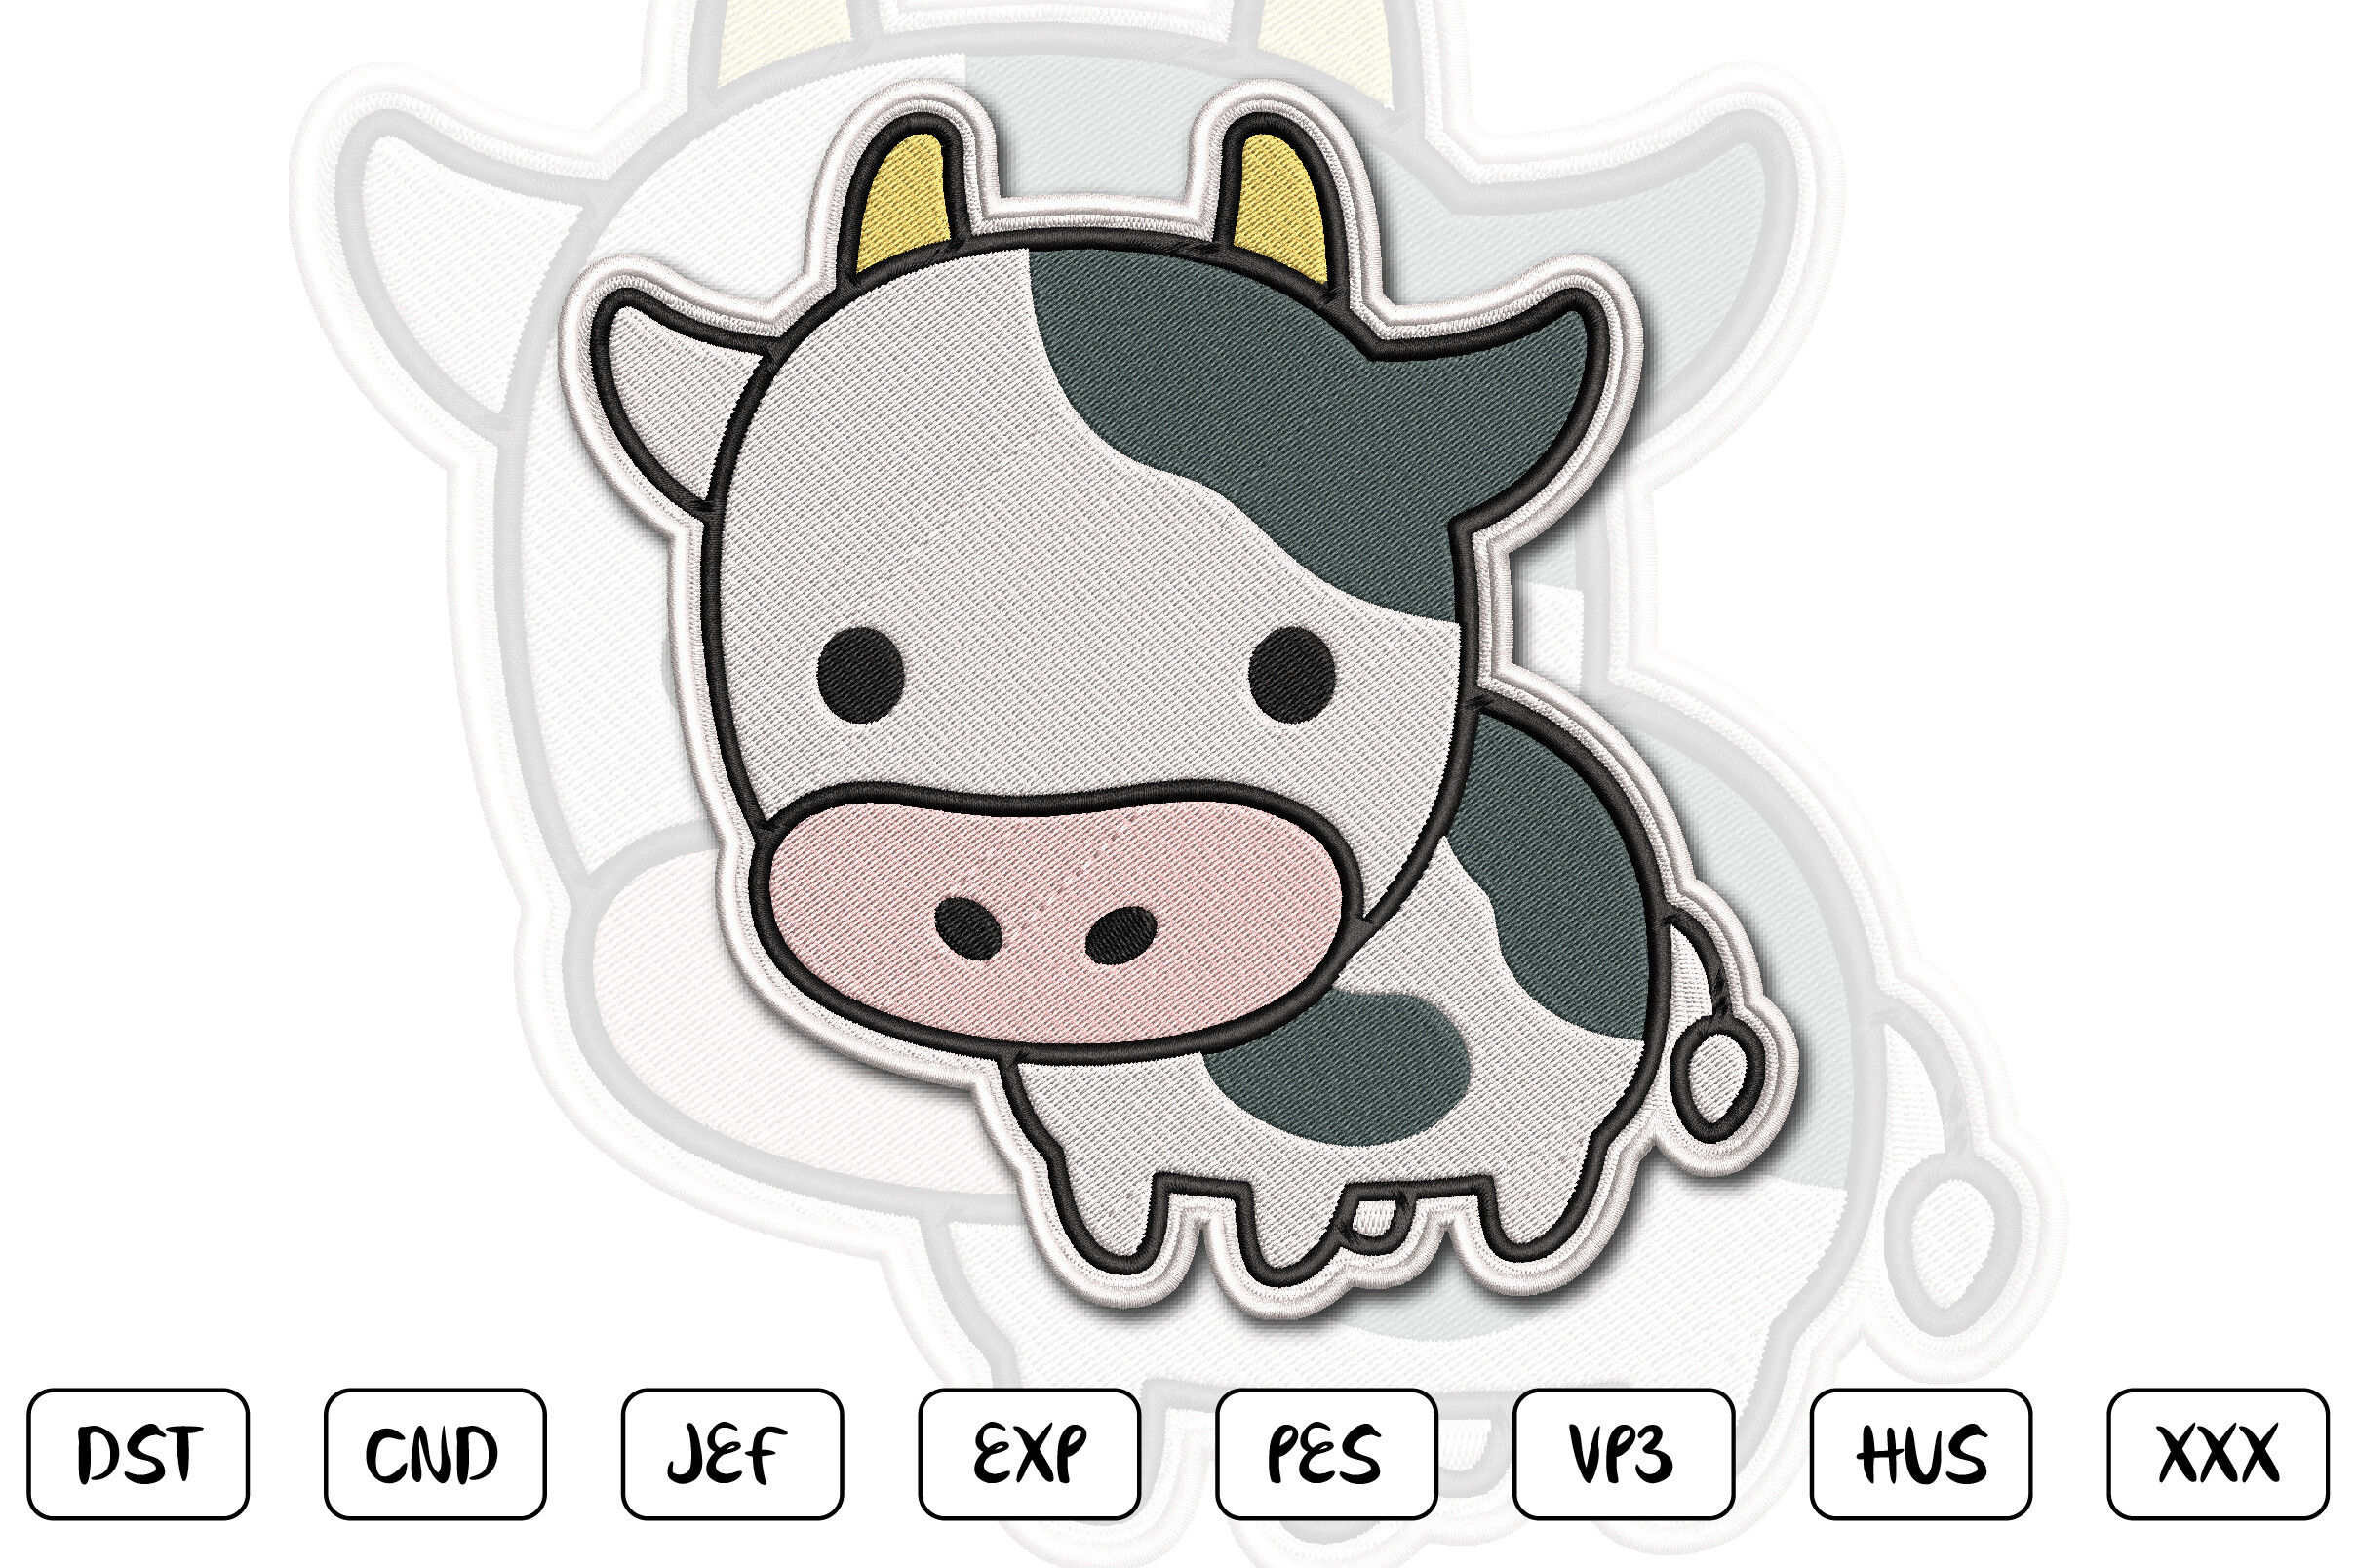
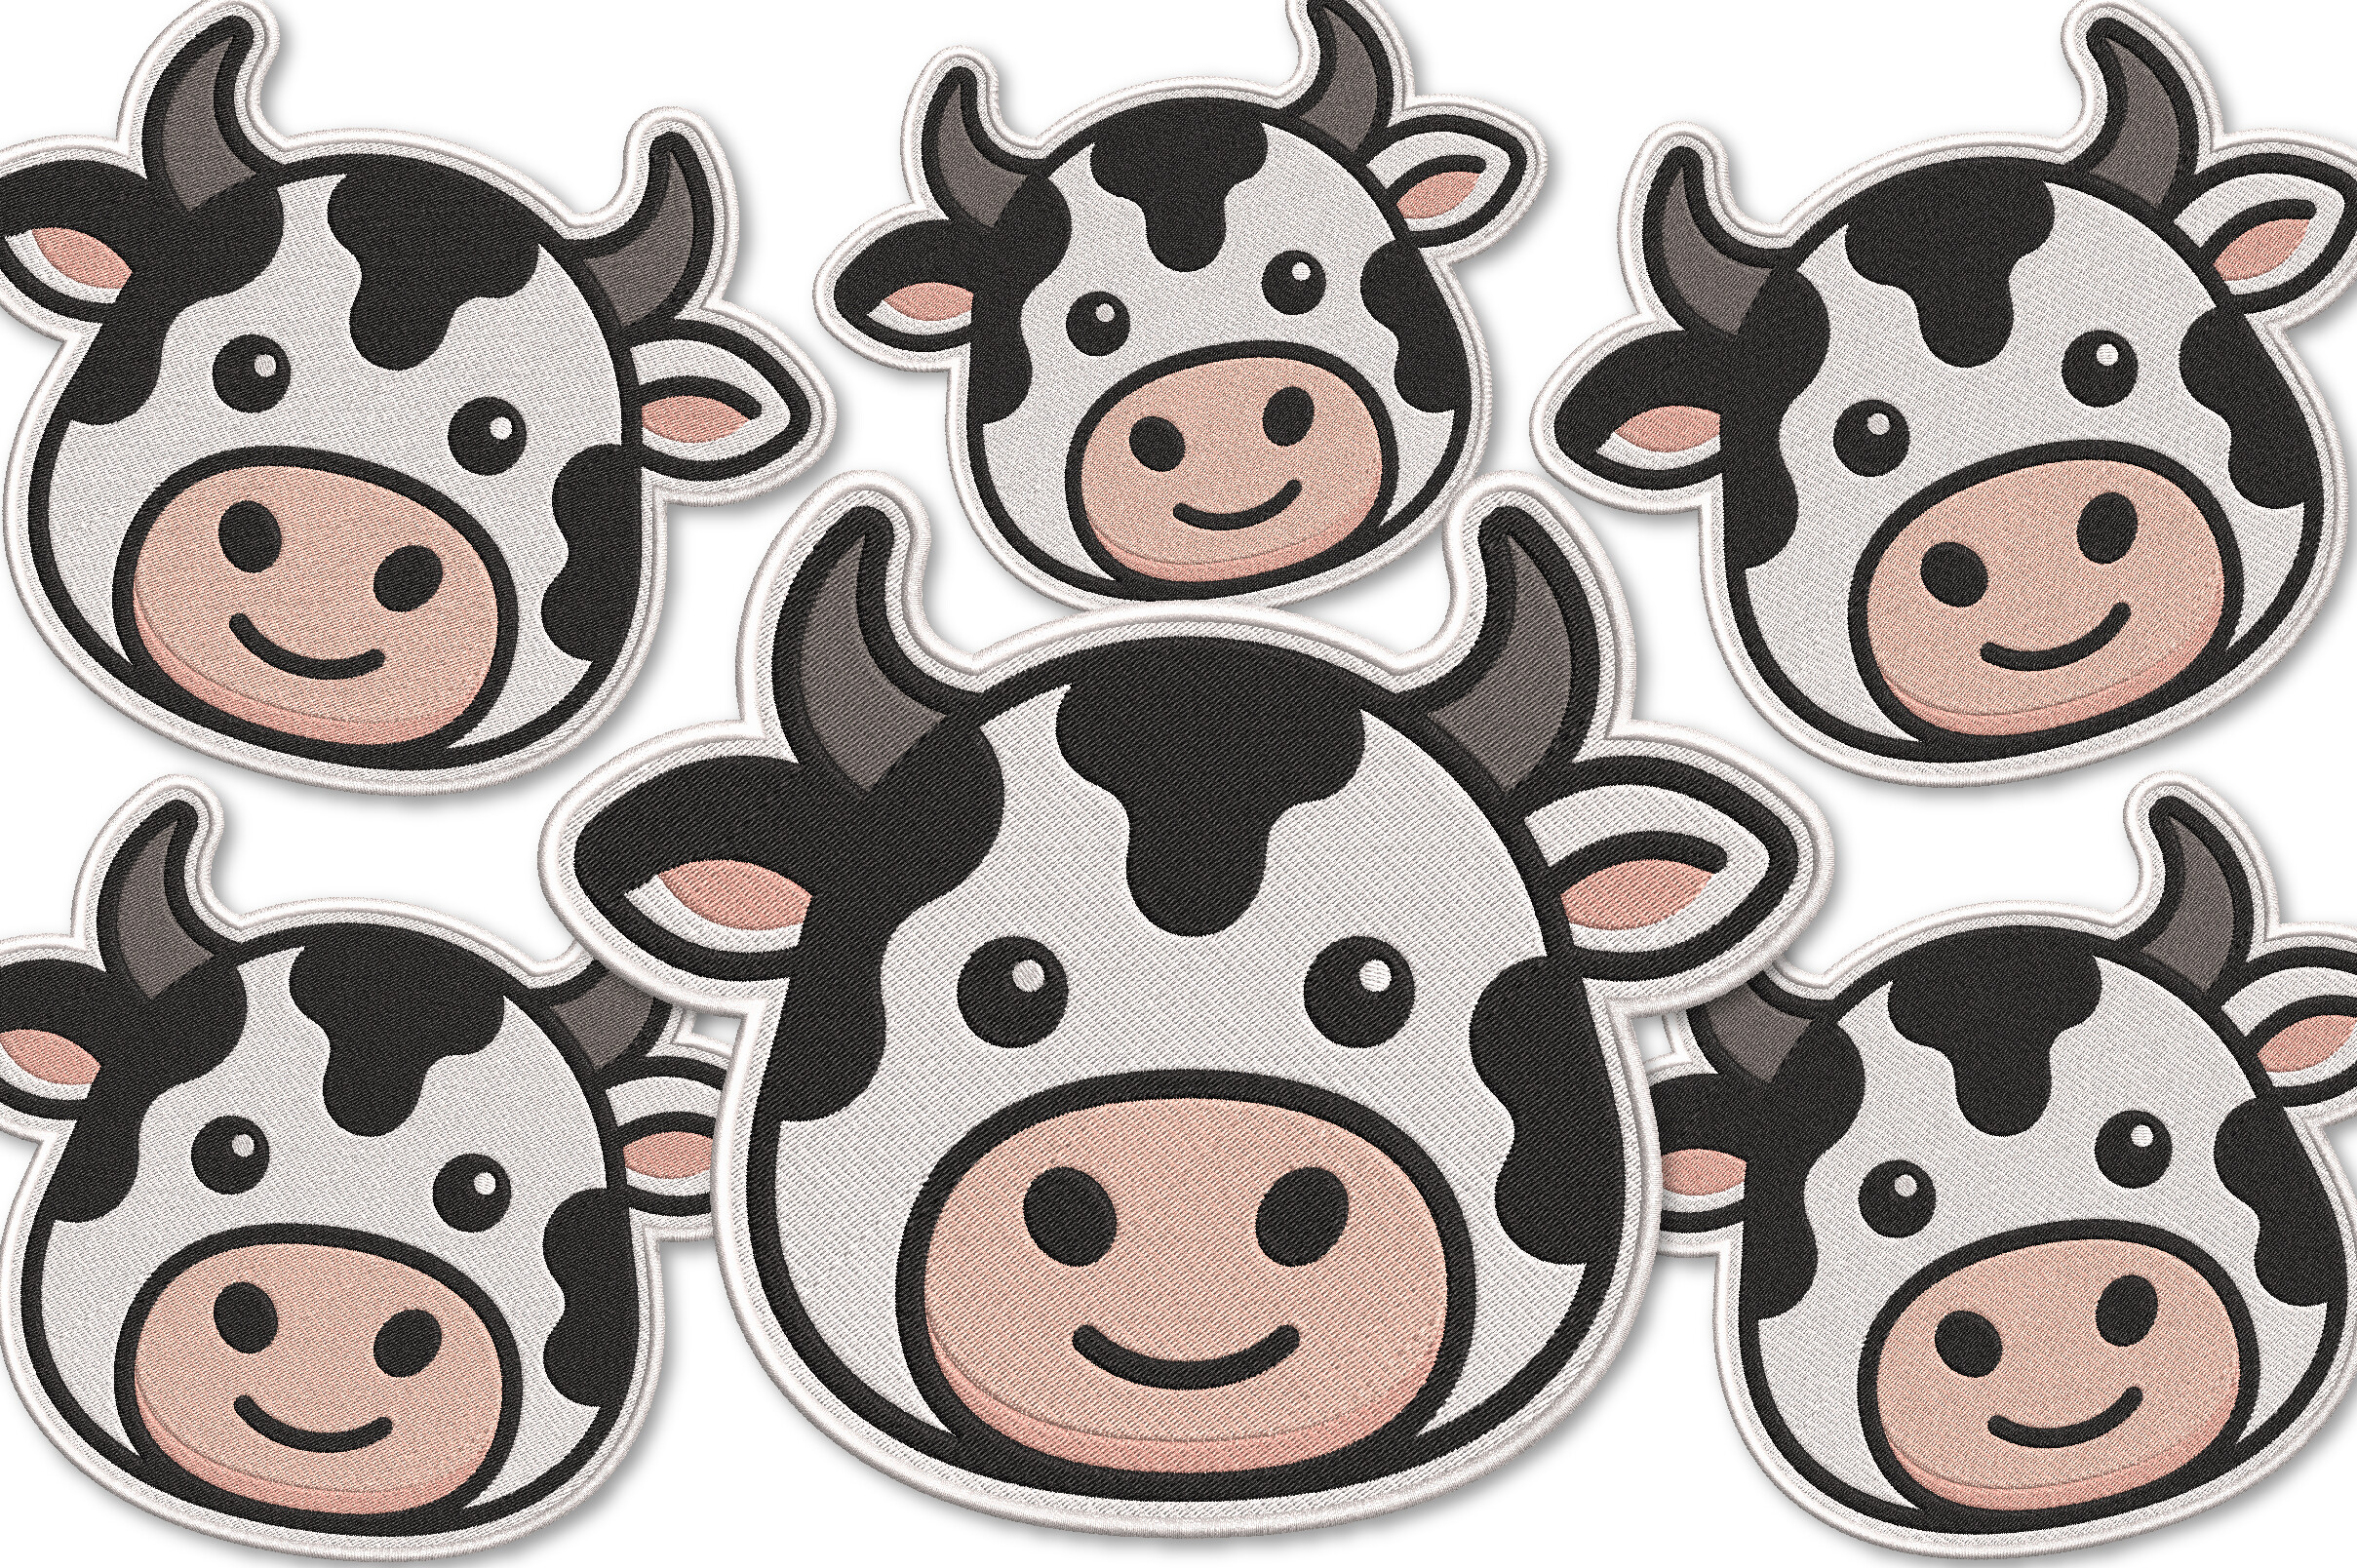
Cute Farm Cow Duo
DSTEXPHUS
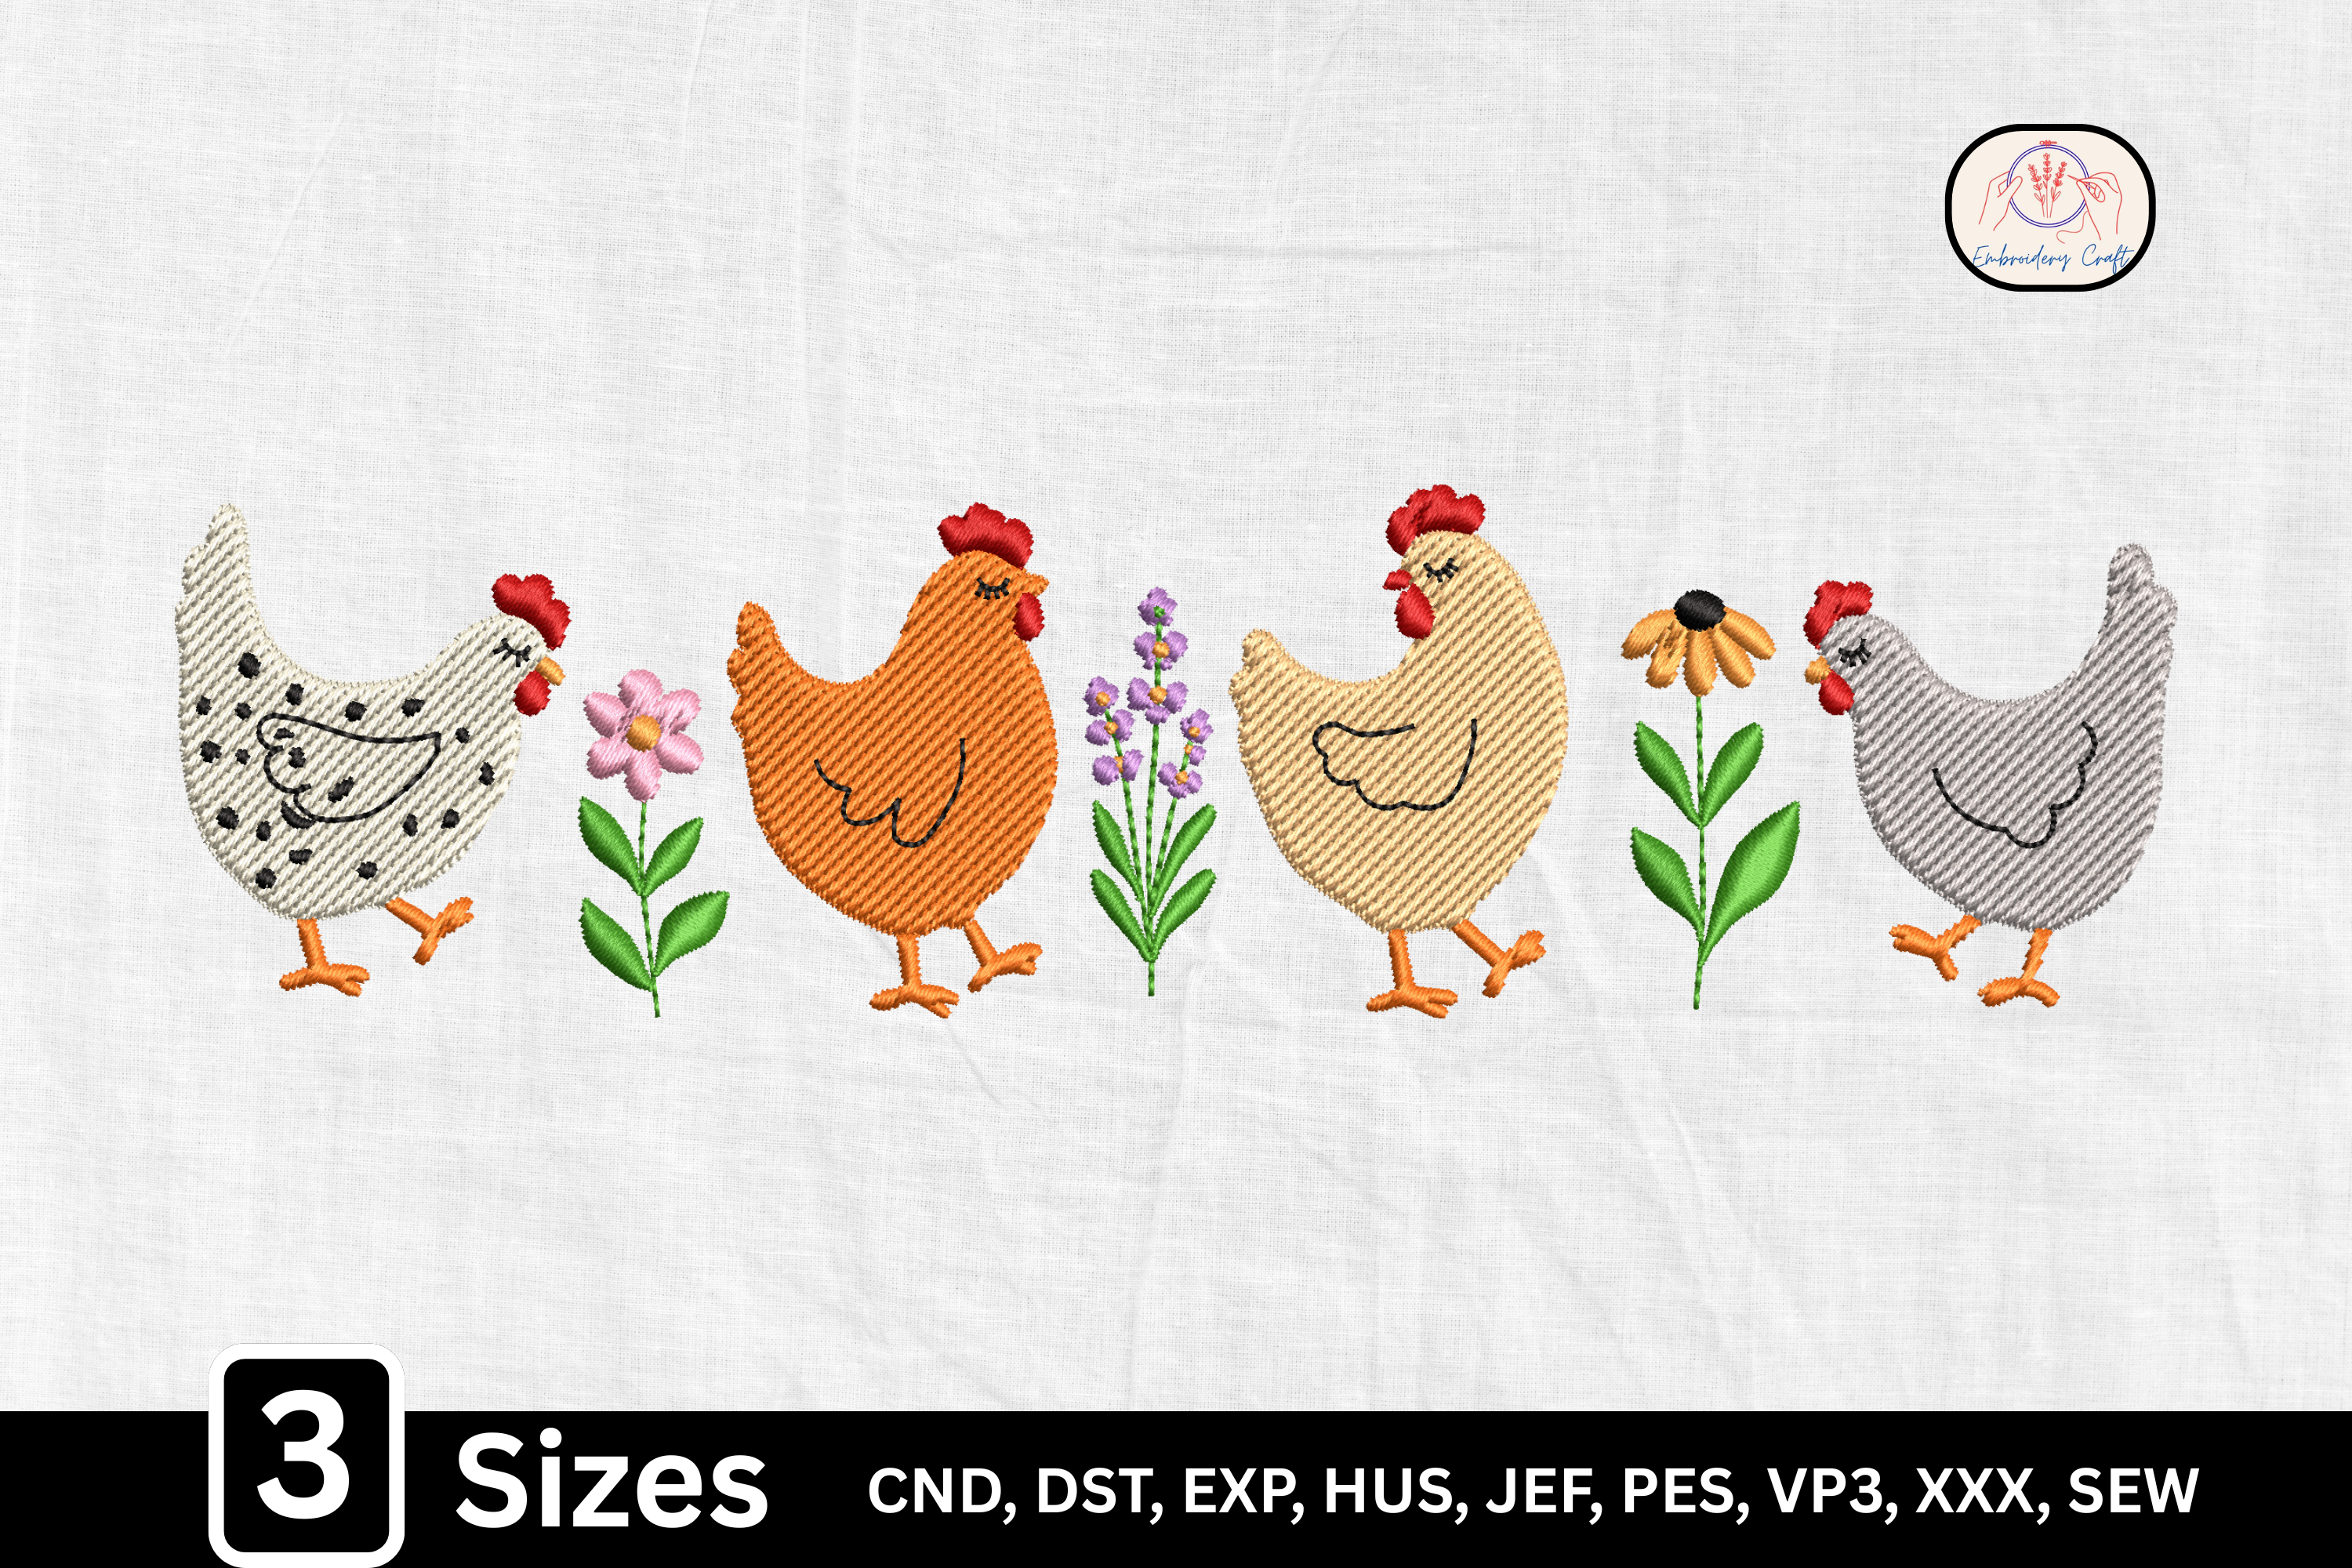
Farm Hen Floral Chicken
DSTEXPHUS
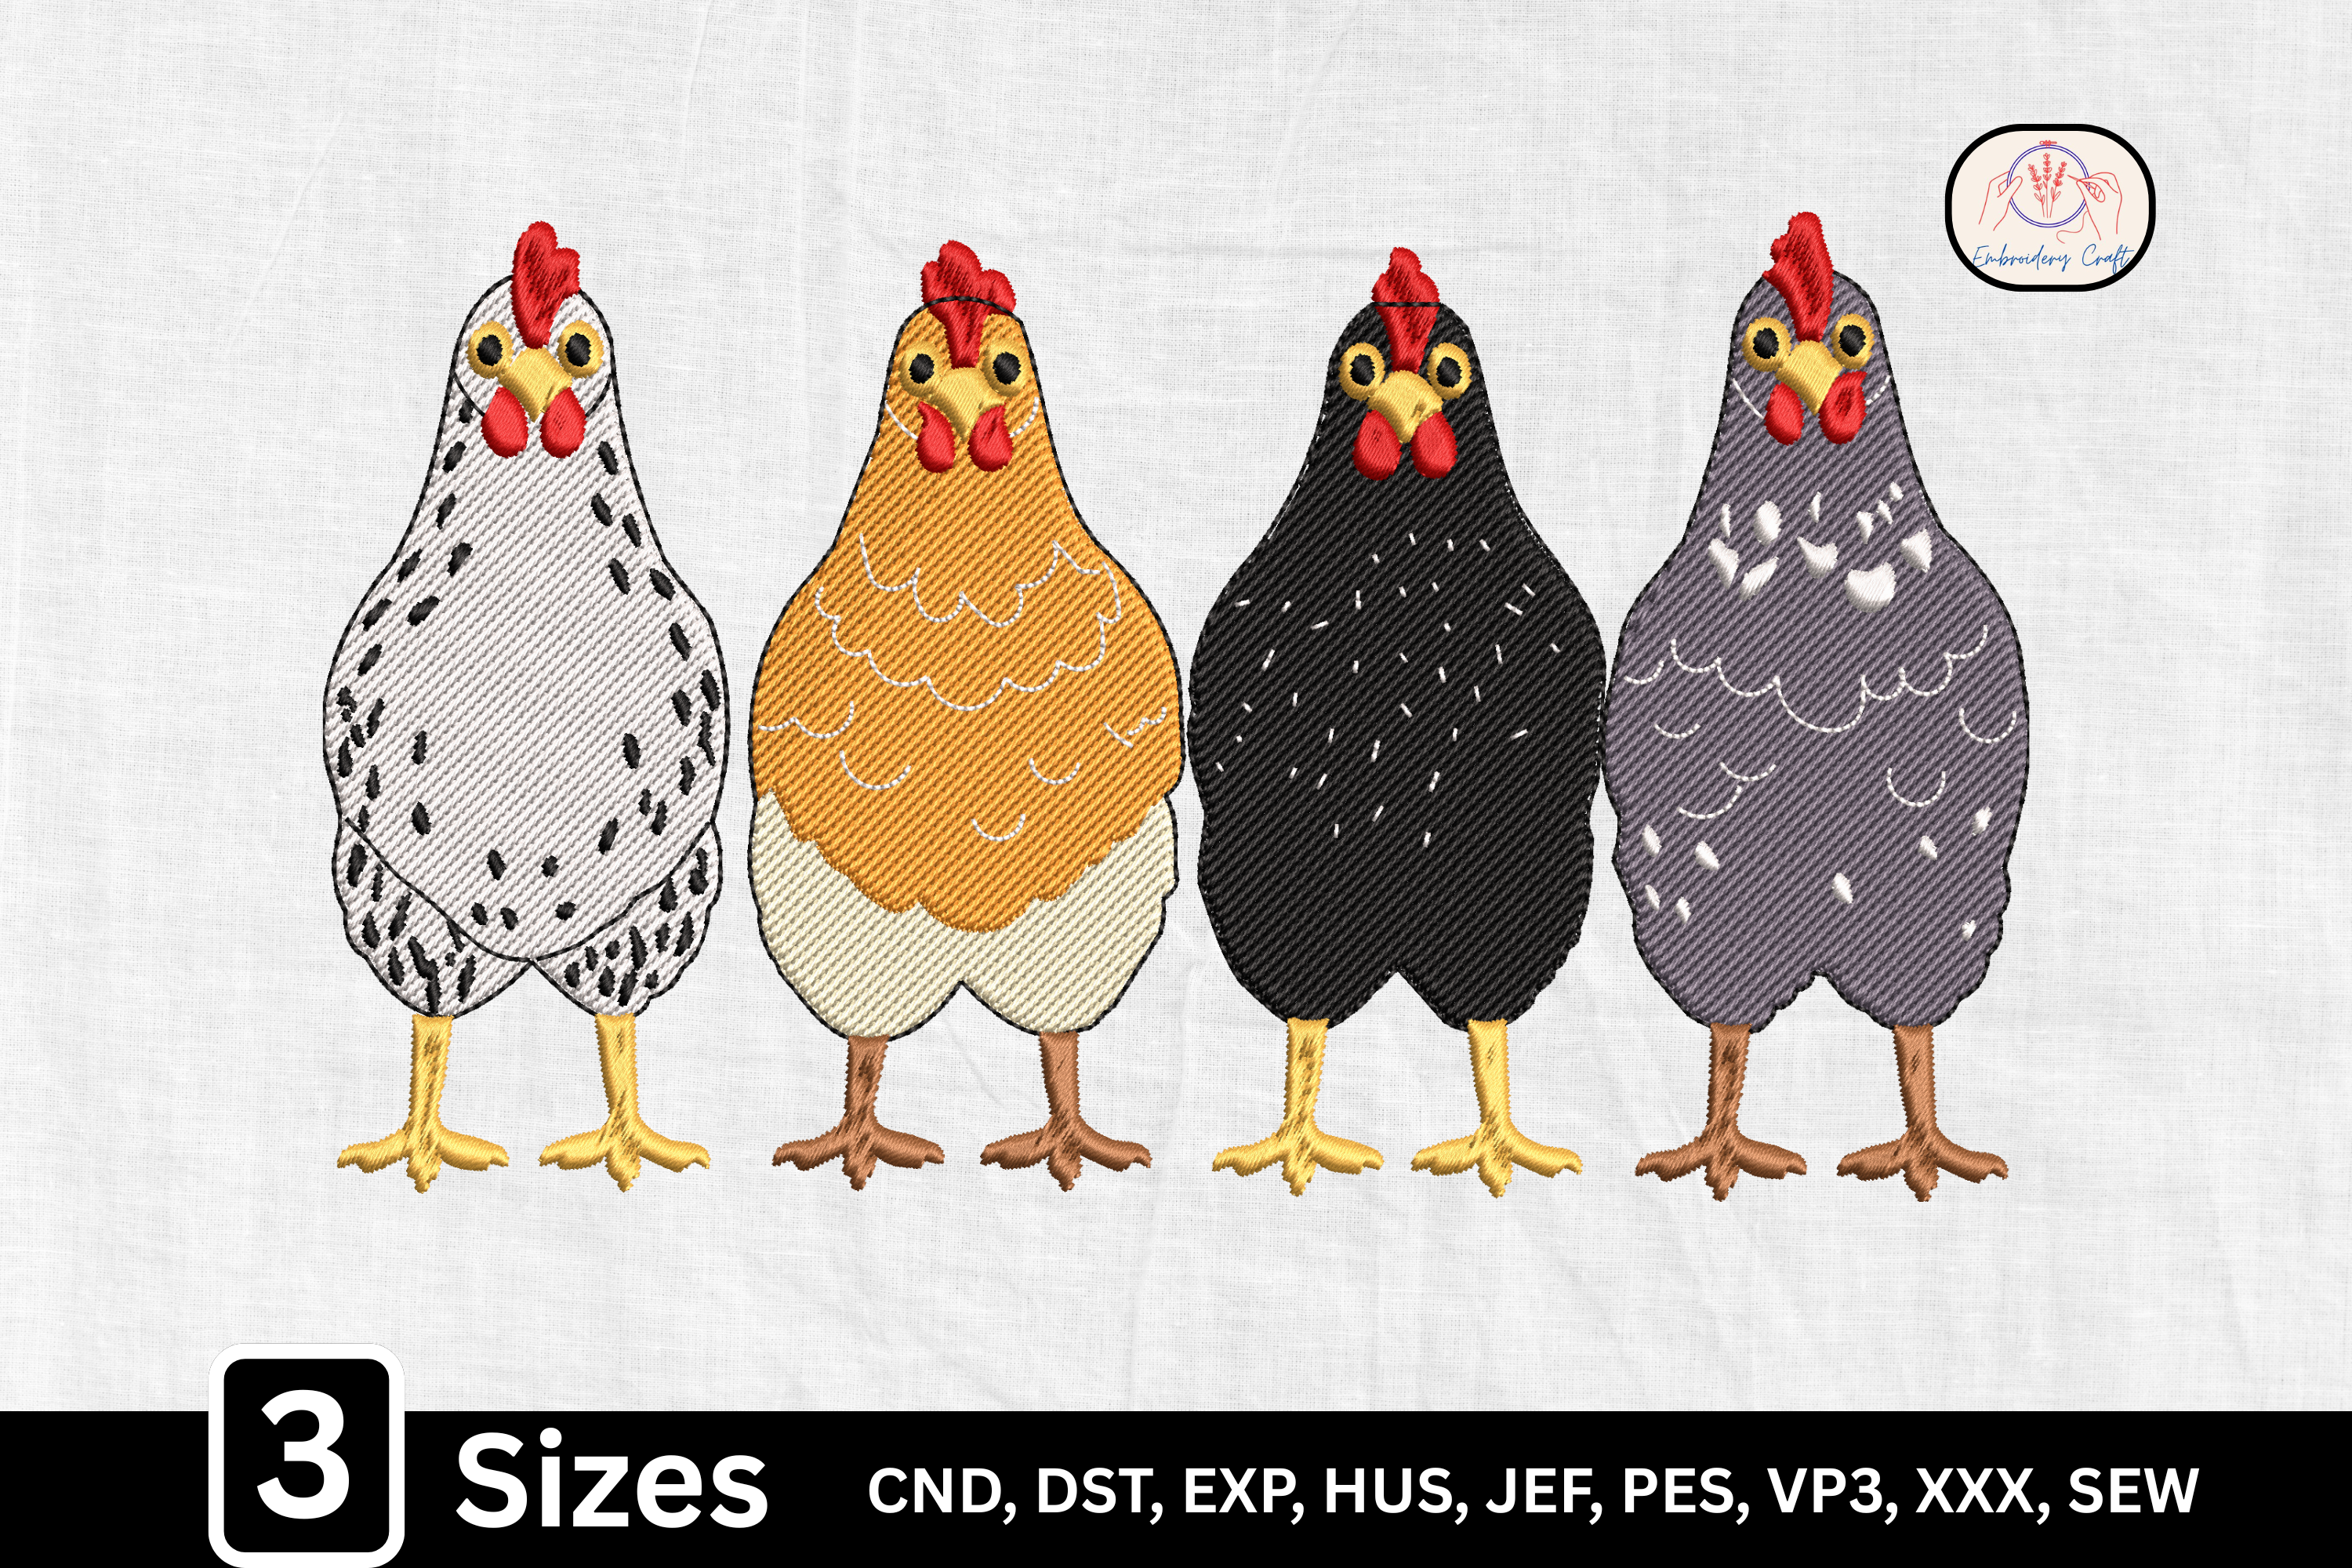
Farm Hen Chicken
DSTEXPHUS
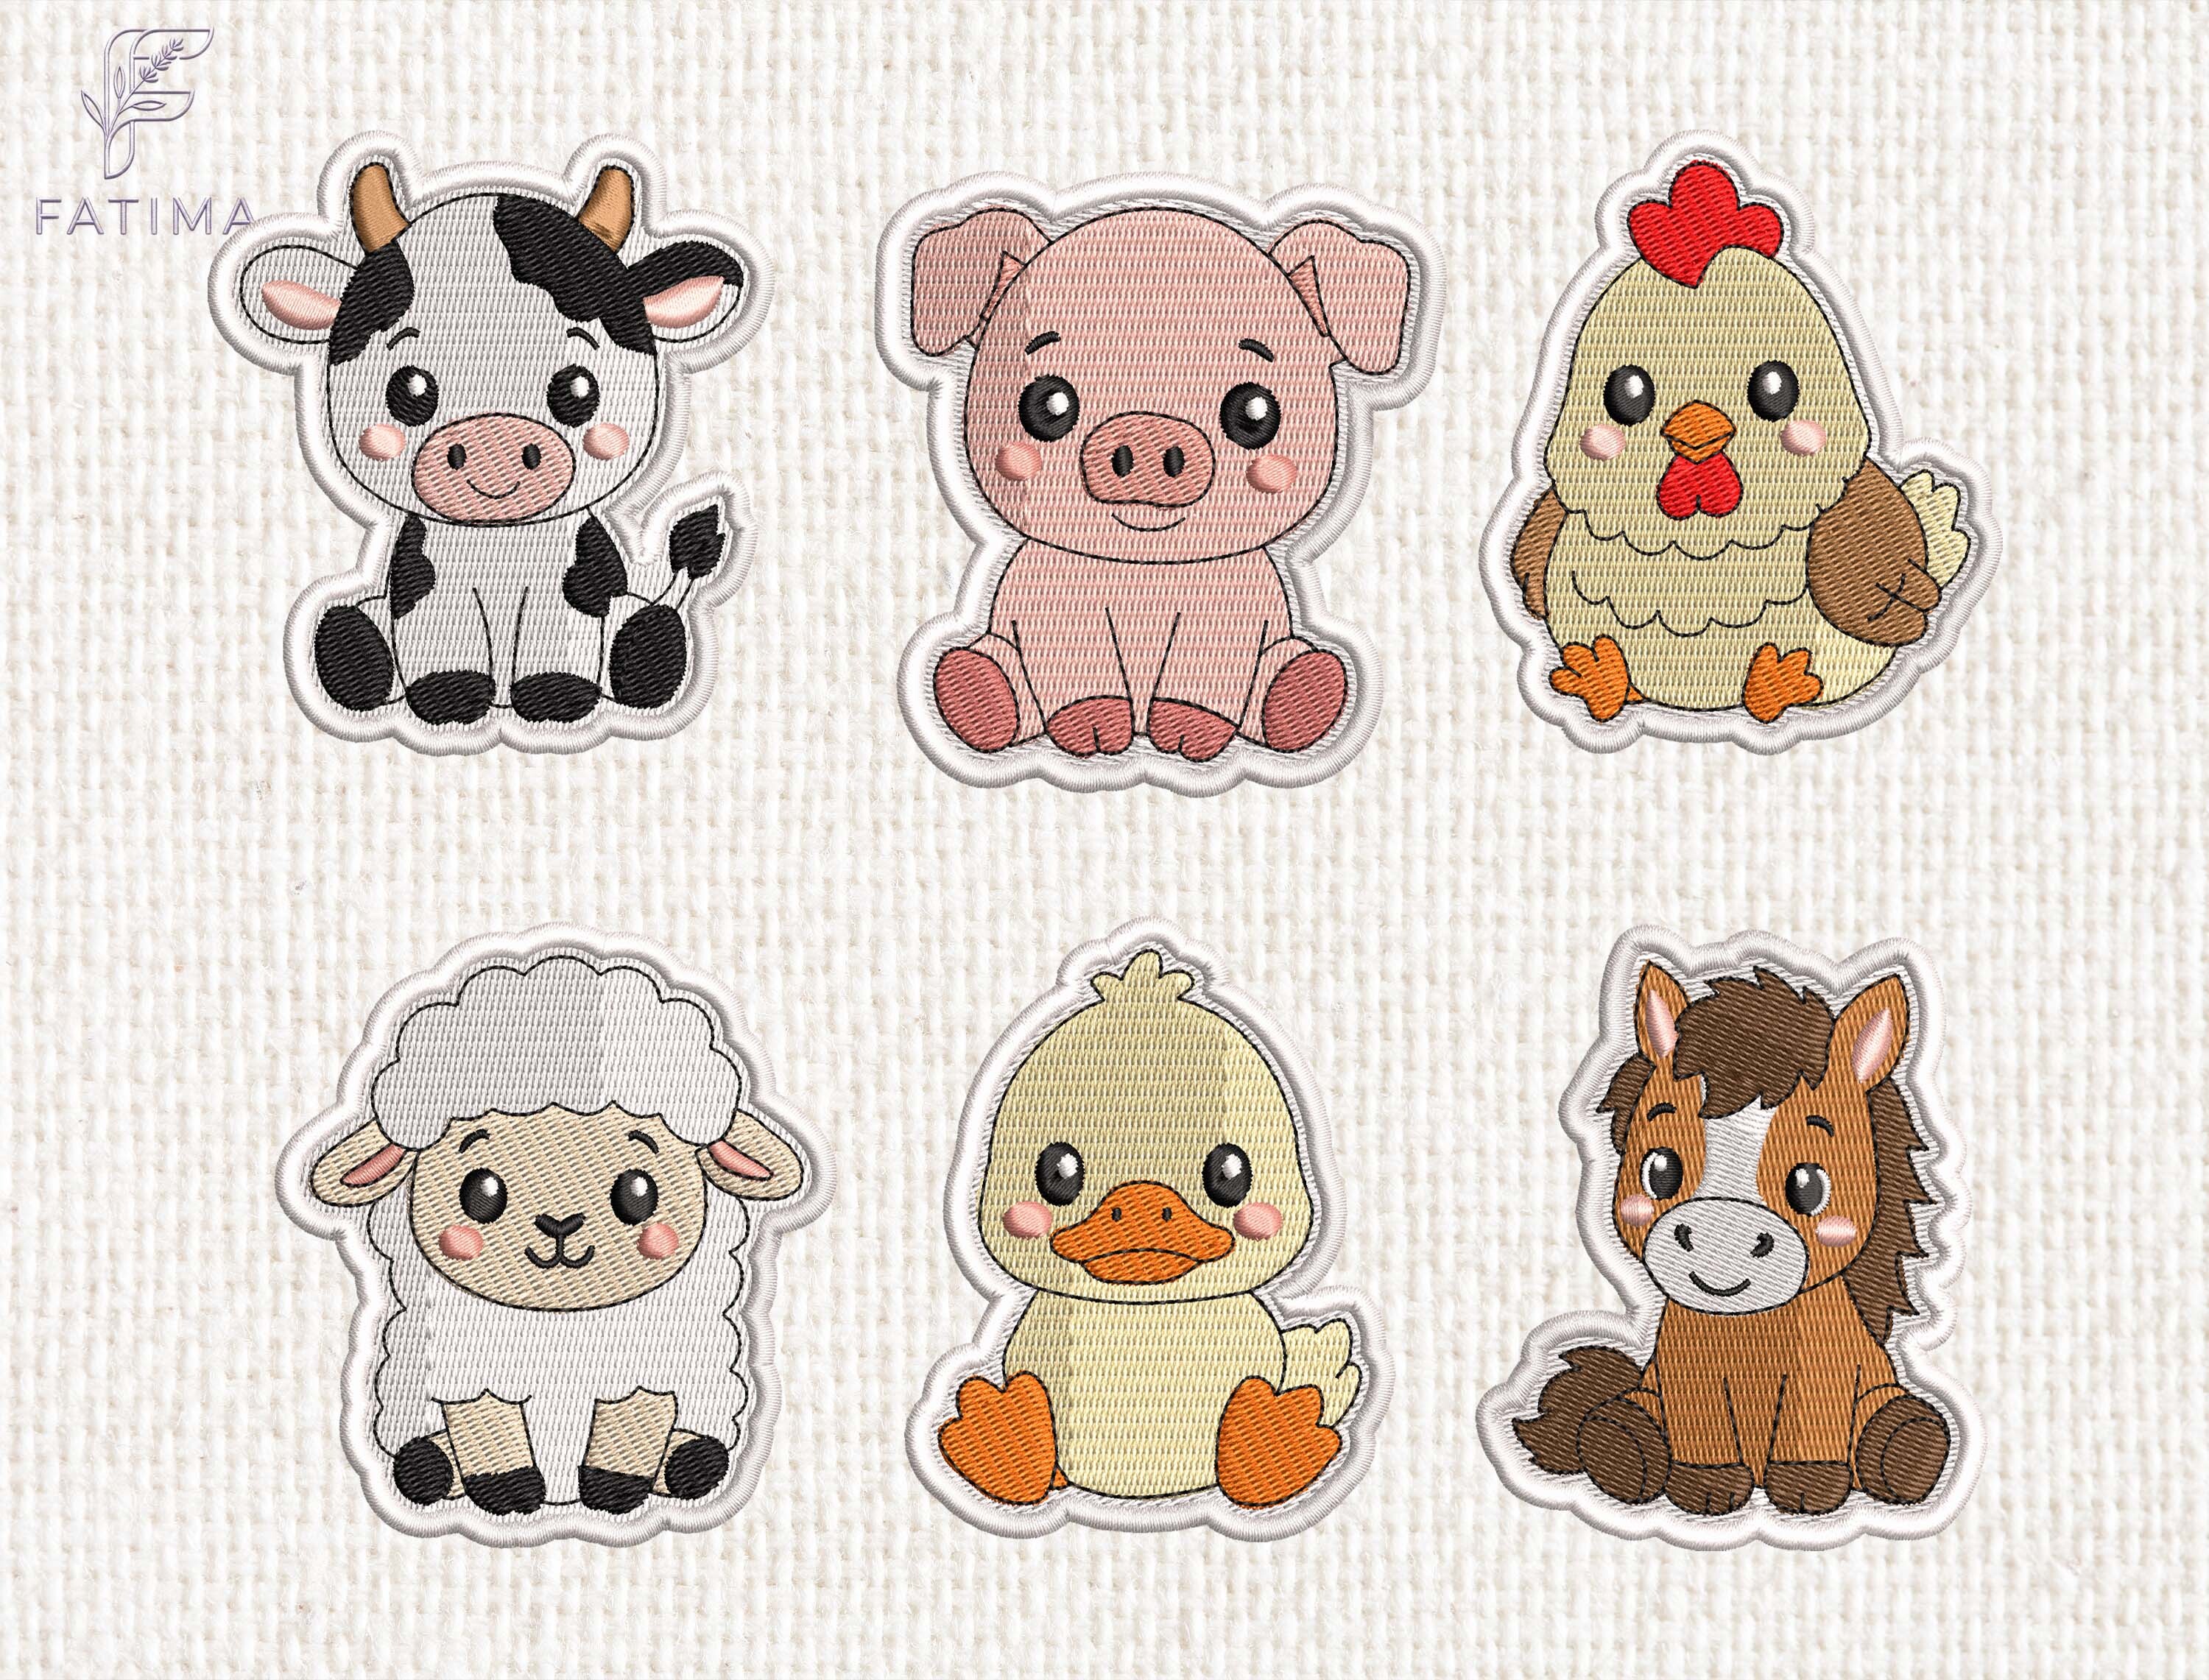
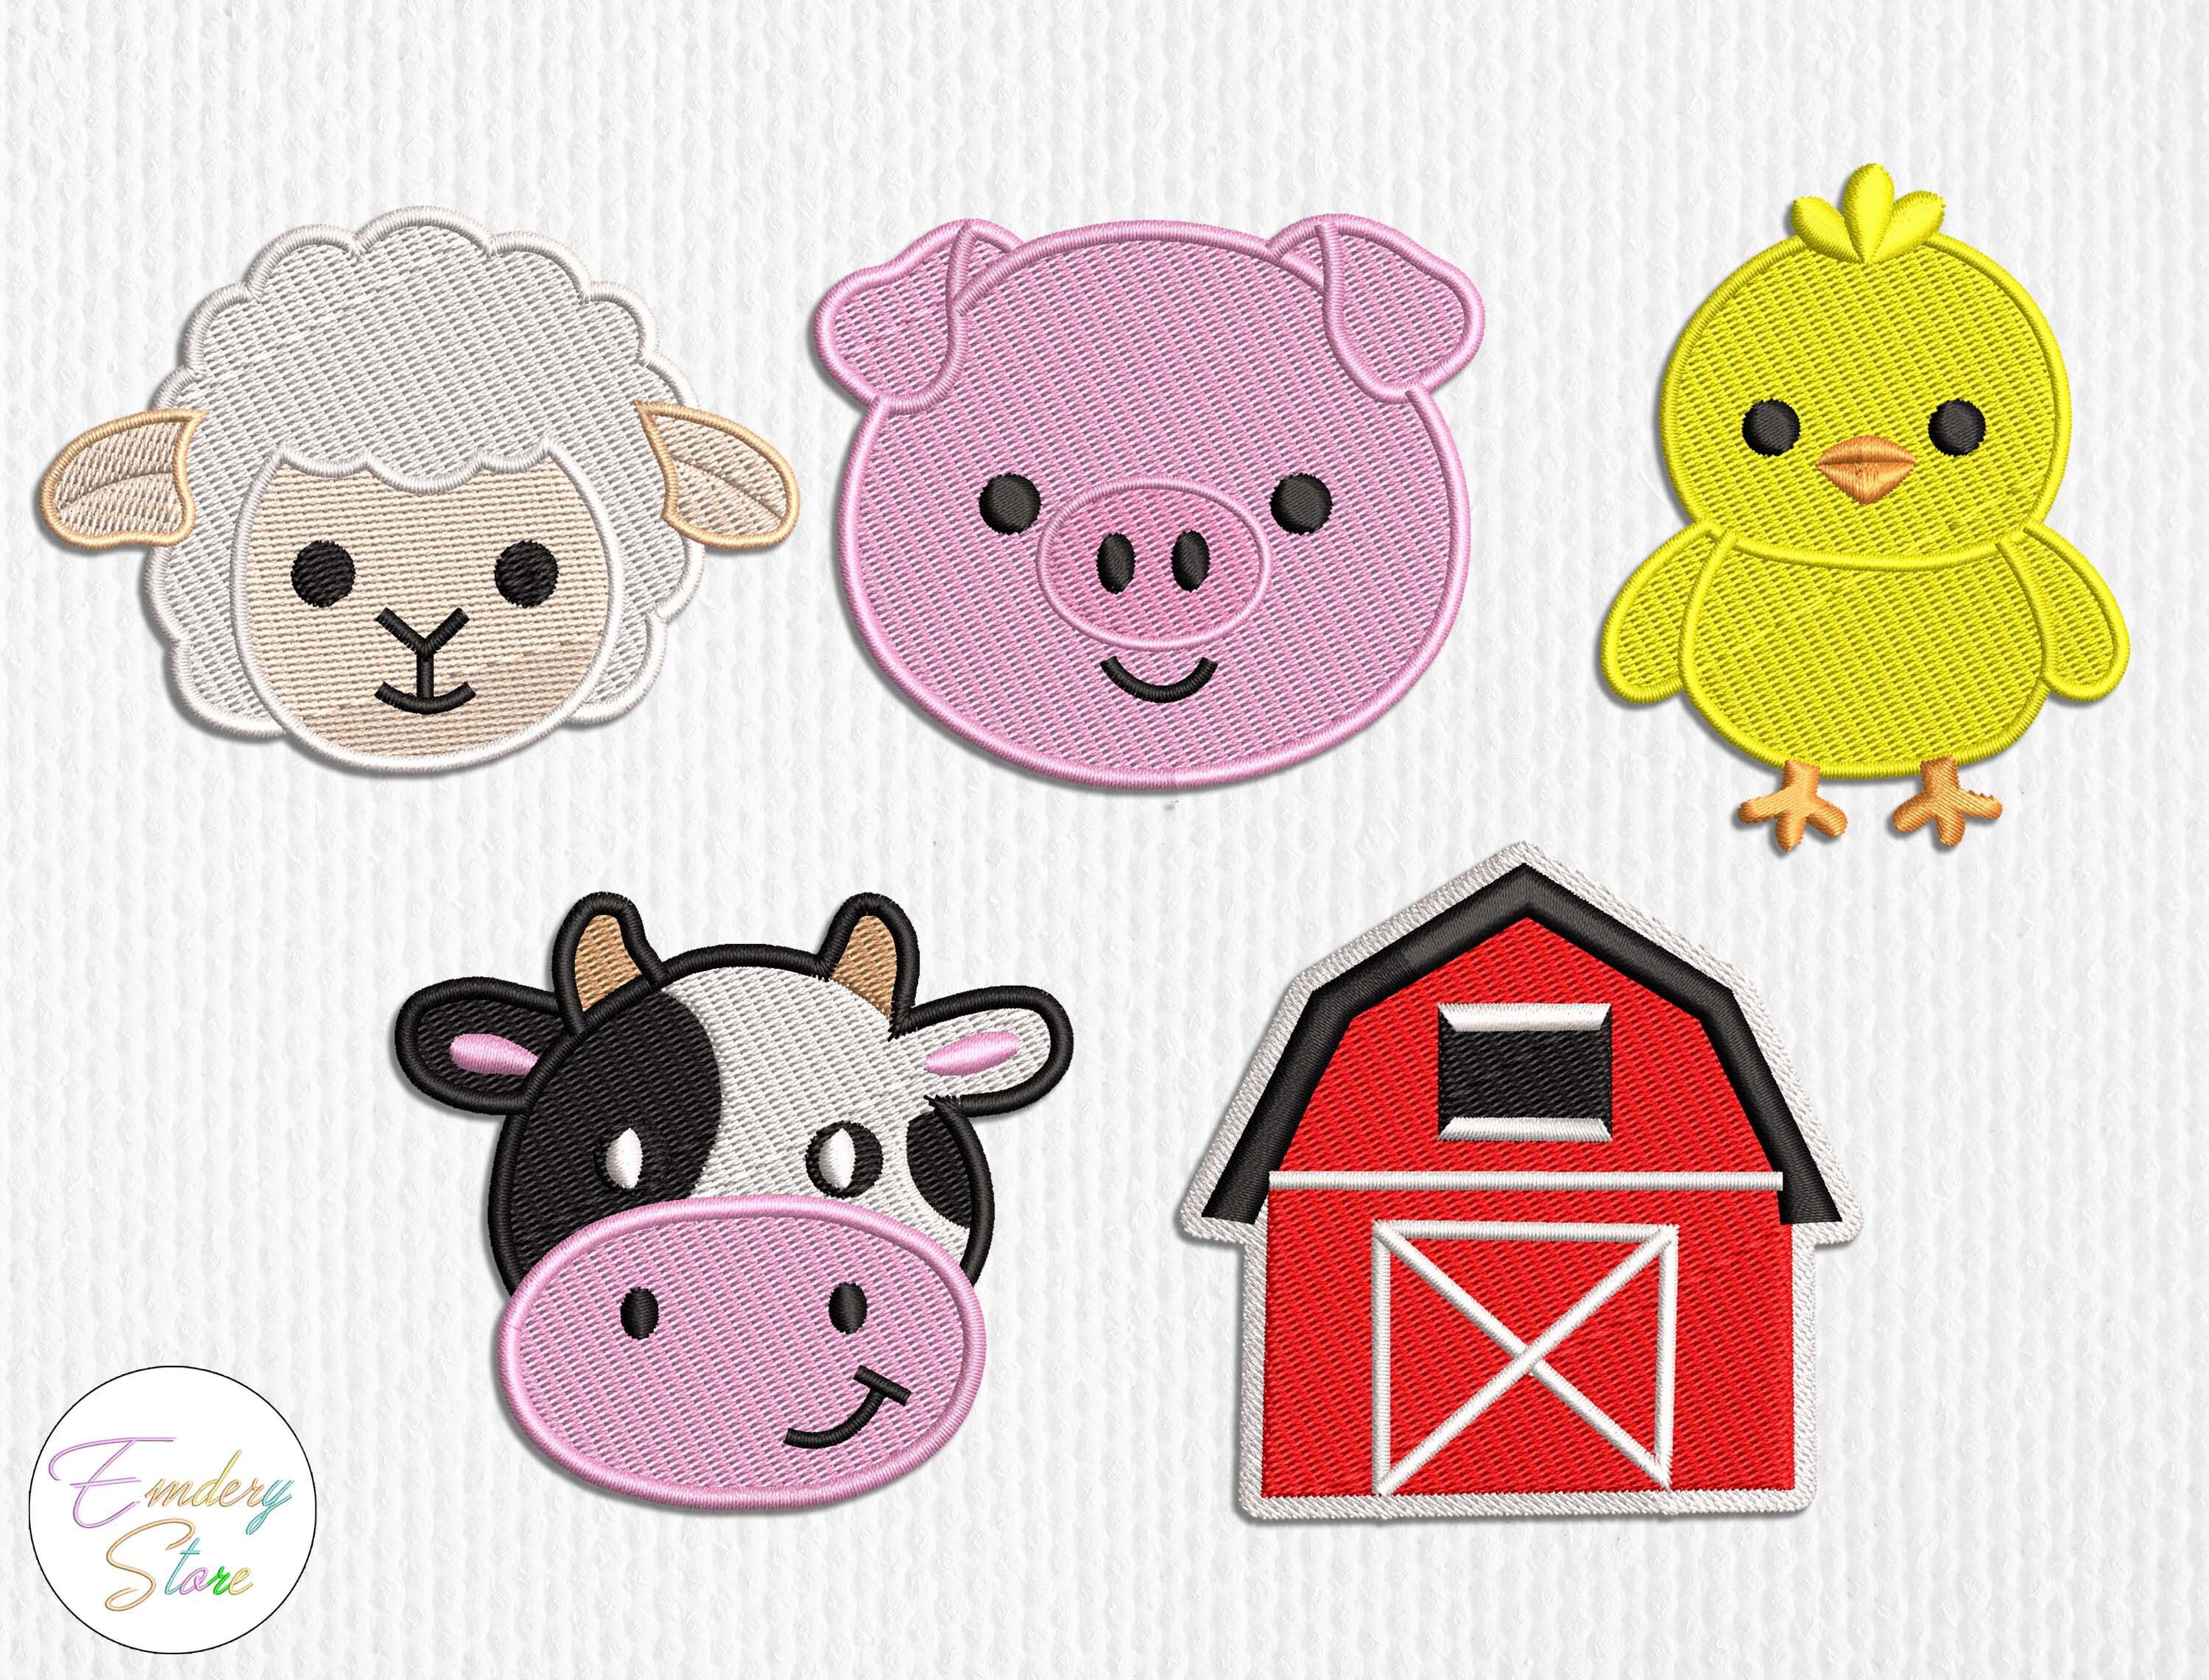
Farm Animal Patch Embroidery Design Set
EXPXXXHUS
Farm Animal Embroidery Patch Set
XXXHUSVP3
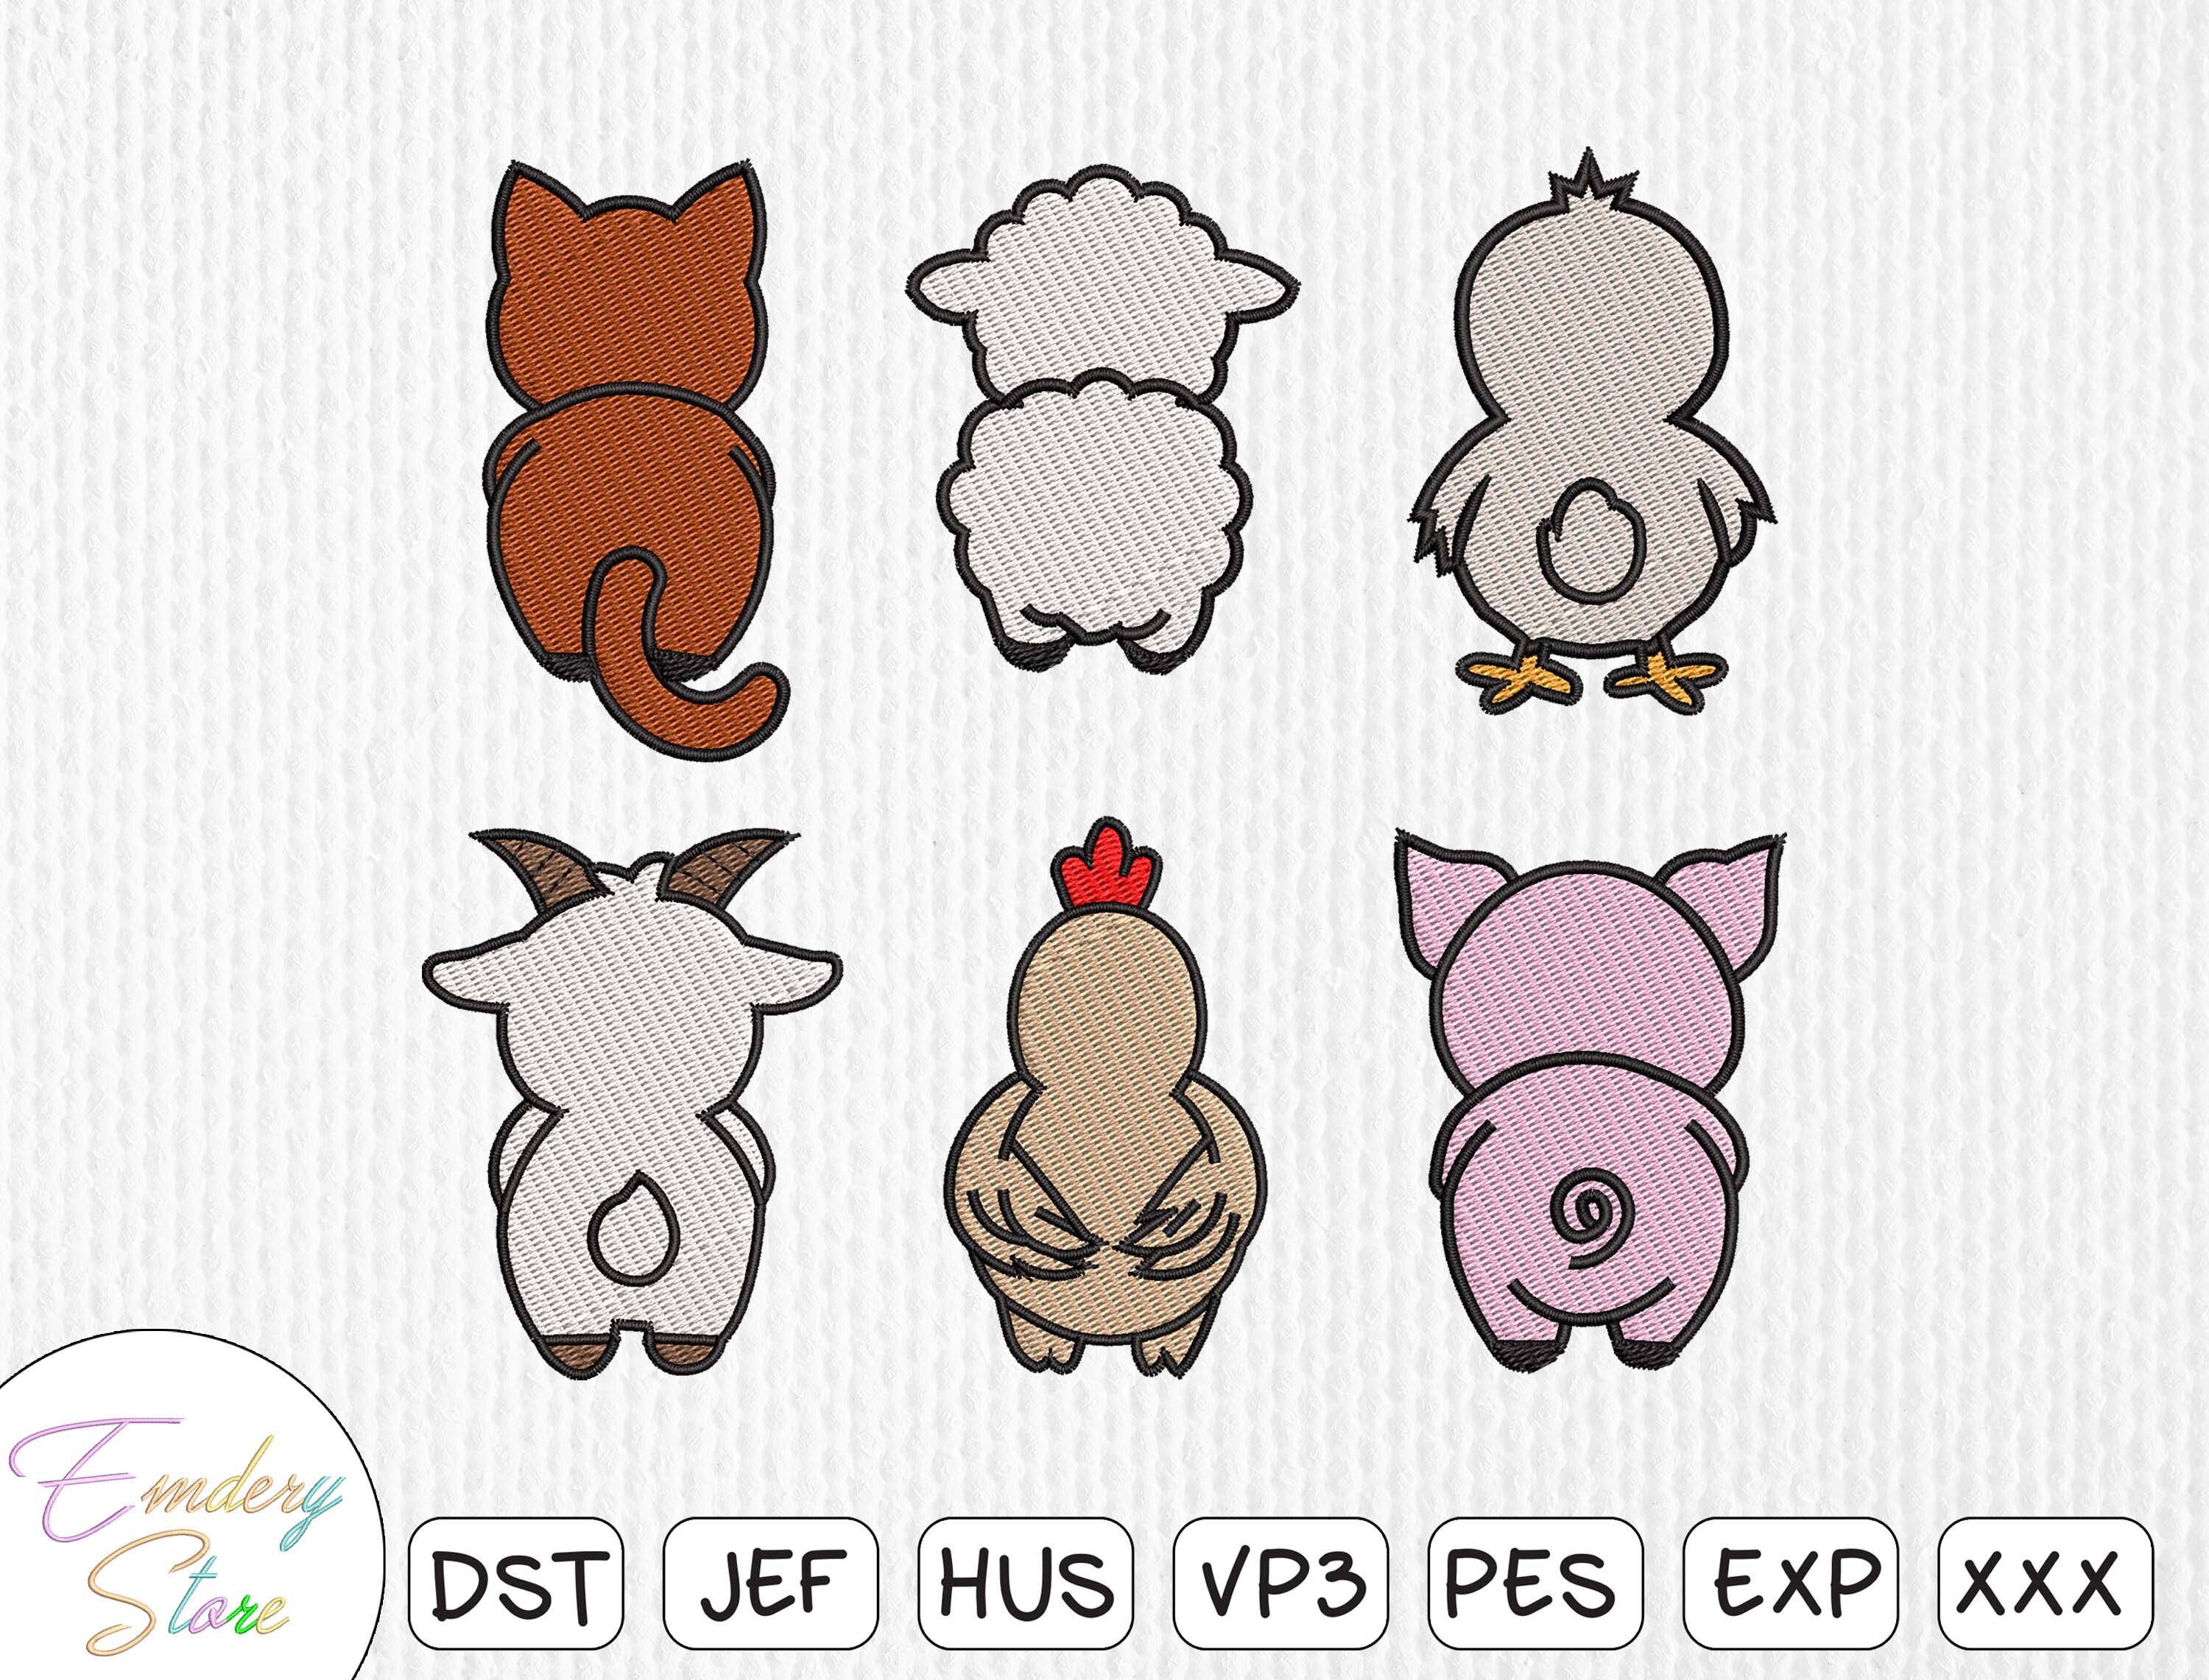
Farm Animal Back View Embroidery
XXXHUSPES
Farm Animal Patch Embroidery Design Set
EXPXXXHUS
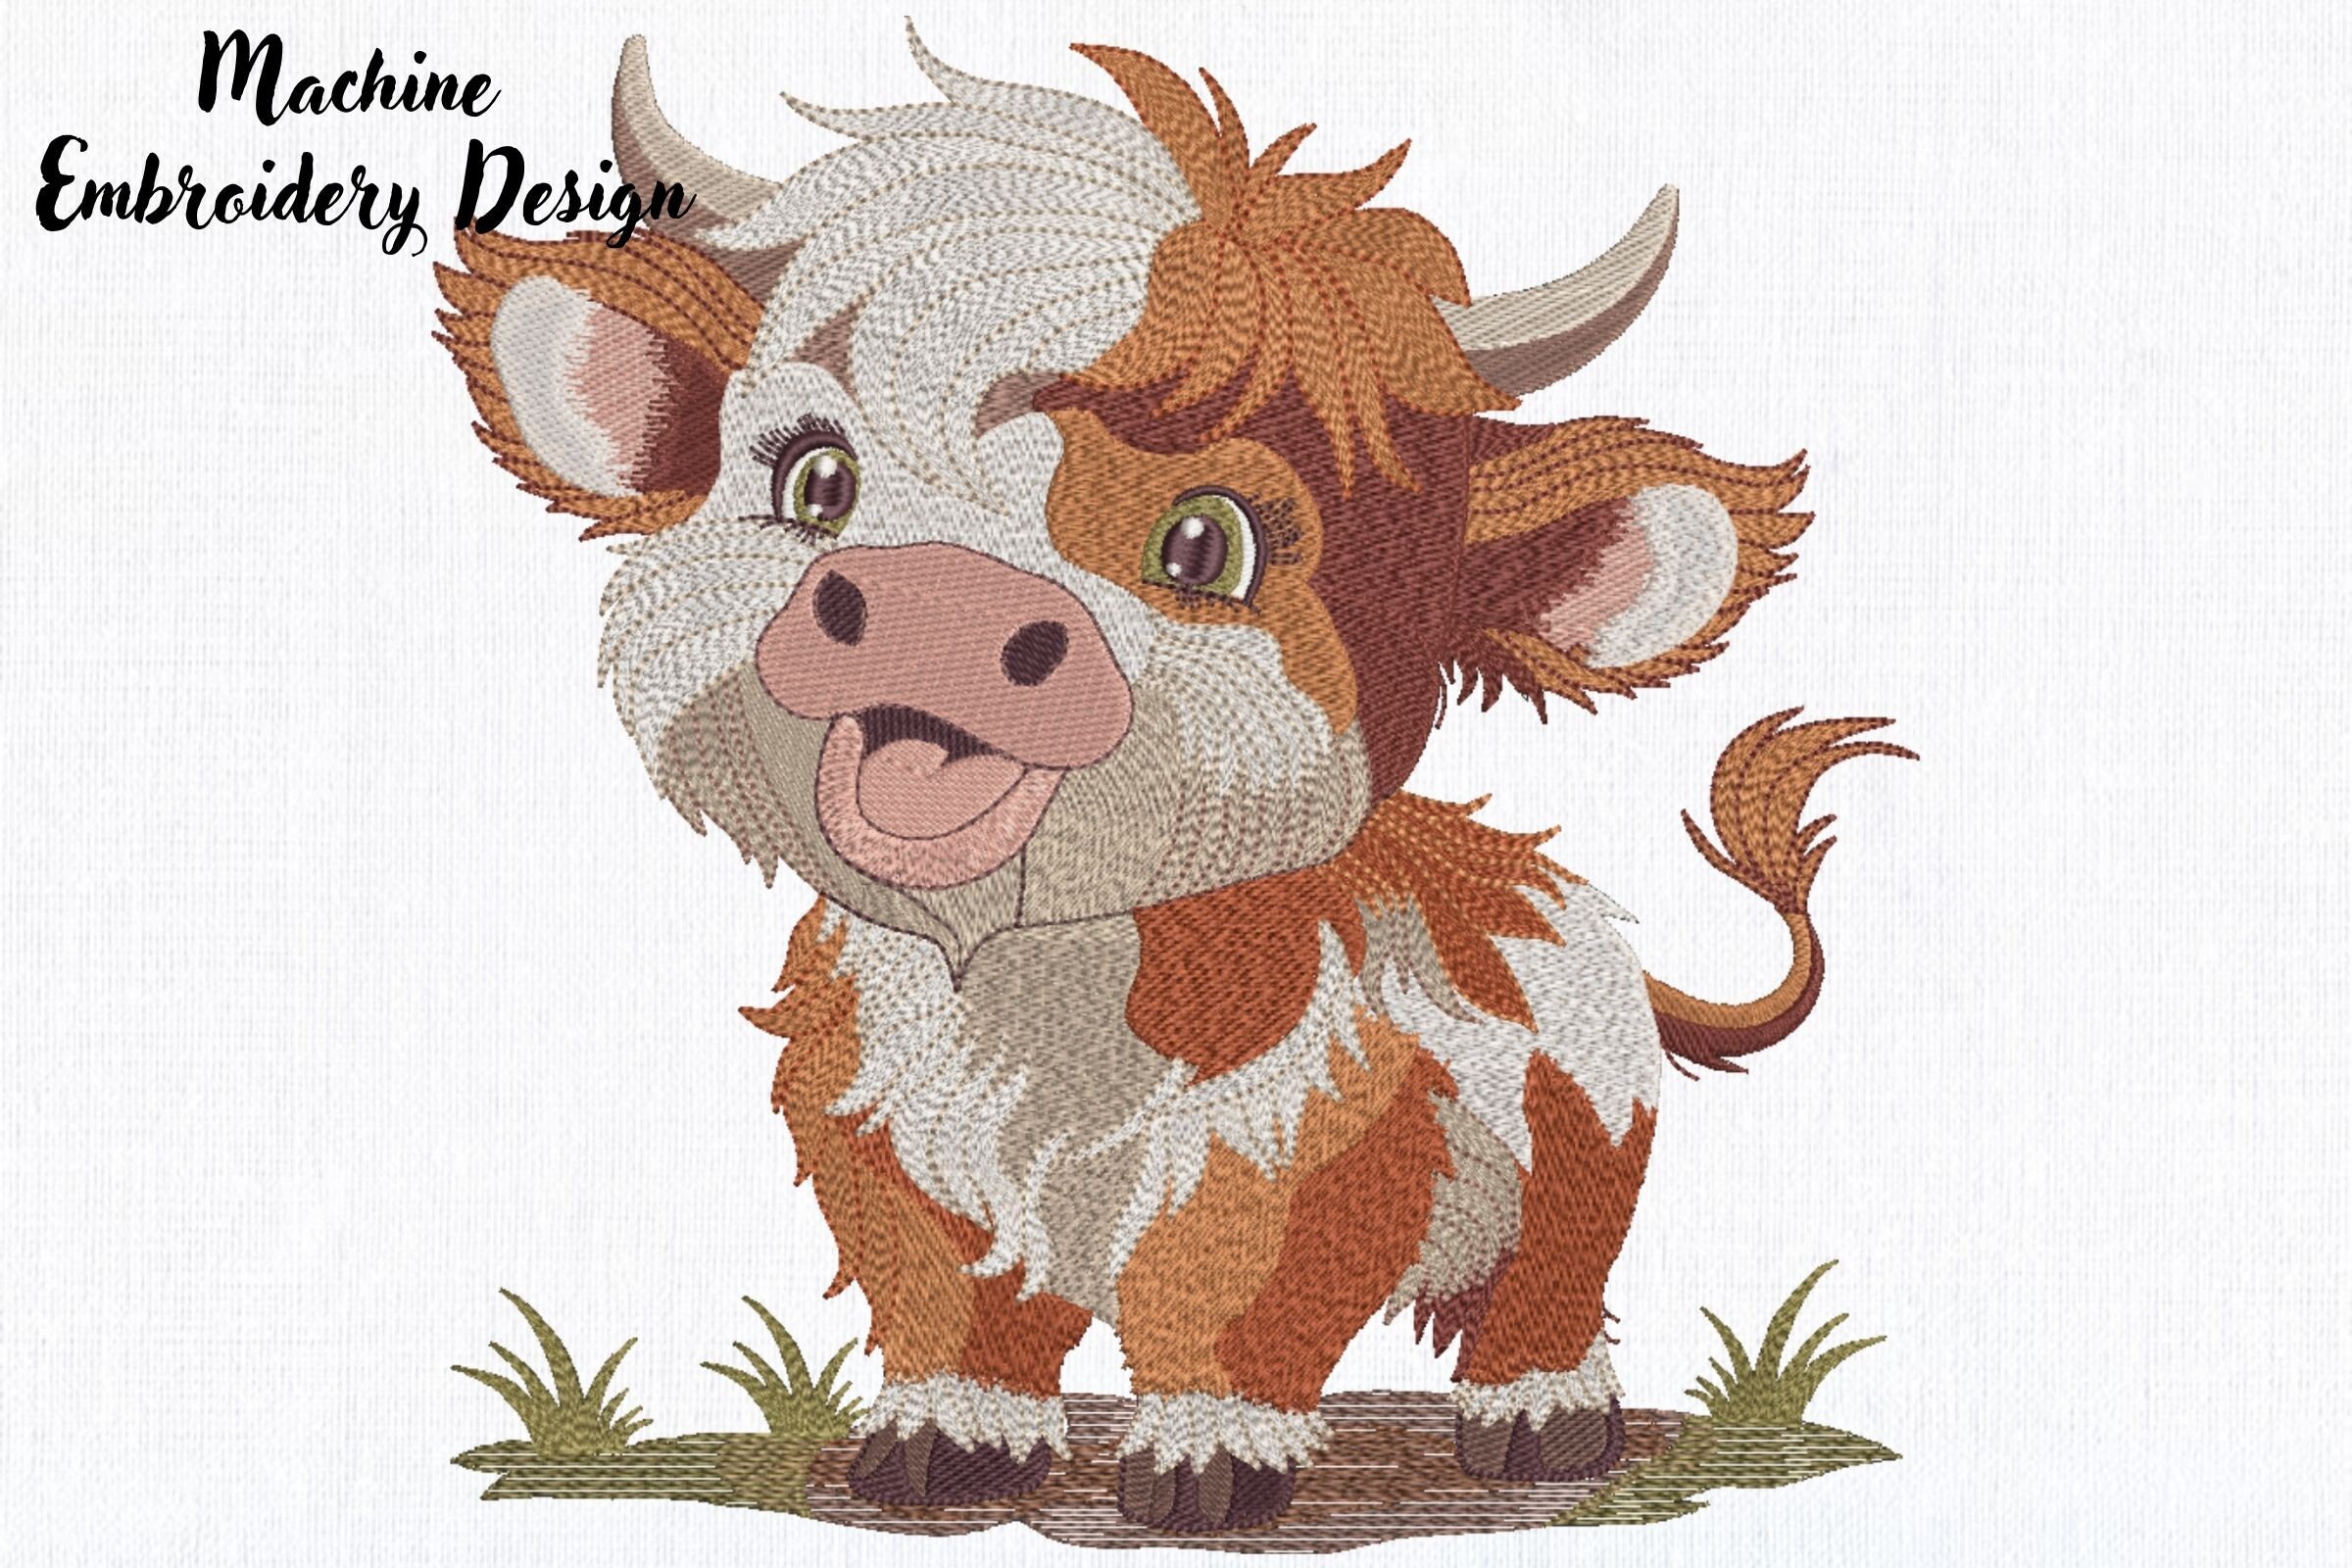
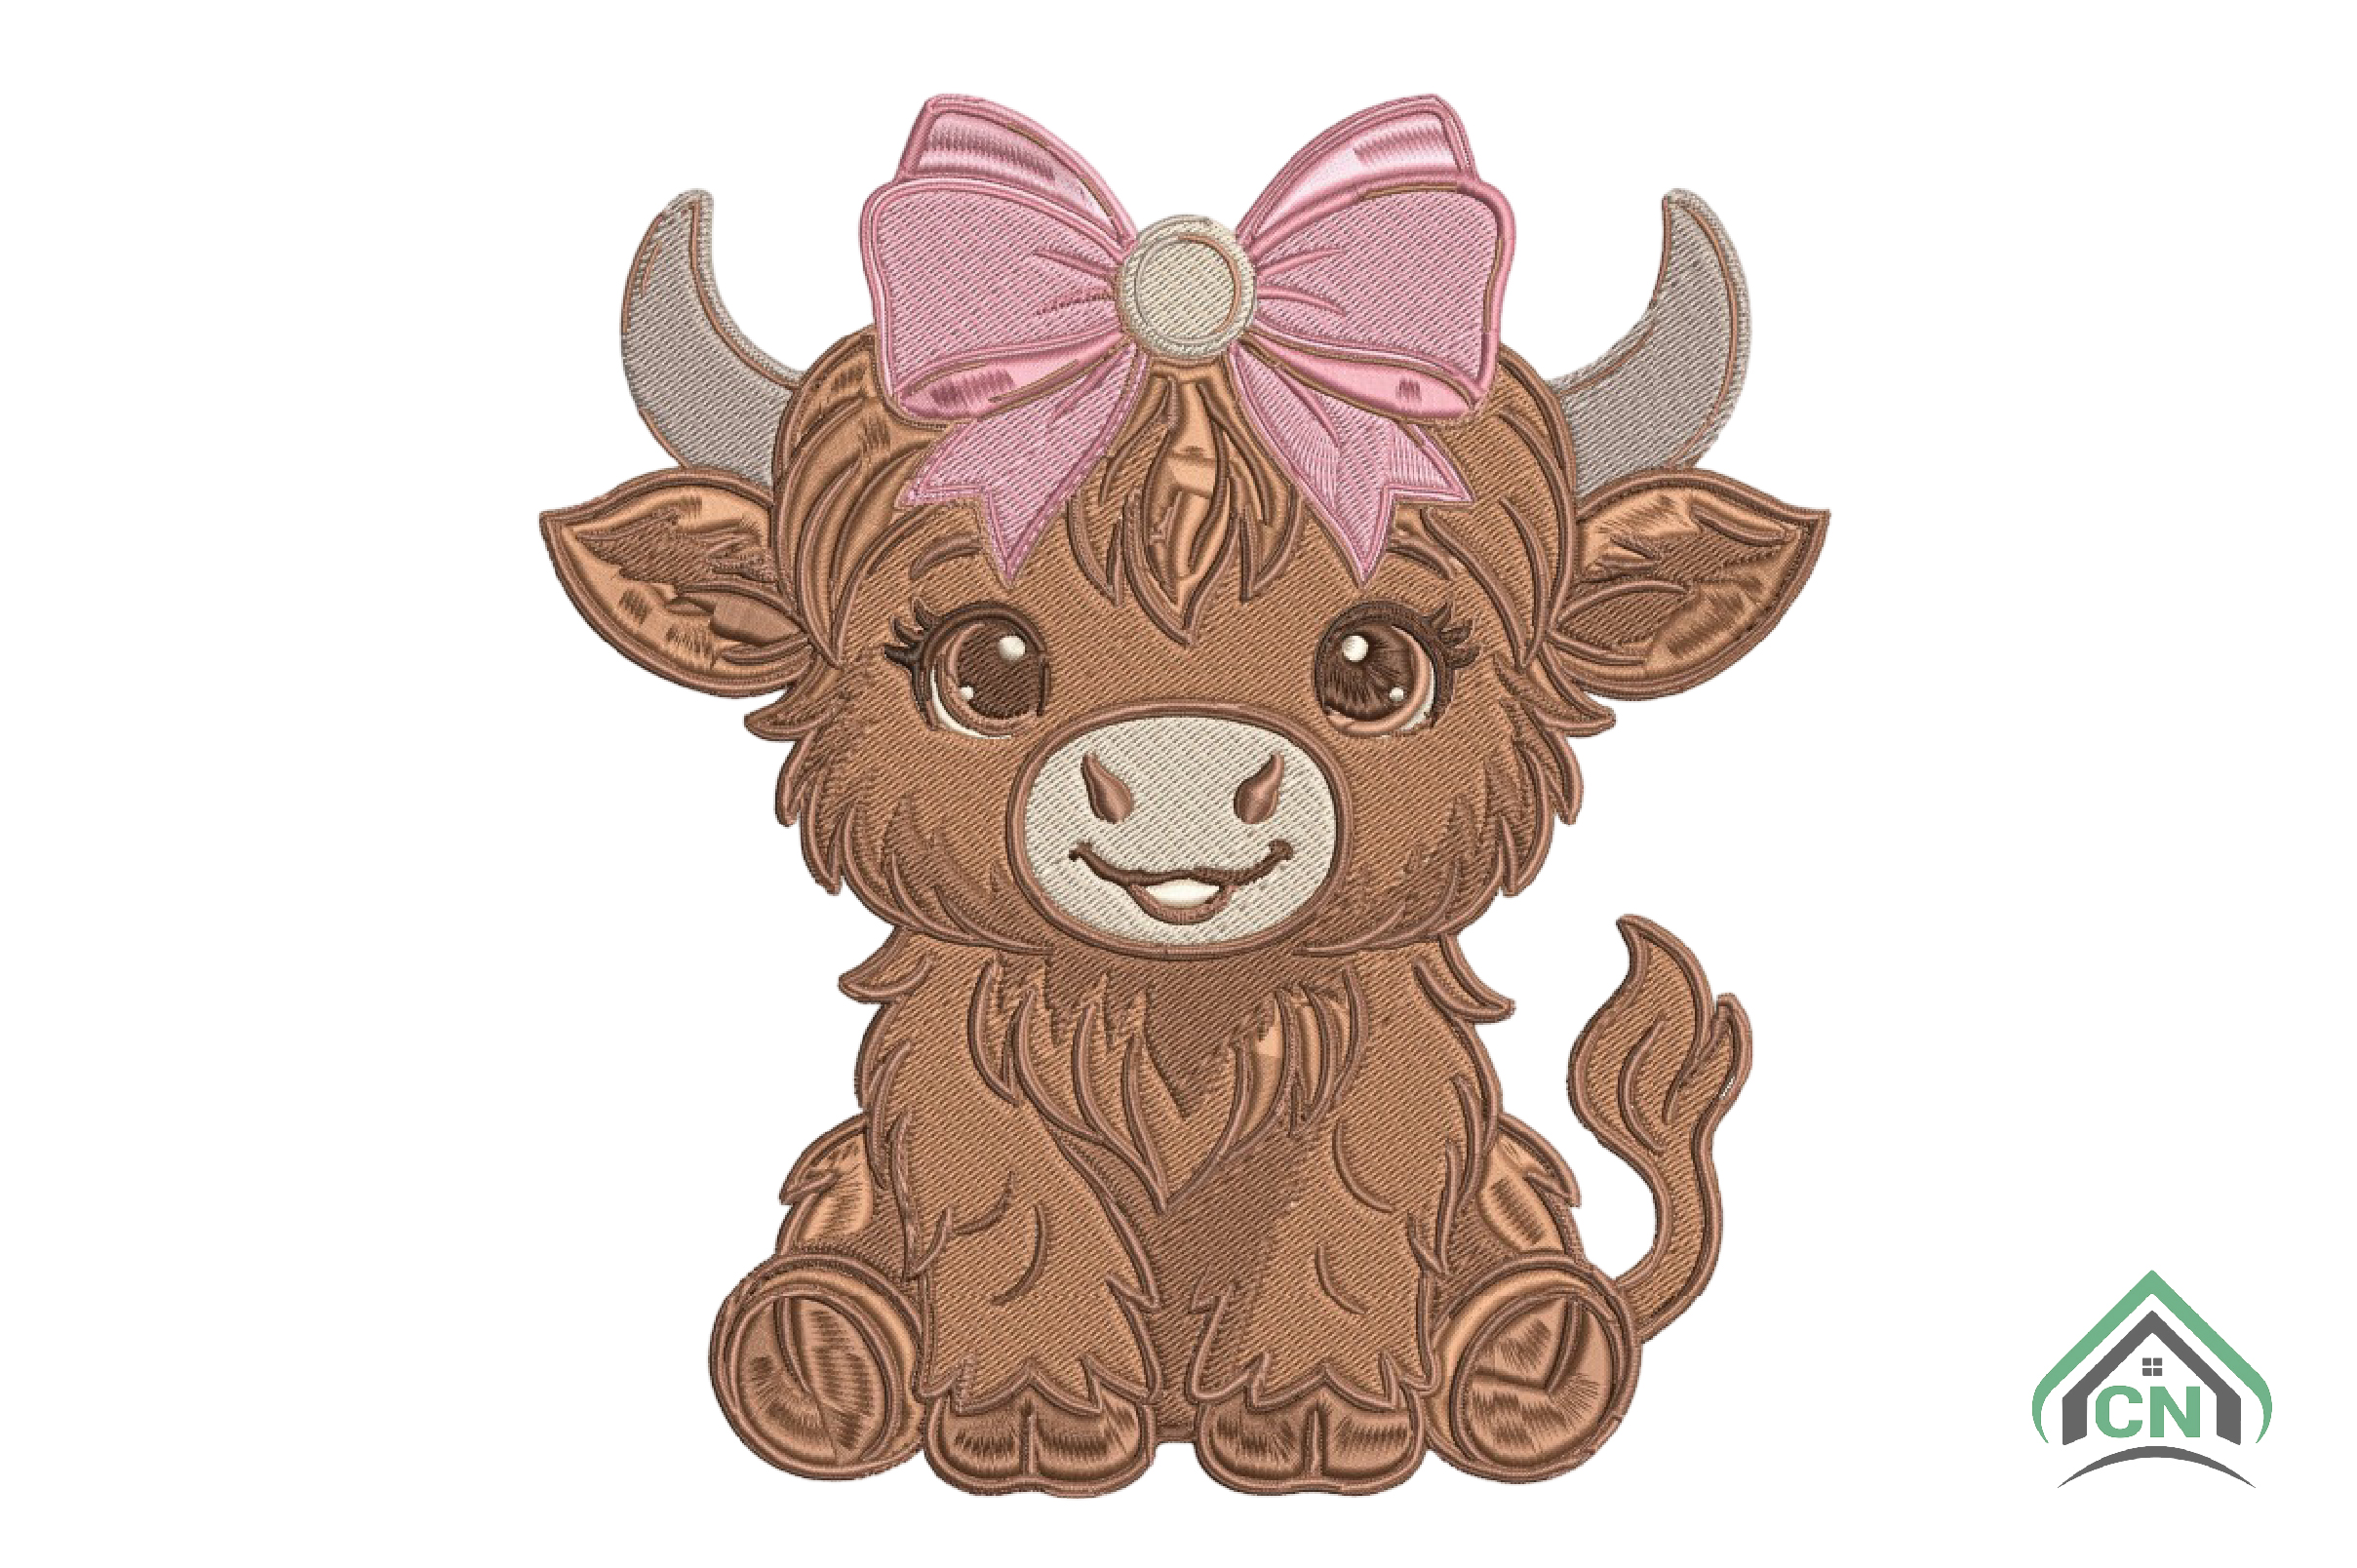
Cute Funny Highland Baby Cow Farm Animal
DSTEXPHUS
Farm Animal Cow
DSTEXPHUS
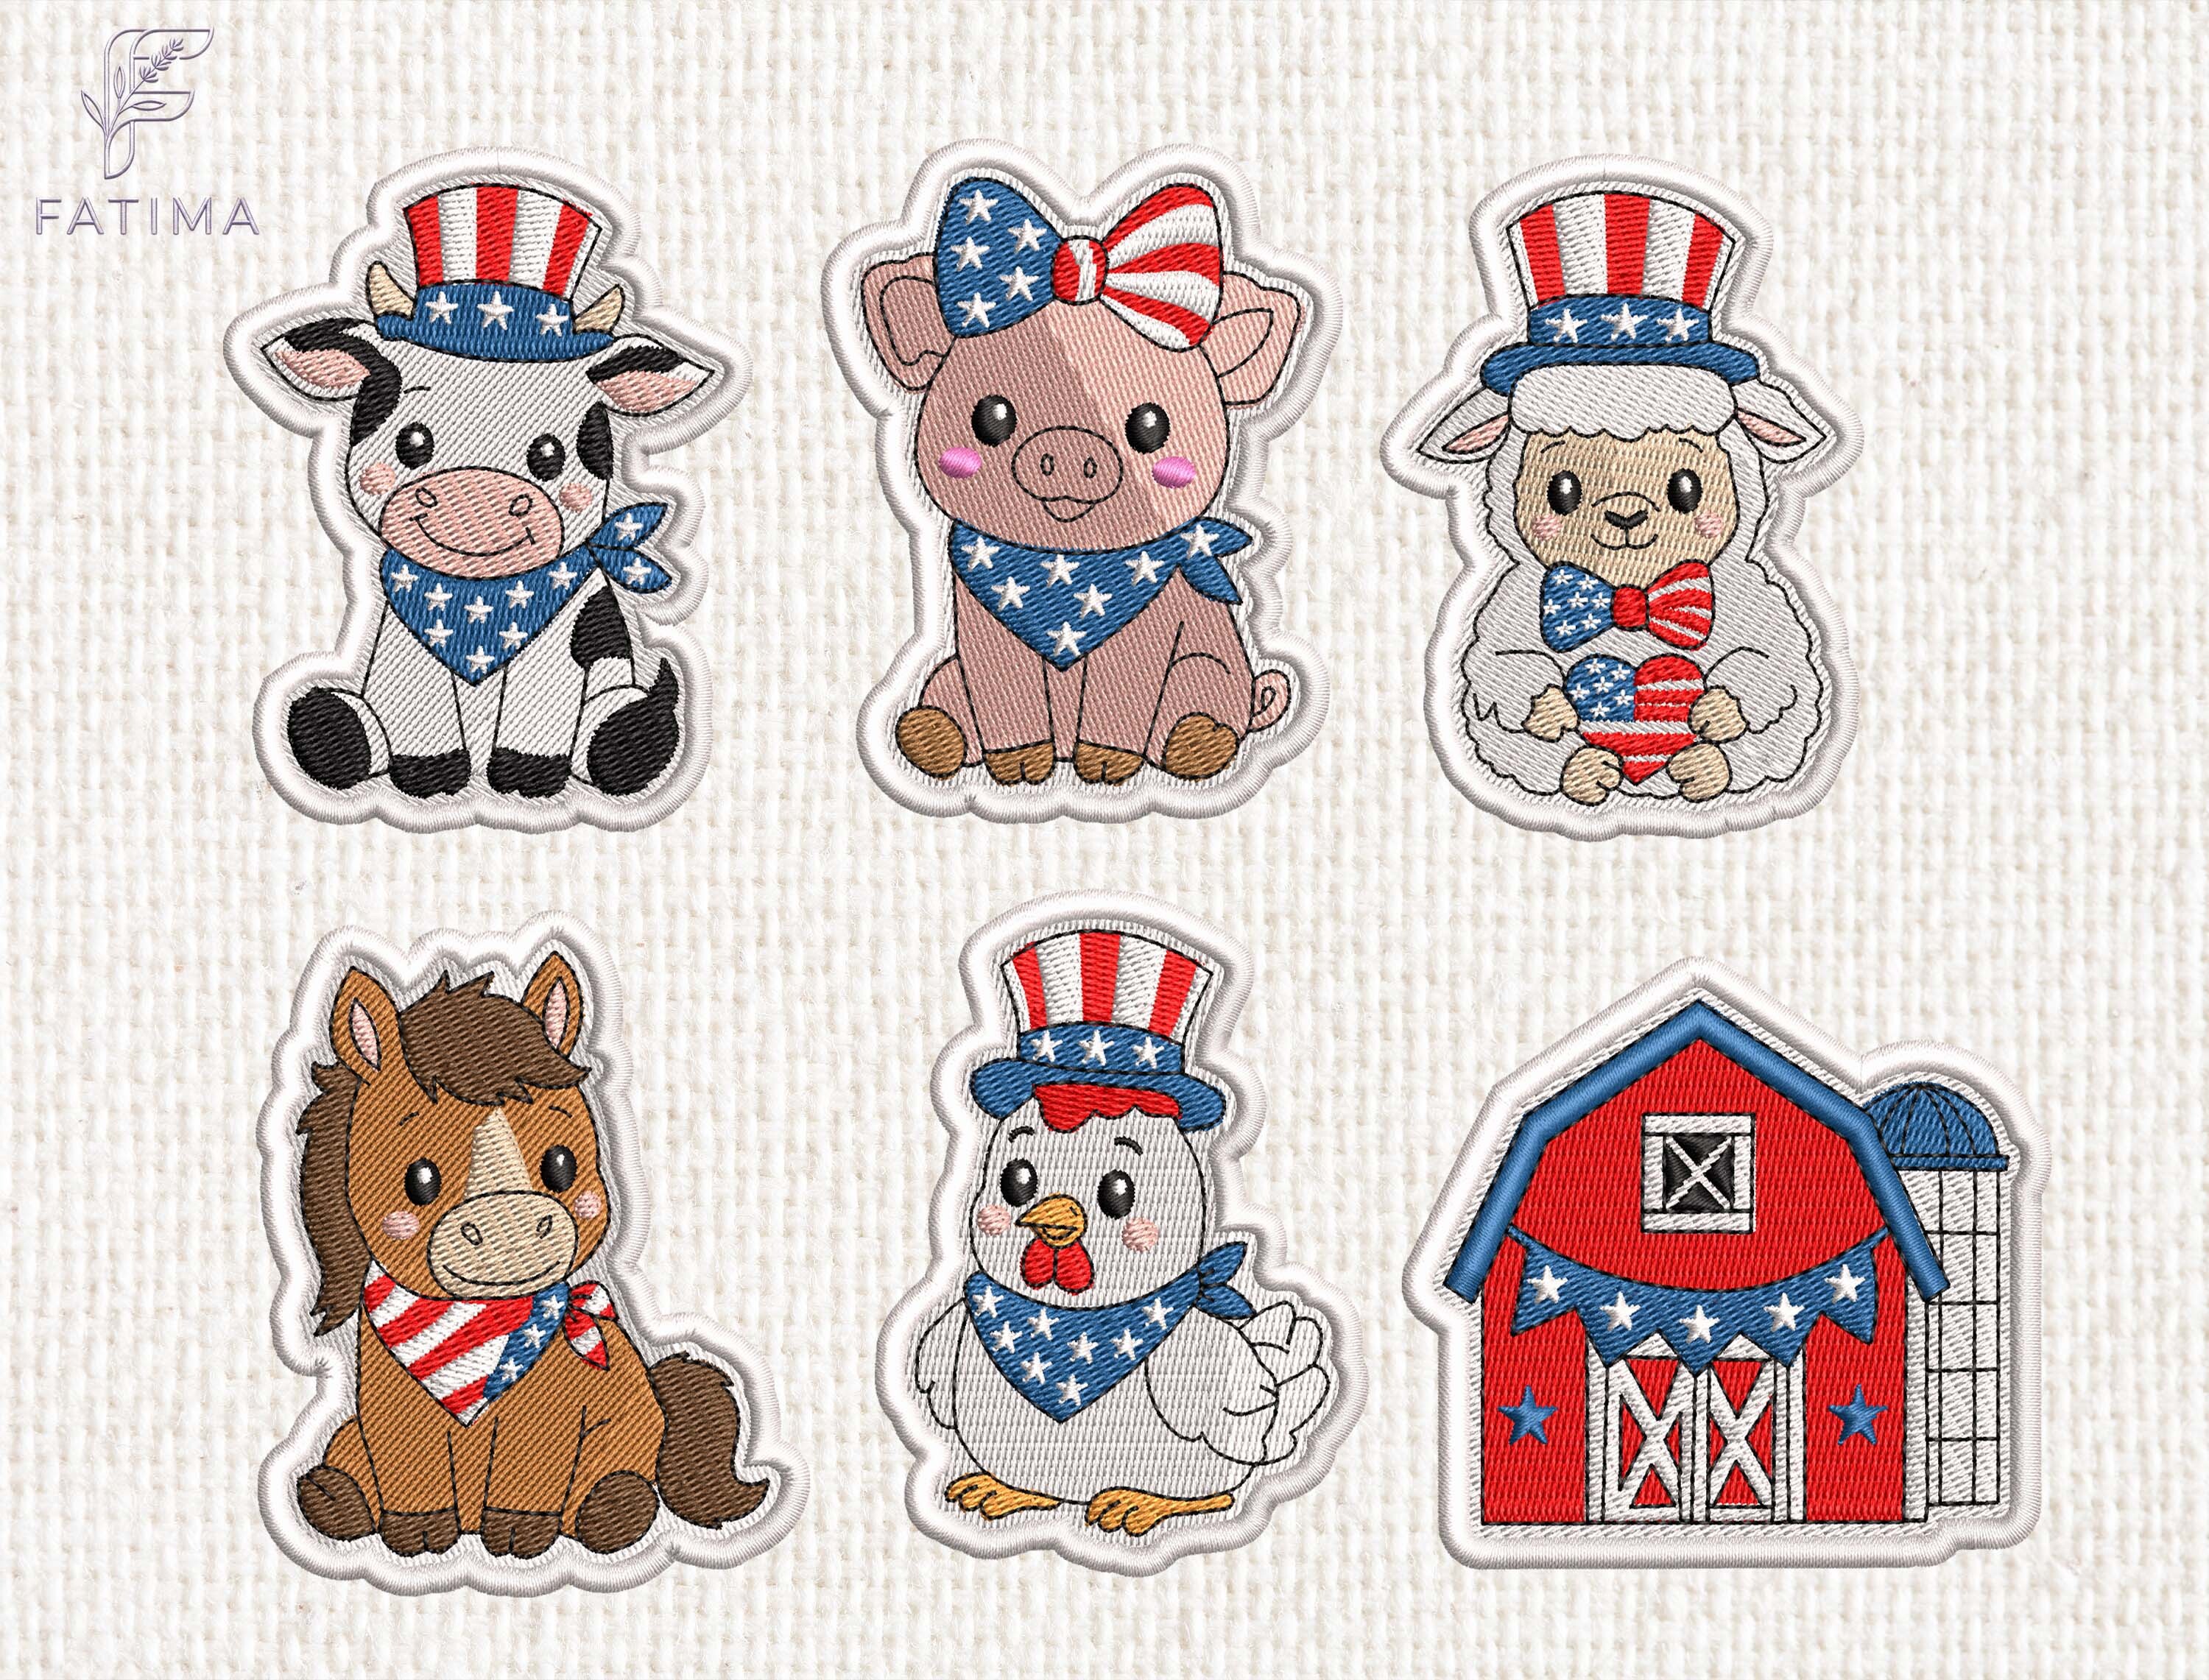
Patriotic Animal Patch Embroidery Set
XXXHUSVP3
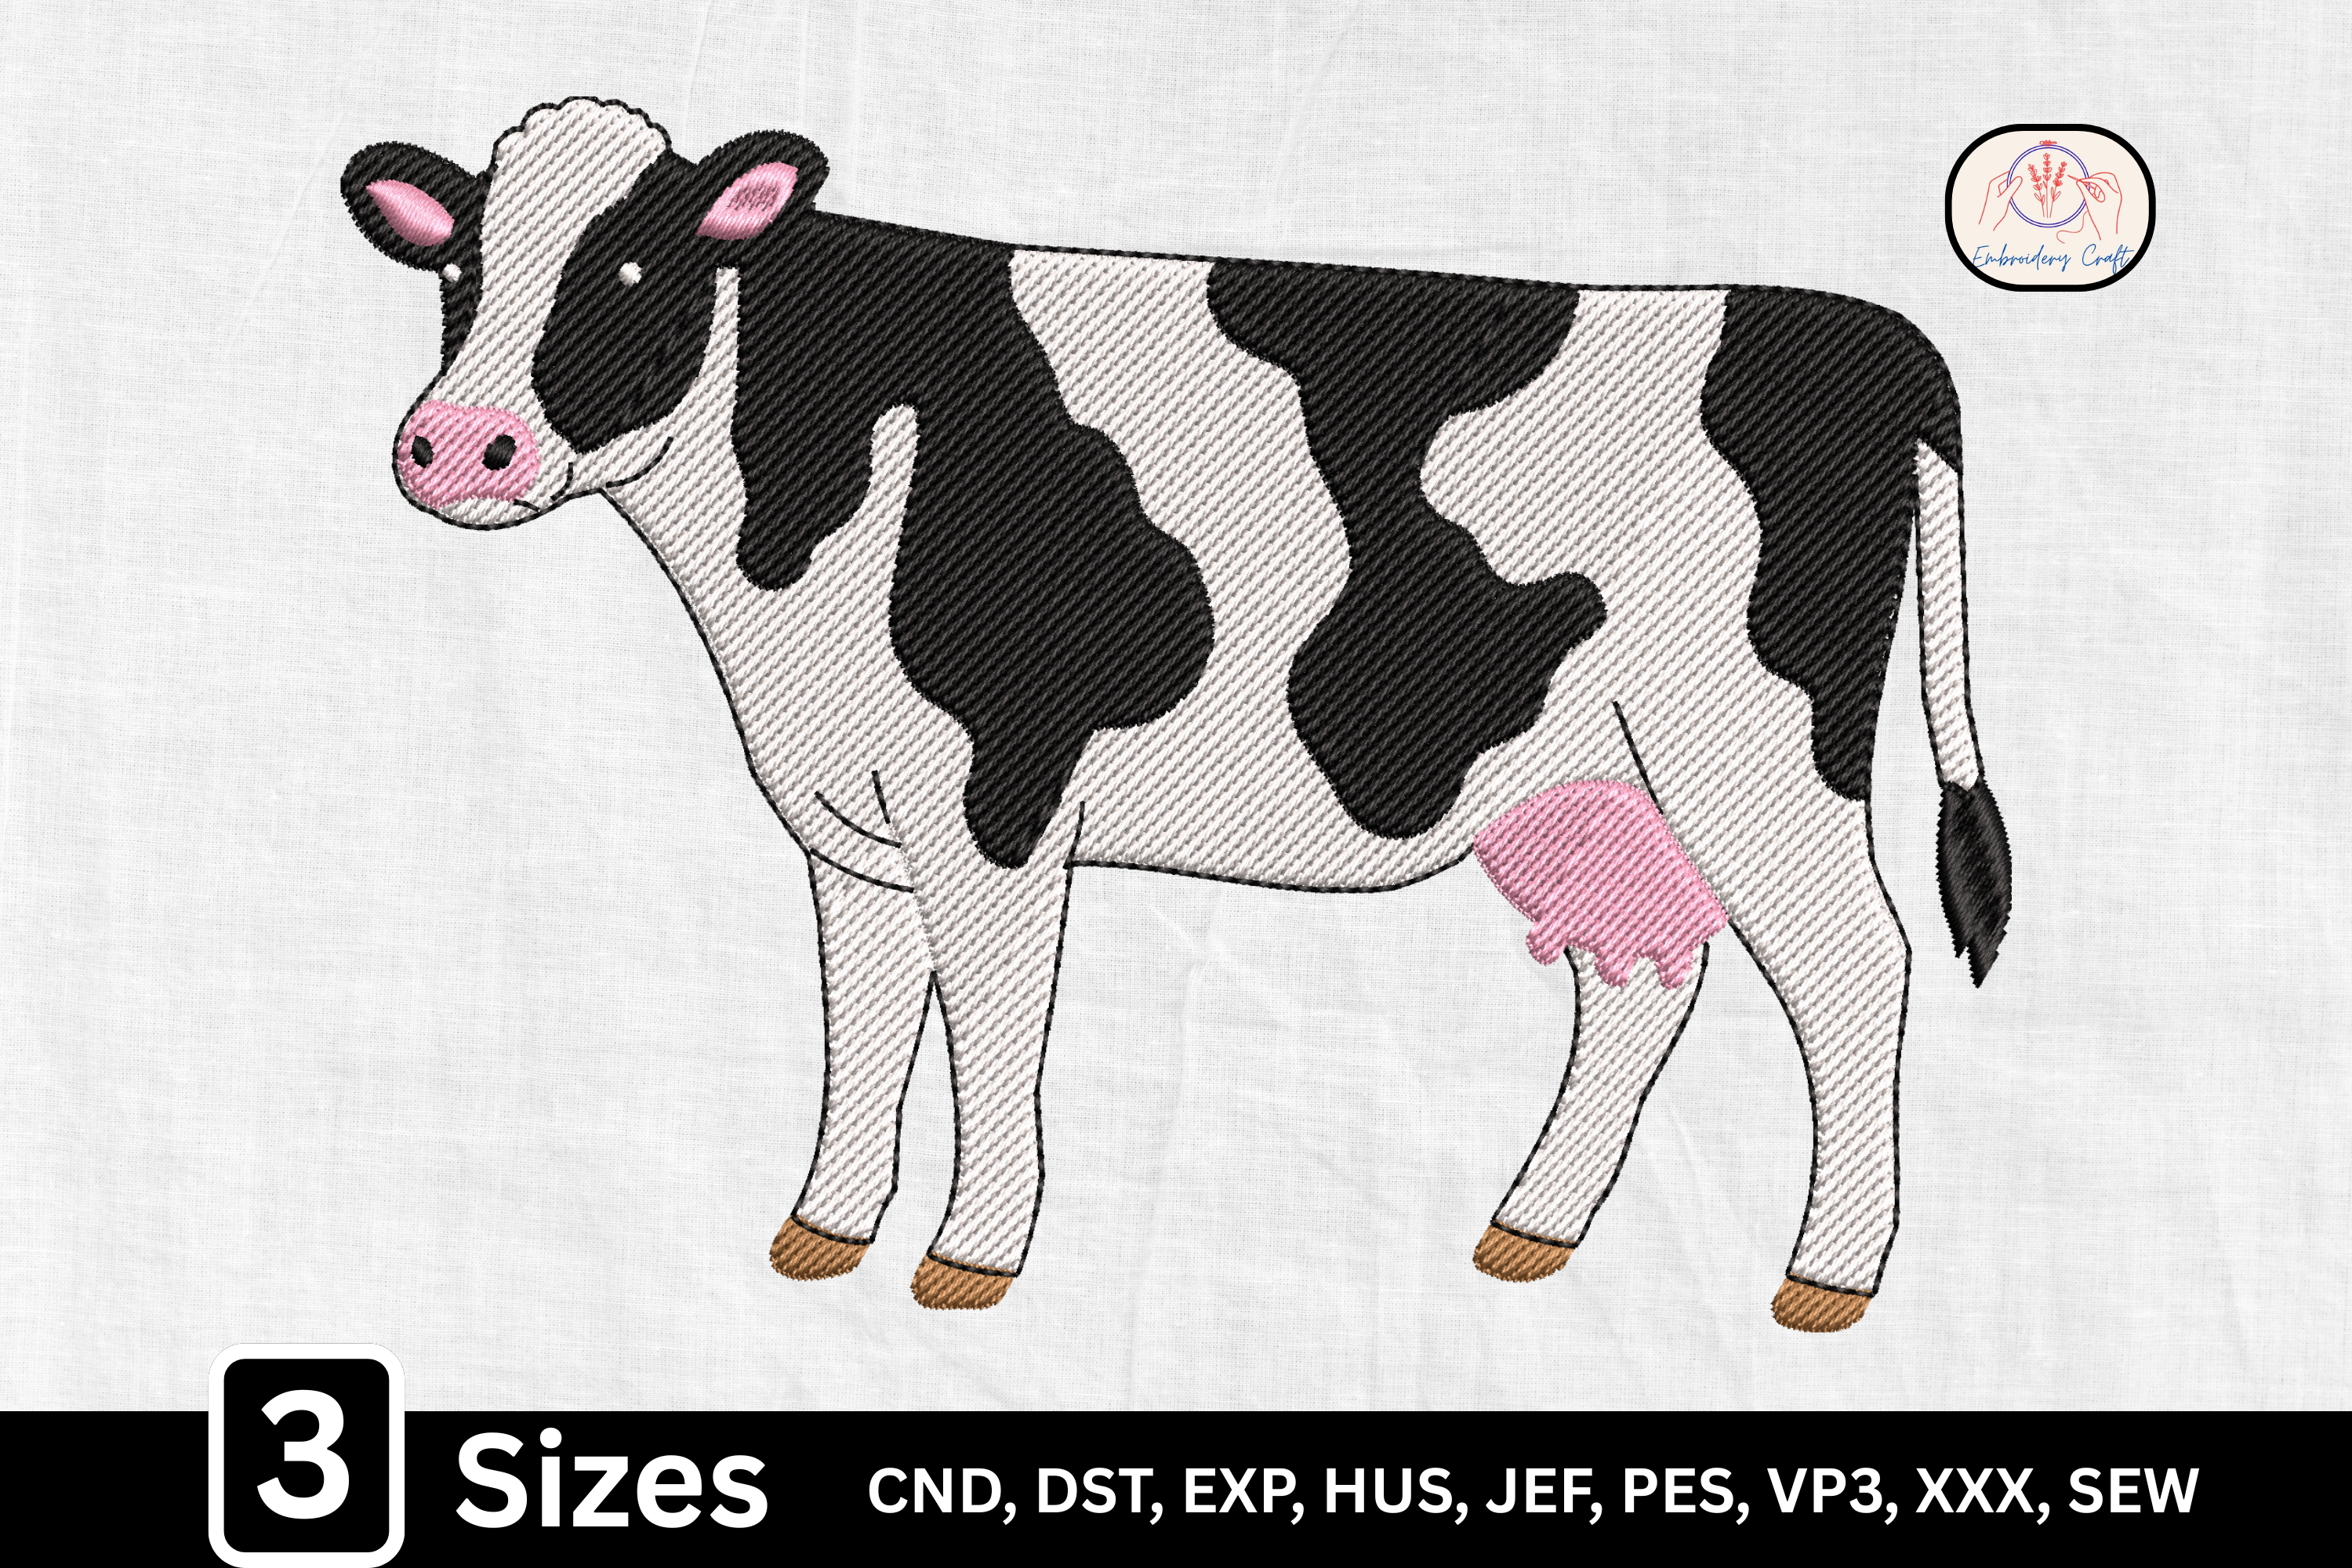
Holstein Cow Embroidery
DSTEXPHUS
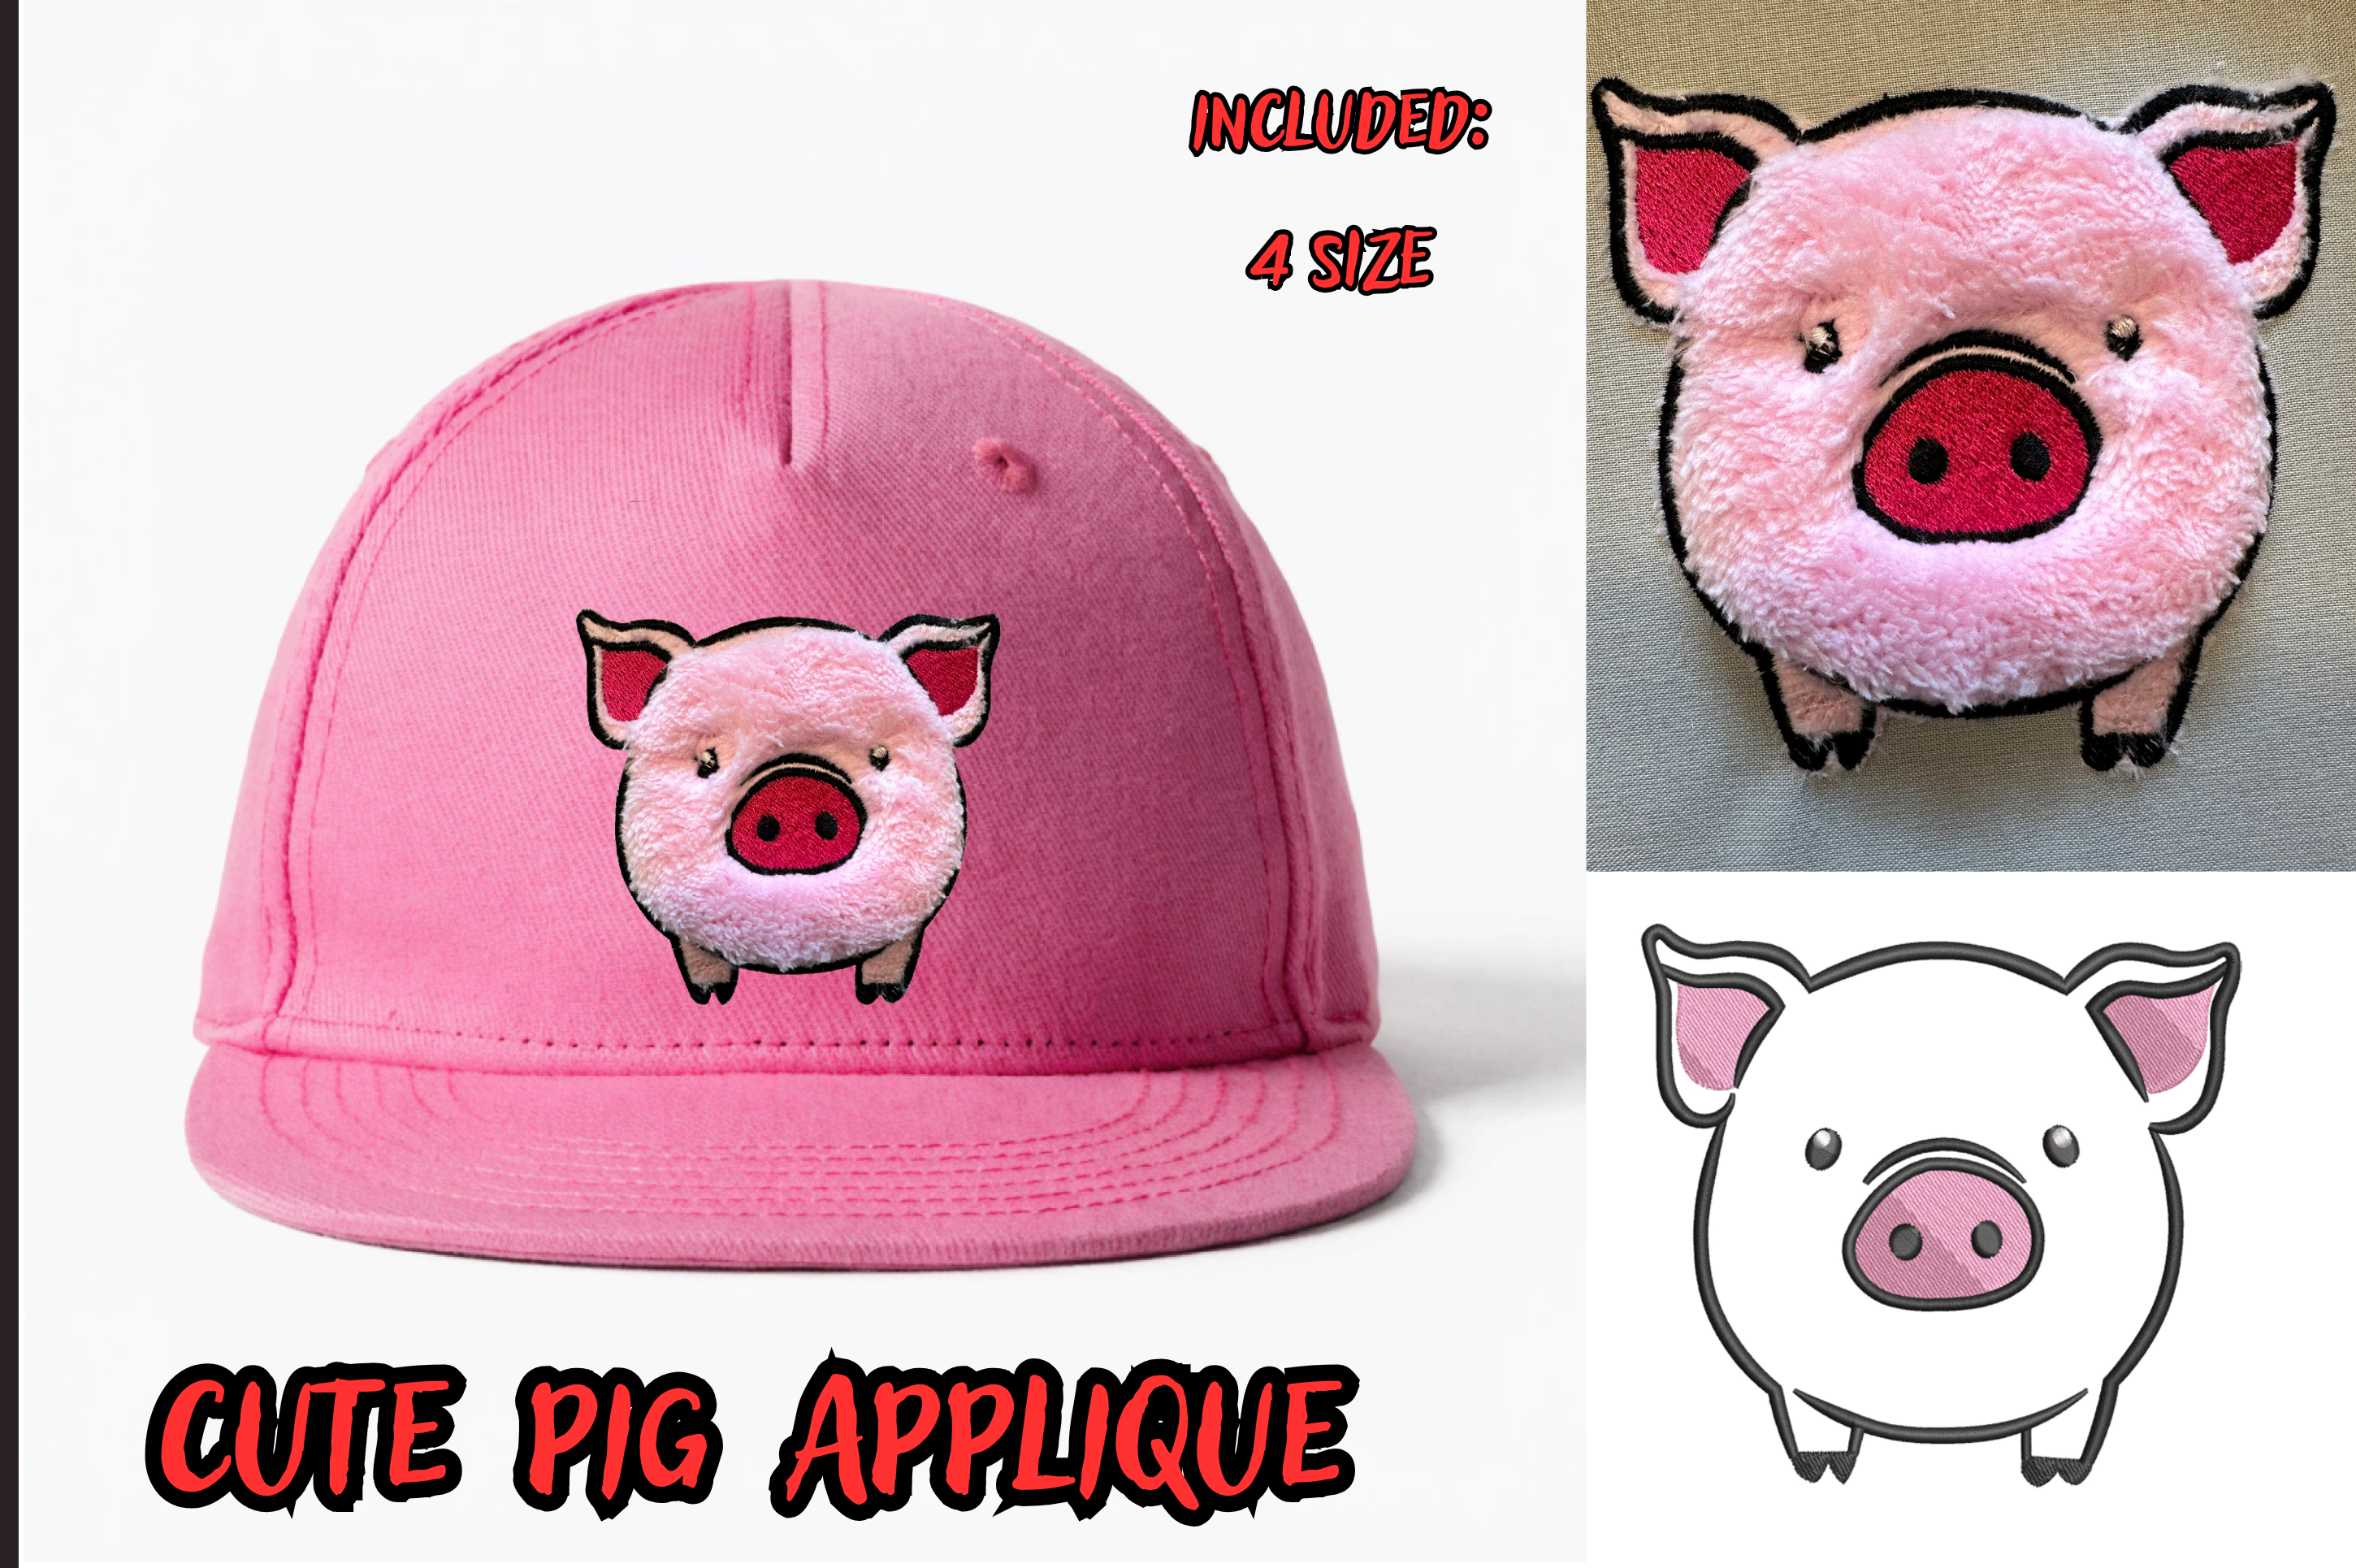
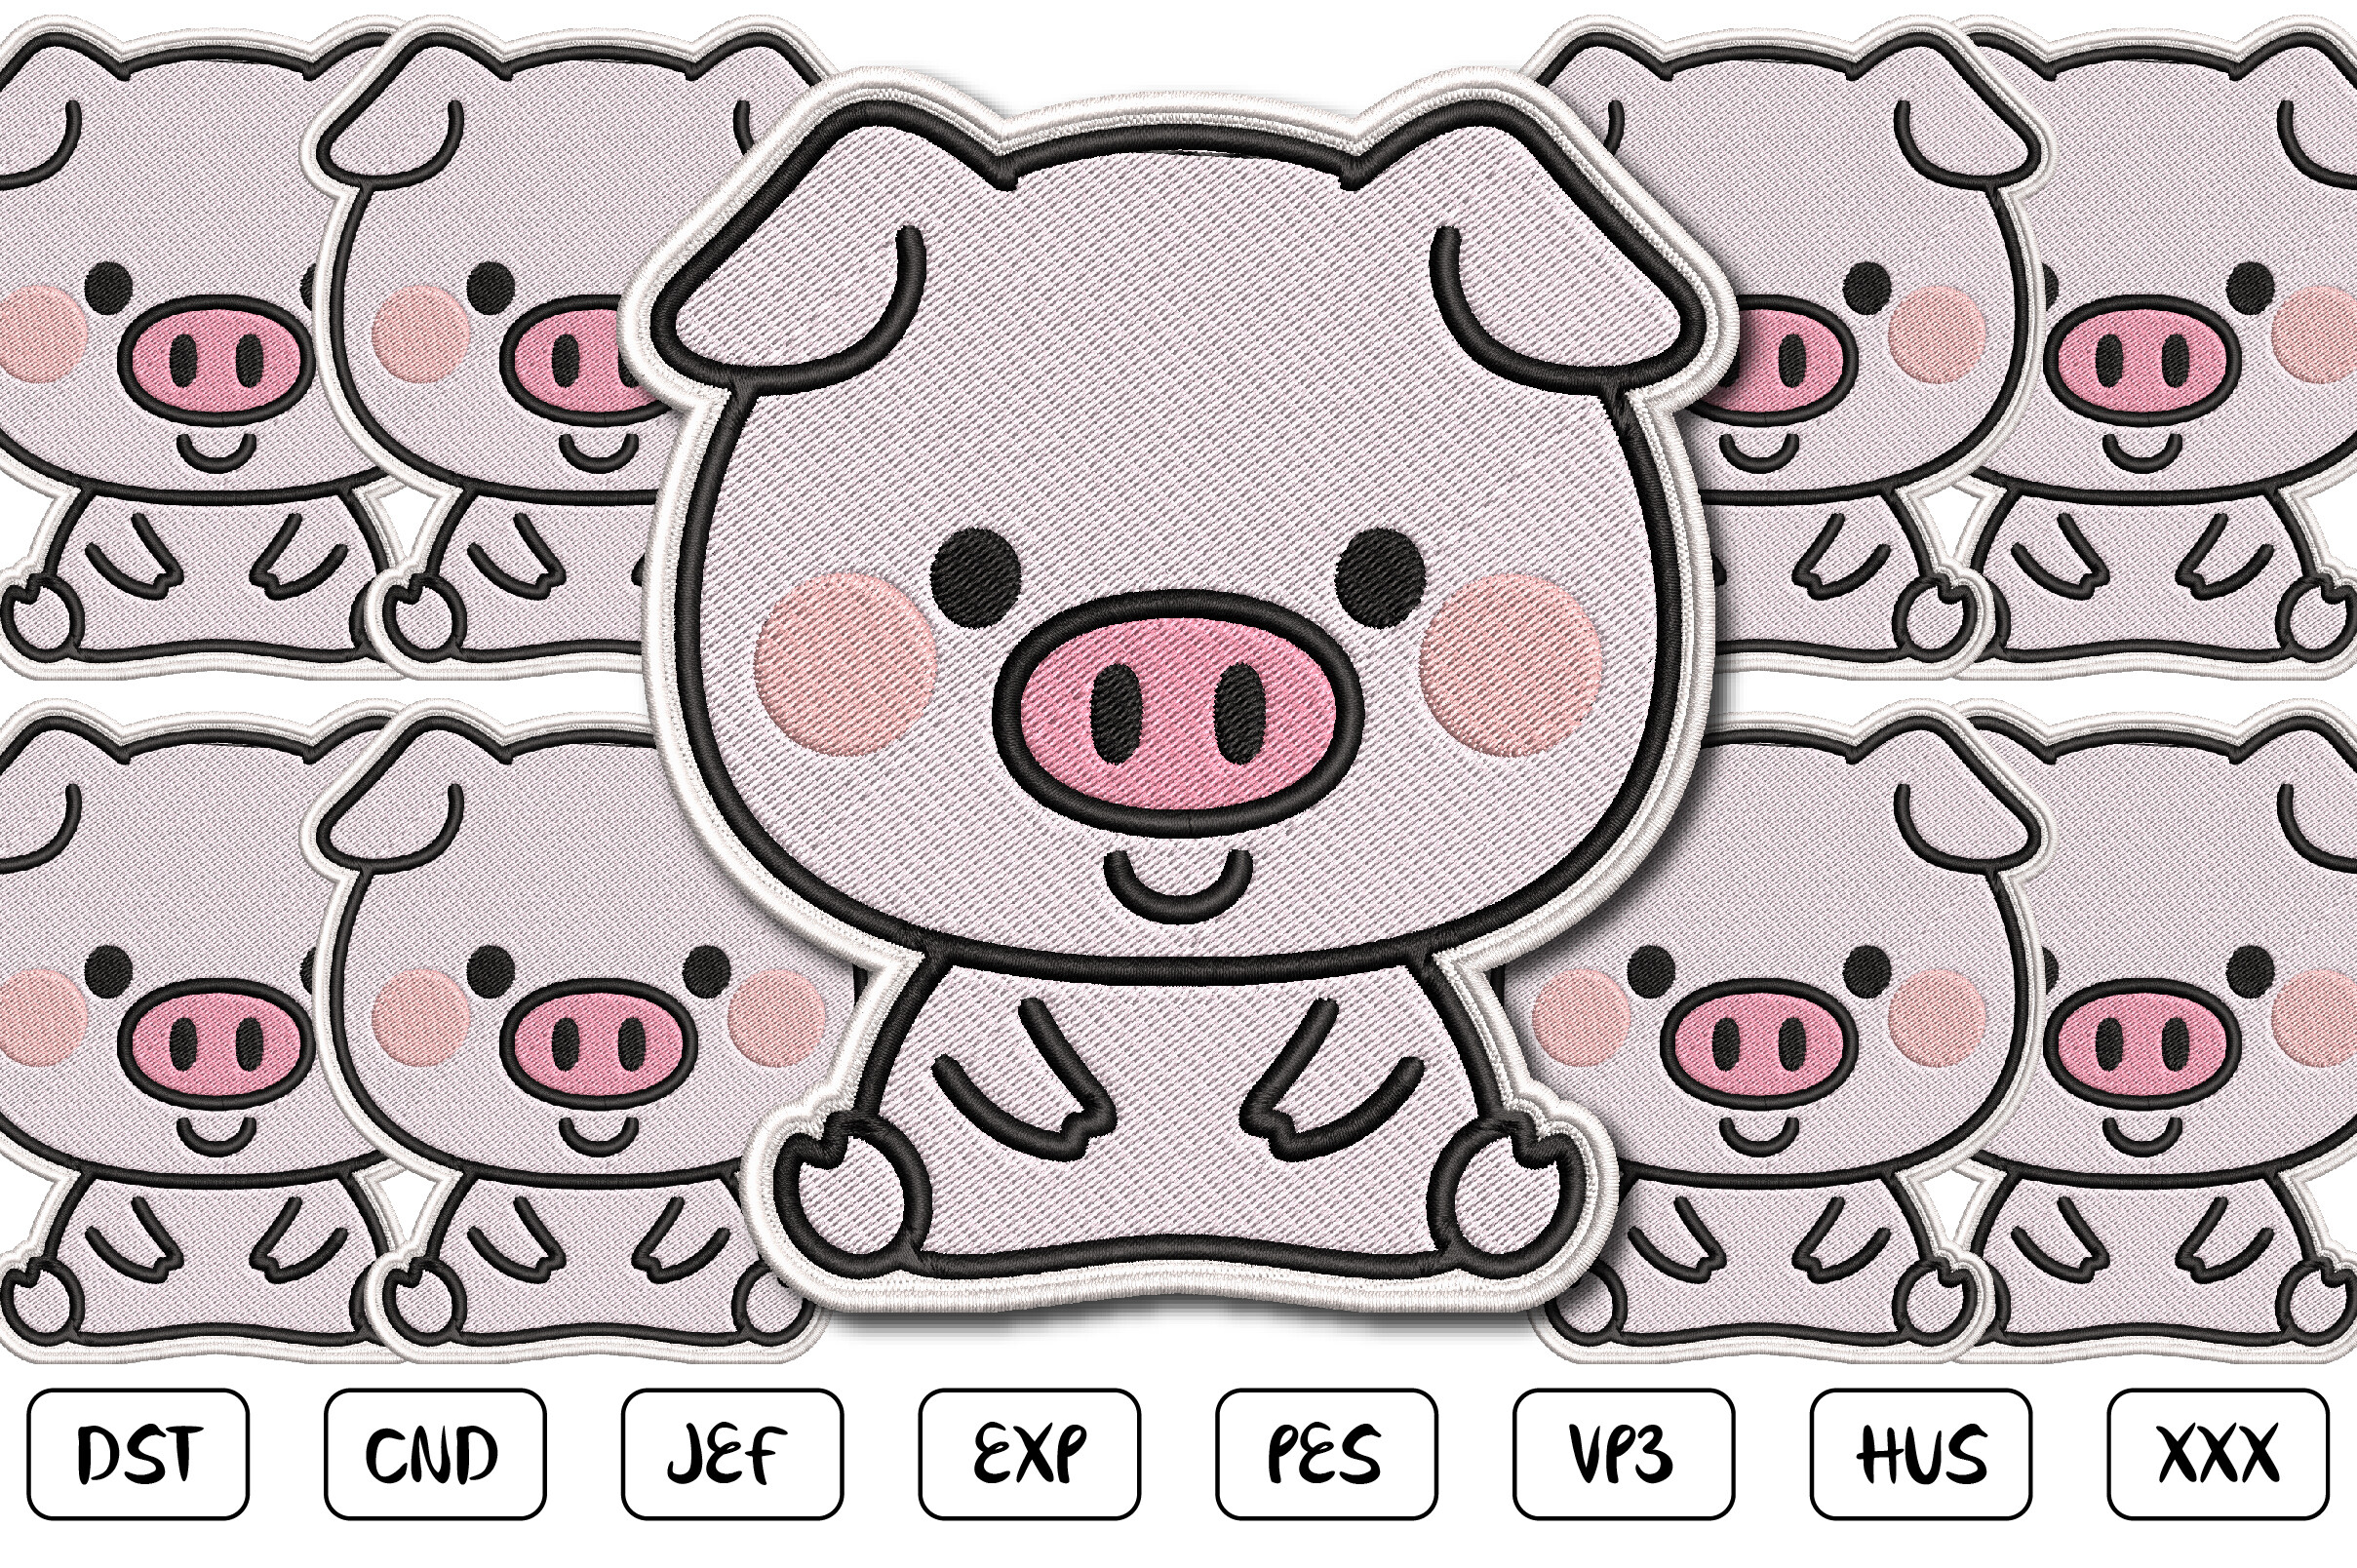
Cute Pig Applique
DSTEXPHUS
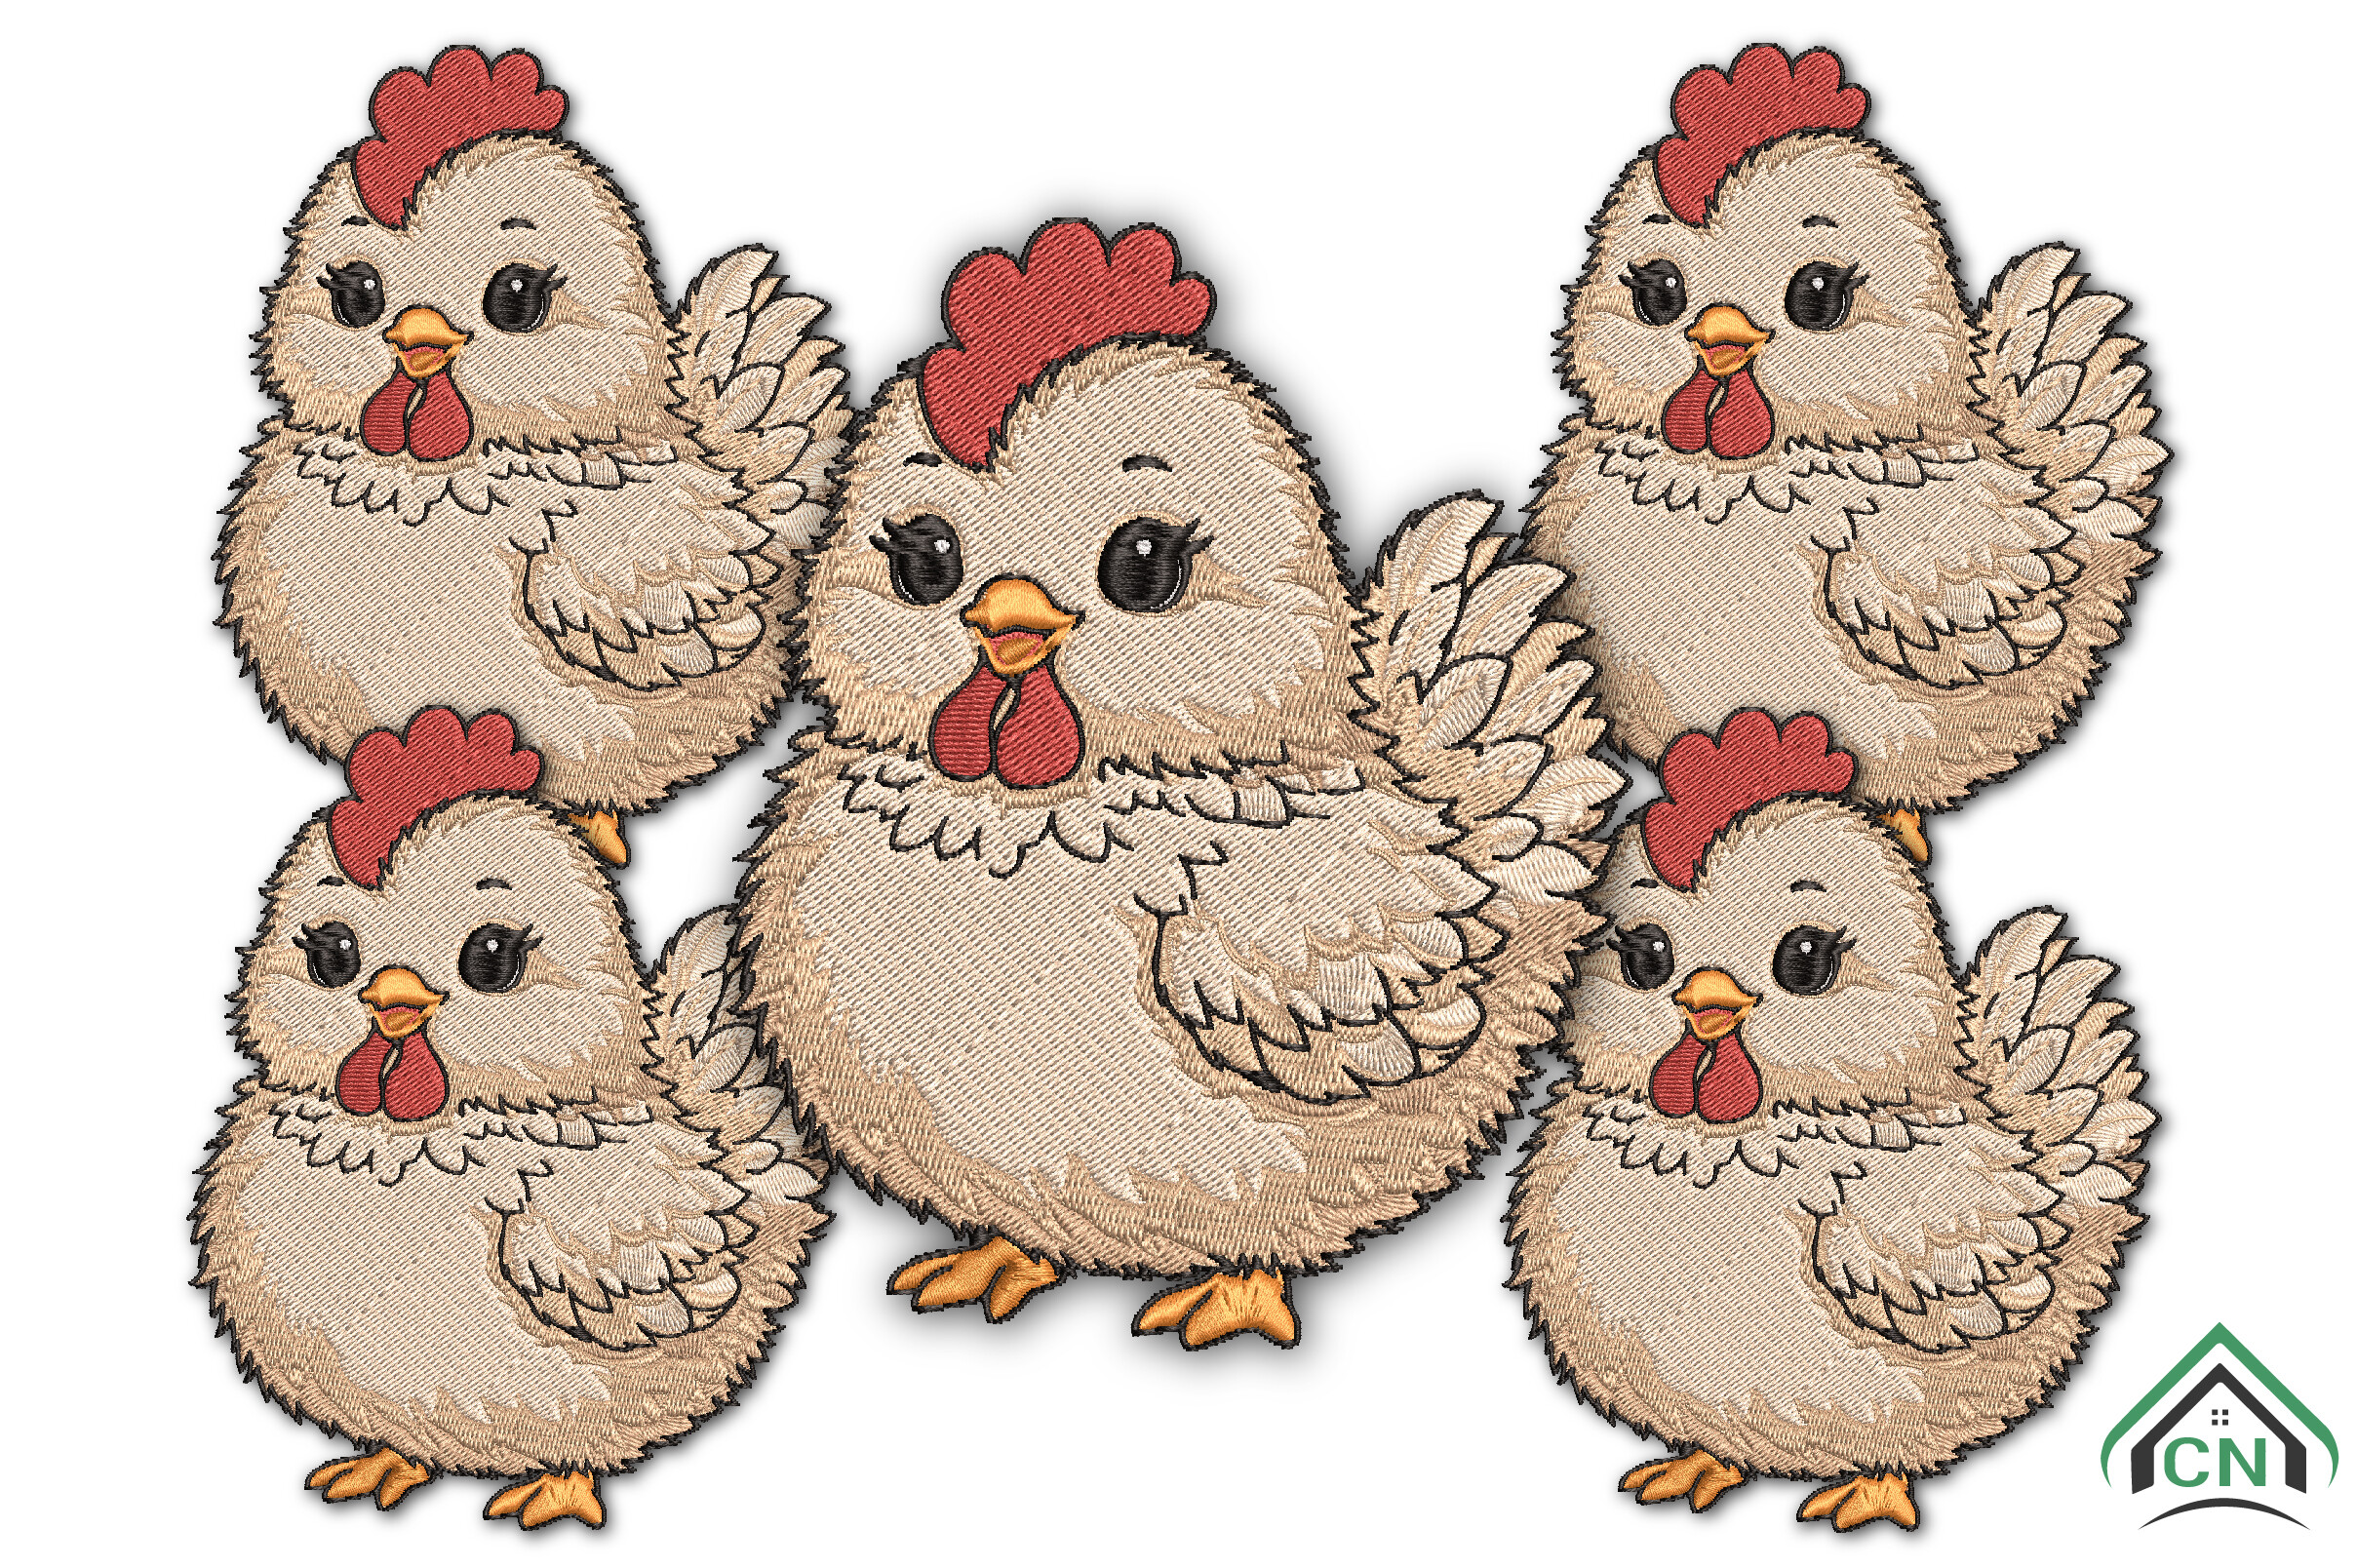
Cute Fluffy Chicken Embroidery Design
DSTEXPHUS
Cute Cow Patch Embroidery Design
XXXDSTEXP
Farm Animal Patch Embroidery Design Set
EXPXXXHUS
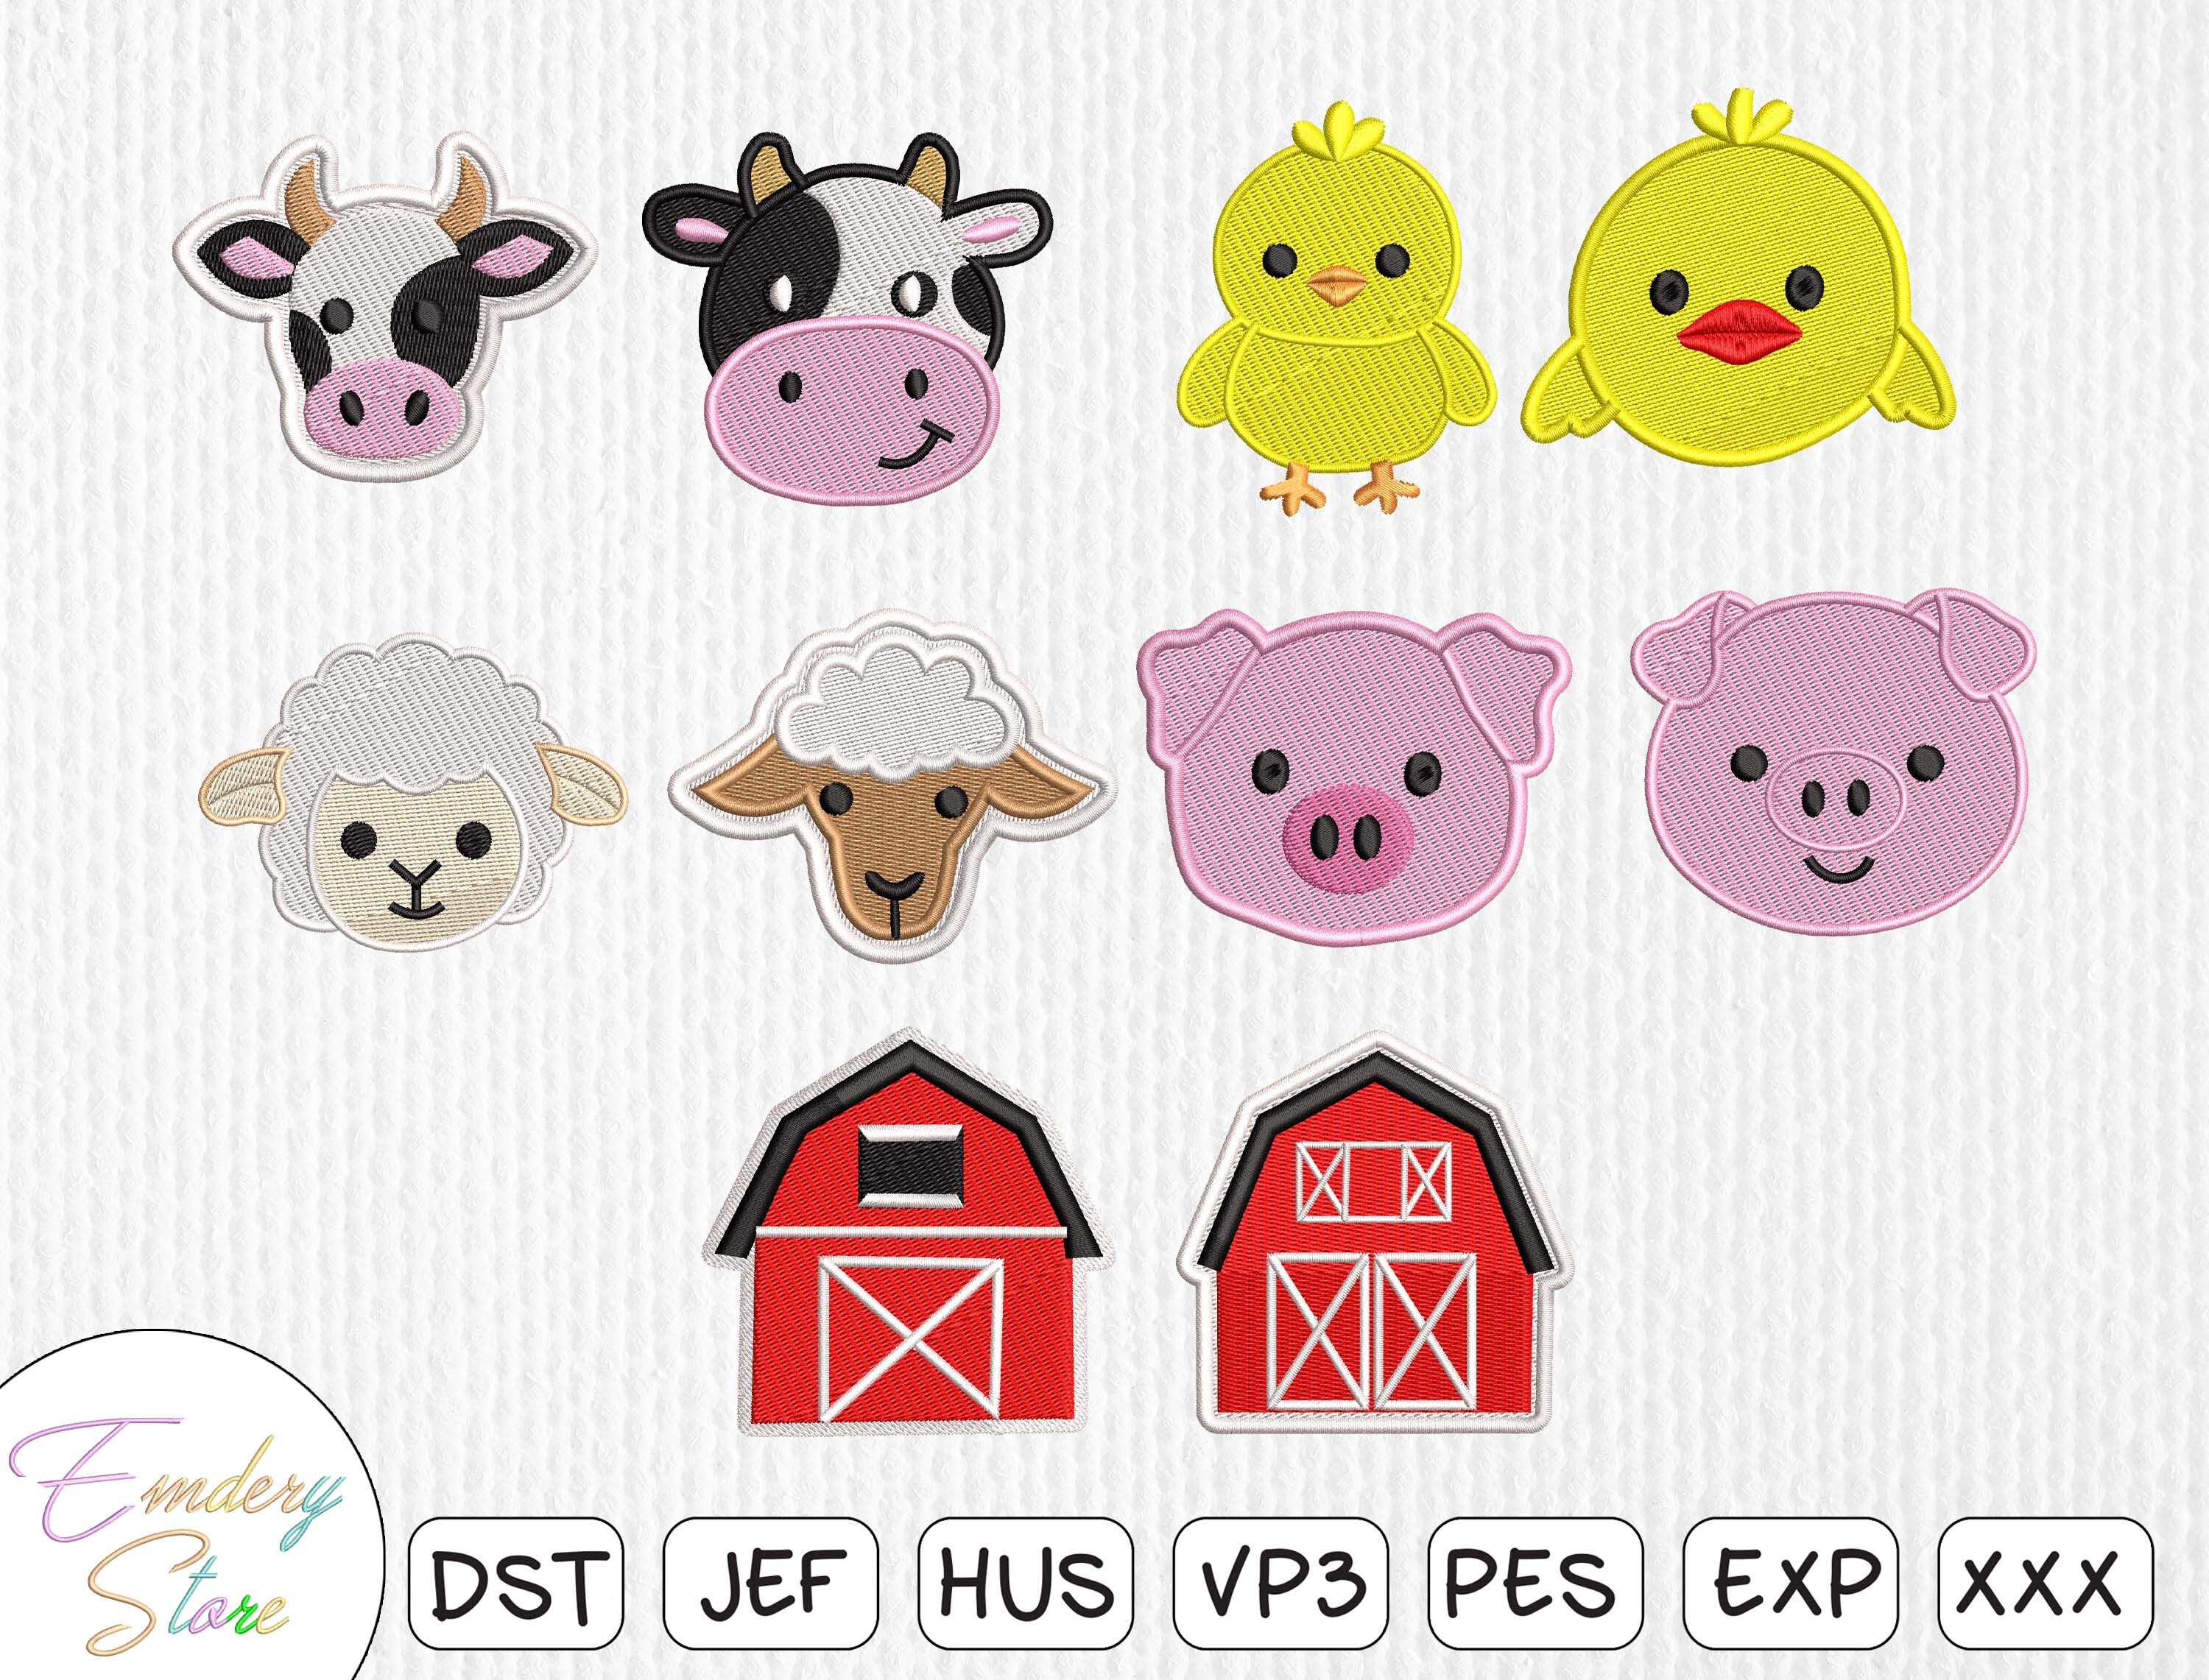
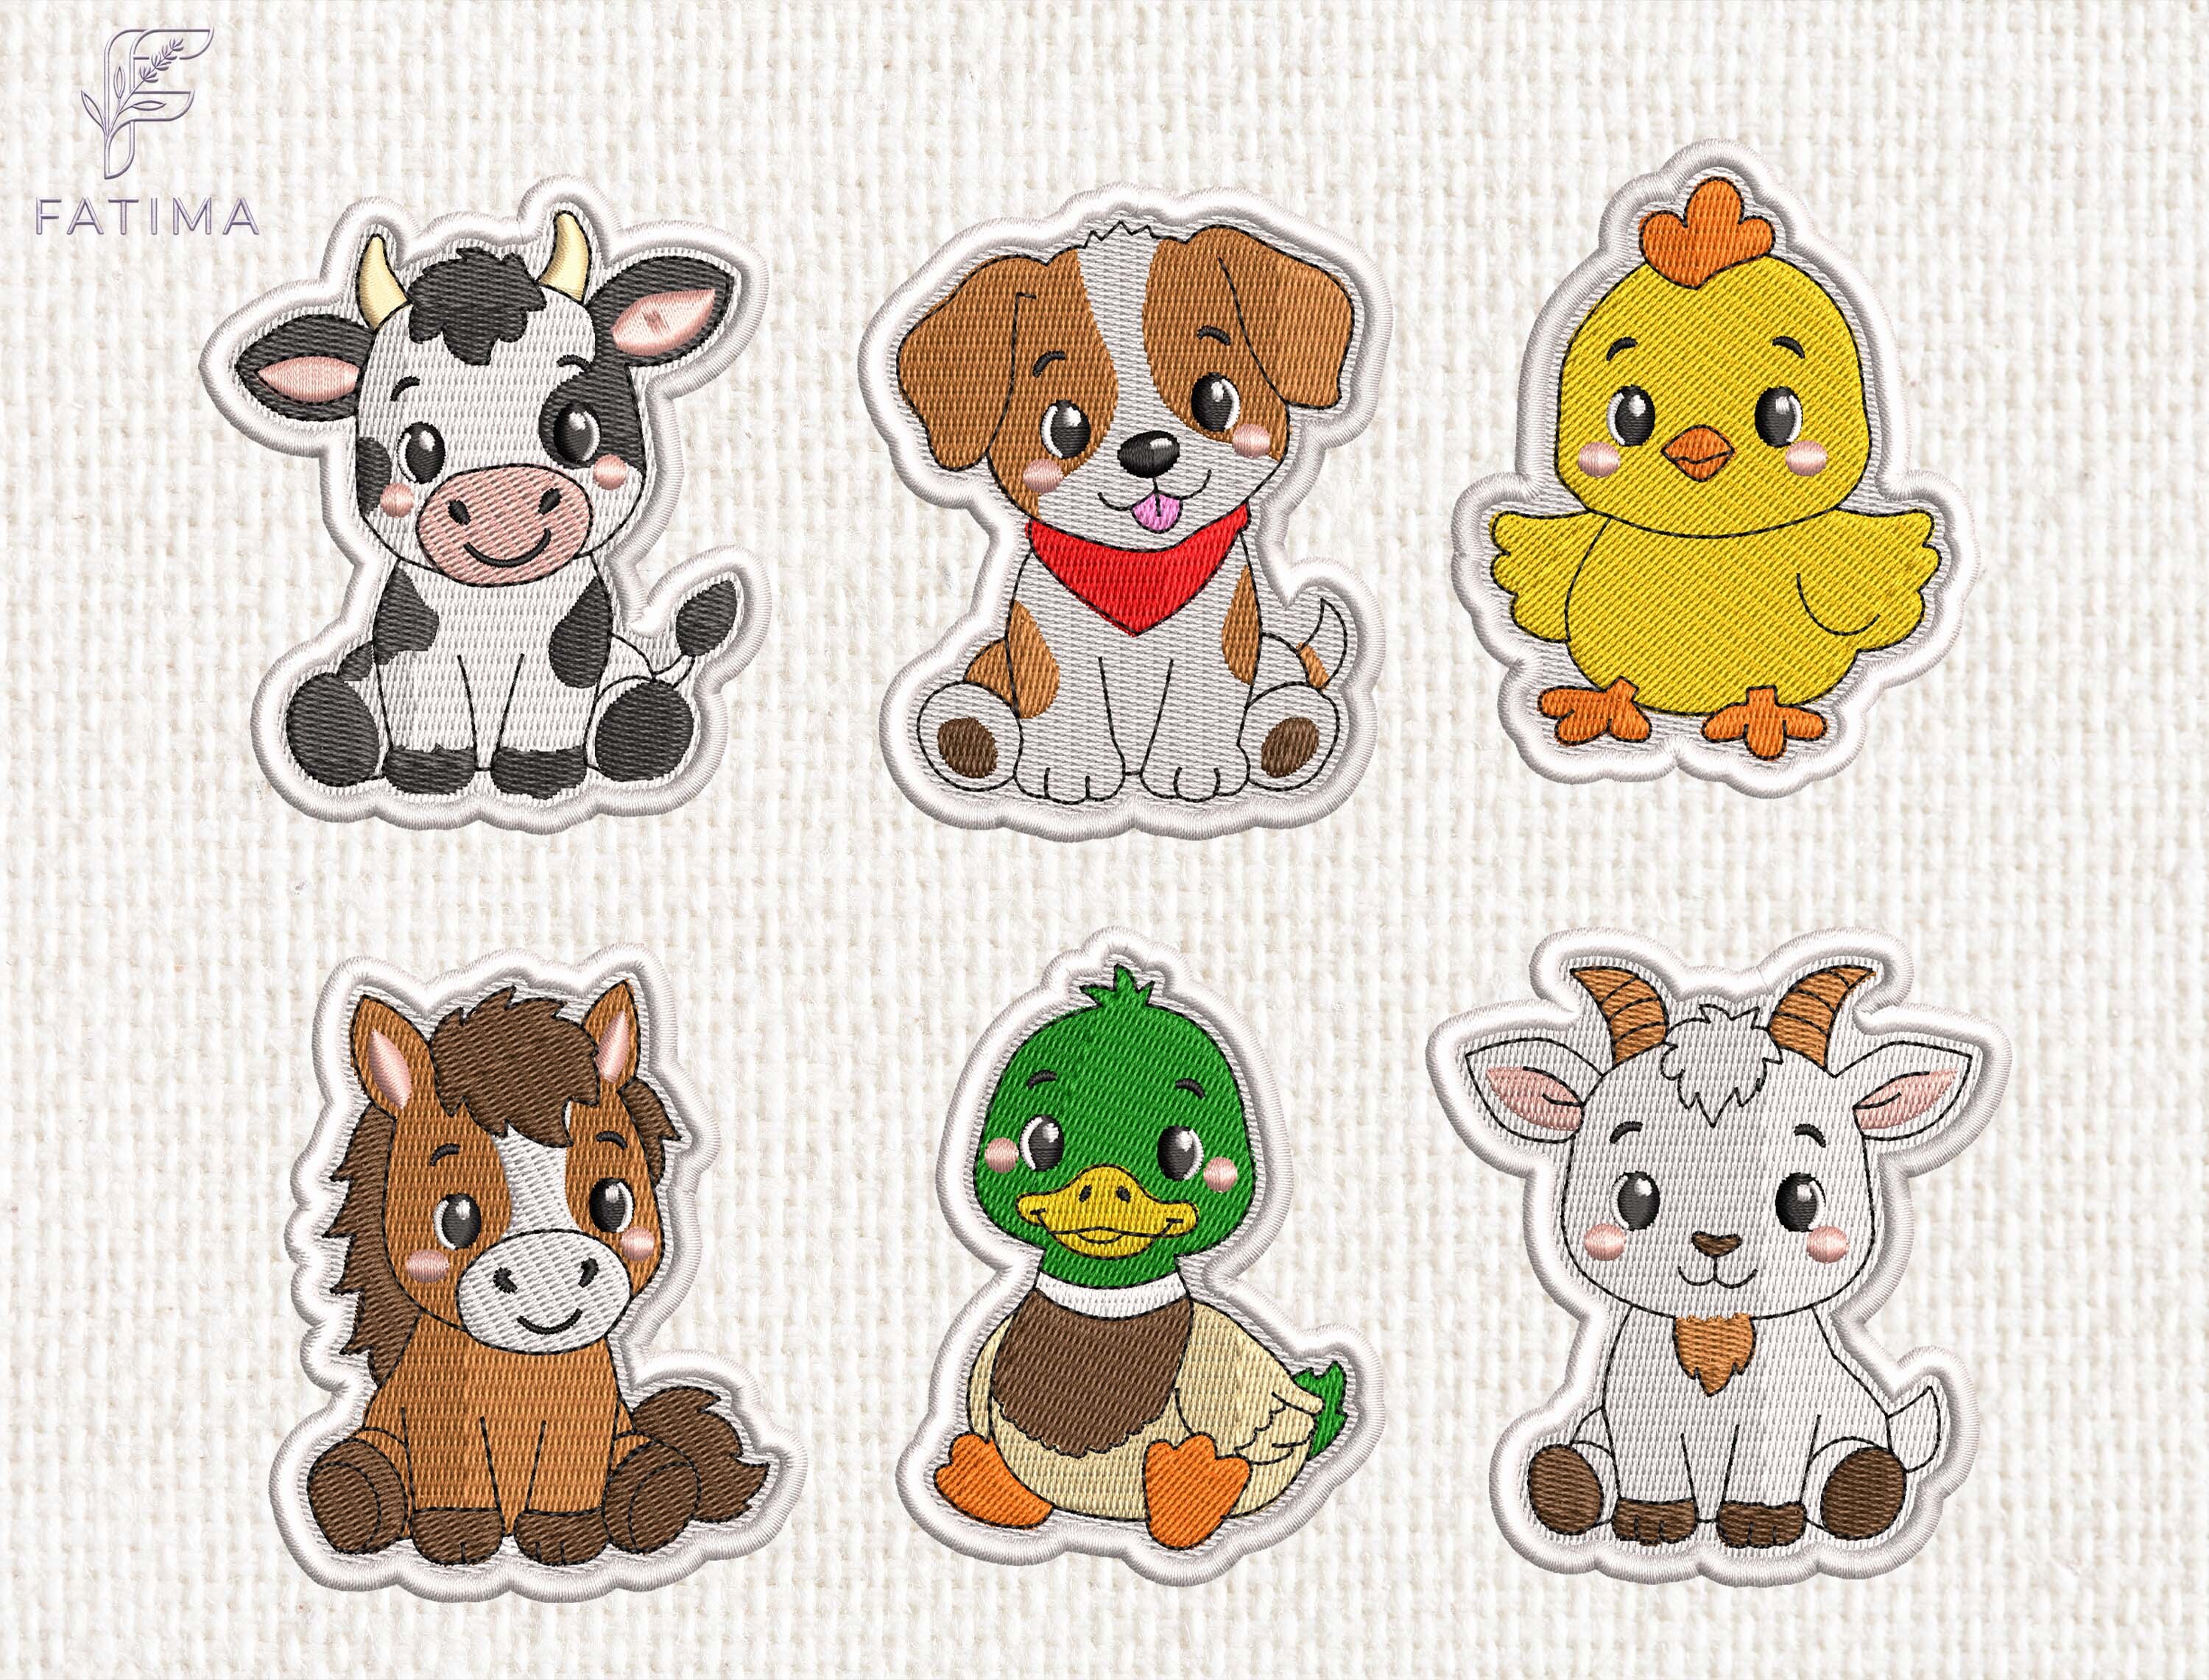
Cute Farm Animals Embroidery Patch Set
EXPXXXHUS
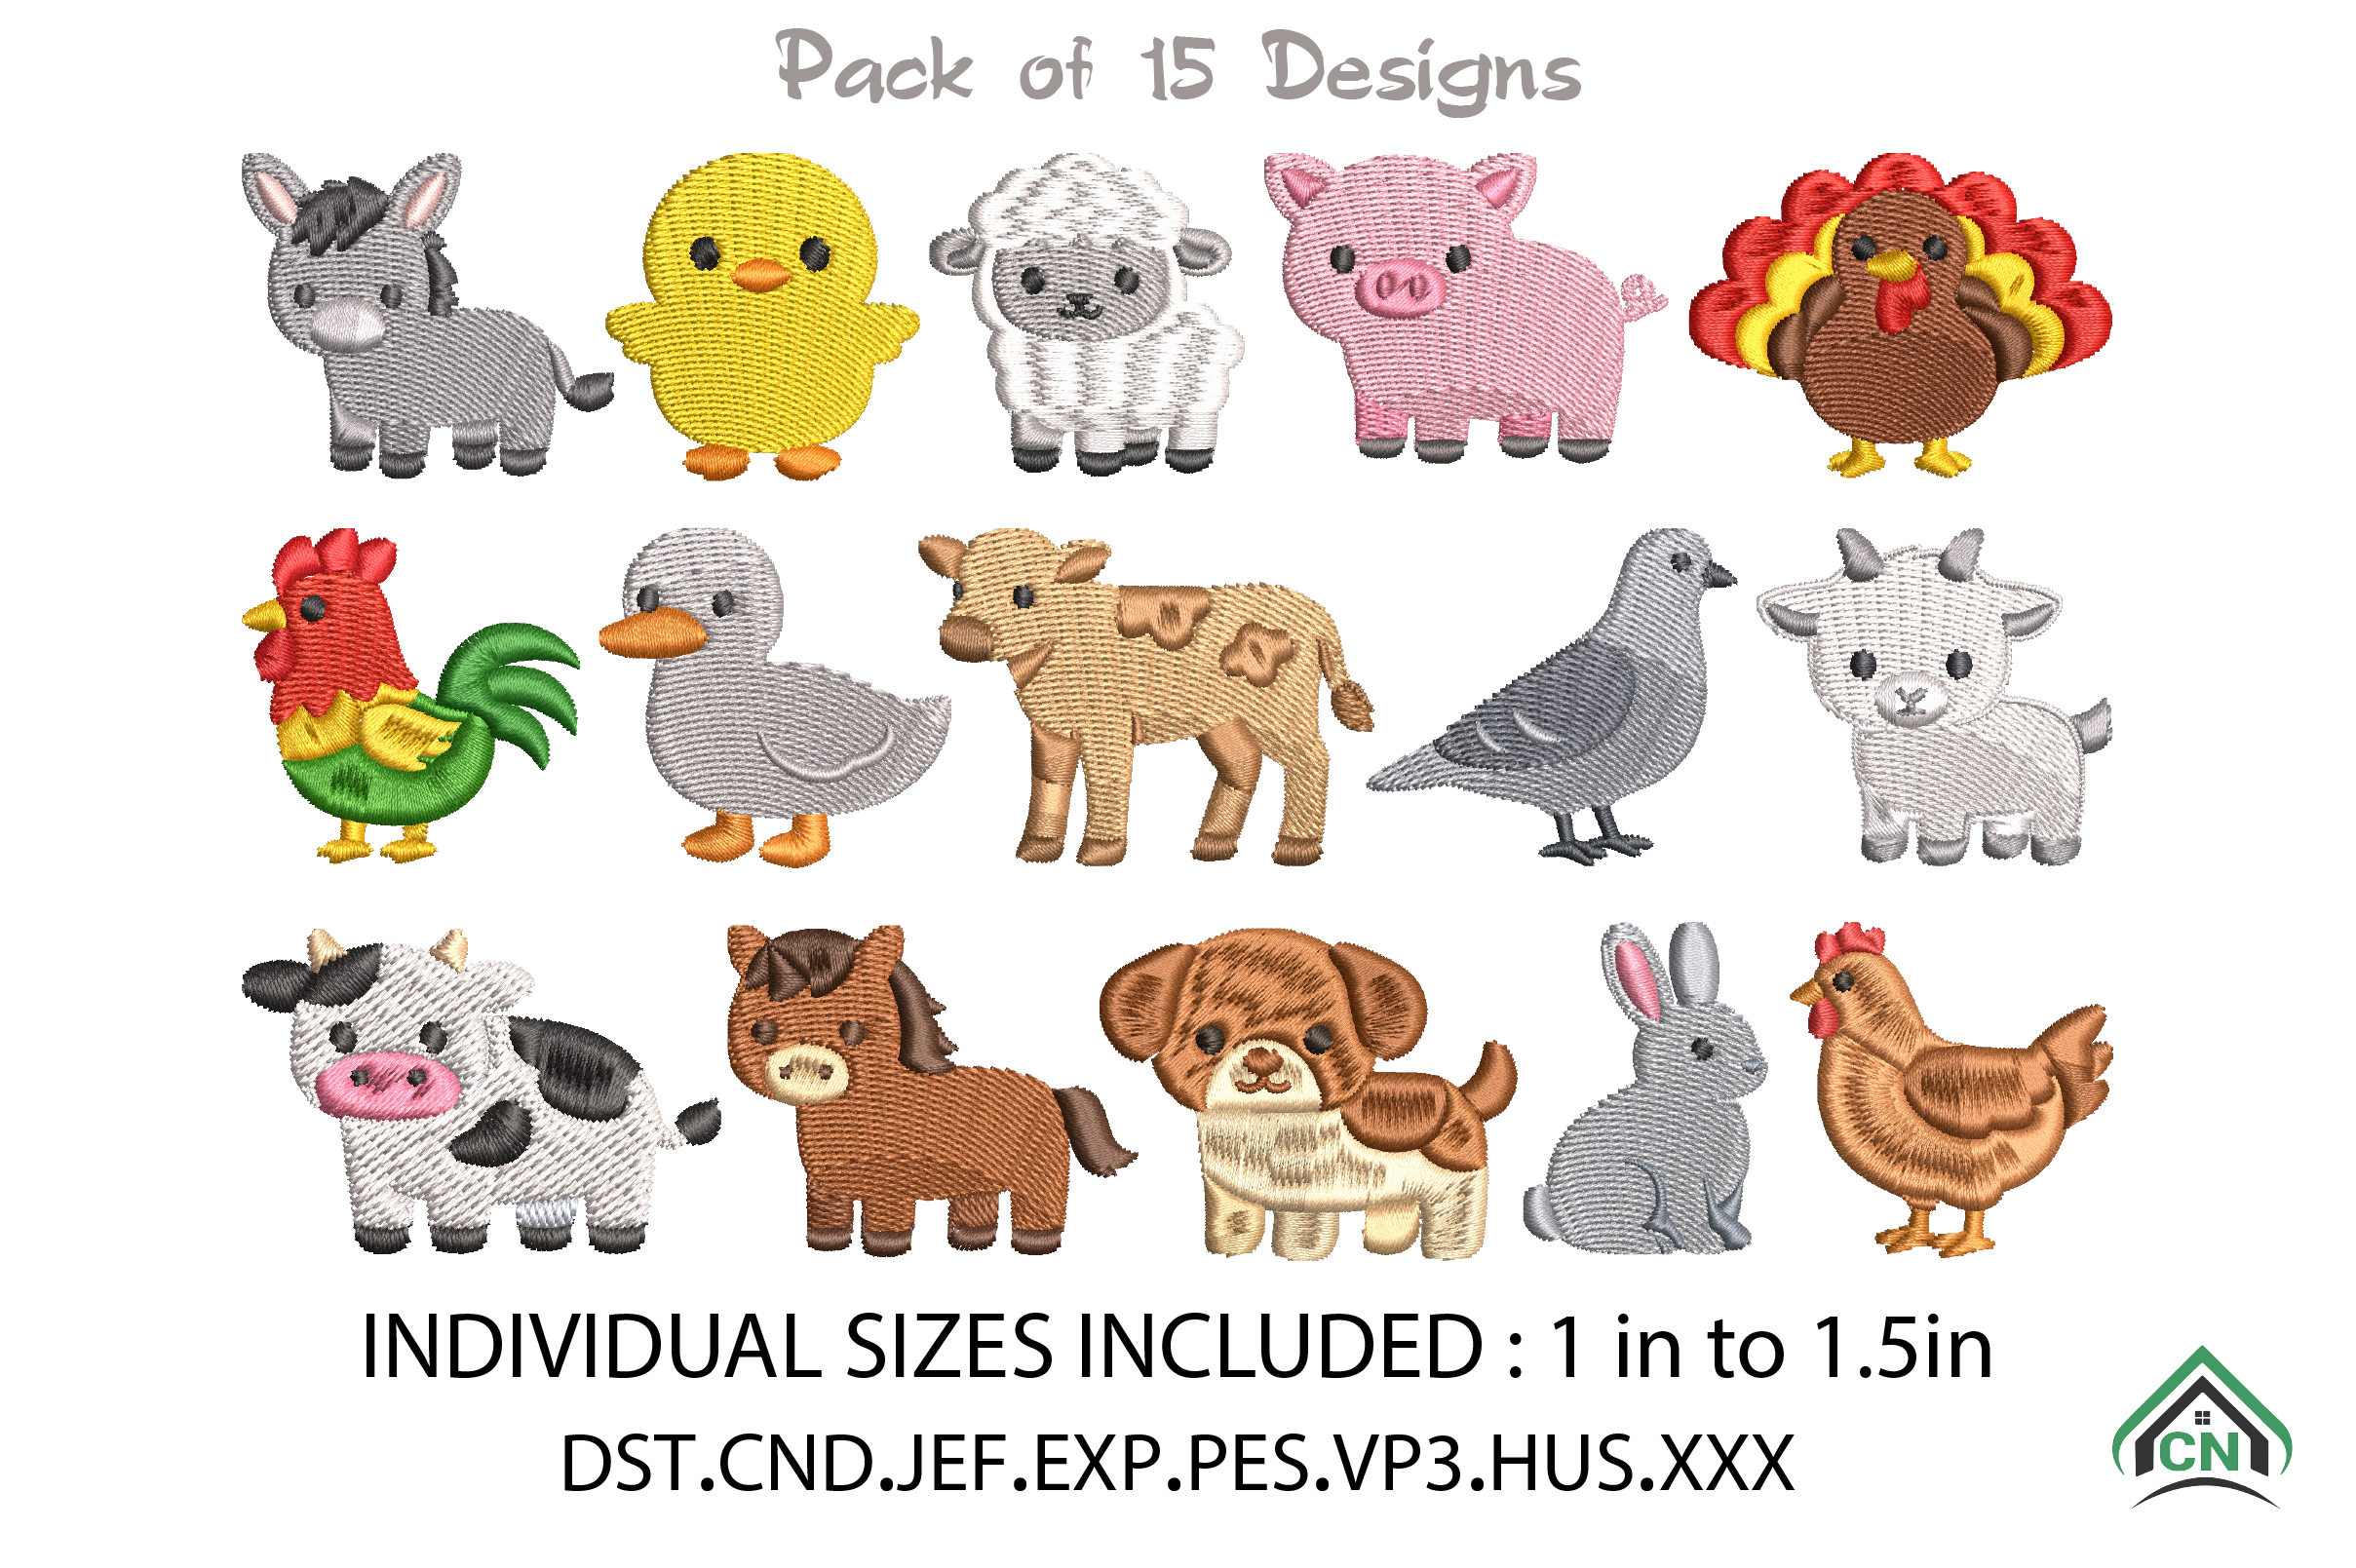
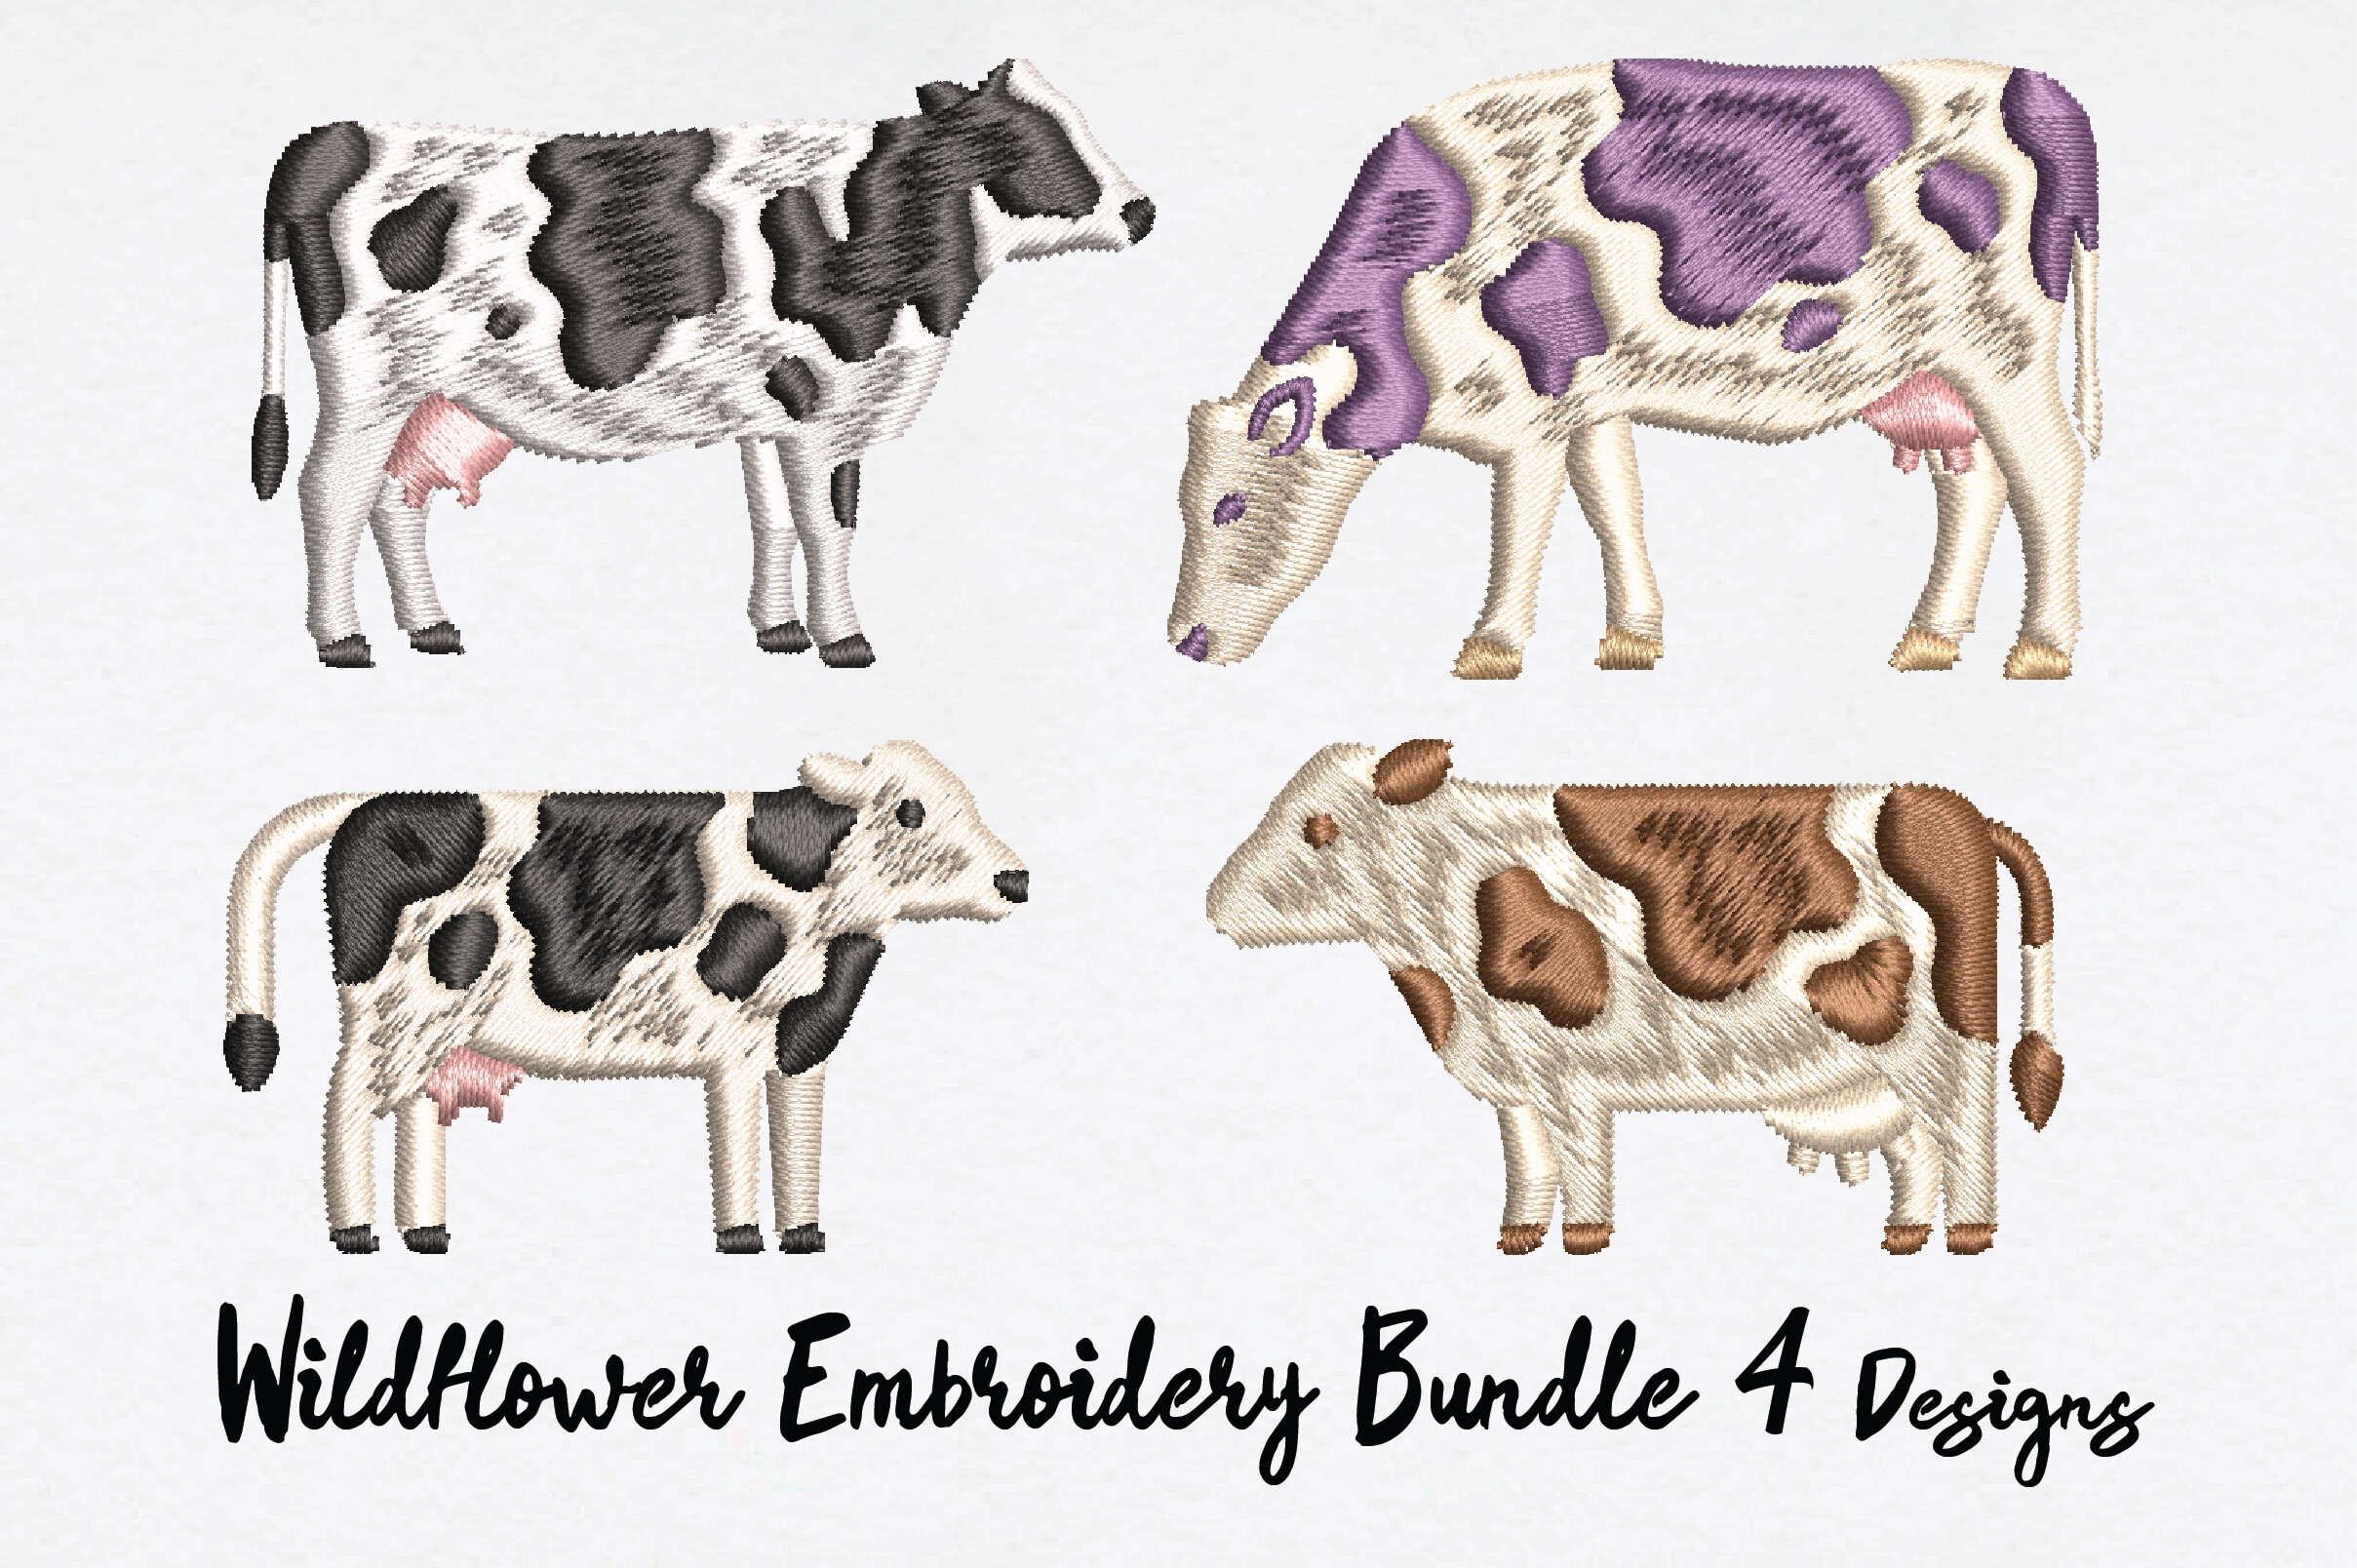
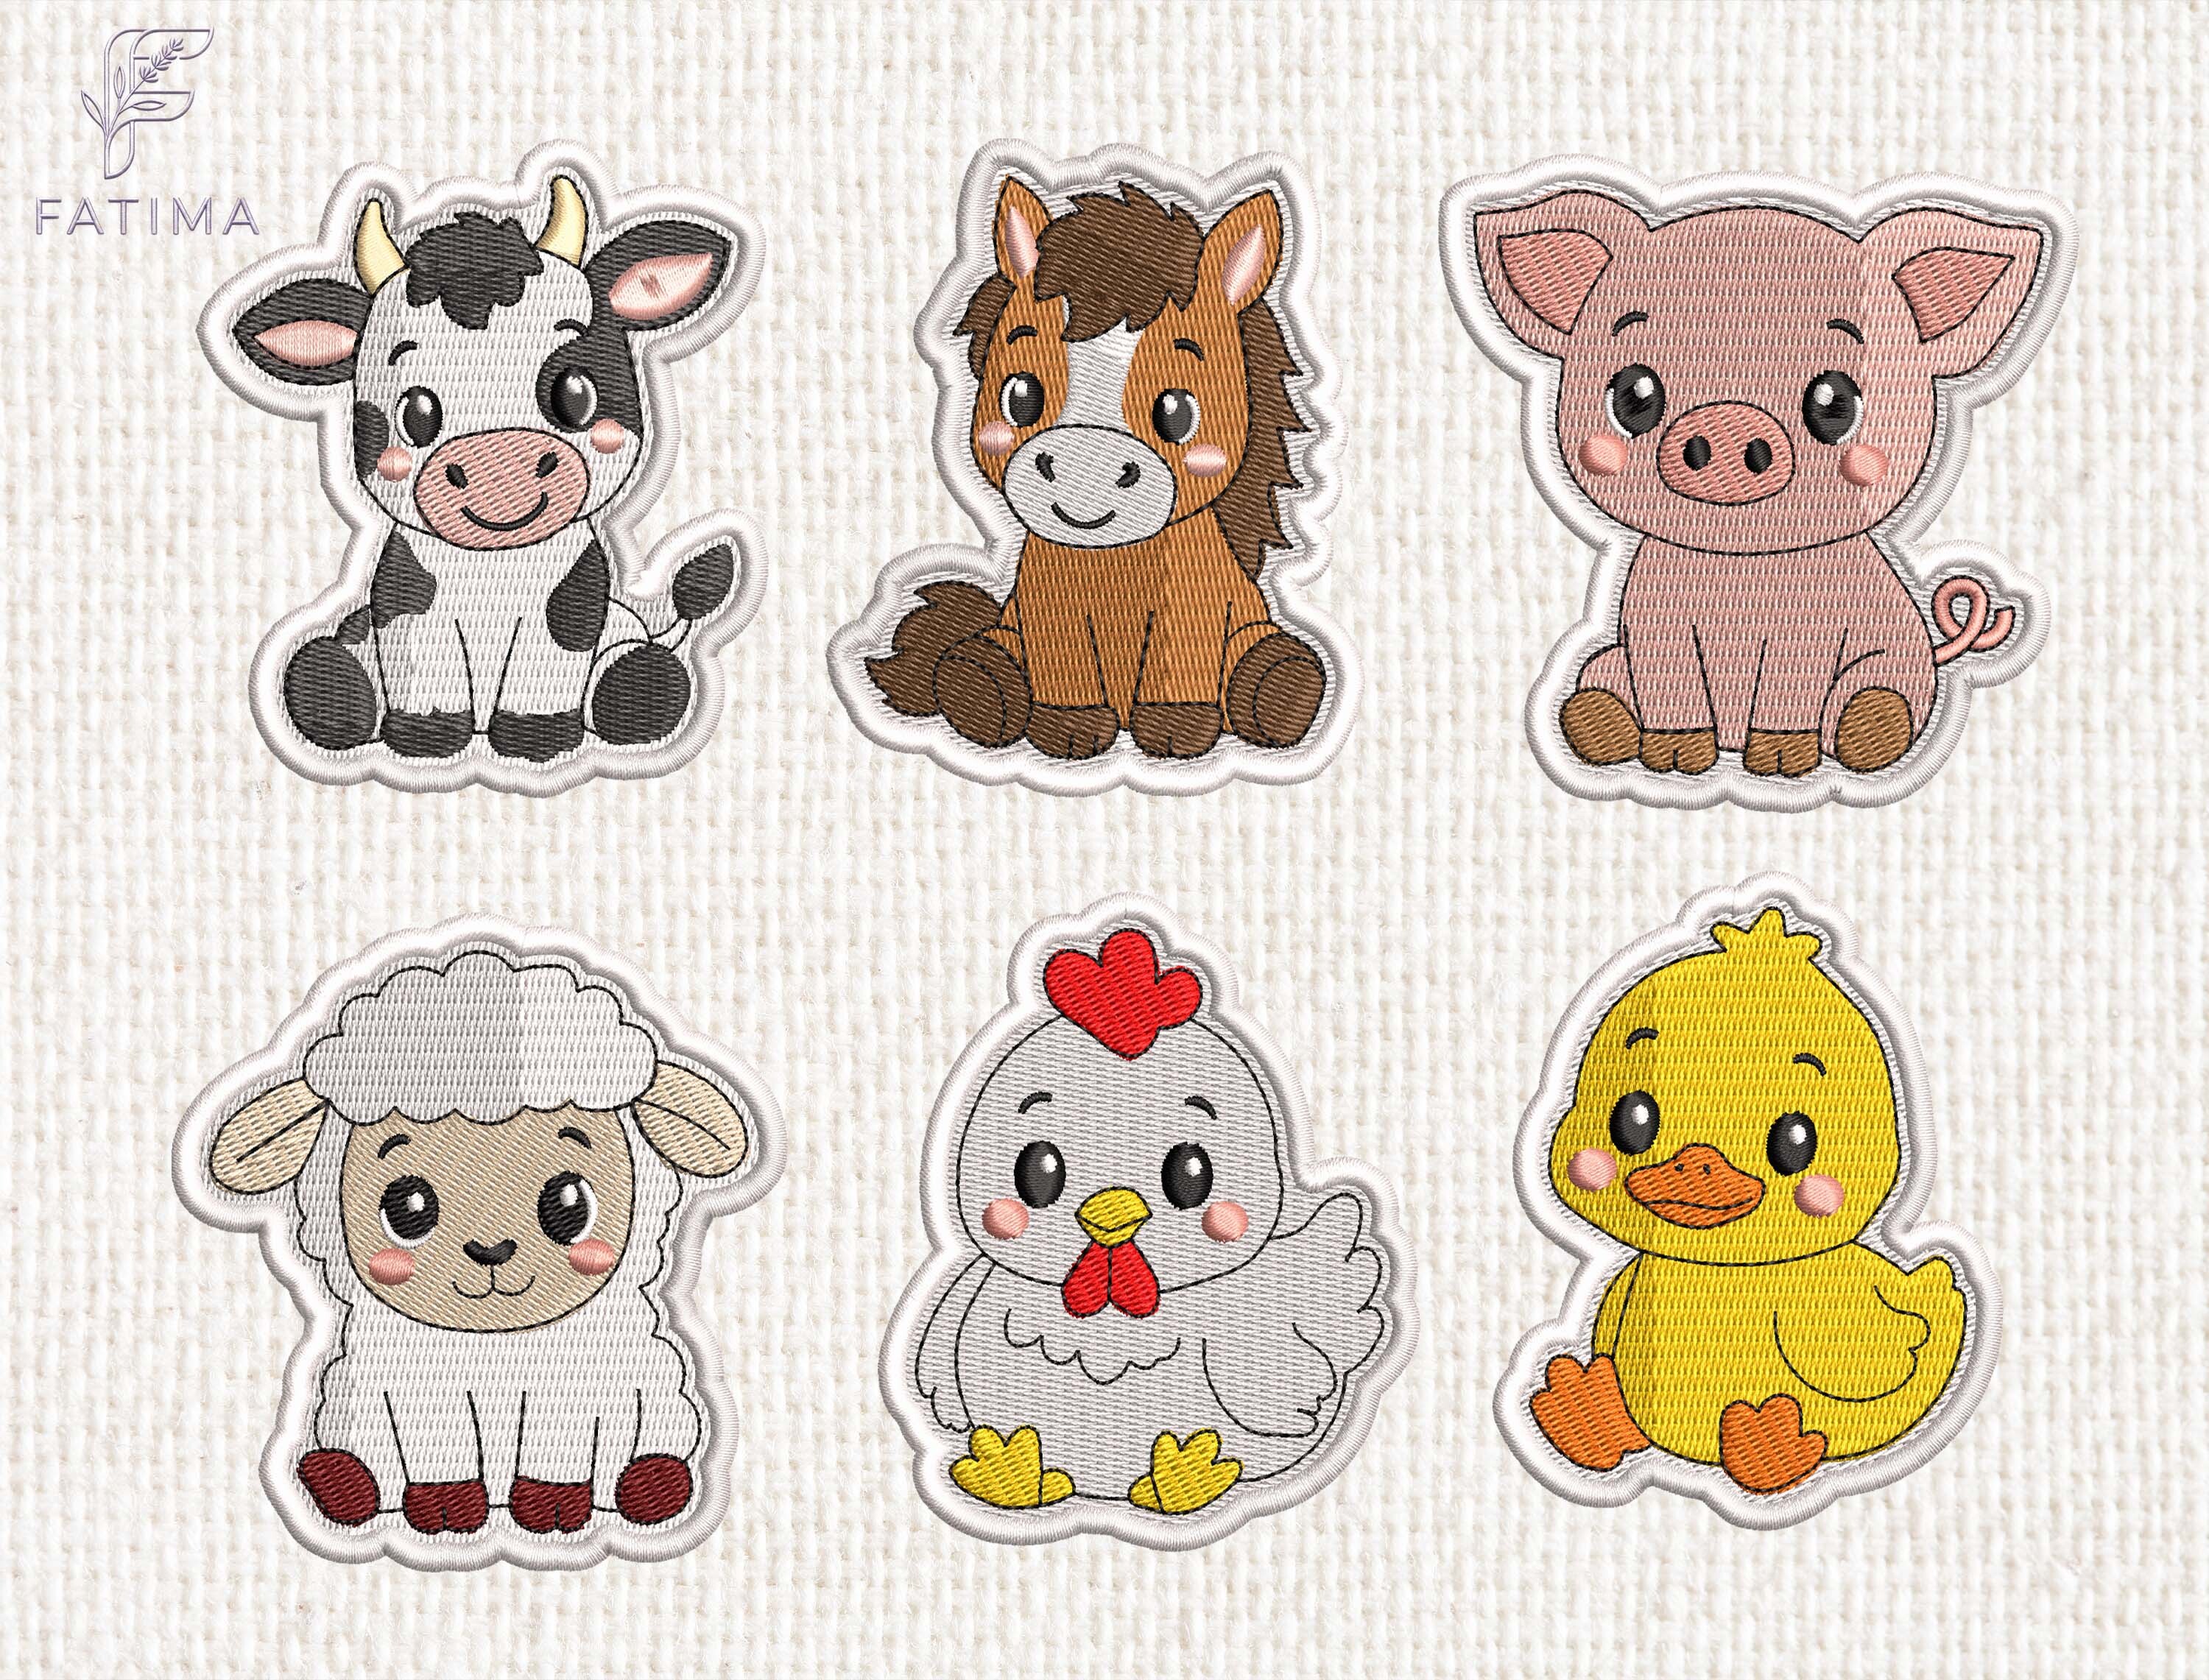
Mini Farm Animals Embroidery Bundle
DSTEXPHUS
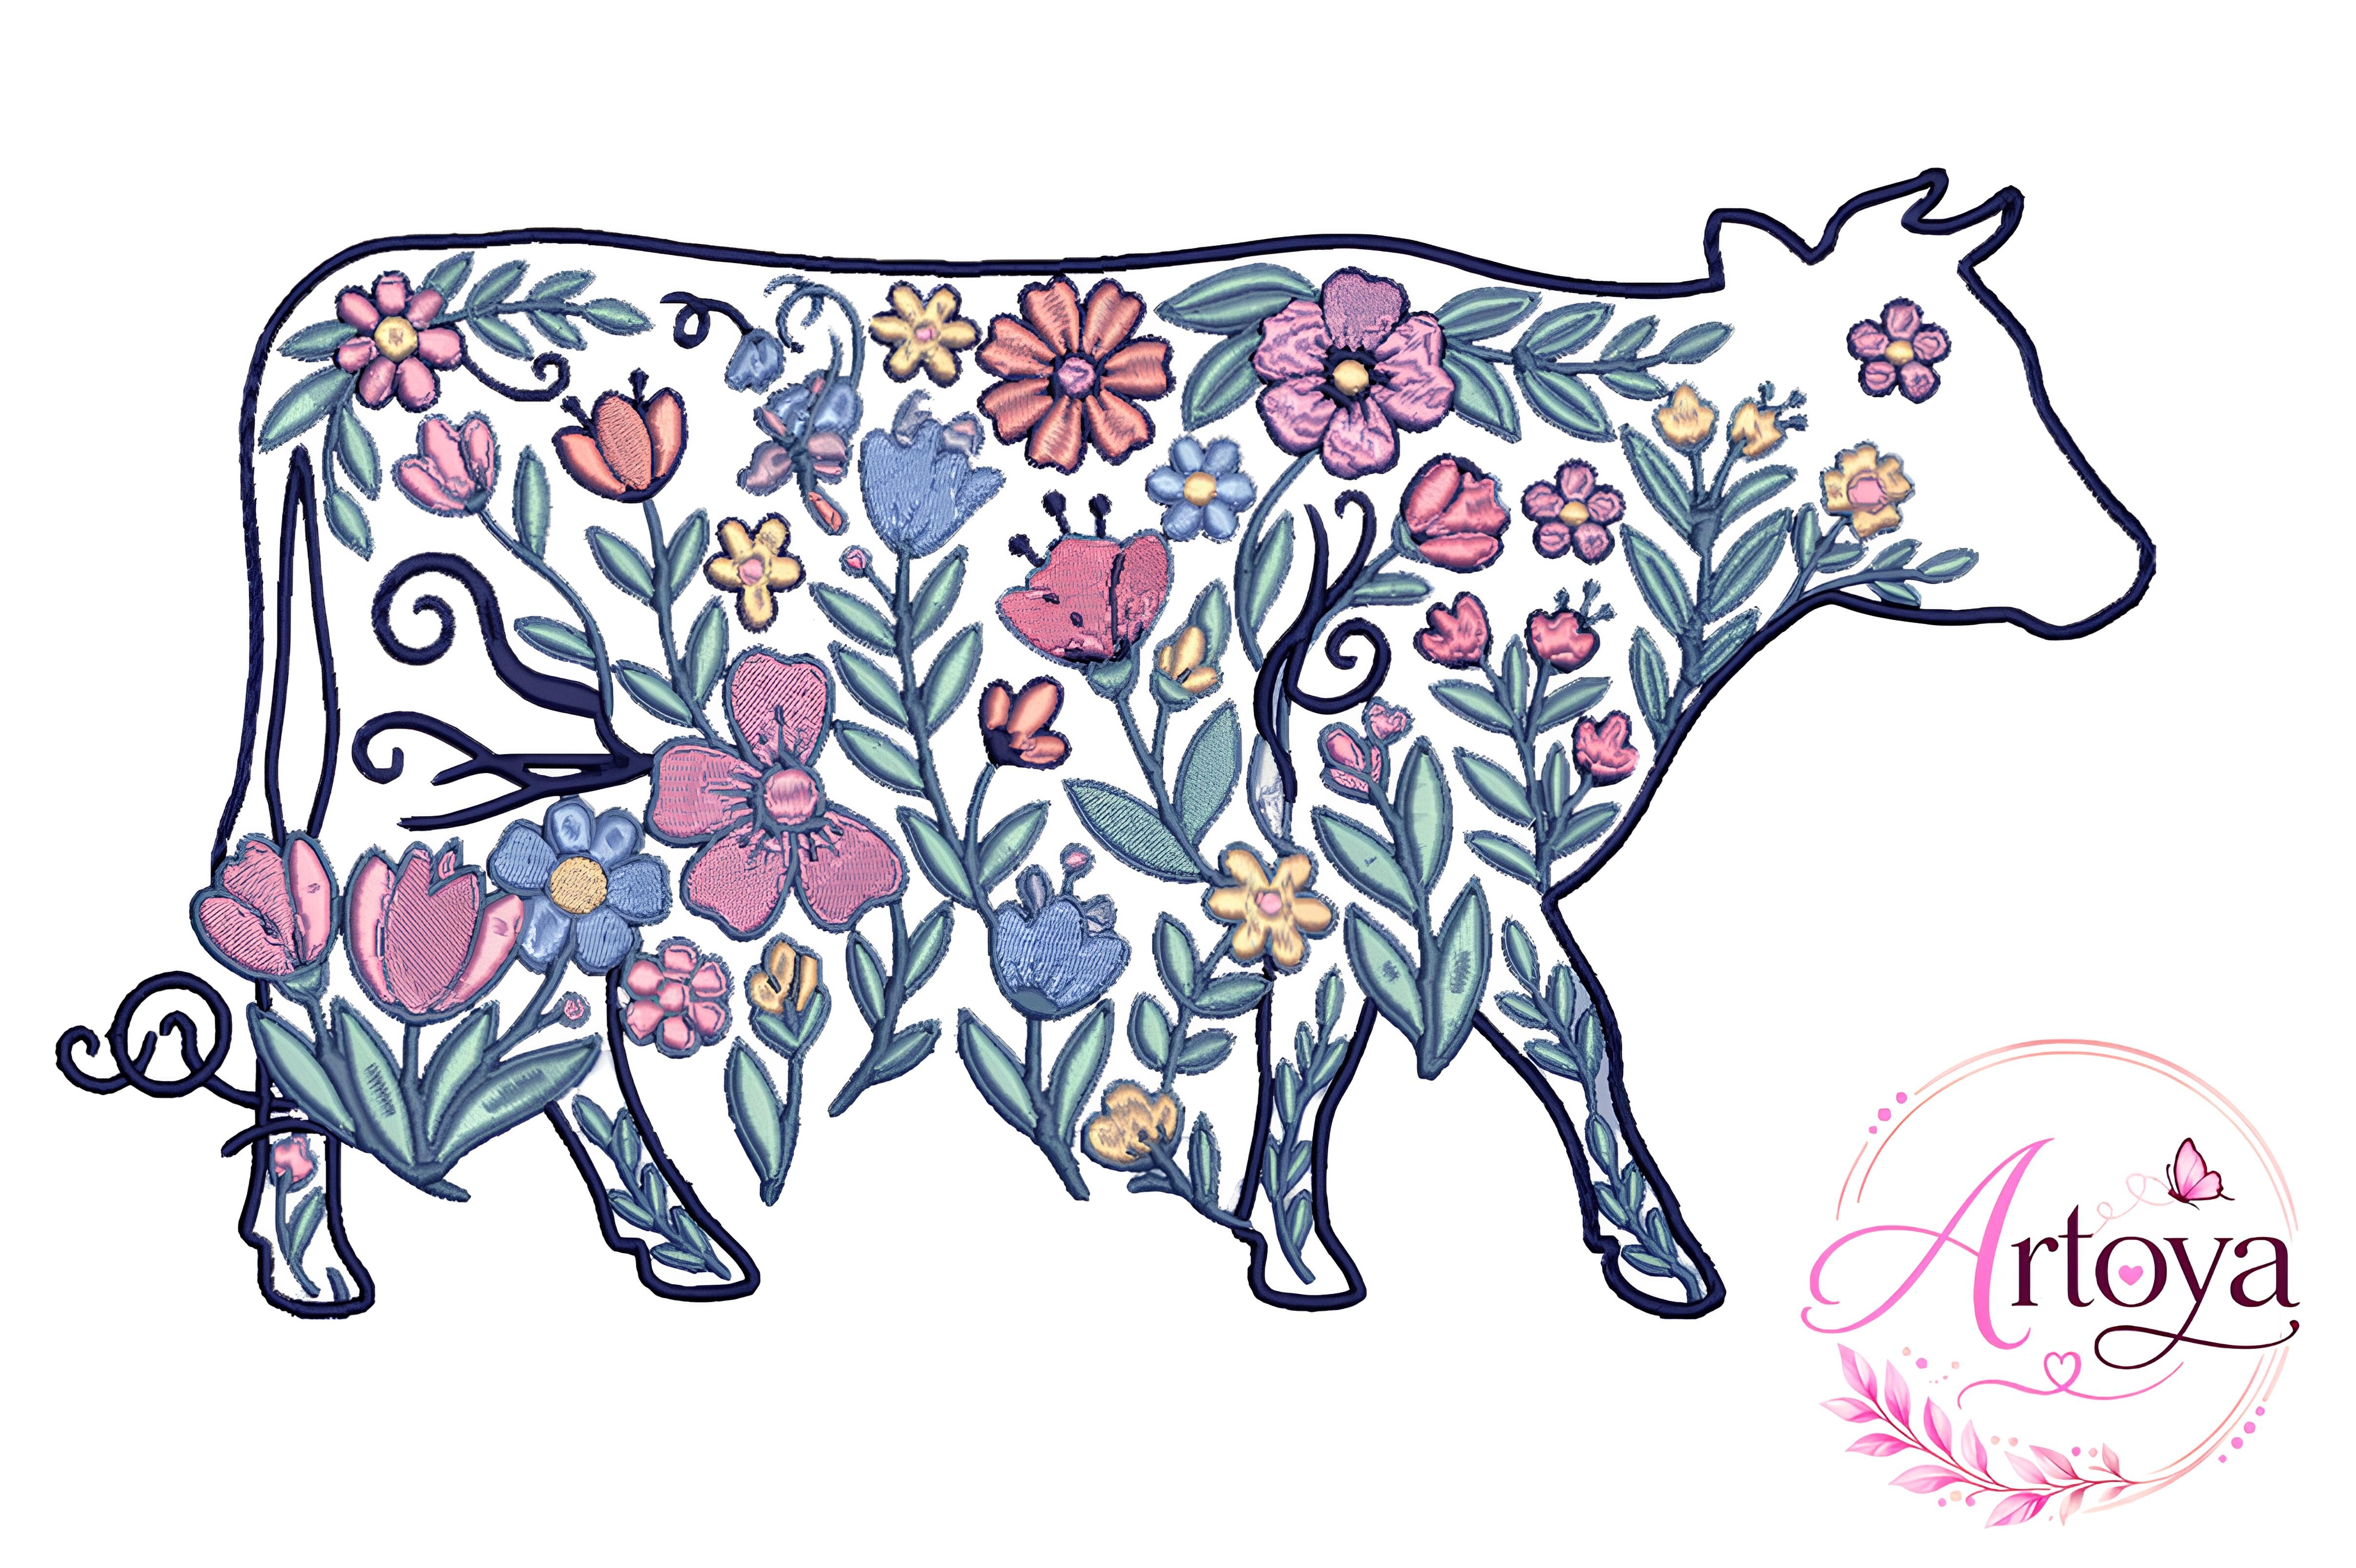
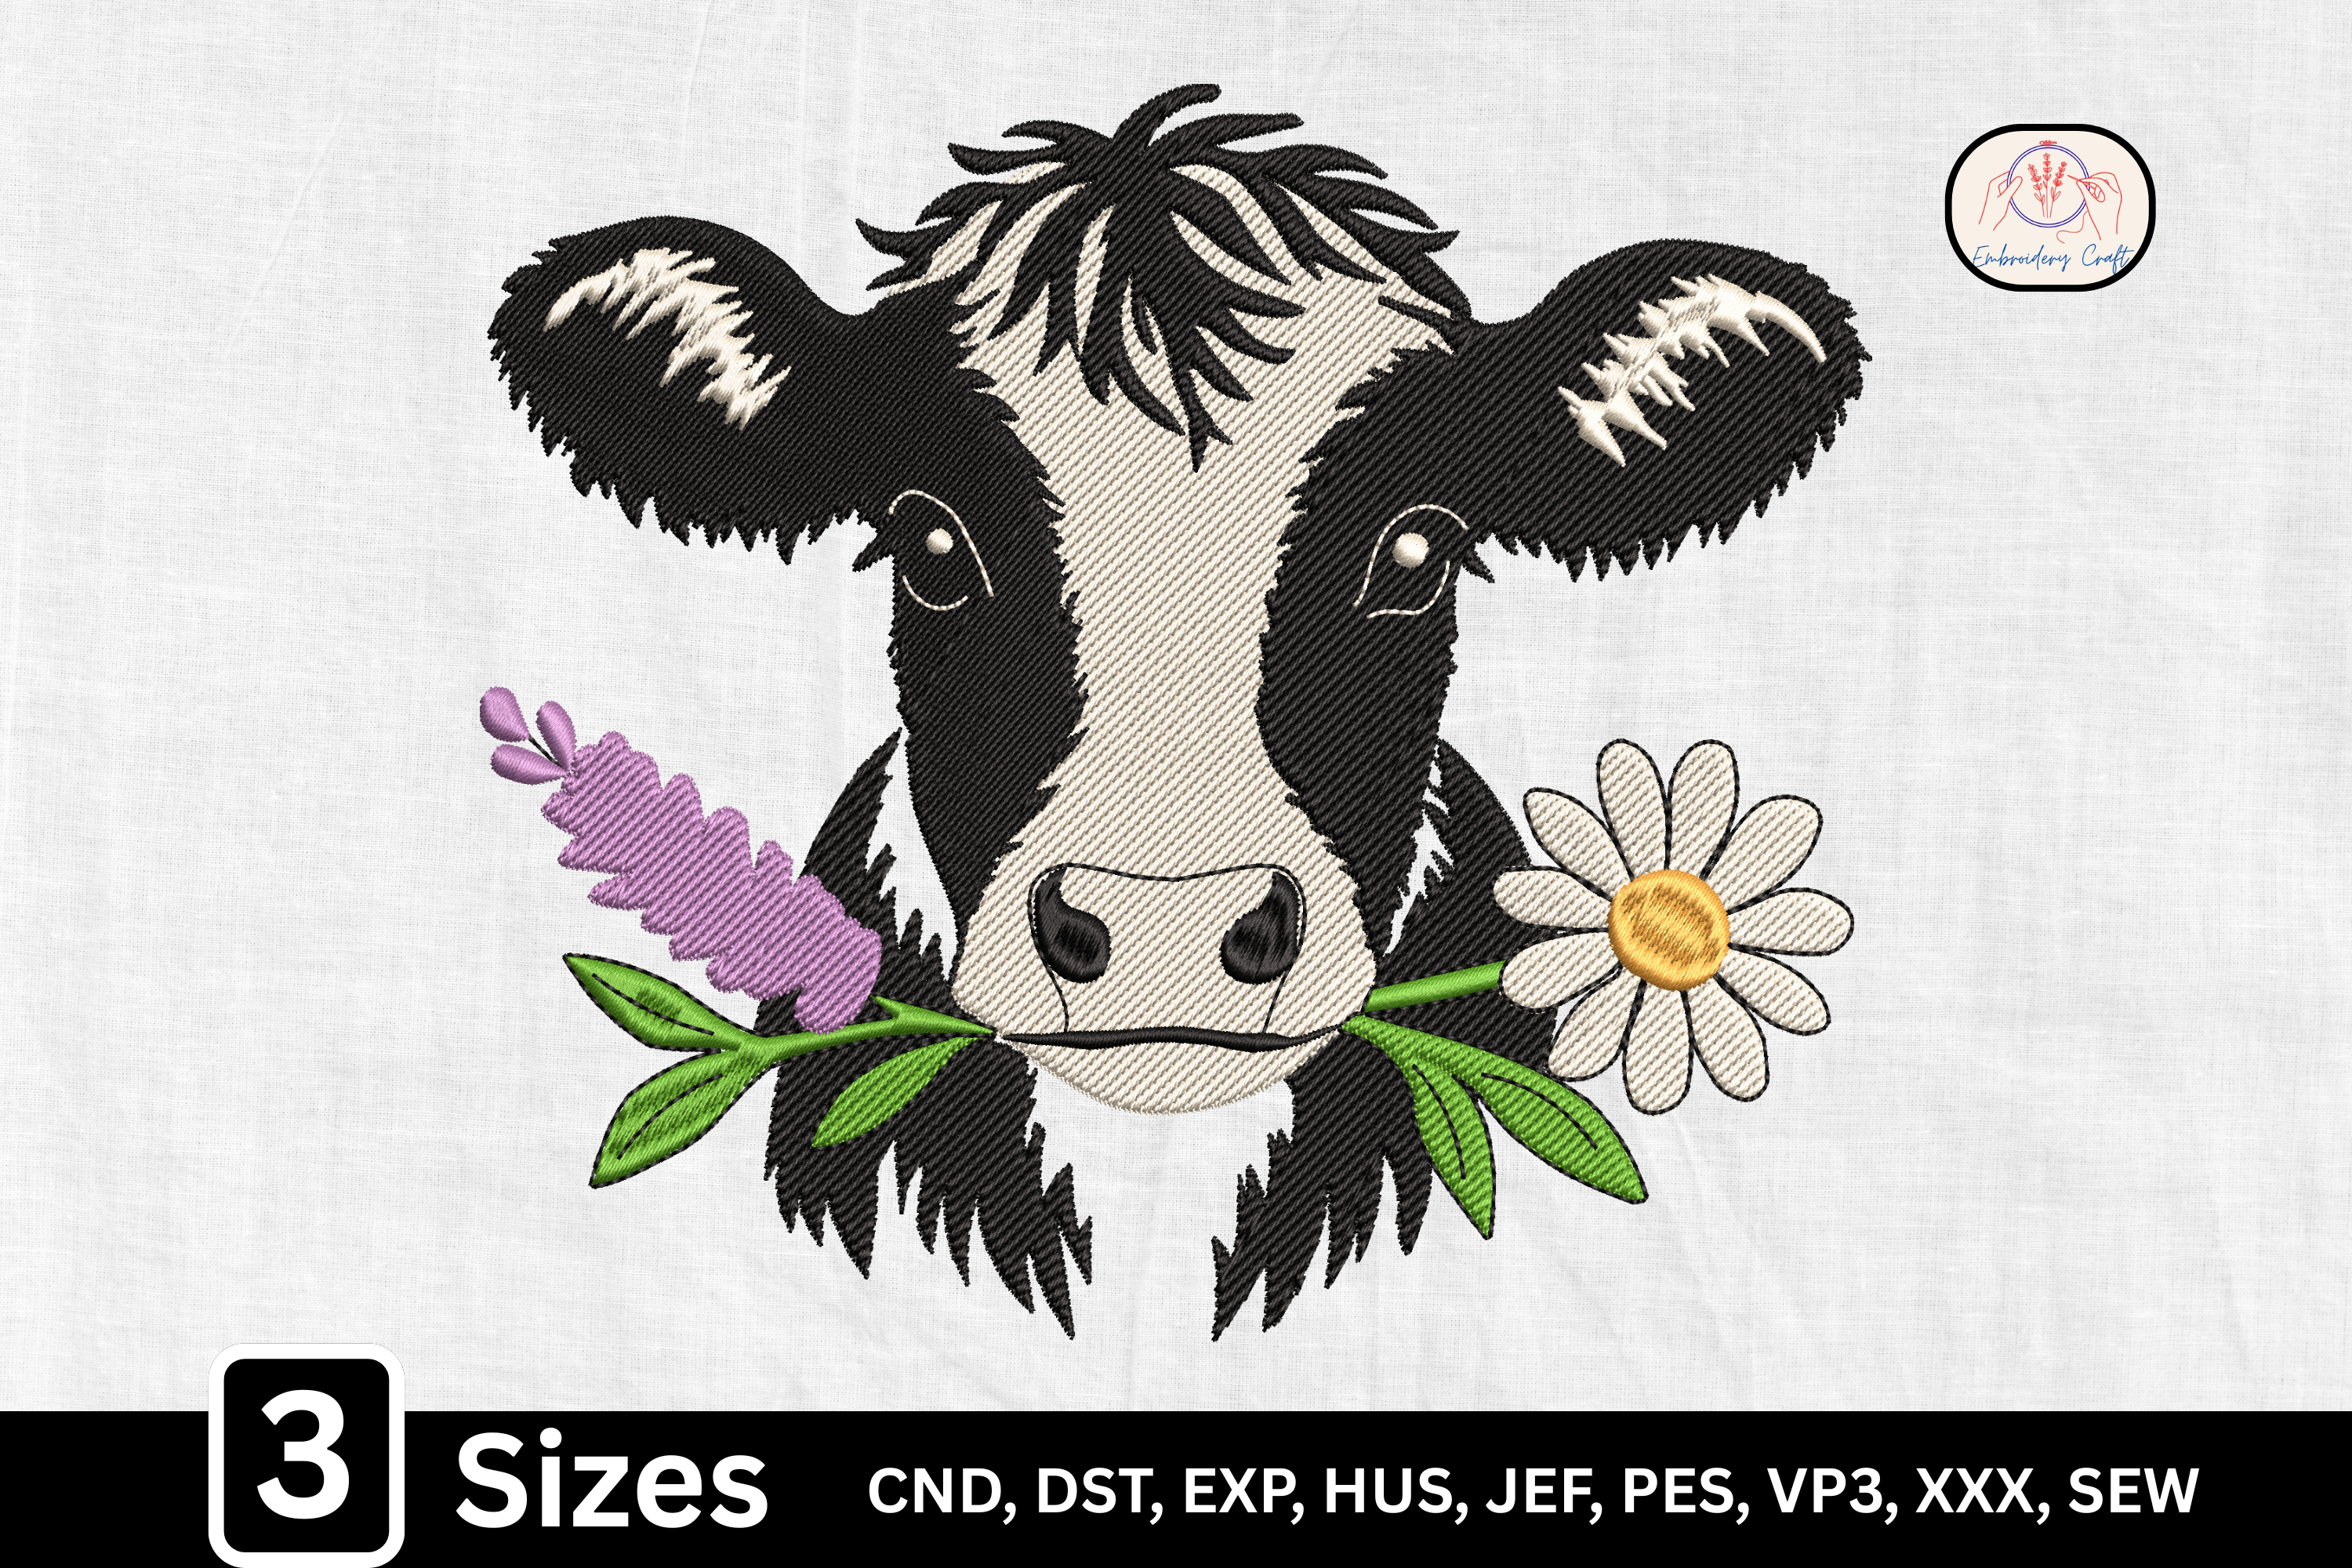
Floral Cow Embroidery Design
DSTEXPHUS
Chicken Embroidery Design
DSTEXPHUS
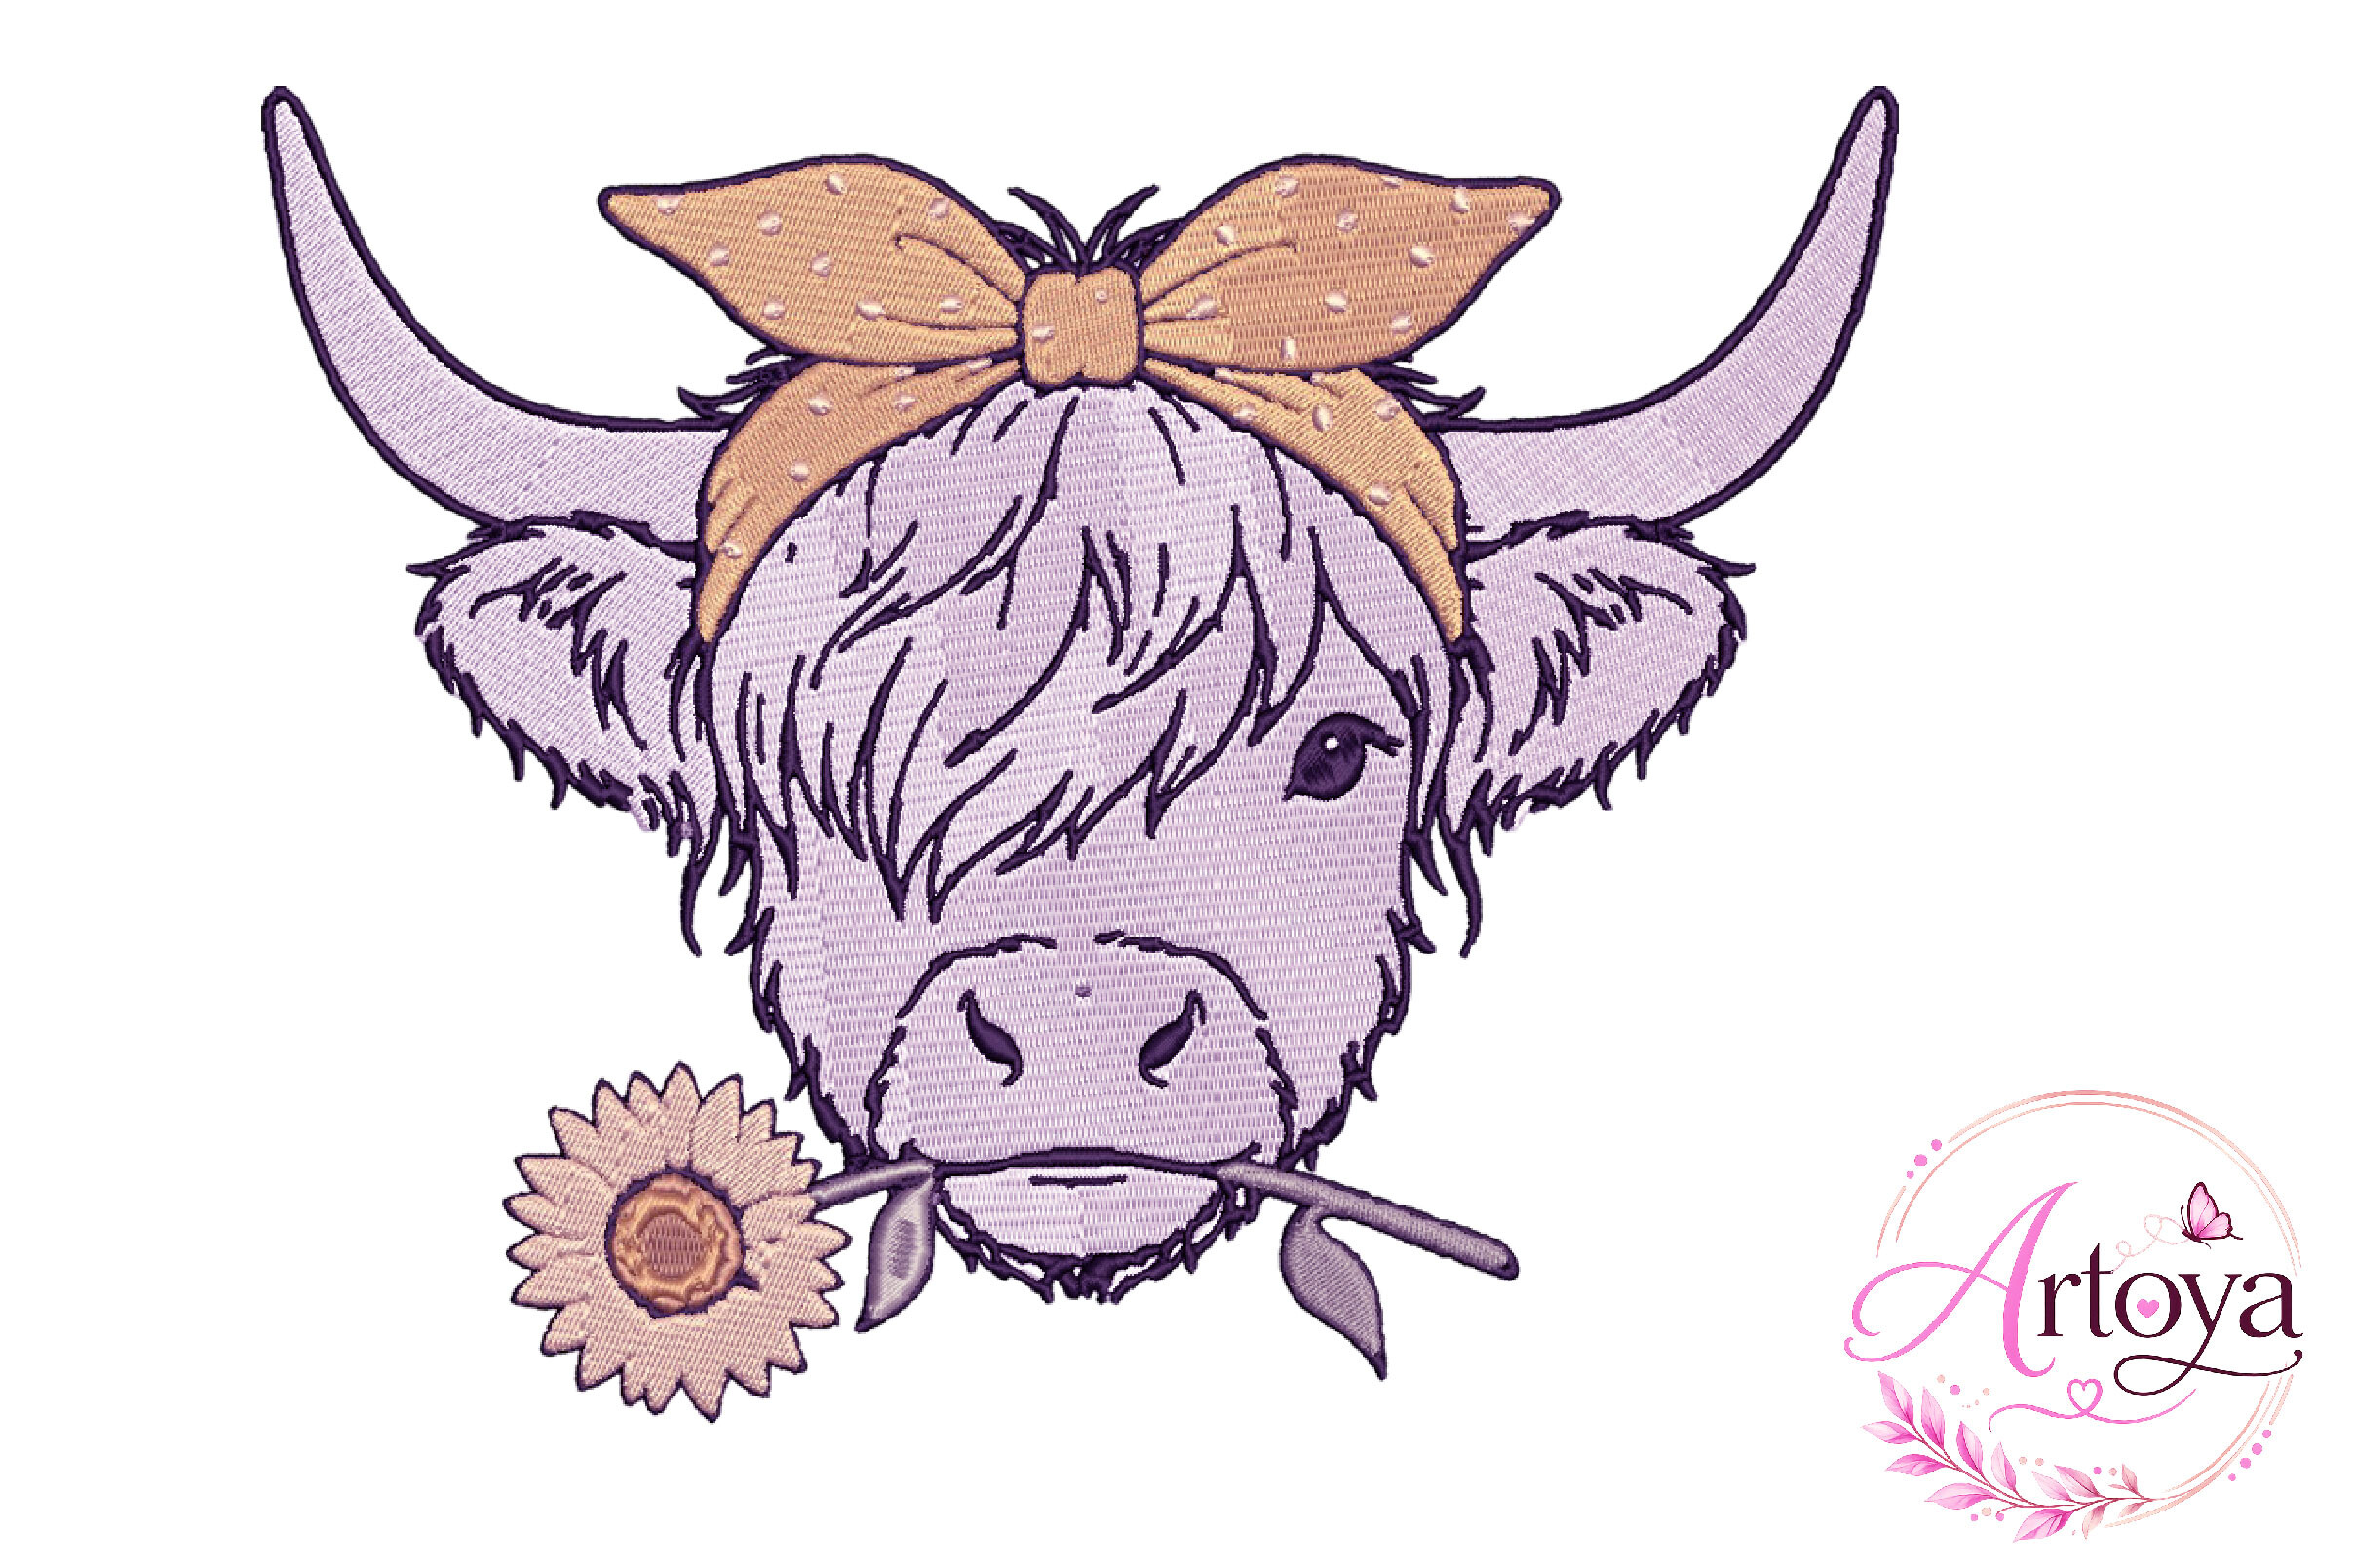
Cute Highland Cow Embroidery Design
DSTEXPHUS
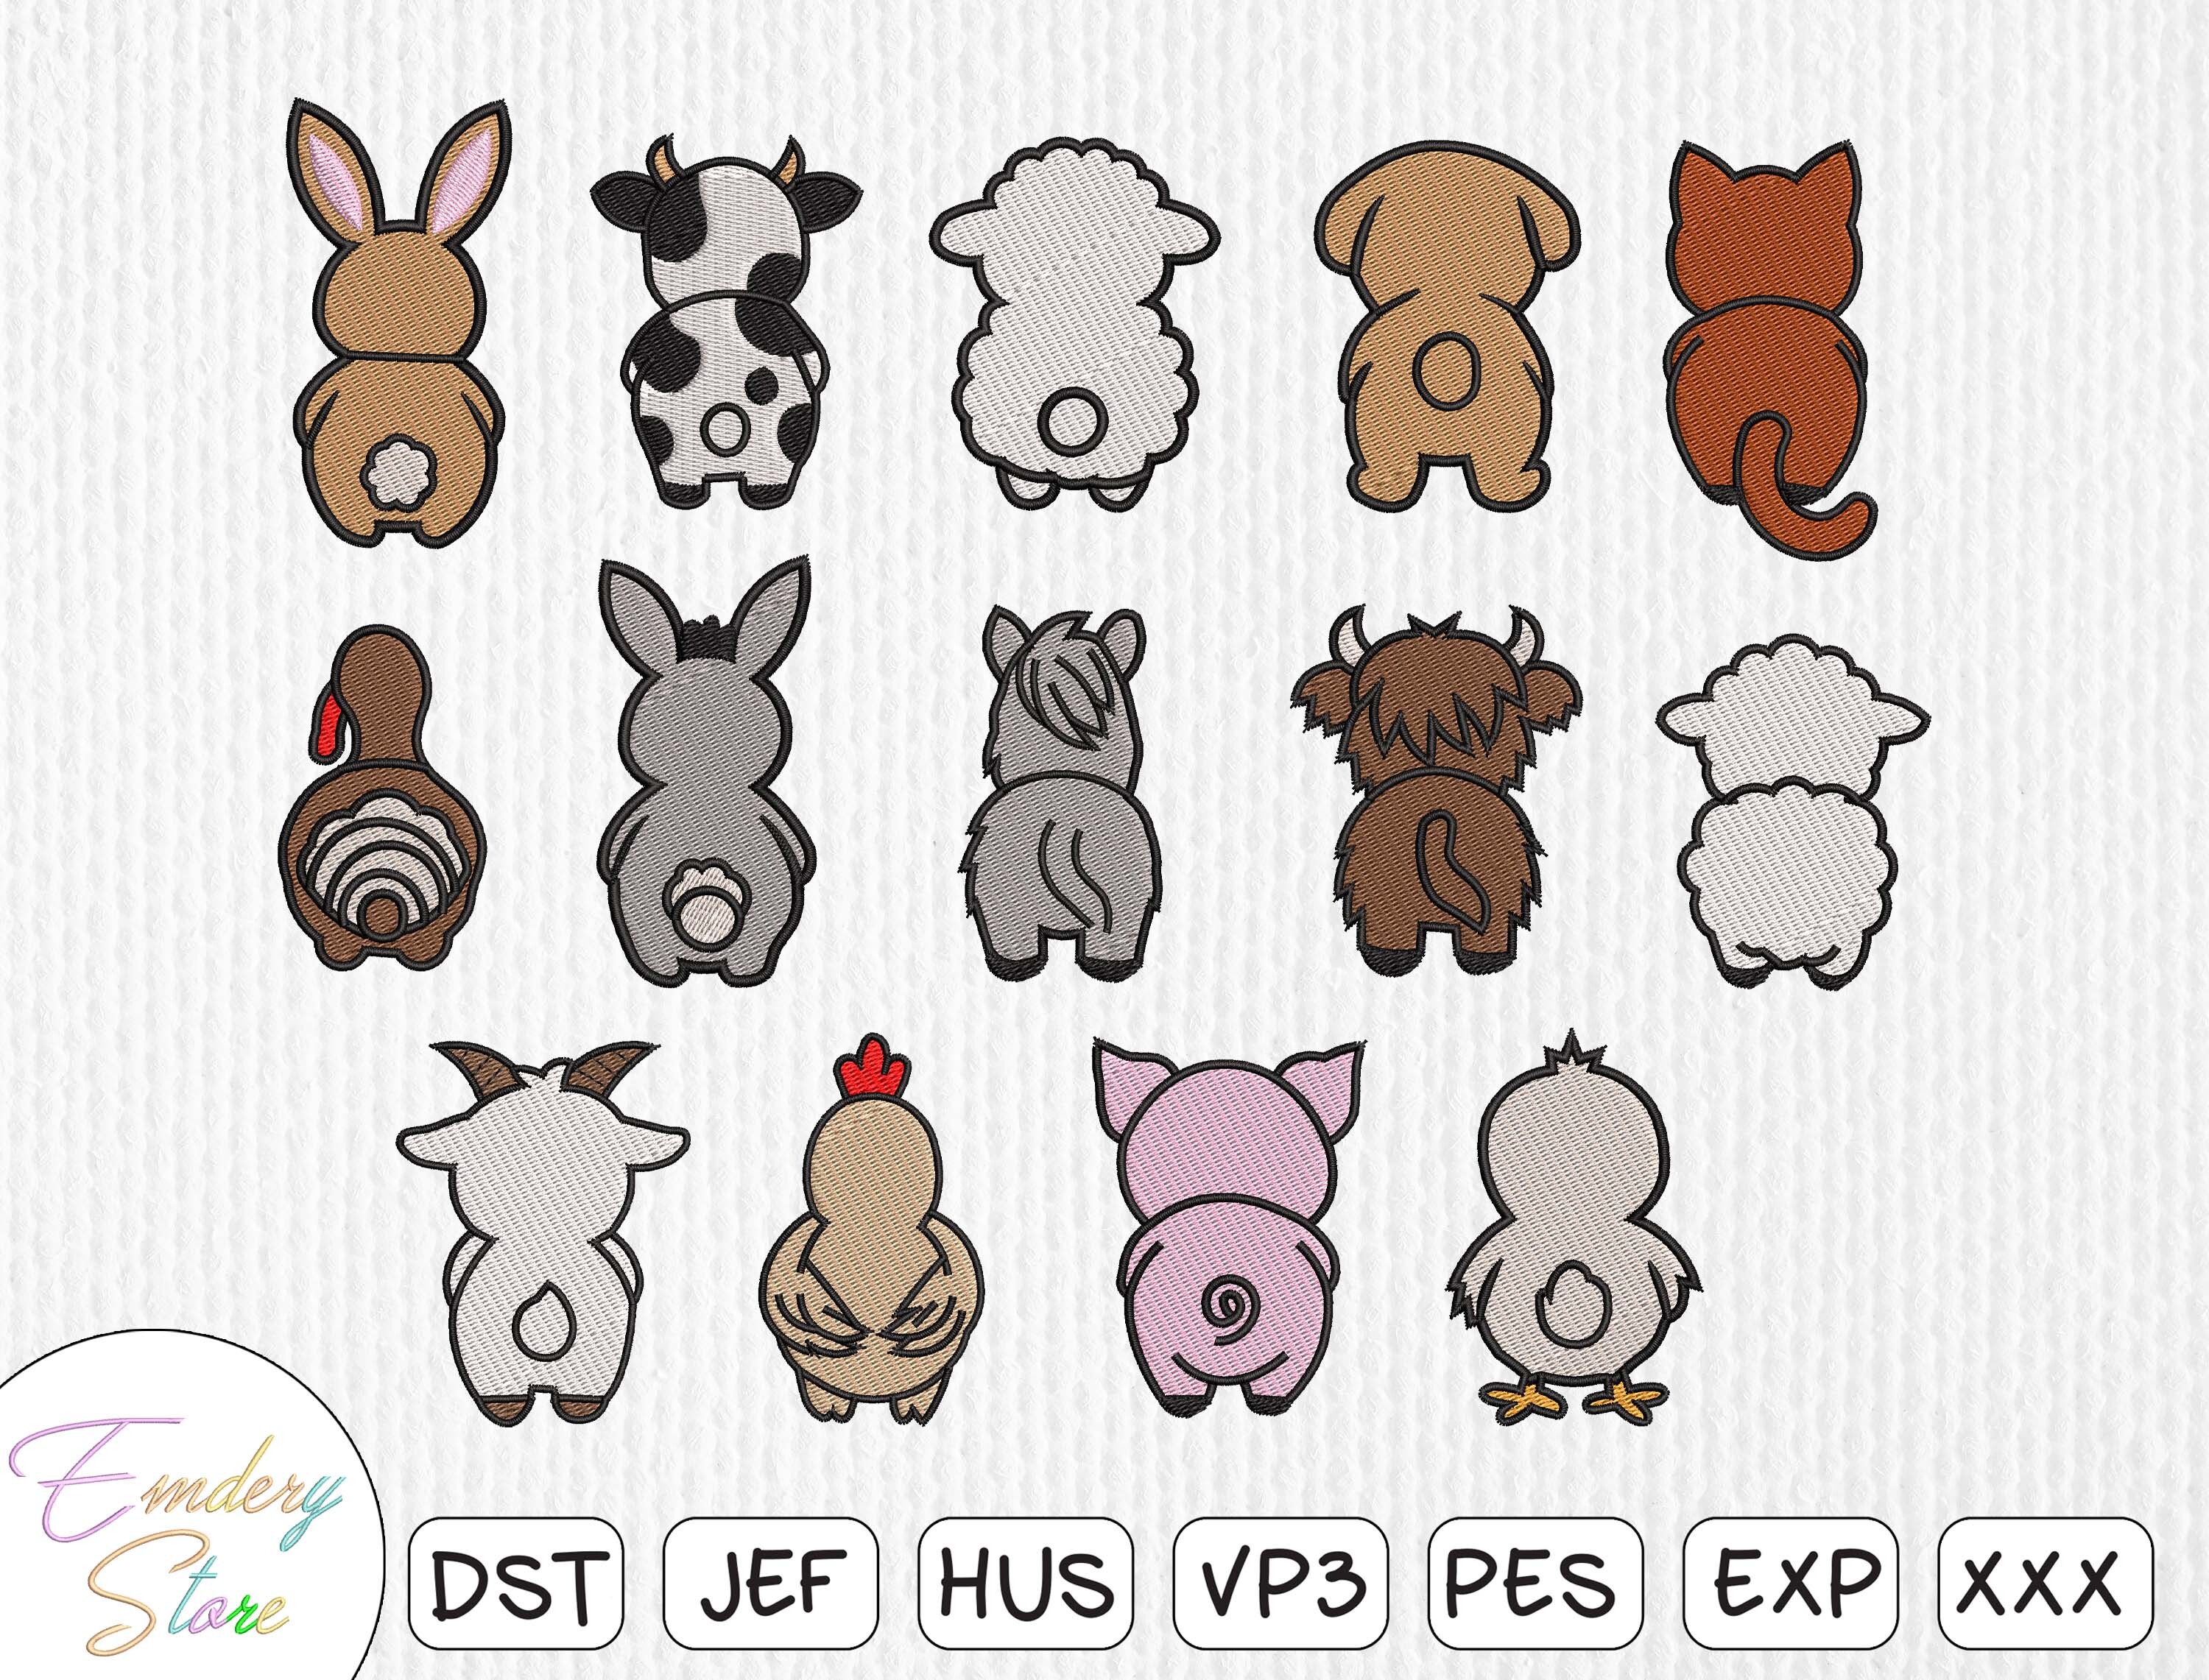
"Cute Animal Butts" Embroidery Patch Set
EXPXXXHUS
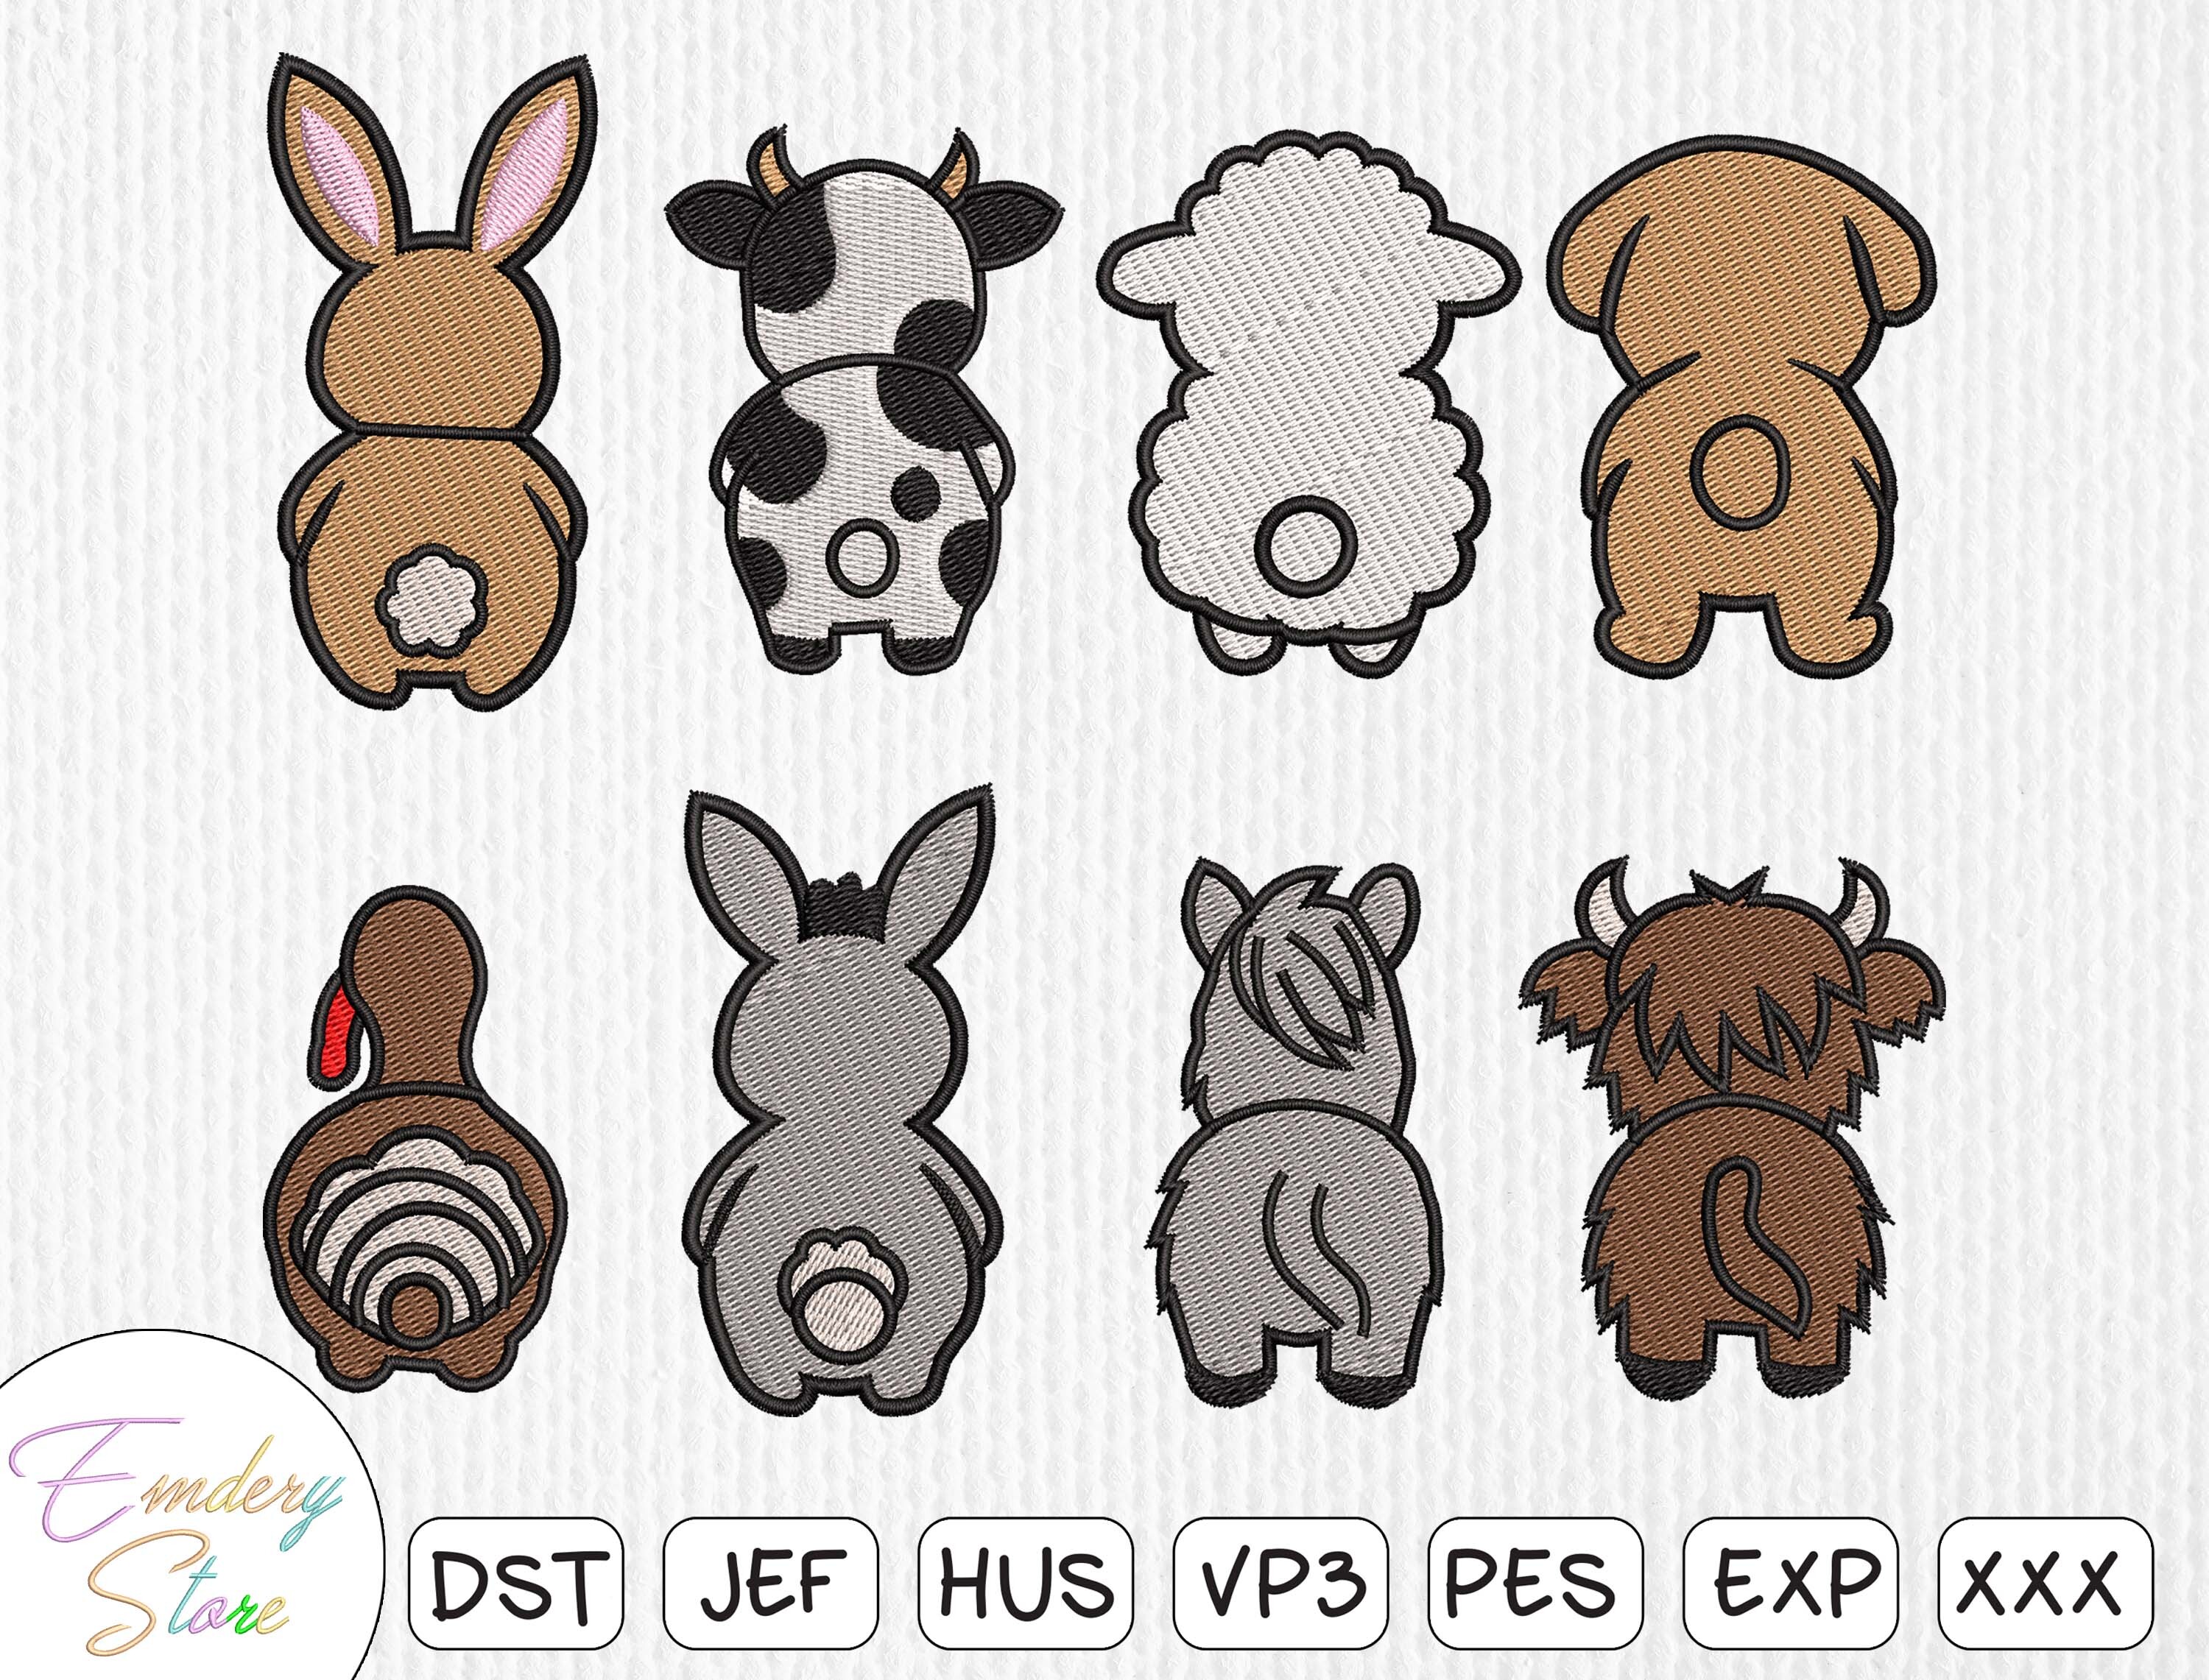
Adorable Animal Butts Embroidery Patch Set
EXPXXXHUS
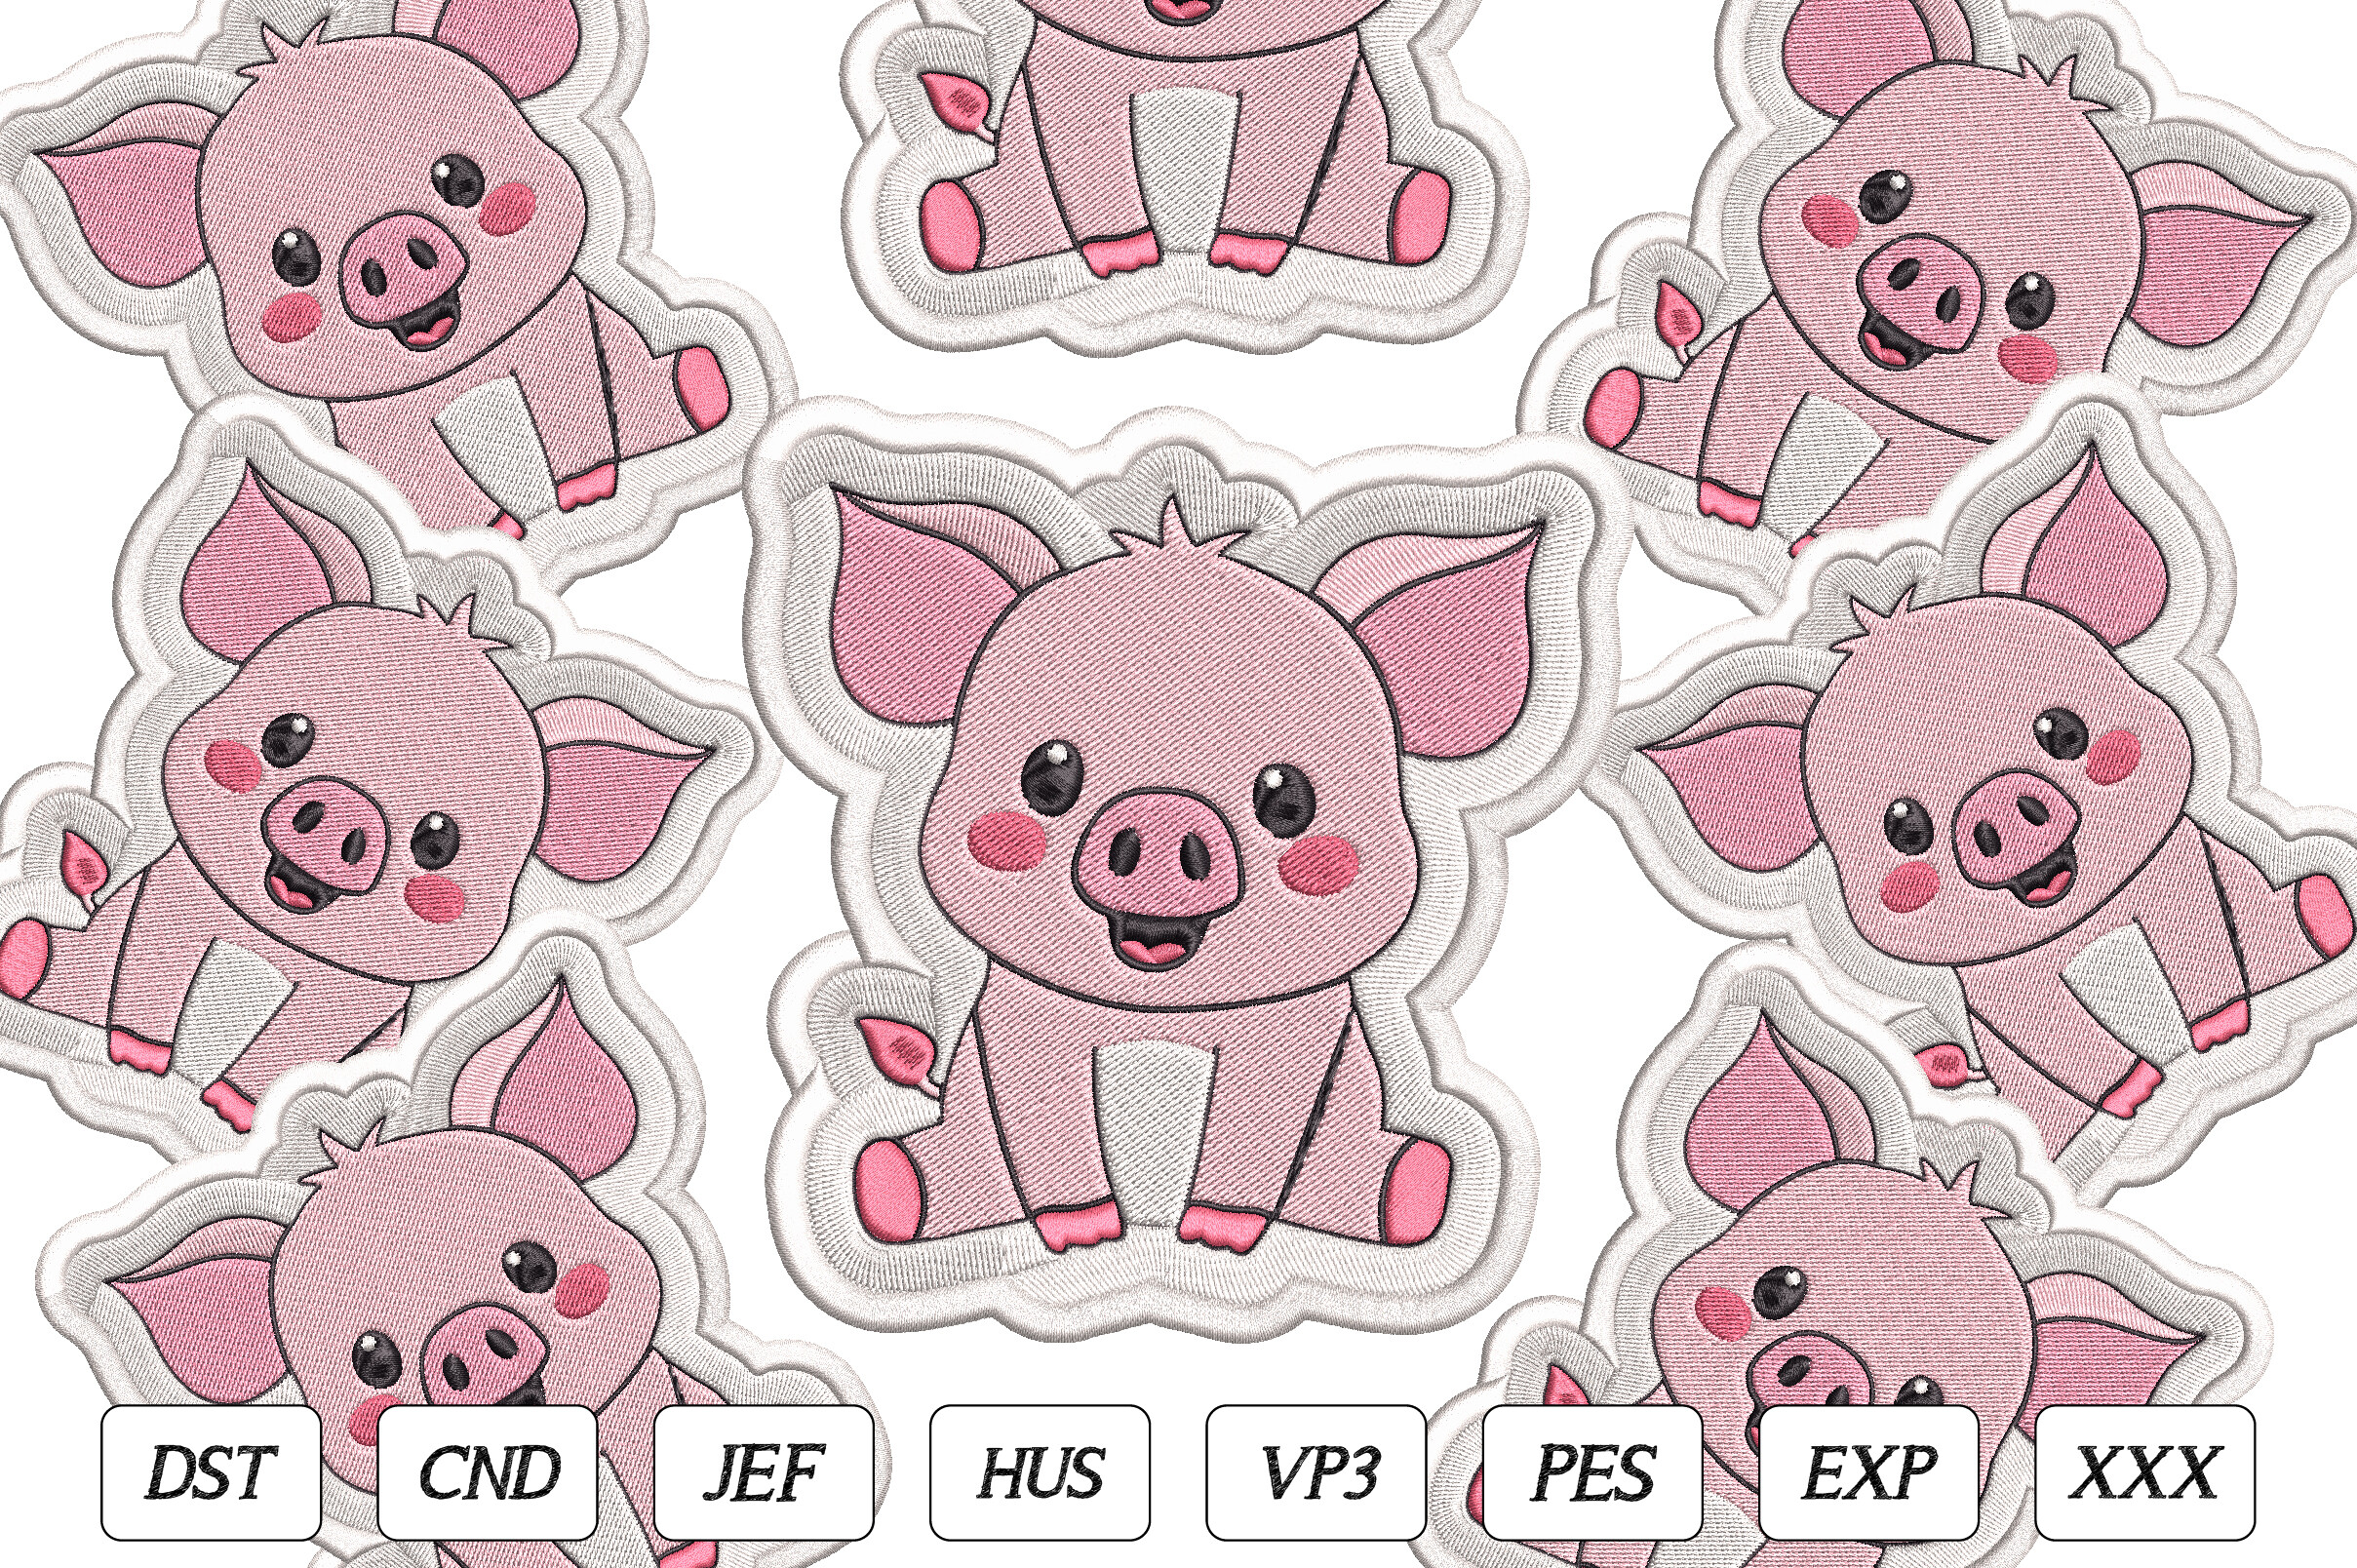
Cute Pig Embroidery Design
DSTEXPHUS
Cute Pig Embroidery Design
DSTEXPHUS
Highland Cow Cute Embroidery Design
DSTEXPHUS
Cute Pig Patch Embroidery Design
XXXDSTEXP
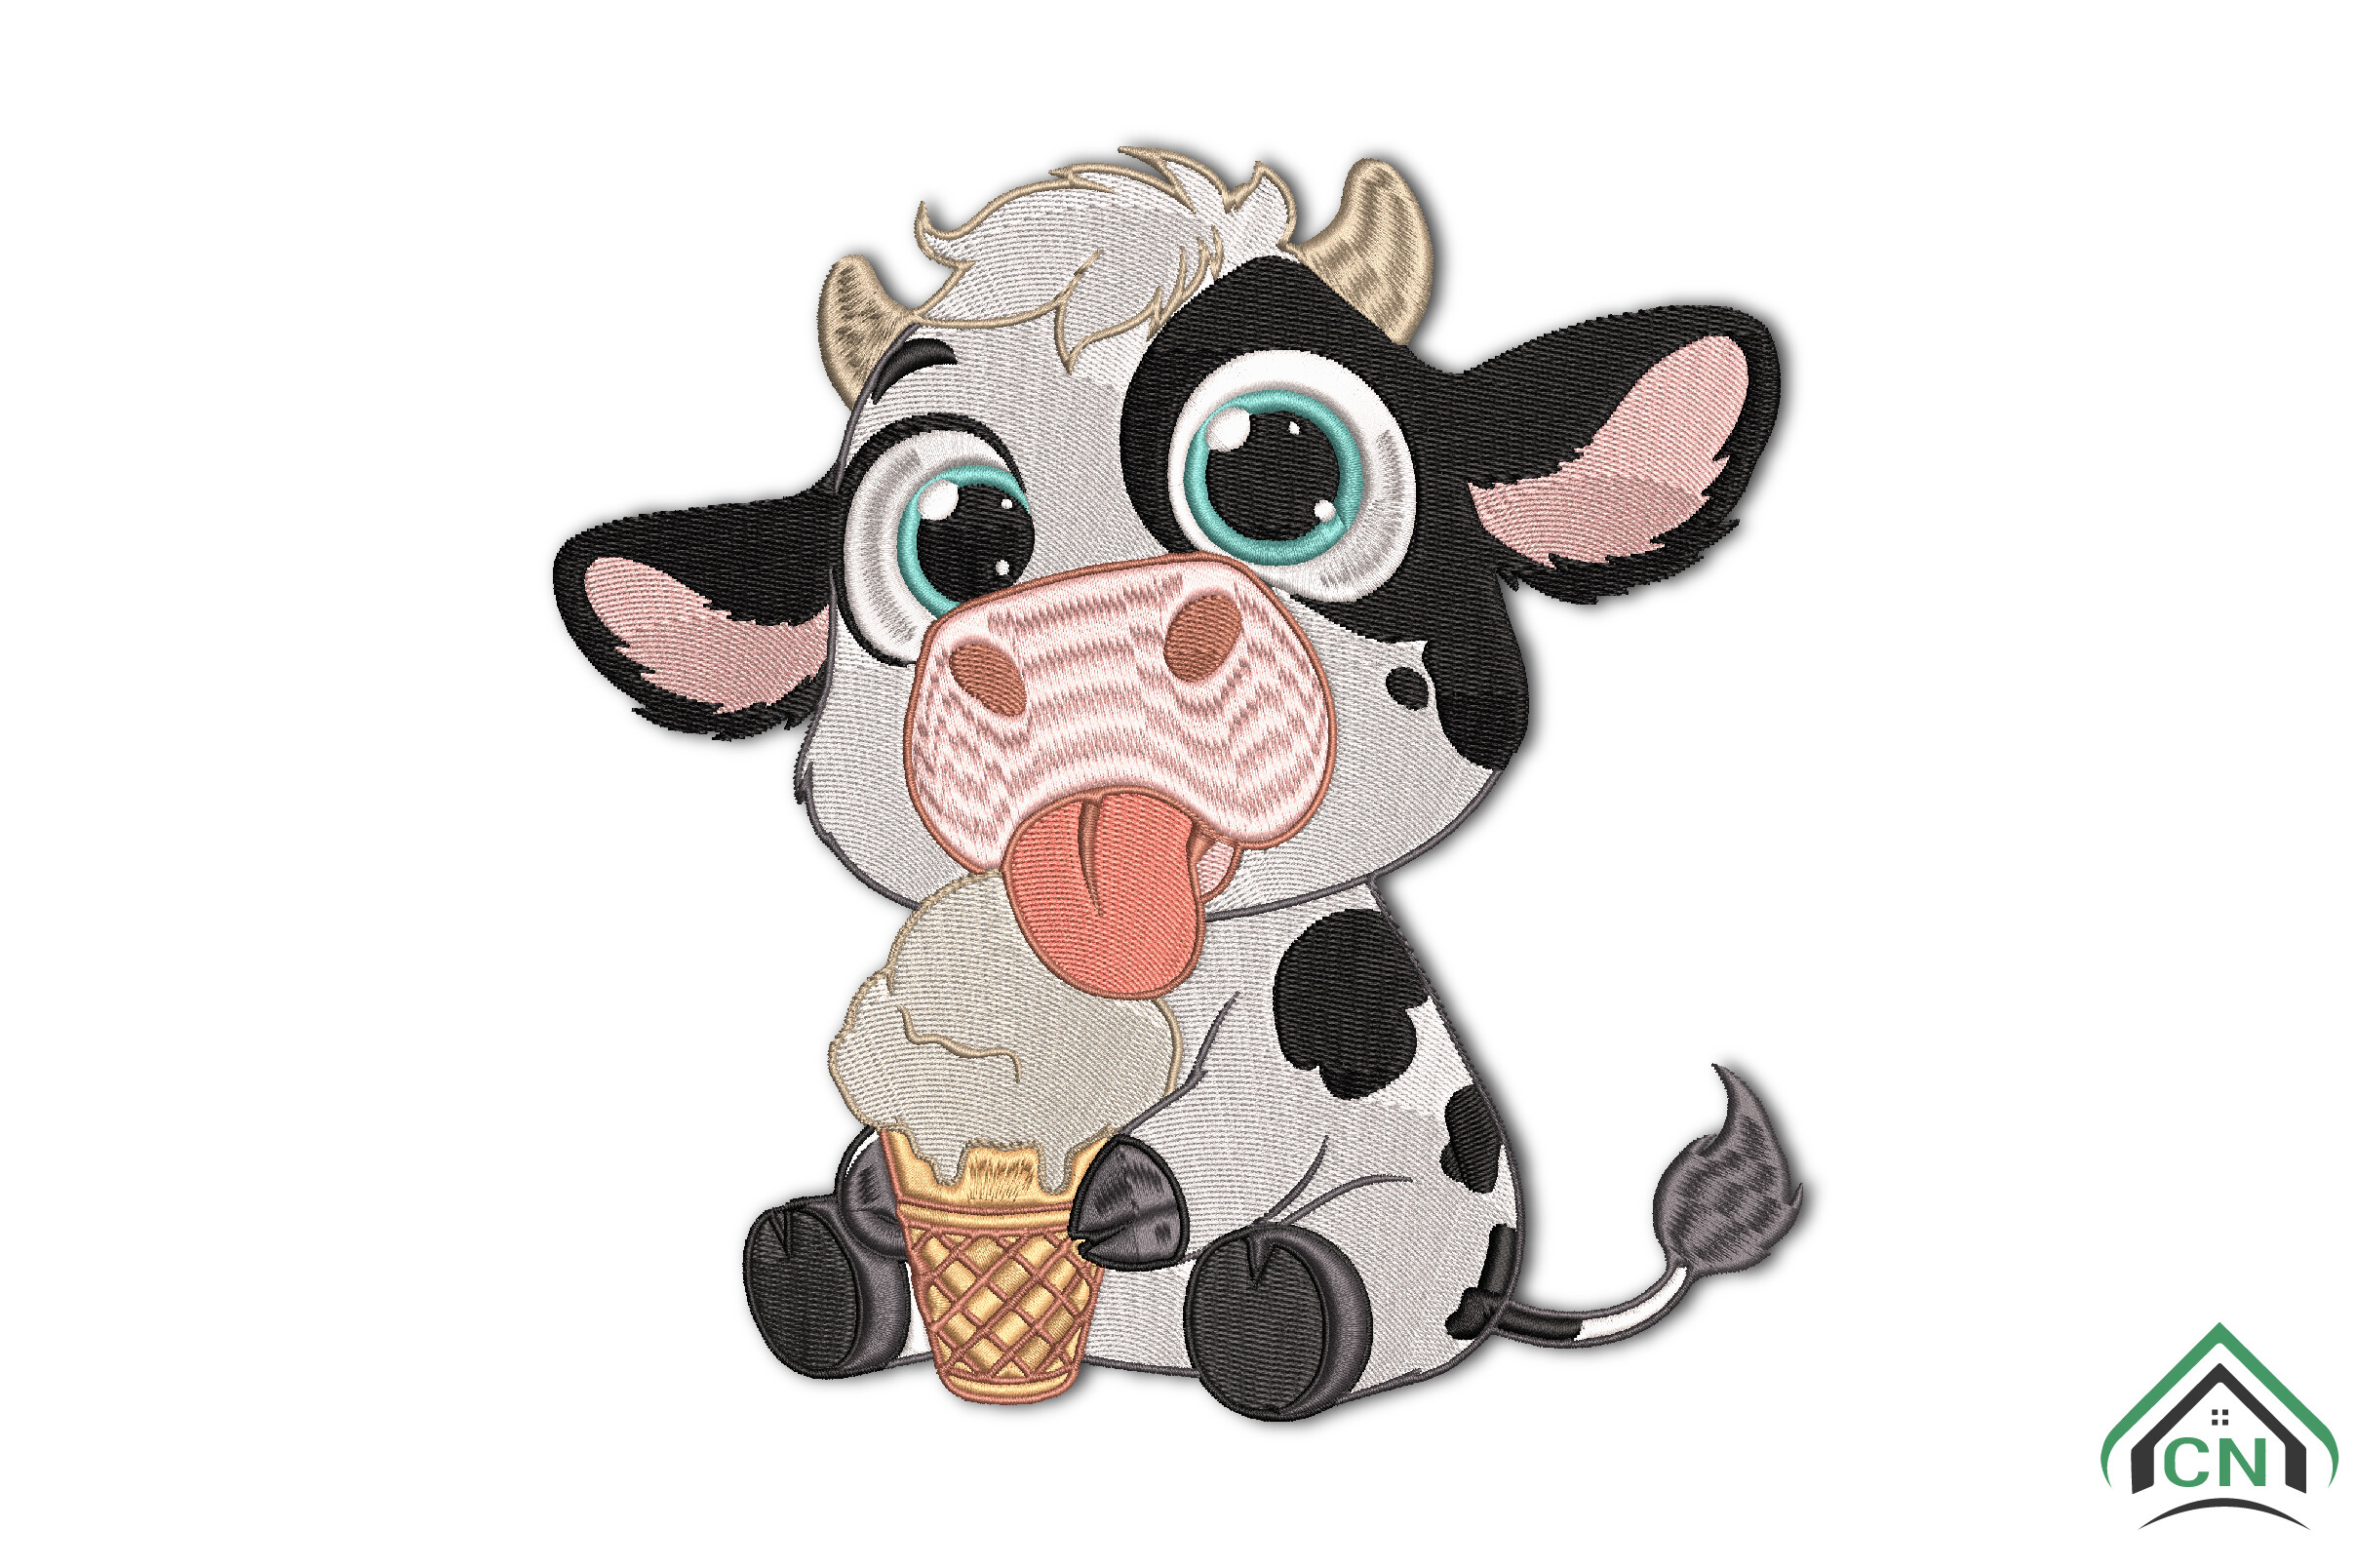
Cute Baby Cow Embroidery Design
DSTEXPHUS
Rustic Floral Cow Head
DSTEXPHUS
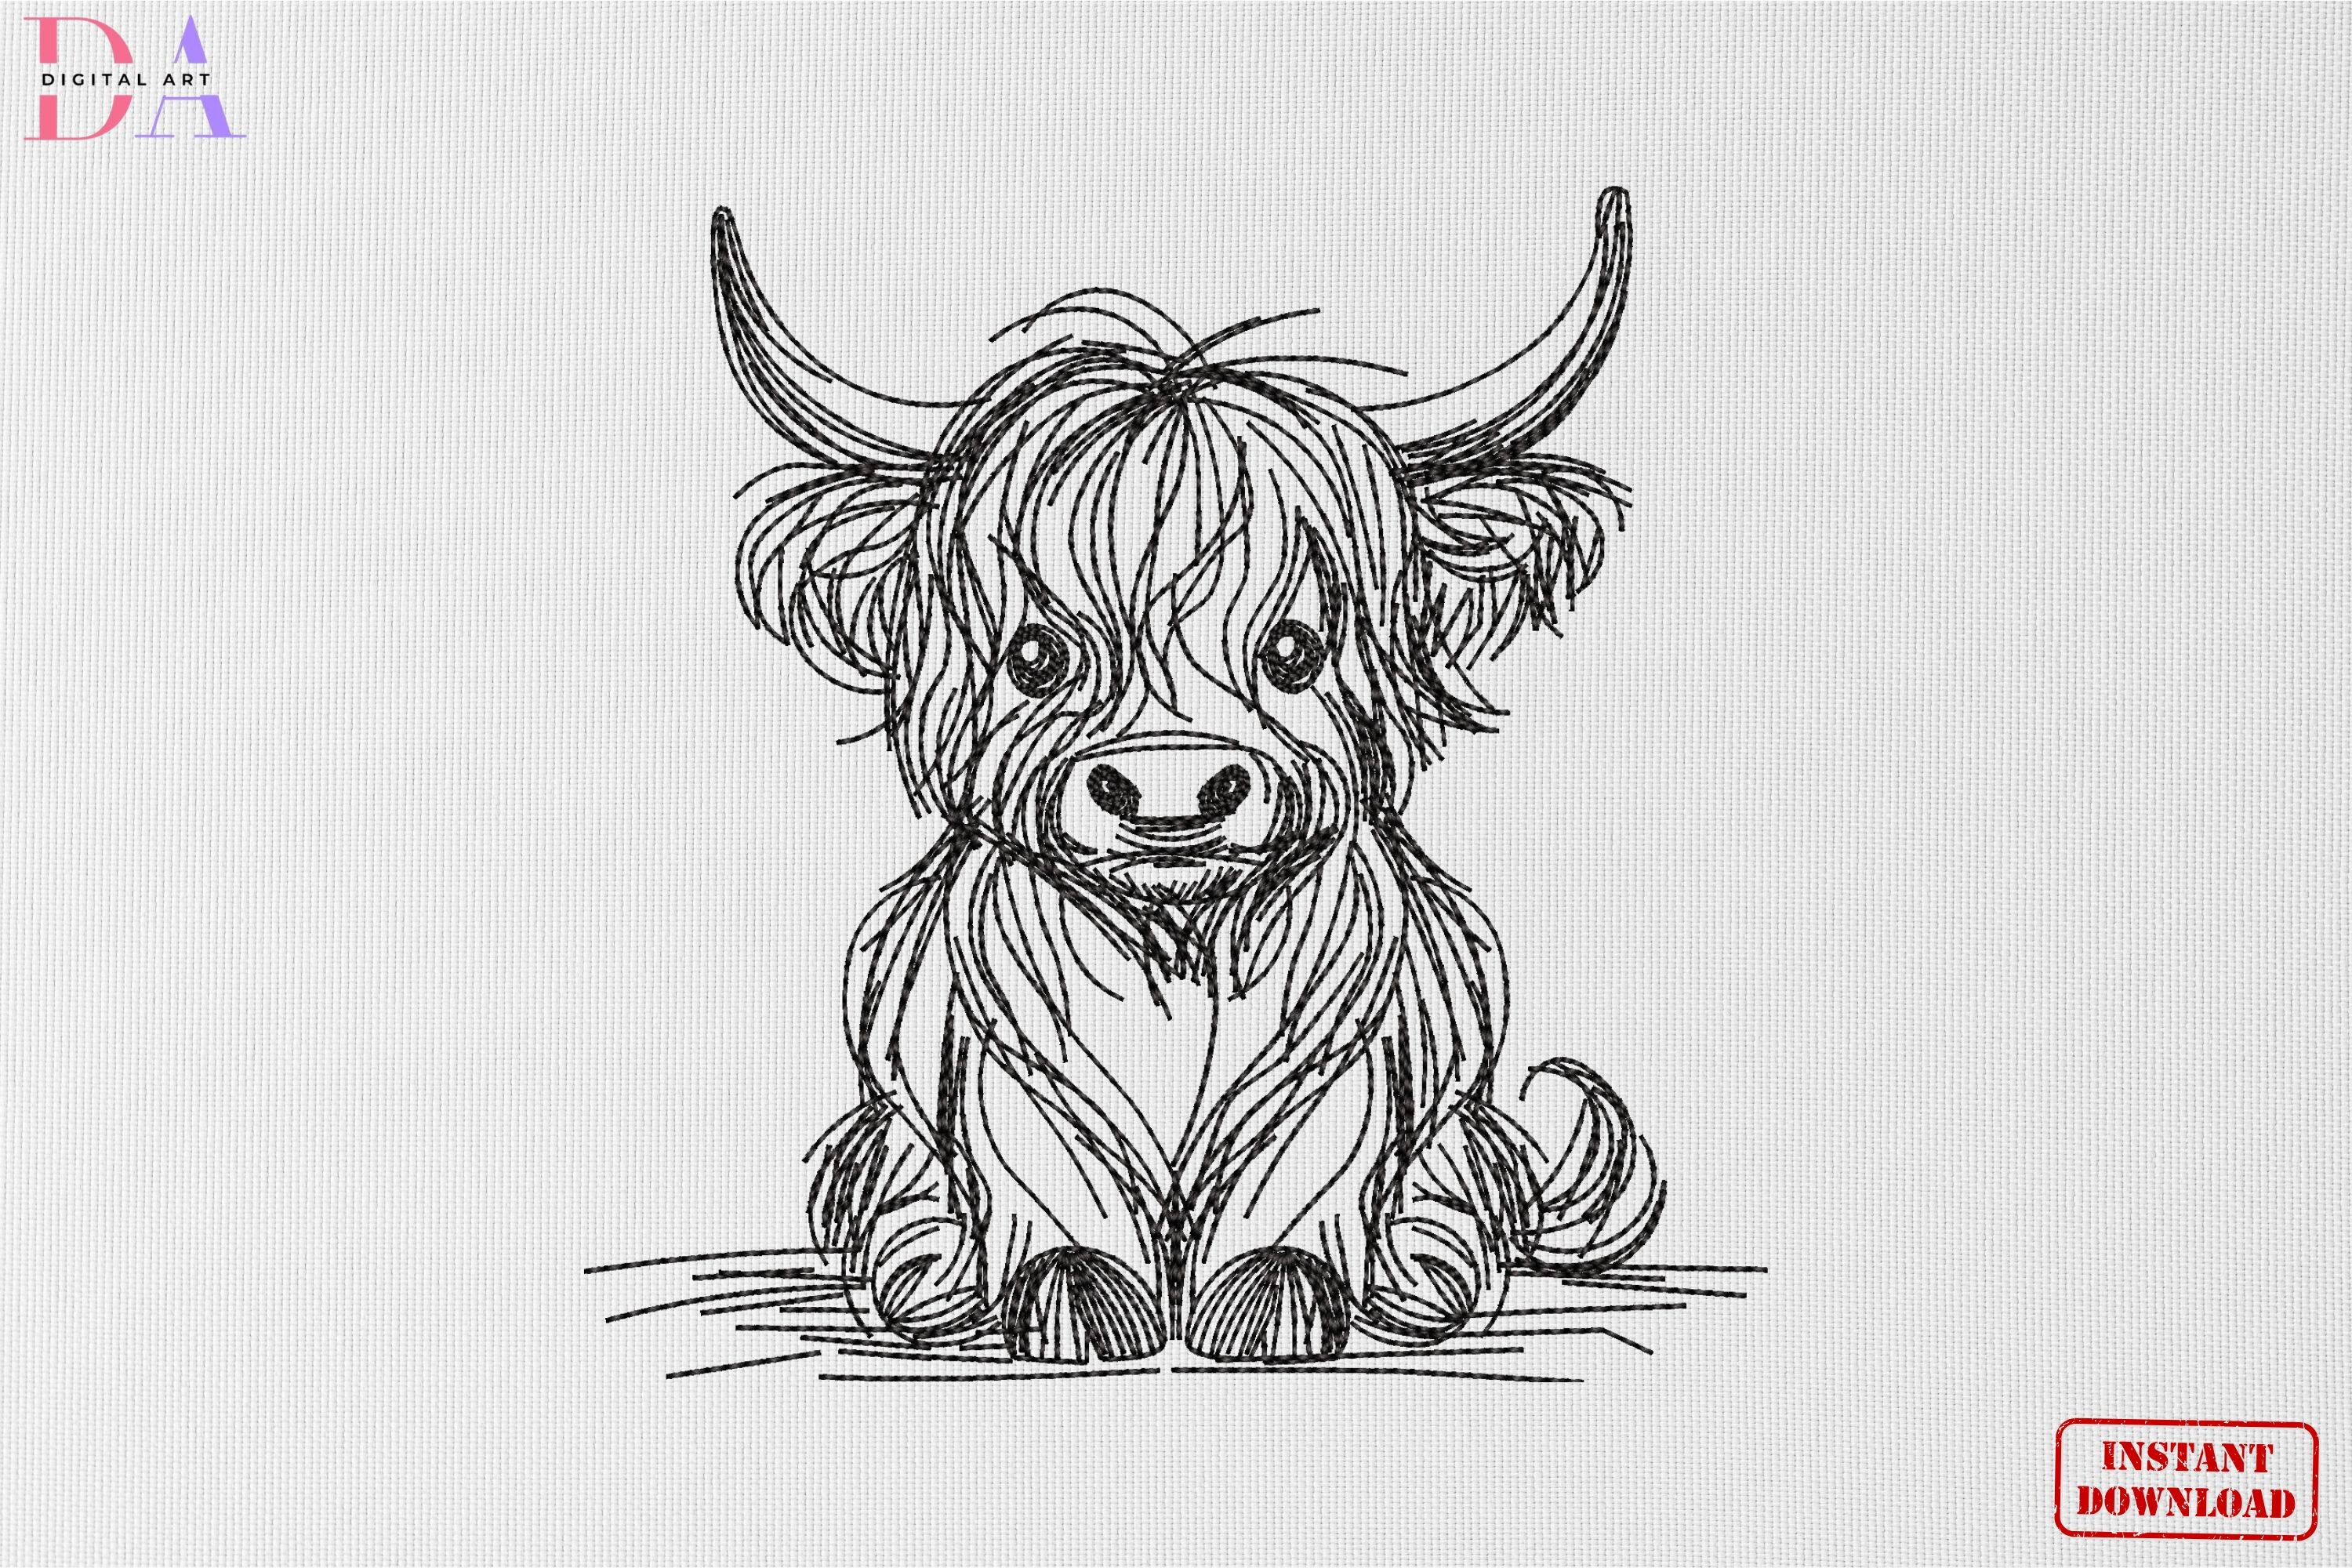
Cute Highland Cow Sketch Animal
DSTEXPHUS
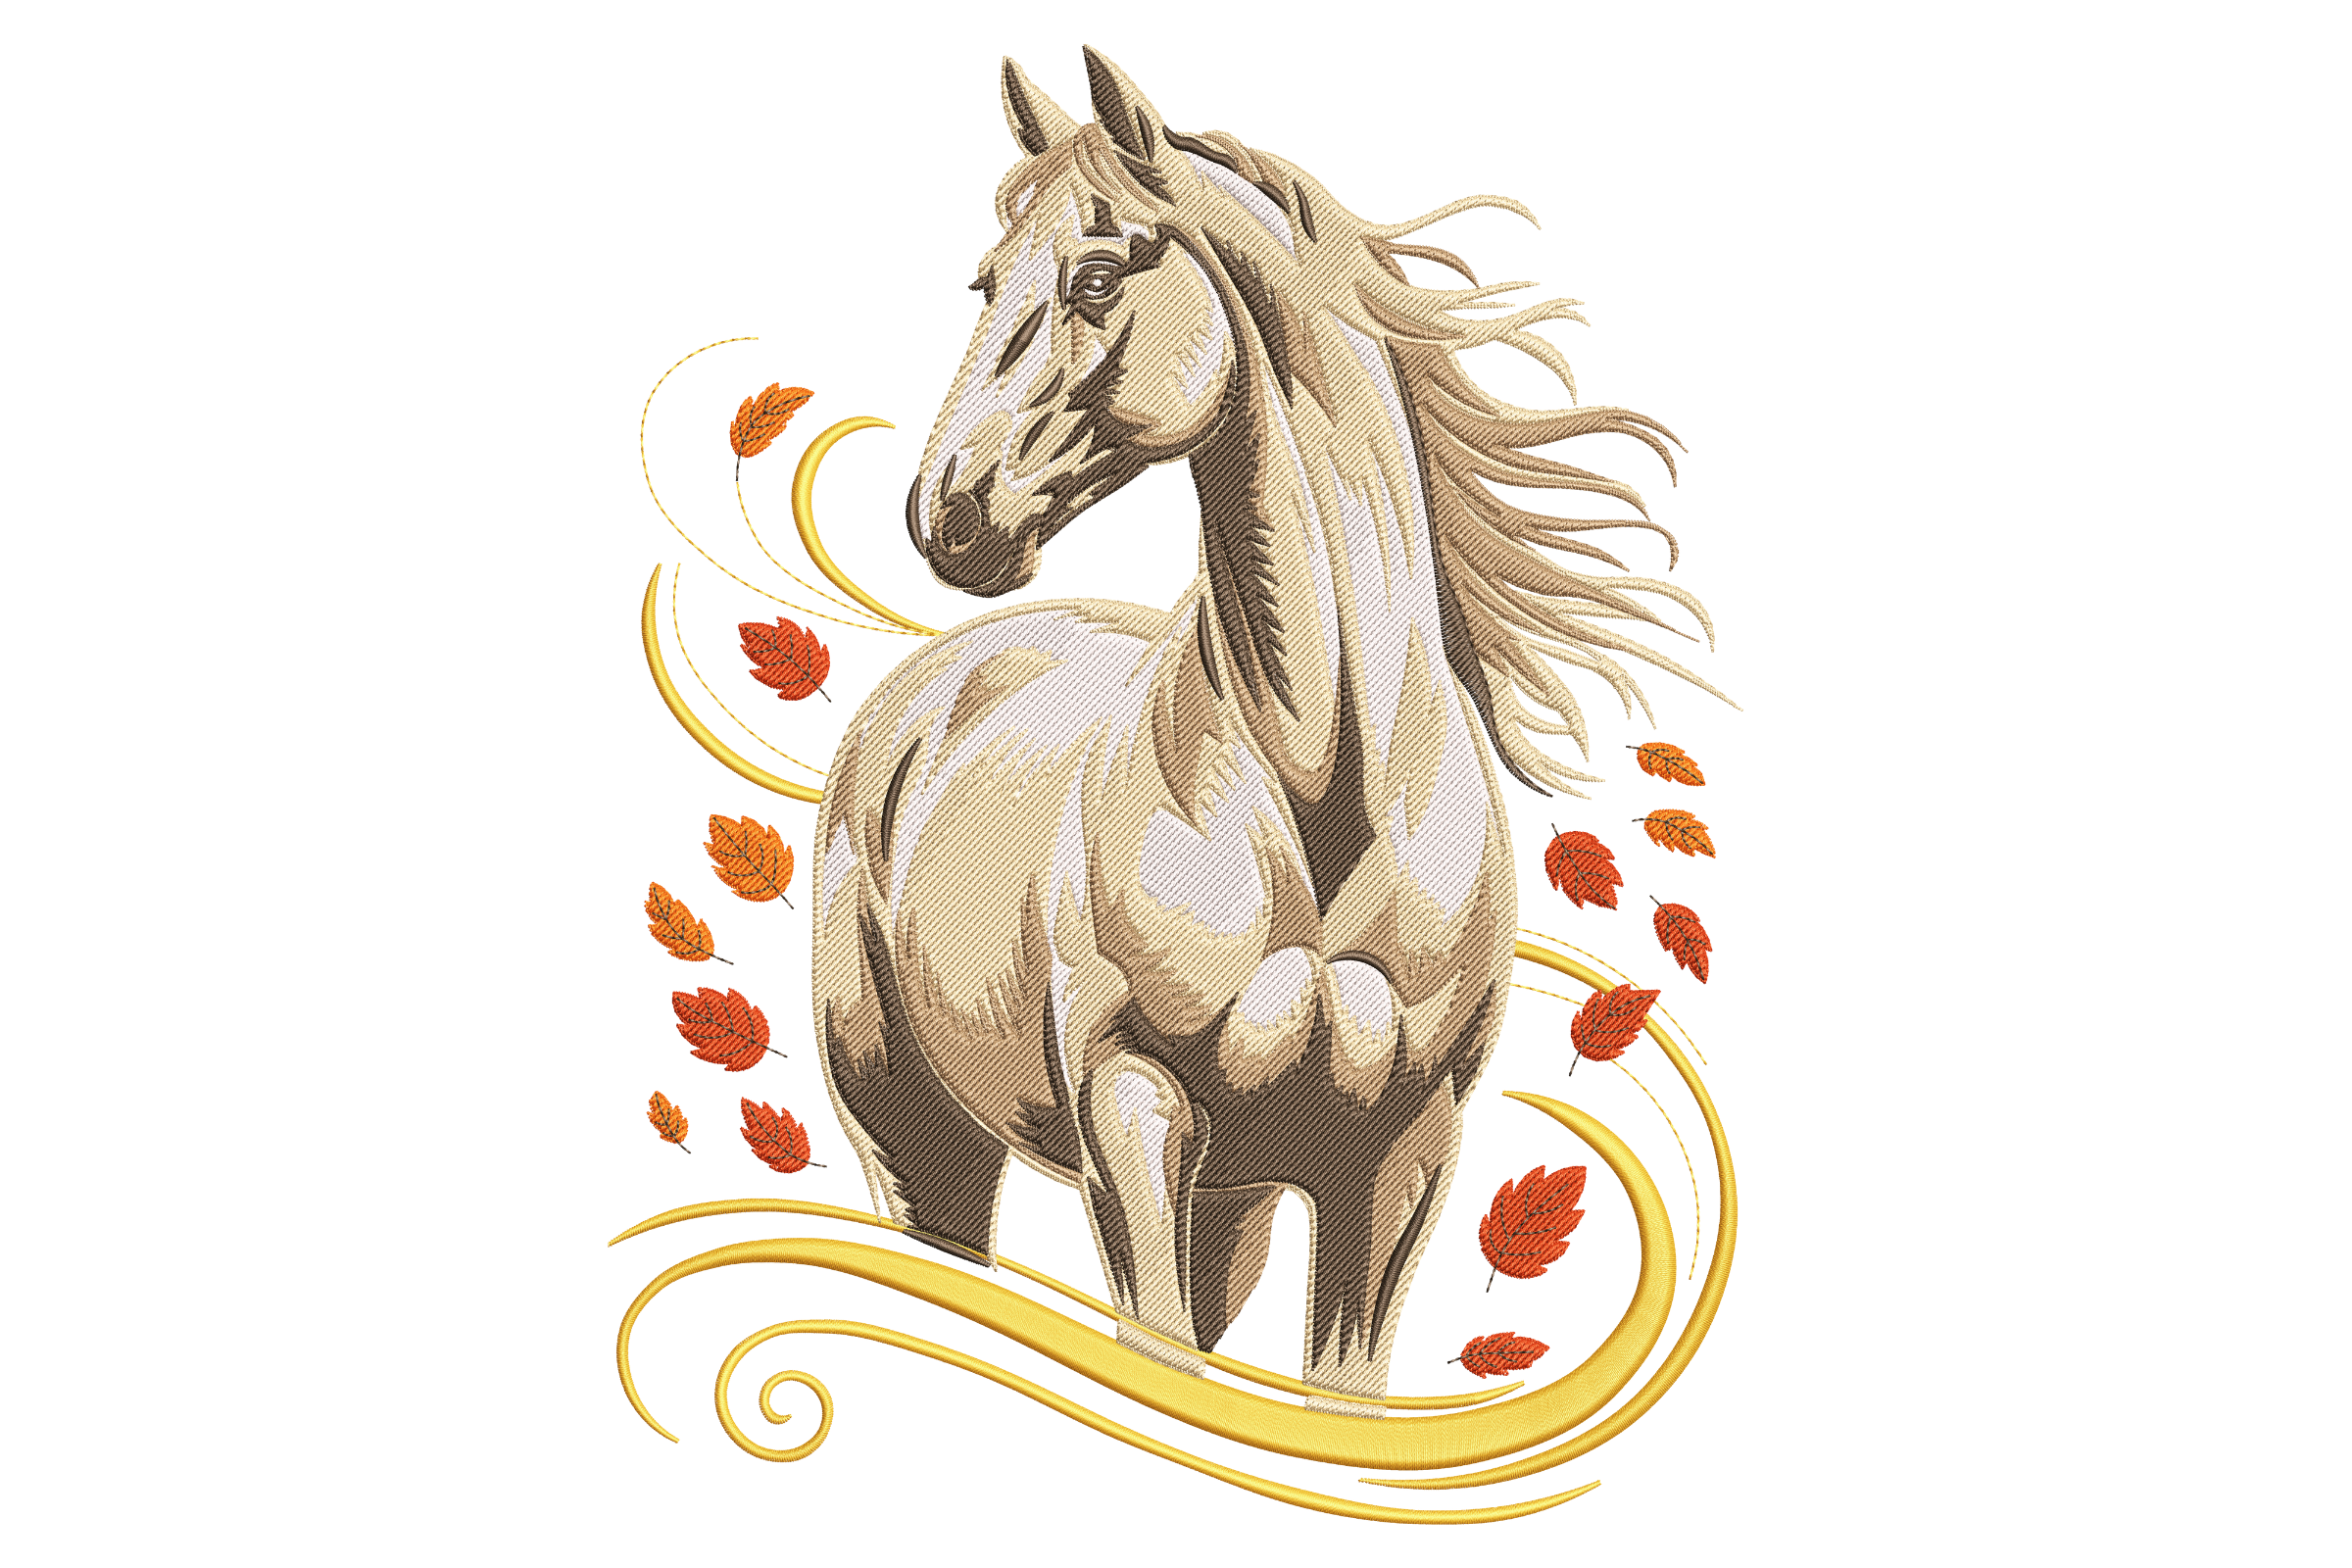
Autumn Horse
DSTEXPHUS

Funny Crazy Chicken
PESDSTJEF
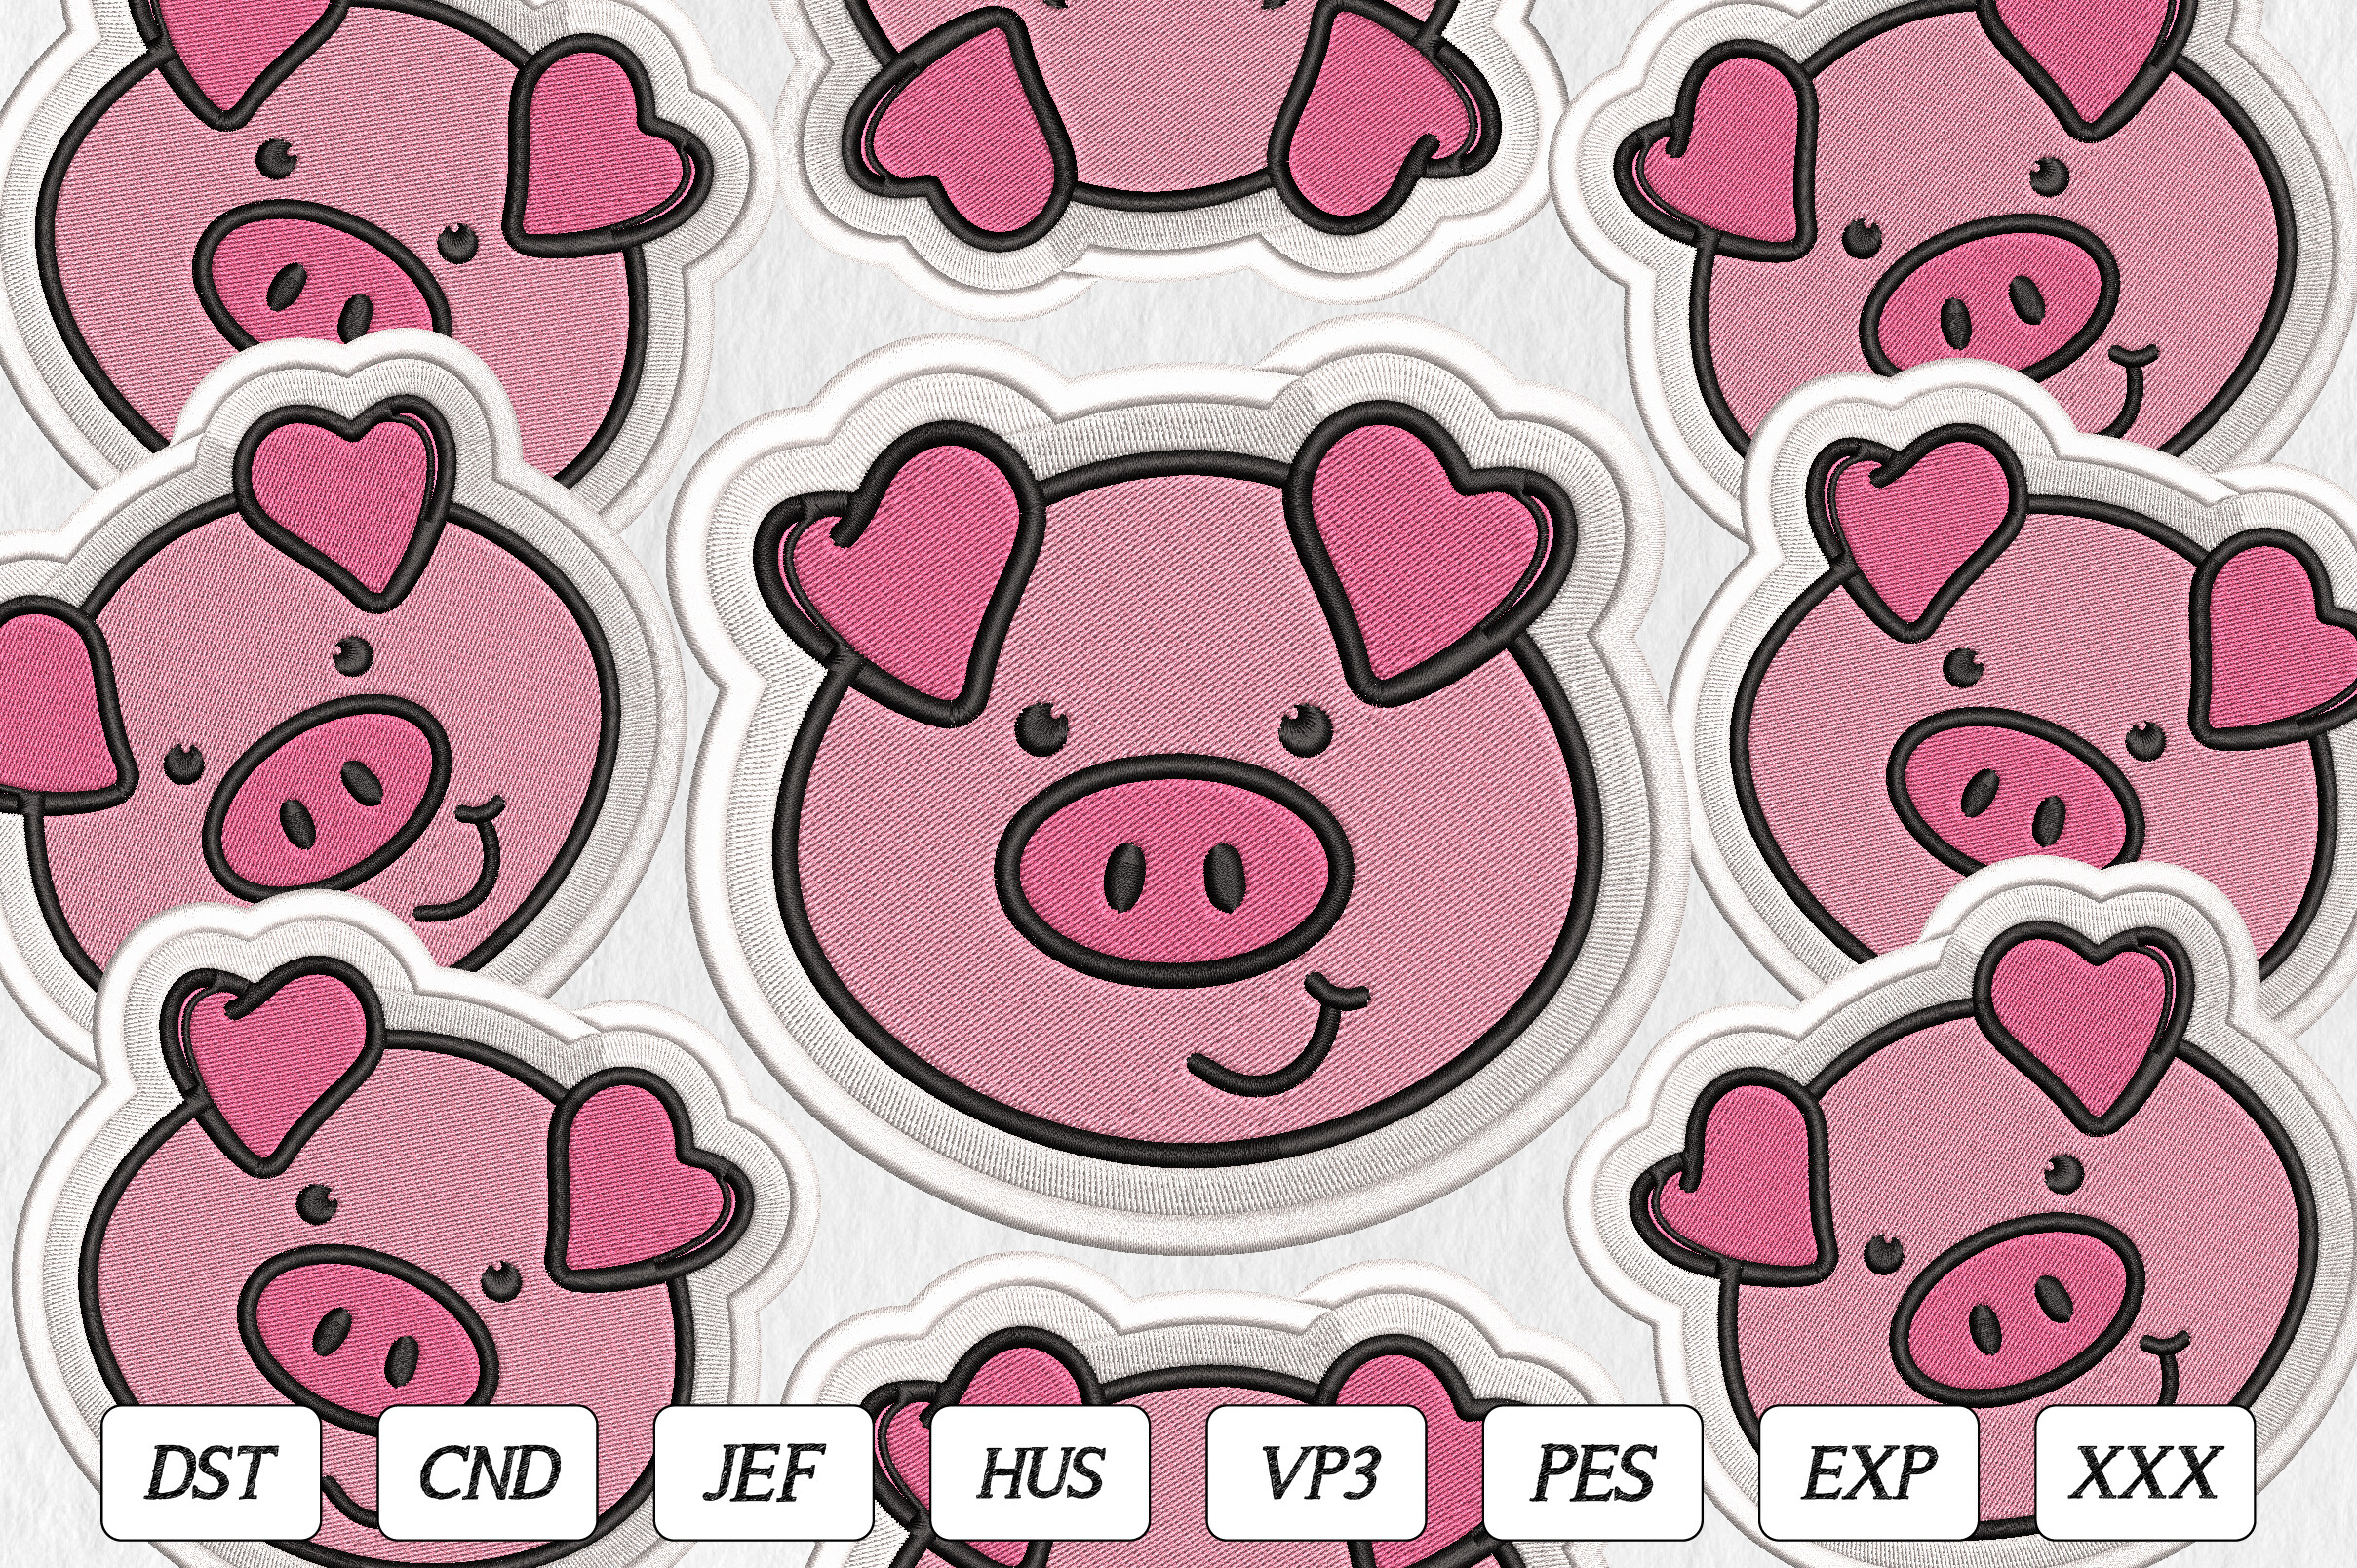
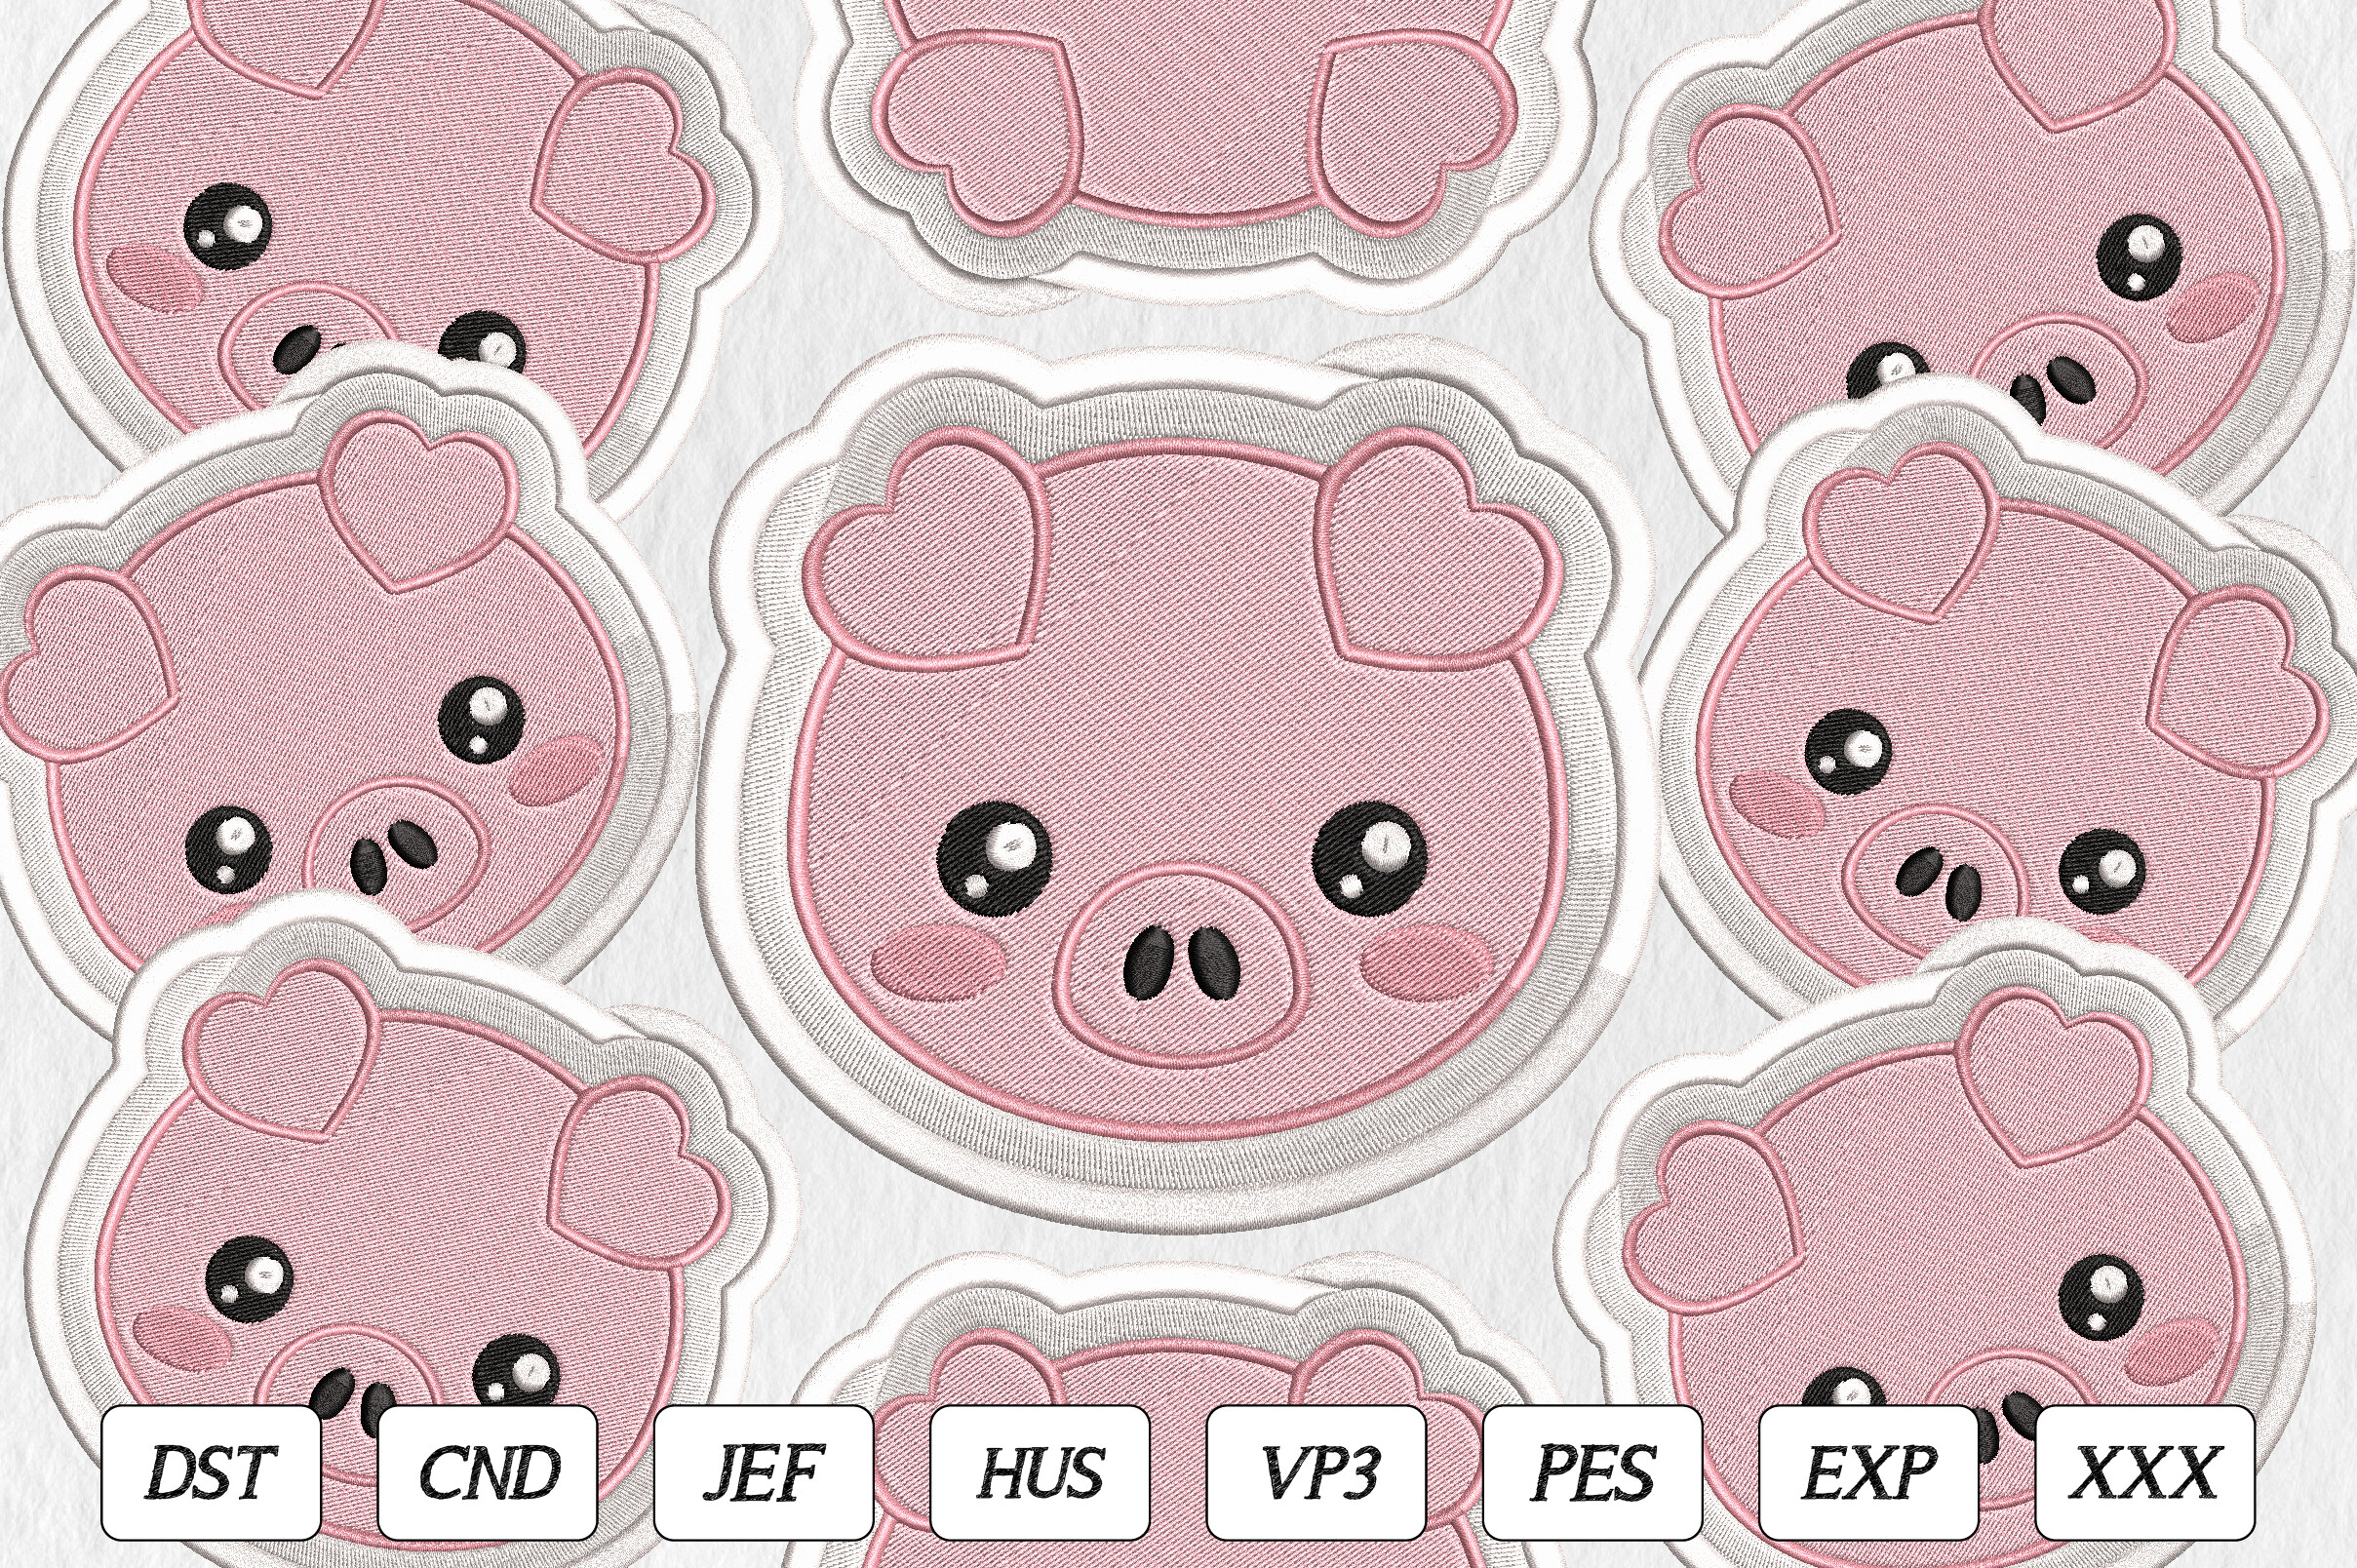
Cute Pig Heart Ears Embroidery
DSTEXPHUS
Cute Cow Embroidery Design
DSTEXPHUS
Cute Highland Cow
DSTEXPHUS
Folk Art Floral Chicken
DSTEXPHUS

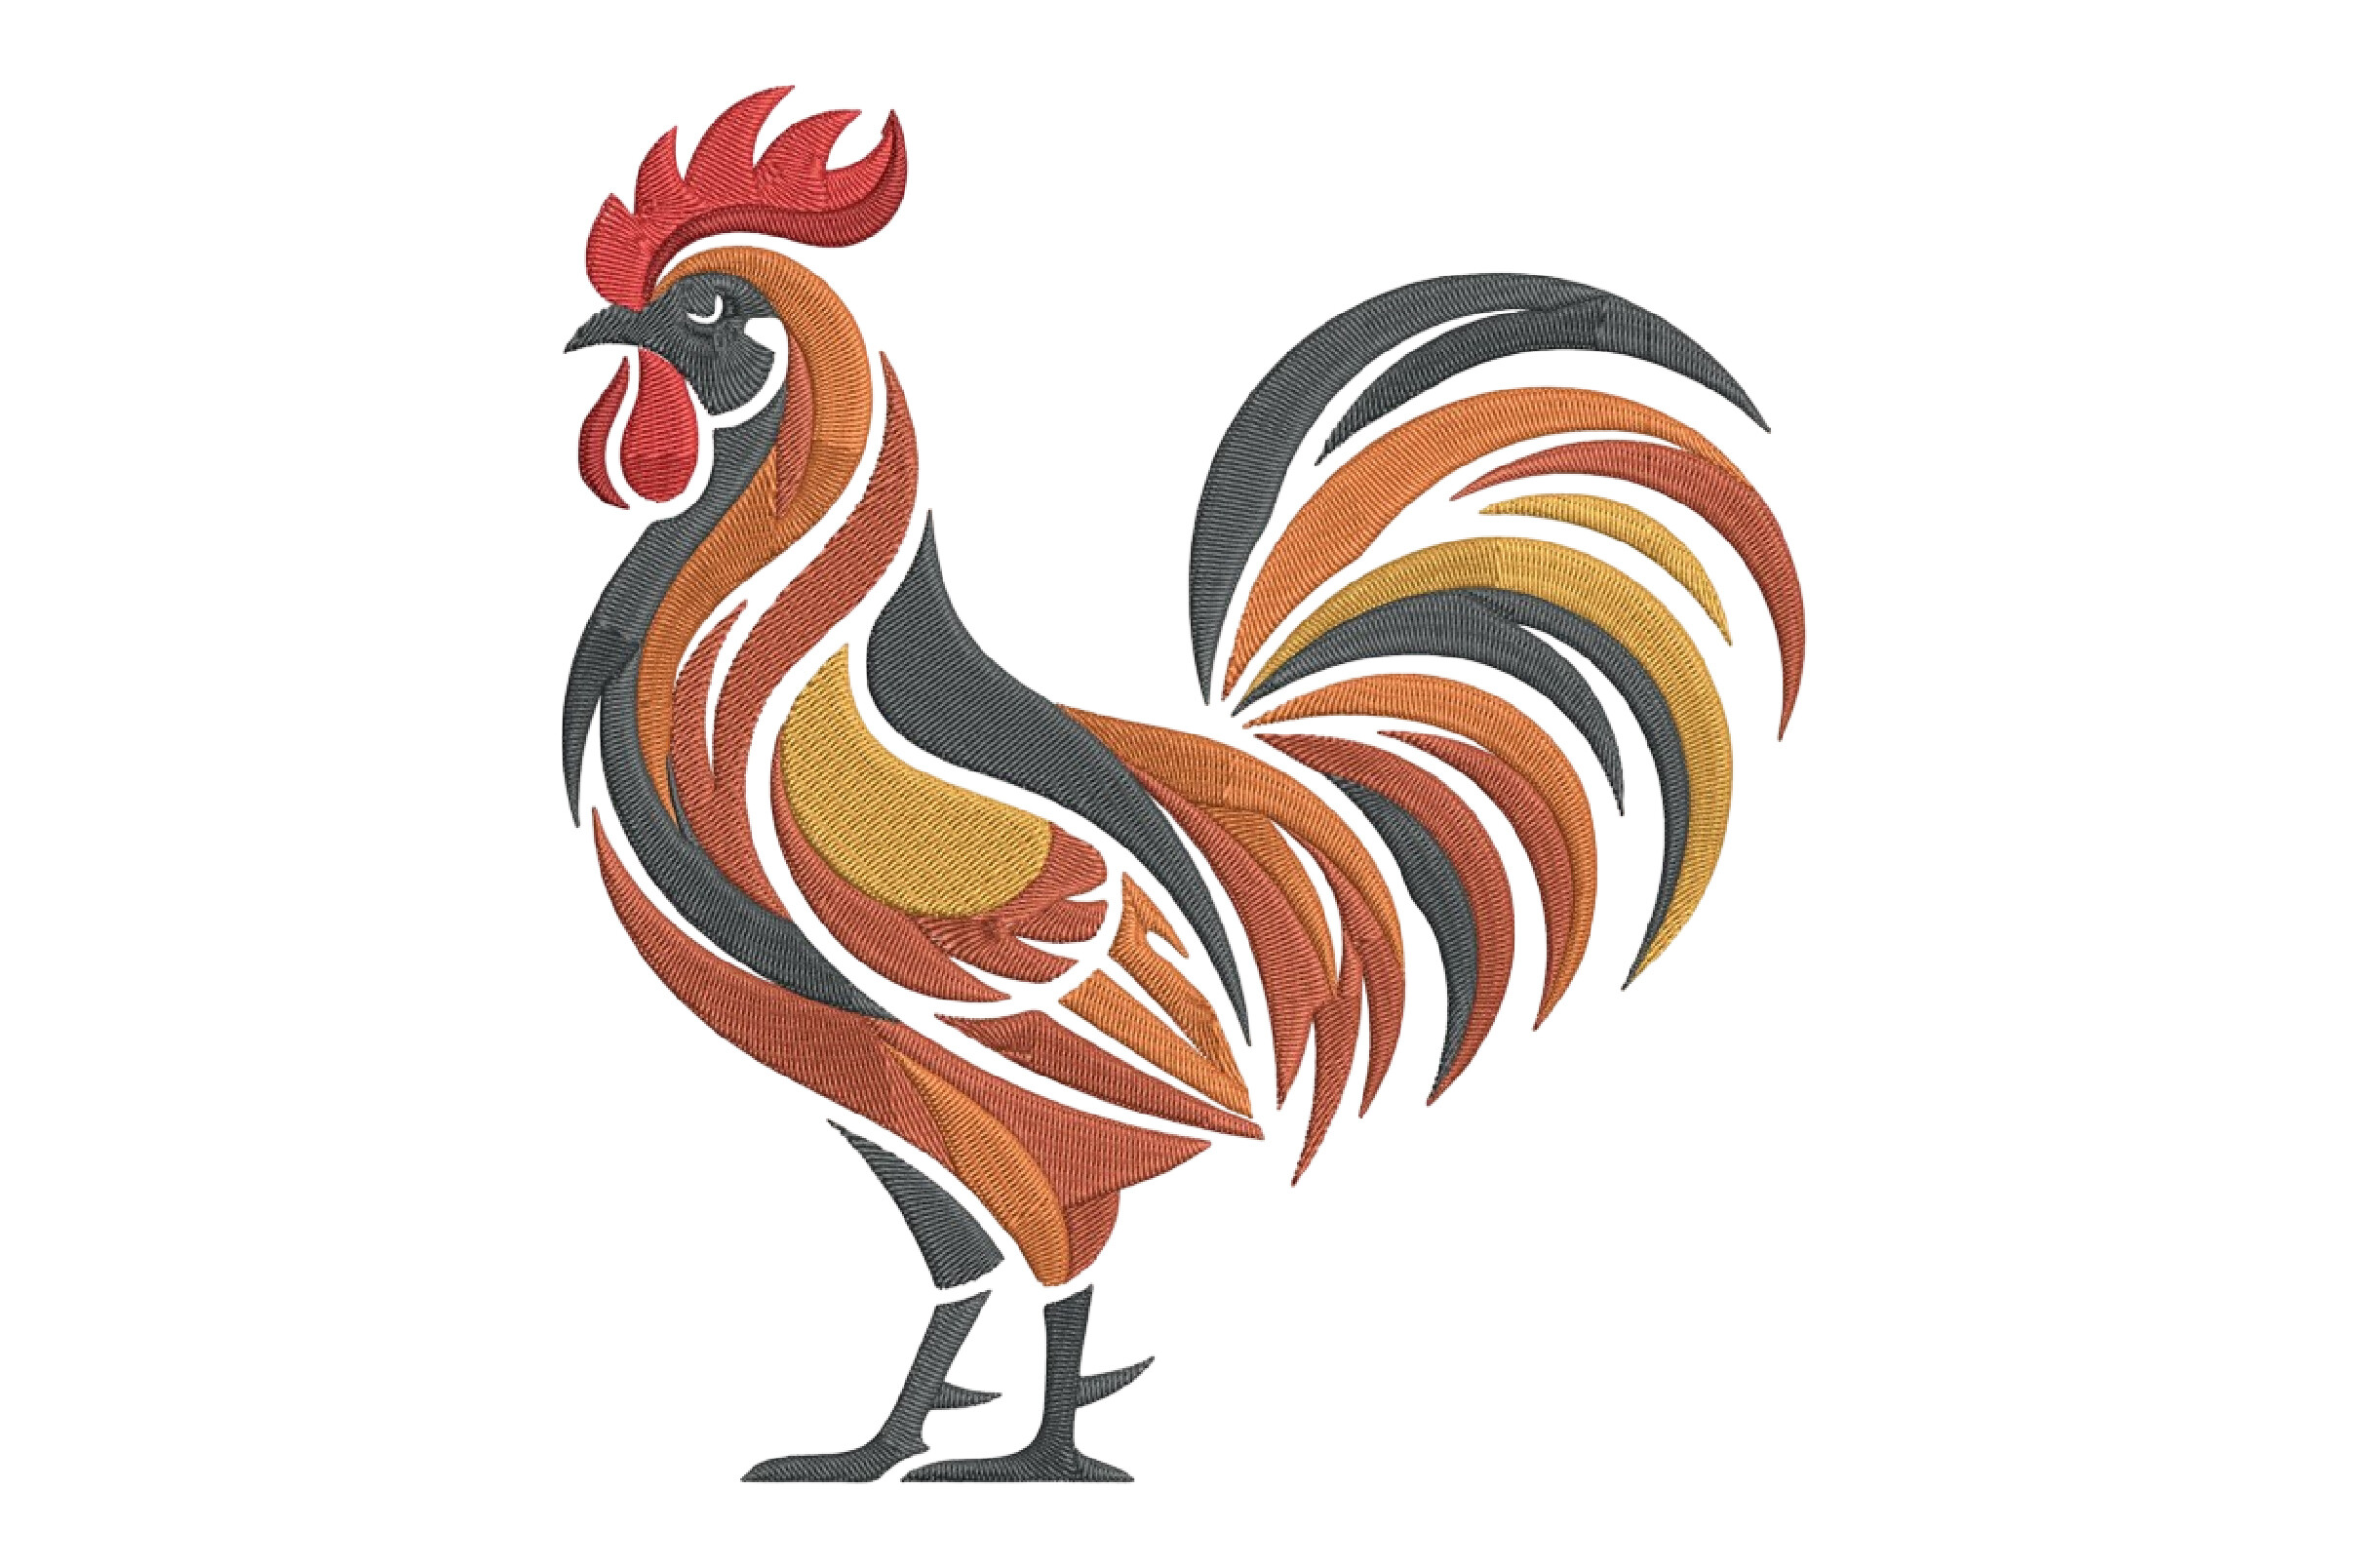
Western Artistic Horse Head
DSTEXPHUS